Archive for the ‘dining room’ Category

that whole house audio thing

9 Comments

Posted by Michael, December 16th, 2010

Multi-zone and multi-source audio for the house.  Sounds pretty sweet, eh?  I’ve been wanting to do this since we first purchased our home.  It was just too expensive to go through the builder.  And even if we had the cash to do it, they didn’t exactly offer what I had in mind.  I wanted functionality with components Rebecca and I were already comfortable with (read: iTunes and Apple products).  Builder wasn’t offering such capabilities.

I also thought about doing a ton of pre-wiring throughout the house while it was being built.  I figured this might be a good idea.  But much like everything else, even this was insanely expensive.  They wanted $125 to run one network cable from the basement to the master bedroom.  If you don’t know about network cable, it’s relatively cheap so this was pure profit for them – something I just couldn’t stomach. 

So where does this leave us?  Right now, I have an Apple TV powering our “entertainment center” in the family room.  The Apple TV allows us to manage our music on a remote computer and stream it to the family room.  The thought here is to expand this streaming capability throughout our house.    Music in the formal living and dining rooms, music in the master bedroom and bathroom and music in the basement.  But here is the catch:  I want to be able to control each “zone” independently of one another.  That is, if Rebecca is in the bedroom and wants to listen to Jack Johnson at a very low volume, she can.  And at the same time if I’m downstairs in the family room, I can be rocking out to, and pretending to be, Justin Timberlake at a very high volume.

But how do you pull this off?  And how do you pull this off using Apple products?  Oh and how do you do this without going broke?  The answer is the a combination of some stereo equipment collecting dust, some speakers, the Apple Airport Express and the Apple TV.  Plus the iPad’s and or iPhone’s Remote app to control everything.

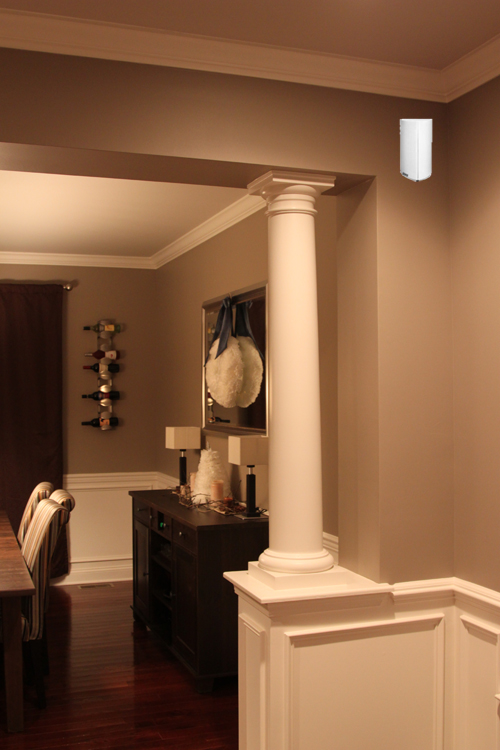
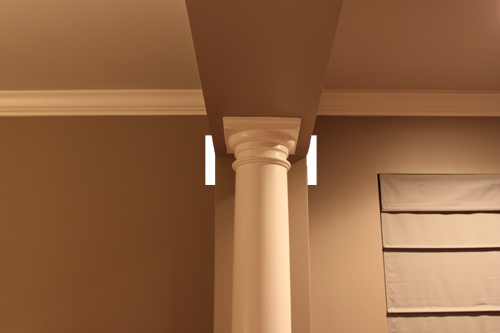
First mission?  Get speakers mounted in the living and dining rooms.   The speaker wires will be routed through the walls and into the basement.  The basement will hold all the wonderful stereo equipment.  I’ve used my elite Photoshop skills to show you what this might look like.  Displayed below is the living room looking into the dining room.  Between these rooms, we have columns (with just enough room inside for me to fish some wire without wanting to kill anyone).

On each side of these columns, we’ll have a speaker.   Once complete, we’ll have two zones — each zone will have two speakers.  For those out there who are interested, I went with Polk for the speakers.  I wanted something a bit more towards higher end, but these were ridiculously cheap on sale and solid white, so I could not pass on these (plus they’re refurbished so I saved even more money).

So there you go, the first mission.  Stay tuned.

my indoor wreath

16 Comments

Posted by Rebecca, December 12th, 2010

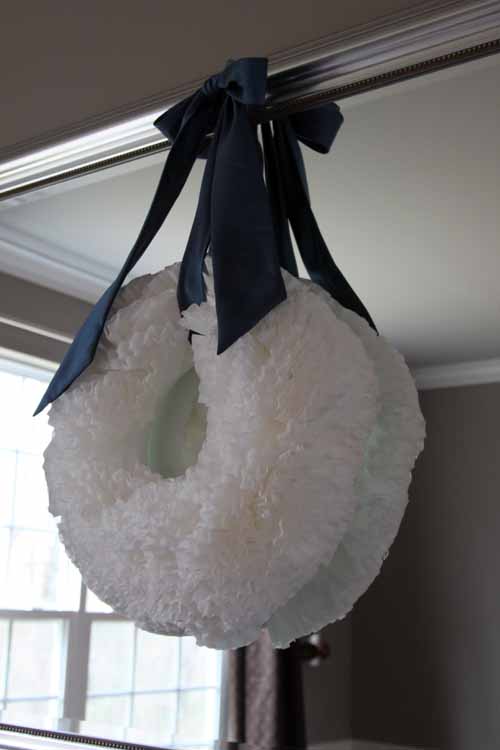
You’ve already seen my outdoor wreath and since it didn’t satisfy my wreath craving, I decided to make an indoor one.  I love very simple wreaths made out of interesting elements, so when I saw that The Nester and Decor Chick! made wreaths out of coffee filters(!!) I just had to try!

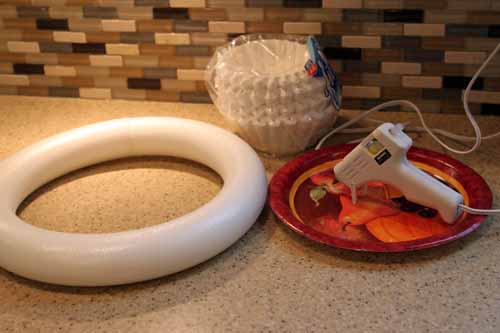
The ingredients…

Wreath form, coffee filters, glue gun (mine’s a cheap-o $2 one)

The method…

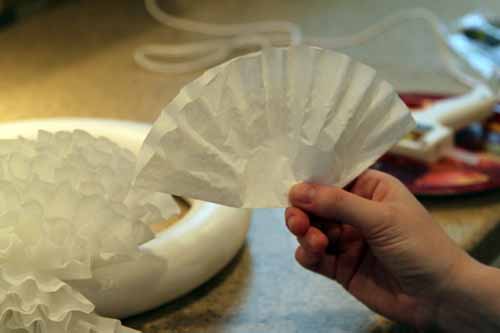
Fold in half

Then in half again

Stick a dab of hot glue on the bottom corner

Then add it in!

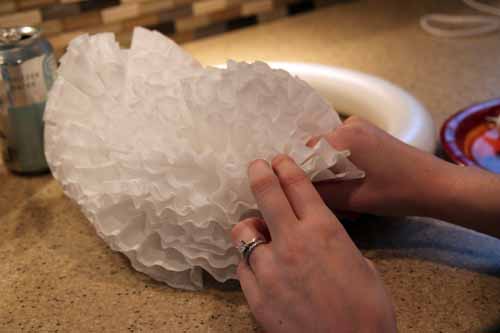
Keep adding until it’s nice and full

I didn’t have much of a pattern going, except that I tried to keep most of the lines following the shape of the wreath form. I really just filled in until it was big and fluffy.

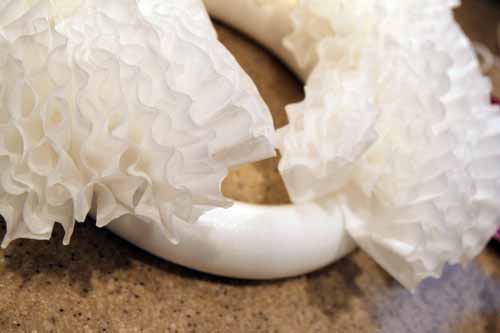
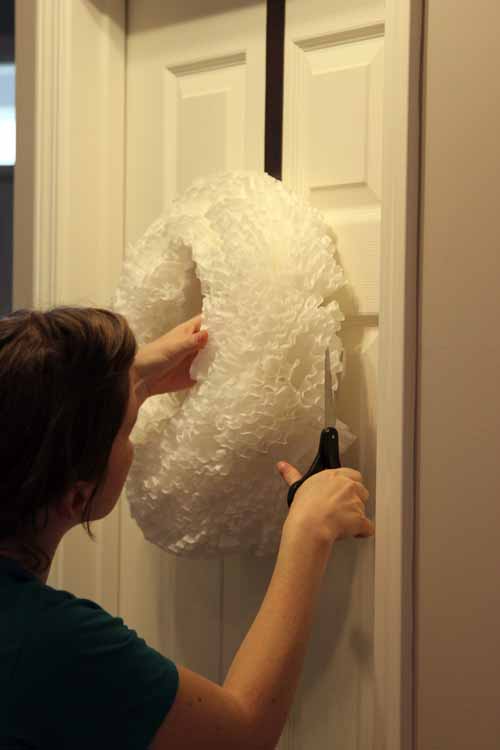
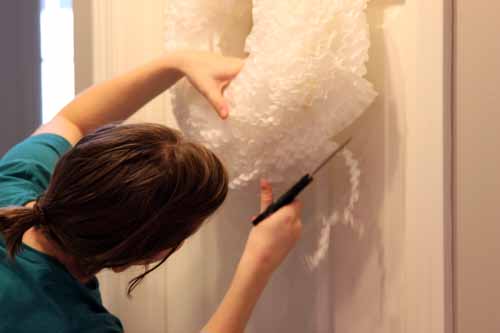
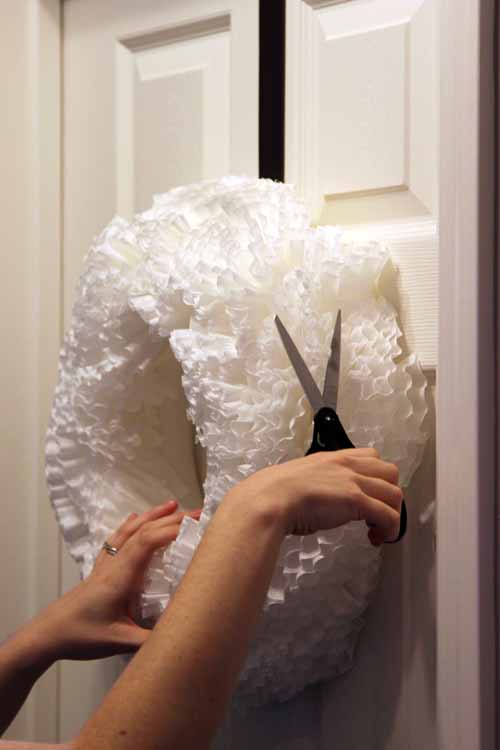
Now my new buddy needed a serious haircut.

So I kept him hanging to give him a trim, since it was a better view than laying him flat.

Um please excuse my hair in these pictures, I didn’t leave the house today….

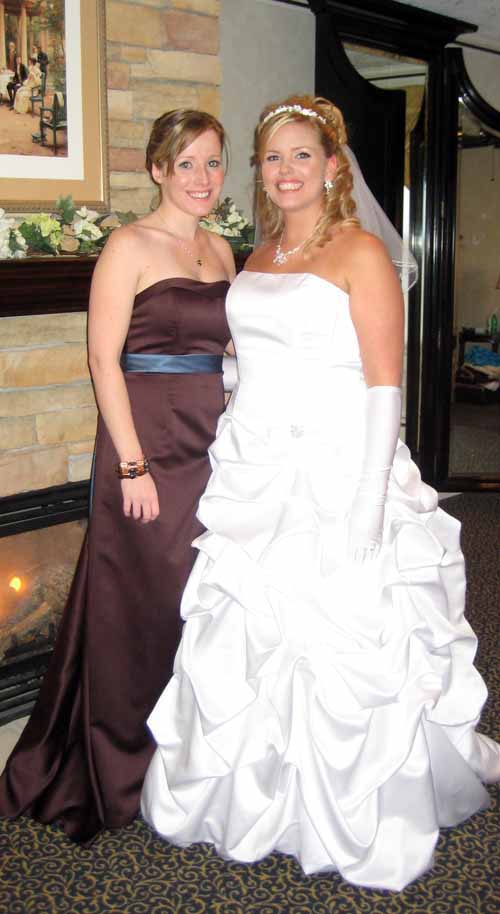
Hair cut complete! Now I had to figure out how to hang this thing.  I decided to use a sash I had worn as a bridesmaid in my friend’s wedding.  Thank you David’s Bridal for this pretty blue!

So I wrapped it around the wreath, marked off the length I needed with a rubberband, oh and I ironed it using my hair straightener…

I wanted to hang it on our dining room mirror, but I had no clue how to go about it.  Then I remembered we had some silver command hooks I bought for my side of the closet but hadn’t used yet.  So I stuck one to the mirror and hung my wreath on there.  Tada!

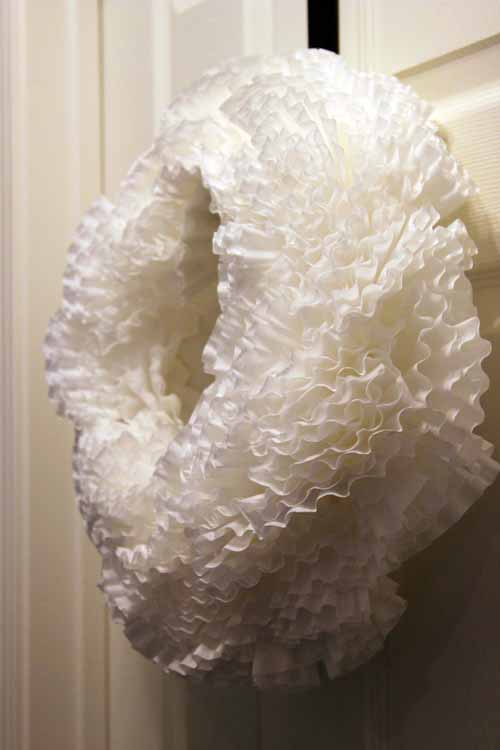
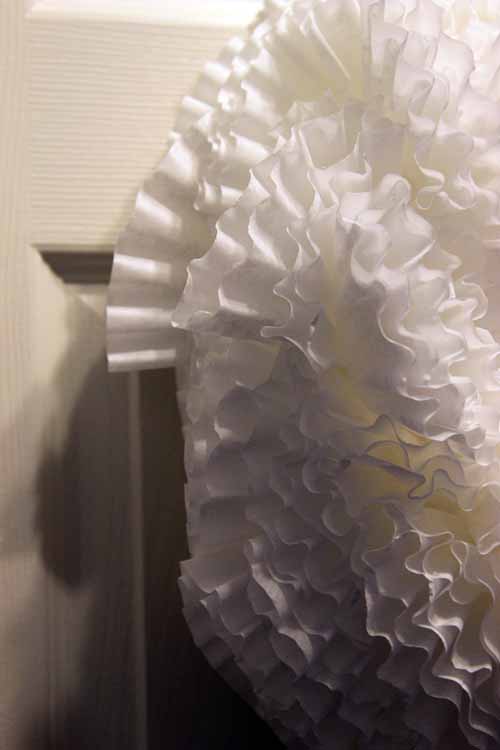
The finished product!

The best part of this? It is the cheapest thing you could ever make.  I used just under 100 coffee filters- I bought a pack of 200 just to be safe and paid about $2 for them.  The wreath form was a couple of bucks at Joann fabrics but I’ve seen people use cardboard cut into a circle or any other bendable foam.  So if you get your wreath form from something you have hanging around the house and your coffee filters at the dollar store, you could make one of these for a single dollar. Cheaper than a bag of chips in a vending machine these days!

I’m not going to lie, I love this thing.  It reminds me of hydrangeas.  Okay another confession, I made a tree with the remaining coffee filters, but I’m not sure if I like it or what I’m going to do to embellish it.  I ran out of glue sticks for the night 🙁

We’ll save that one for another day. I have to get ready for Dexter!

shelving the issue

11 Comments

Posted by Rebecca, November 30th, 2010

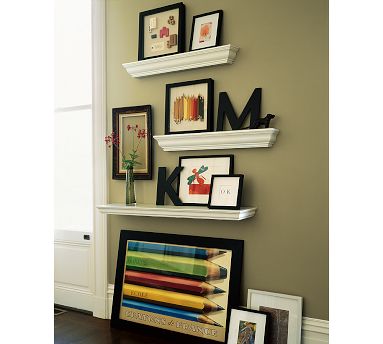
Back in our condo, we had these lovely Pottery Barn crown molding ledges

And I loved them.  We painted them to match our trim, they were 100% sturdy, easy to hang and looked great. Plus they were a place to keep breakable things away from Macky.  I can’t find the MLS pictures from the condo (they’re somewhere on a CD…), but I found some to share.

Shelves on Darwin’s first Christmas with us…

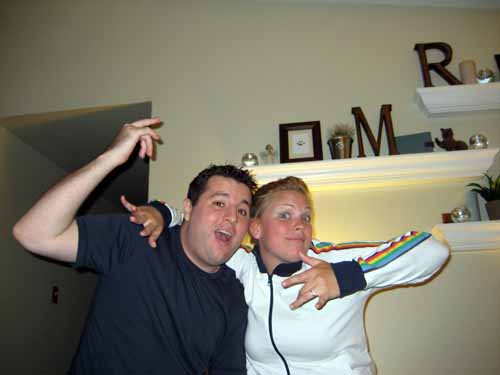
Shelves behind Mike and my best friend at one of our many parties…

They will both probably kill me for this, but this is how I can see if they actually read my blog 😉

So when we sold our condo, they were the one thing I really wanted to bring with us.  I envisioned them over my Ikea Stornas buffet in the dining room.  We didn’t have the buffet yet, but I wanted that thing for YEARS. We got an offer on the condo quickly given the market and it was a great offer.  Mike told me the news and then came the but……….they wanted the shelves written into the contract! My immediate reaction? No. At the time they were discontinued and I wasn’t sure we could find ledges of that quality anywhere.

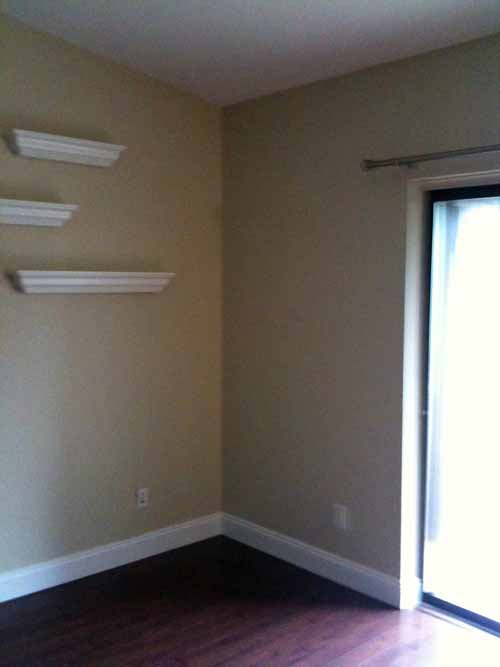
I came to my senses and gave up the shelves. Here are some shots as we said goodbye to our shelves, the day we handed over the keys to the condo (iPhone quality)…

Of course I couldn’t be so lucky to find a single picture where the 3 of them fit in one shot!!

For months Mike and I considered making them, googled and came up with other solutions (hence the mirror over our buffet).  When suddenly, they were back! Pottery Barn had them again! So sometime in the summer, we went to Pottery Barn and picked up the same exact ones we had… a 2′, 3′ and 4′ ledge.

Flash forward to before Thanksgiving when Mike had a few days off.  One of the items on my Christmas To-Do List was to hang things we’ve already purchased, shelves included.  He nicely offered to hang the shelves while I was at work, but wanted to know where to put them.  In that moment, I walked into the dining room and had cold feet about our 2, 3 and 4 foot arrangement.  Over the past few months, I’ve seen my style change, which is a good thing.  I’m learning more, finding more sources and branching out.  I think this shelf arrangement has fallen prey to my evolution.
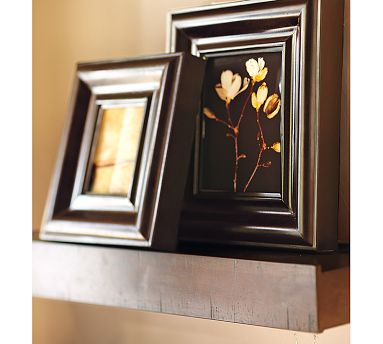
So here’s where I once again beg for your assistance, since you guys were so overwhelmingly wonderful with my area rug plea.  I think want to keep the crown molding ledge theme, since we have a lot of molding in the room and I think it would look nice, though these Rustic Wood shelves are fabulous…

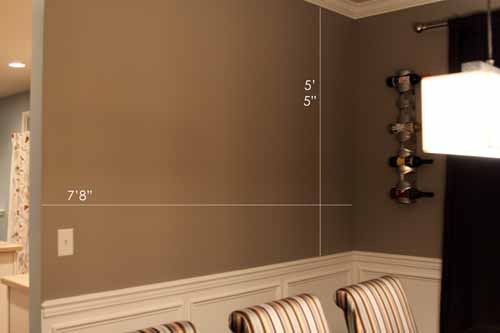
Okay they both come in the same sizes, so how should I arrange them? Here are the approximate measurements…

I think I’m leaning towards two 4 foot ledges, so I have enough space in between them to put larger frames, taller vases, etc.  Plus I think it would look much cleaner than having multiple sizes.

How would you arrange them? And since I came up with a new question while writing this post, Crown Molding or Rustic Wood?

I hope I grow out of my indecisive phase soon… 🙂

the first Thanksgiving

4 Comments

Posted by Rebecca, November 26th, 2010

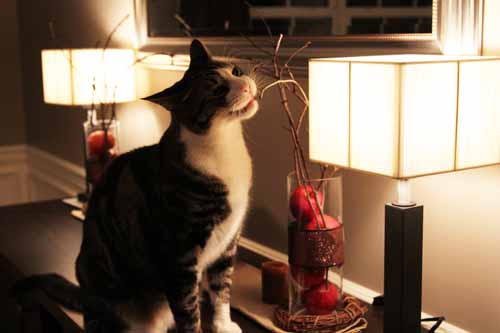
Our first Thanksgiving went off without a hitch.  My tablescape was threatened Wednesday night when the Macky Monster woke up and discovered what I had done….

Of course he went straight for the twigs, which was okay because a) they are fully organic and can’t hurt him and b) they were free.  If he chewed them off I’d just go pick some more!

But surprisingly, he investigated for a few minutes and then walked away, TABLE UNDAMAGED.  It was a Thanksgiving miracle! Even throughout the night, the table remained perfect.  This gives me hope for future decor…as long as I manage to set things up while he’s not around.  Once things are up he generally doesn’t care, but if you’re doing something and not paying attention to him? He will do his best to wreck your plans. Such a puppy.
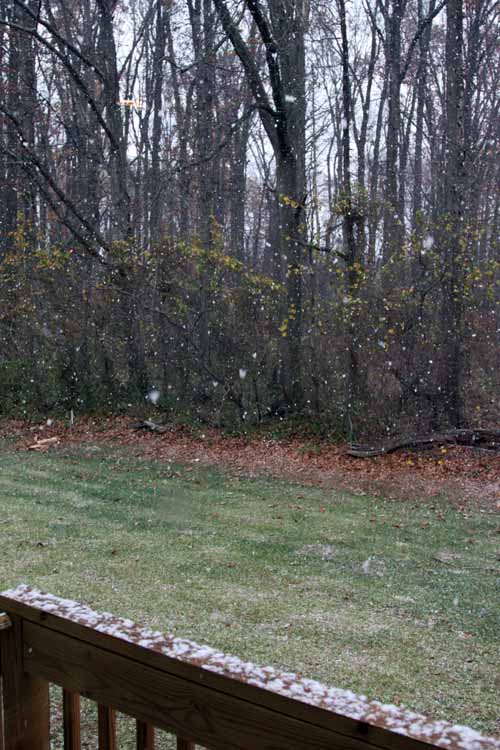
Thanksgiving day was also our first snow while living here.  It did snow on the house once while it was being built, but that doesn’t count, right?

It started off as small flurries, so small that I thought I saw a single flake and told Mike, then I was like naaah, probably just something falling from a tree.  But then we started getting big flakes that were blowing about.

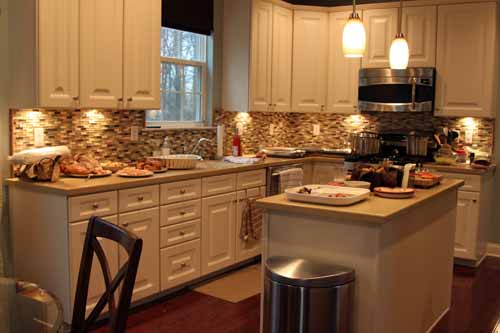
Here’s our kitchen in the midst of the Thanksgiving chaos, before dinner. Since we’re vegetarian and I really did not want to touch a turkey, my mom brought it.

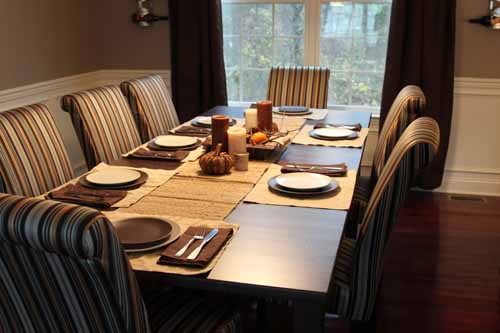
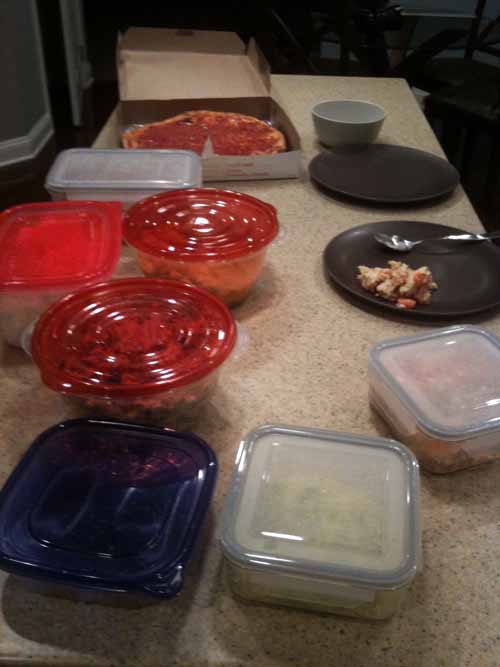
Much to my delight, the centerpiece was not only pretty, but functional.  I kept it low enough that it managed to stay on the table all day, and is still there! Here’s the table right before we ate, made a little more functional with one of the table extensions in, placemats (to protect our solid wood, non-glossy Ikea table), napkins and utensils.  We put all of the food out on the island, buffet style, to save room.

And then I stopped taking pictures.  Until I sat down with my plate and thought MY GOSH THAT IS A LOT OF FOOD. This was taken with my iPhone, because nothing ruins a meal like getting up and being like wait, wait! I need to get my giant camera to take pictures for my blog!

Mixed in that plate there is… sweet potato casserole, stuffing, spaghetti squash, corn, mashed potatoes, green bean casserole, broccoli and carrots au gratin. Yes I ate the gravy, it’s once a year and I can’t turn down my mom’s homemade gravy on my potatoes.  Not included in this picture is the cranberry sauce, appetizers or desserts.  Oh and the lasagna we ate before this meal.  I will never be able to button my pants again.

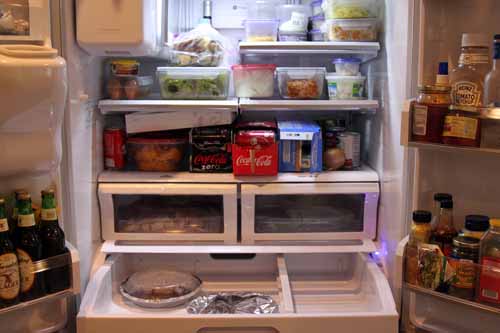
That being said, we have enough leftovers to last a lifetime. I realized this when I opened my fridge this morning.

We completely emptied our fridge before Thanksgiving, so all of those containers have leftovers in them.  We tapped into some of them tonight.

We will never go hungry again.

I hope all of you had a happy one!

a Thanksgiving table

5 Comments

Posted by Rebecca, November 24th, 2010

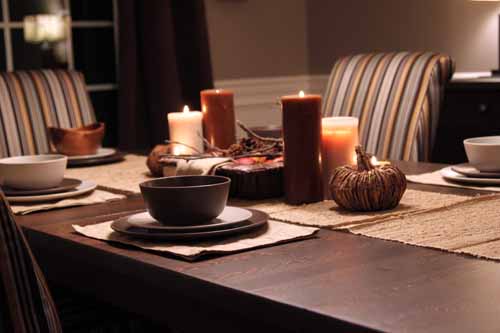
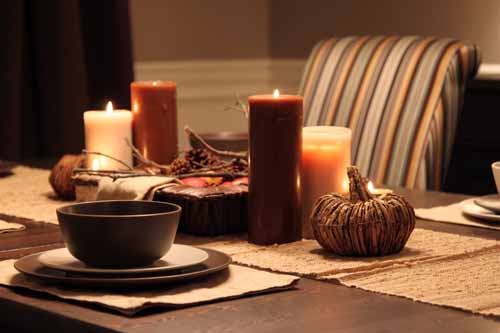
I always wanted to do a fancy table setting, then last week Mike randomly told me I should try one of those fancy table settings, so I considered it a challenge. Up until about 2 hours ago, I had no clue what I was doing. I went to Michael’s earlier in the week and grabbed a few things, but they were mostly for Christmas. I was planning on just winging this.

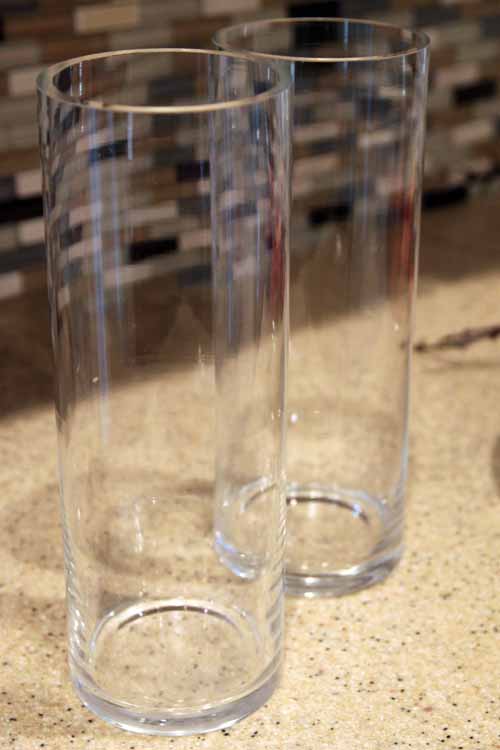
So I began by cleaning out some old, reliable vases we have that got very cloudy from constant use (note: I use these 2 vases to decorate A LOT. My parents got them for free when they took home a centerpiece from a wedding)

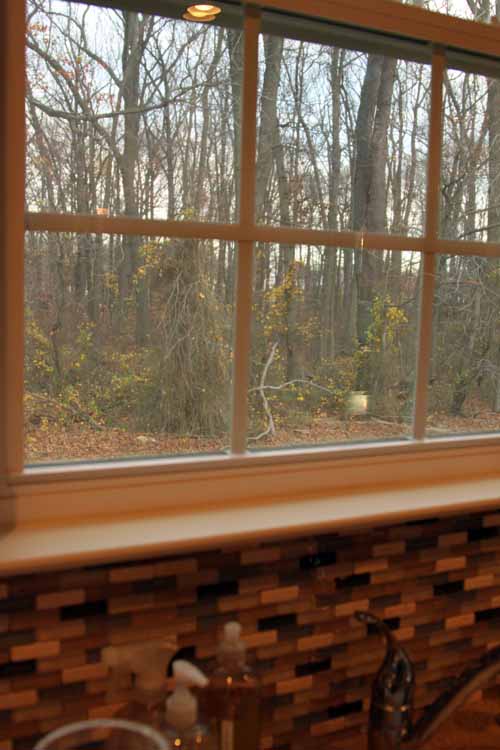
I peeked out our kitchen window and had a revelation… I should go get some sticks!

So I went outside, with no jacket or plan in mind.  It was freezing out there, but our yard is very sticky…

(That sign on the tree way back there is a no hunting sign.  I’m glad there will be no bullets flying in my animal loving yard.)

In the midst of my stick search, I heard my neighbors come outside.  I am now the looney chick who picks sticks with one hand, holds camera in the other. Great.

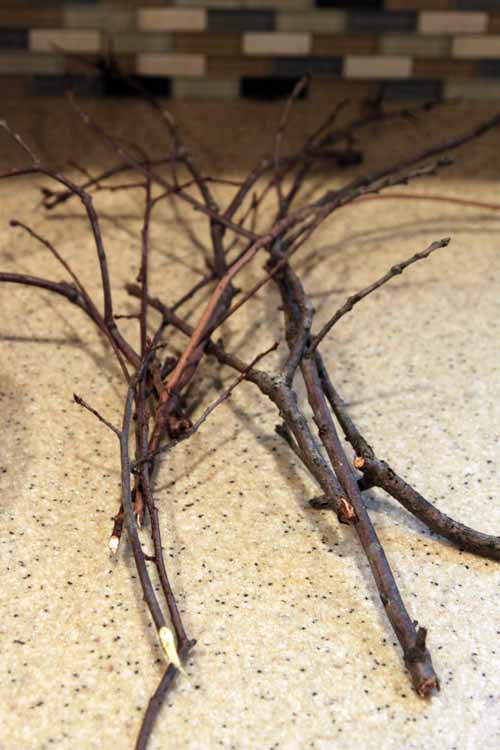
My gatherings…

(another note: In the midst of taking these pictures, I complained to Mike about how the kitchen appears so orange when I take pictures.  So he showed me how to adjust the white balance on the camera, genius! From this picture on, the colors of the countertop/backsplash are much more accurate!)

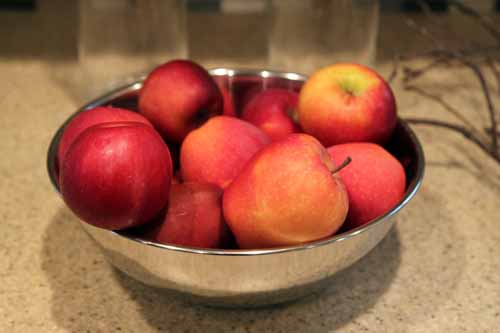
We also had a bowl of apples from when we went apple picking in September. They’re not good enough to eat but they’re good enough for props!

And my vases are now sparkling!

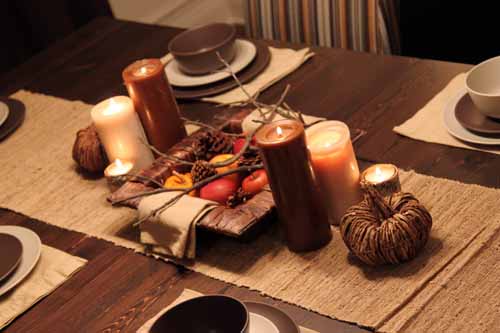
So still, no plan.  But I began to throw things in this square banana leaf basket I got at Michael’s and things just sort of took off. Pine cones are from Michael’s, mini-pumpkins we had, apples we had and sticks from the yard…

That’s a napkin in there, it was all looking too brown so I had to improvise.  Then I stuck it on the table, on a ramie runner I picked up at Target.

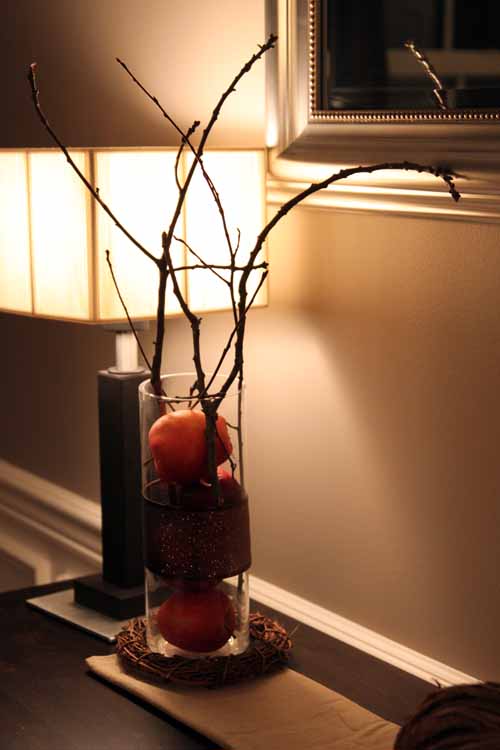
The vases? They got filled with apples and sticks (oh yeah, I had to go back outside and get more sticks!) Then I wrapped a sparkly brown, thick ribbon that I bought for Christmas around them.  I taped the ribbon so that it comes off easily and stuck them on our buffet.  Oh and on the bottom is a mini-wreath from Michael’s, also bought for my Christmas decor.

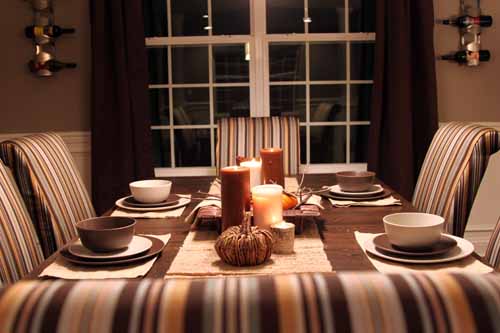
Here’s my Crate & Barrel pumpkin I bought a while back, on a “mini-runner” of two napkins…

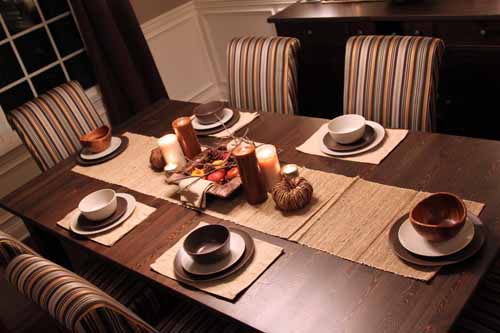
And the completed table, assembled mostly from stuff I had…

What, the heads of your table don’t get their own special wooden bowls? Okay we only have 2 of those, but they’re too great to leave out!

Mission accomplished! Luckily, Macky was sleeping throughout this process, so he still has no clue of what I did.  I tiptoed through the house so I wouldn’t wake him.  Not to shabby for our first Thanksgiving and it was lots of fun.  Now on to some cooking!

Happy Thanksgiving everyone! 🙂

Copyright 2010 - 2011. The Lil House That Could. All rights reserved.