Archive for the ‘inspiration’ Category

Crossing Disciplines: Nursery Edition

3 Comments

Posted by Rebecca, December 12th, 2011

Remember when I used an outfit of mine to inspire our powder room makeover (which will still haven’t finished)? Well it happened again, sort of, this time with the nursery!

I guess I should explain a little of what I’ve been thinking for the nursery first. I haven’t really had a chance to put my thoughts here on the ol’ blog, so here it goes. First, Mike and I will be finding out the gender of our baby next week. Second, we are not telling a soul. Many people have asked me what this means for the nursery, assuming that when we paint the room, everyone is going to figure out the gender. Come on guys, did you think we’d be that easy to crack? 🙂

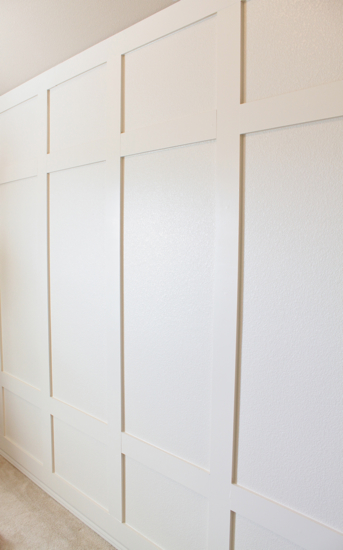
When we say we’re not planning on painting the walls a gender specific color, everyone assumes we’re going with a yellow ducky, green frog or brown bear themed room (not that there is anything wrong with any of those). But, what we plan to do is paint the walls a neutral gray/taupe/greige (TBD), add some tall board and batten paneling around the entire room and keep all of the same furniture regardless of whether the baby is a she or a he.

Molding Inspiration via Decor Chick

We figure that is going to take us quite a bit of time, so everyone will be filled in with those updates as they happen (we also have some plans for stenciling the ceiling, yaaay!) Most of our gender specific elements will come in the form of textiles: The curtains, area rug, sheets, changing pad cover, etc. Those are all things we can buy/make in advance and add at the very last minute. So no, no one will be finding out the gender before our baby arrives 🙂

I will go into more detail with what we want to do furniture, bedding, area rug and curtain-wise another day, but for now, I just wanted to share my general inspiration. Which goes back to how I started this post, which is with fashion!

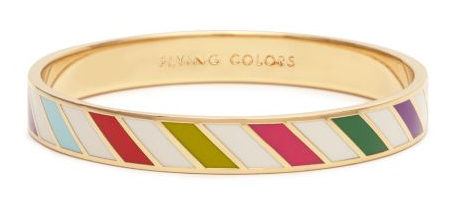
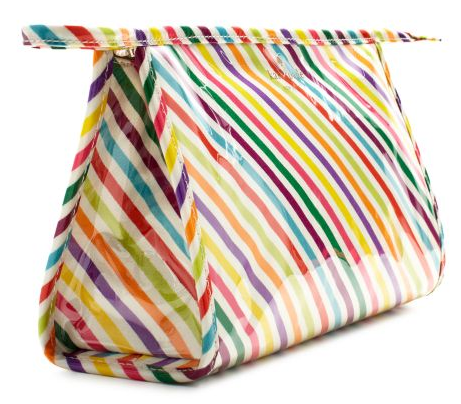
I’ve been on the lookout for a Kate Spade baby bag. Read: I love Kate Spade. I’ve scoped out the outlet and I’ve been stalking the store and the website for sample sales. In the process, I’ve noticed and fallen in love with her latest color campaign, this fabulous multi-colored stripe.

Lately I’ve been loving all sorts of bright and fun things on Pinterest so when I found out I was pregnant, I knew I wanted bright colors. I wanted bold pinks and purples, or blues and greens. I had just never seen a bunch of bold colors together that was done well that sort of hit the nail on the head for me. And then Kate saved me.

iPhone 4 cases, $35 each

Flying Colors Idiom Bangle, $58

Live Colorfully Medium Heddy, $70

Live Colorfully Gift Set, $30

There are so many great colors to pull out of all of these designs. The general plan is to use two gender neutral-ish colors, maybe teal and yellow? Maybe orange and teal? Then throw in some gender specific ones like pink and purple or blue and green to complete my bright and classy nursery. I hope to find a lot of great fabrics in different prints to bring in a lot of fun elements to the room. After all, it is for a child.


So yes, our boring neutral walls, combined with a playful, bold color scheme of accents, I promise will not be boring for our baby.

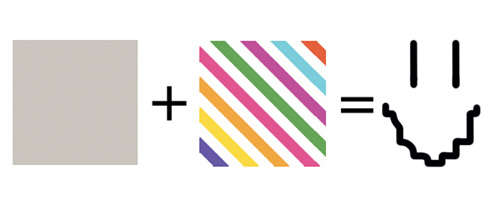
Yes that’s me there smiling, complete with disturbingly creepy smile. Drawing in Photoshop (which I am still a rookie at), with laptop touch pad is not the easiest. But it’s comical…

Of course, as with any home improvement project, it’s going to be a process that won’t be completed in a day. And sorry, we won’t be sharing the final reveal here until after the baby is born, but I think we have plenty of fun projects up our sleeves to keep you entertained for the next 4 months 🙂

All item images, as well as stripey images via Kate Spade

Ps- I announced the winner of the Black & Decker Rapid Roller giveaway! Check the post for an update!

Preliminary Playroom Plans

5 Comments

Posted by Rebecca, December 1st, 2011

Say that 3 times fast!

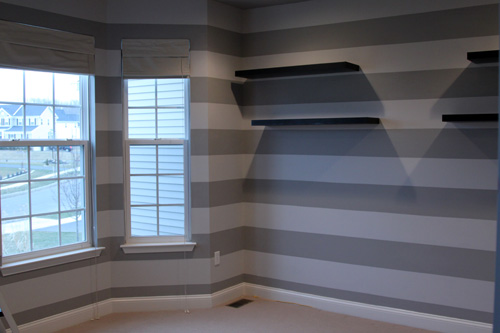
So we’ve already told you that our striped office is becoming a playroom. We’ve been scheming this since we moved in (probably before) so when we painted those stripes it was totally in our plan to do something fun, yet classy, and neutral. I know that kids come with a lot of gear and we wanted a place on the first floor to store things easily. Other than the stripes, I didn’t know what to do storage wise. For one, we have always known that we want to build a window seat by the bay window.

That’s a picture from when we painted those stripes back in March. We figure a nice little cushioned bench there with storage underneath would provide some much needed adult seating. Plus it would be so pretty 🙂

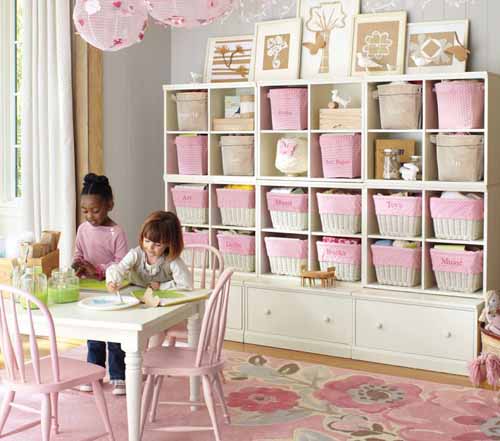
As for toy, book, gadget, whatever storage, I wanted something that didn’t look childish. This room is still the front room in our house and it has double french doors enterting it. I wanted it to be kid friendly yet still flow with the entryway. We received a Pottery Barn Kids catalog a while back and I spotted this little storage system, which was getting closer to what I was thinking…

(via Pottery Barn Kids)

I like the closed and open storage and I love the artwork on the top, but my problem with most playroom specific stuff is that it is so short. I understand that kids are short and it’s meant for them, but lines often cut a room in half. I don’t think some higher shelves for less used things or artwork would hurt anyone 🙂

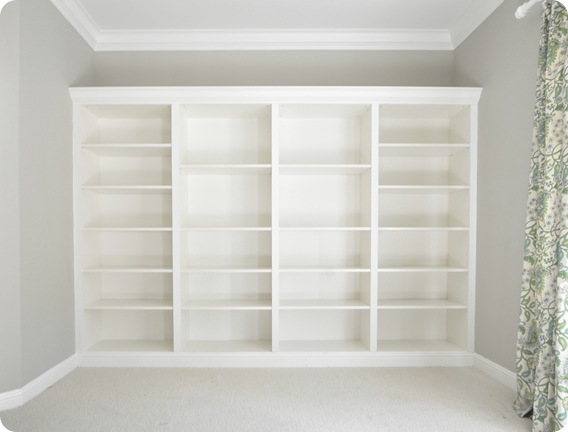
While reading one of my favorite blogs, Centsational Girl, I saw that she took some Billy bookcases from Ikea and turned them into built-ins. I’ve wanted to do this forever and she has convinced me… and showed how it’s done.

 (via Centsational Girl)

I got all giddy when I saw this and immediately told Mike that WE MUST DO THIS FOR THE PLAYROOM. While we’re not comfortable building bookcases, we’re comfortable adding molding, which is all that needs to be done here. We can throw some baskets in the lower shelves for toy dumping and maybe even keep some decorative things up high. Ever since I saw this, I cannot stop thinking about it. It was the motivation for our Ikea trip last weekend and why I wanted to get a nicer light.

We have time before we’ll probably do much else with this room since the baby won’t be roaming around in there on his/her own for a while. But it will be nice to store things for the time being and have a room for the baby that’s off limits for the cats. You know, since our house is mostly hardwood now 🙂

I’m on a mission… called make playroom functional and fun for kids, yet pretty for adults 🙂

A Combination of Inspiration

44 Comments

Posted by Rebecca, October 31st, 2011

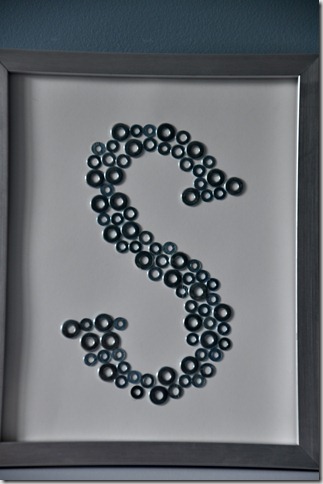
I mentioned last week how I wanted to make something for this season’s Pinterest Challenge with Sherry at Young House Love, Katie at Bower Power, Ana at Ana White and Erin from House of Earnest. I just wasn’t sure what to make! One of the projects I’ve been wanting to make was this washer monogram, but Michelle from Decor and the Dog tackled it during the last challenge…

(from Decor and the Dog)

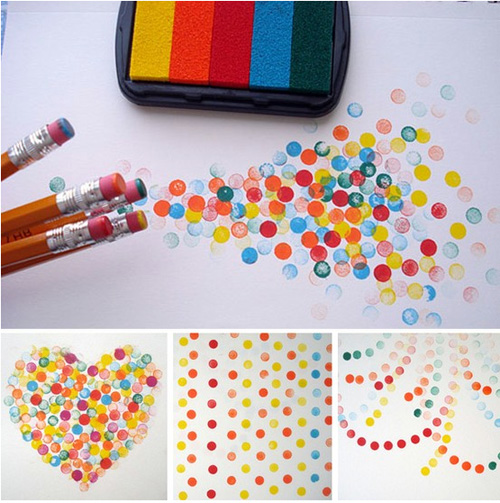
So I looked through all of the things I’ve pinned the past few months to come up with something I could tackle in a few hours. I stumbled upon this pencil-eraser-used-as-stamp art from Li’l Magoolie

(from Li’l Magoolie via Pinterest)

And I had a light bulb moment… why don’t I make a monogram using pencil erasers as stamps? That way it’s entirely different, but bringing together two Pinterest projects! So that’s what I decided to do 🙂

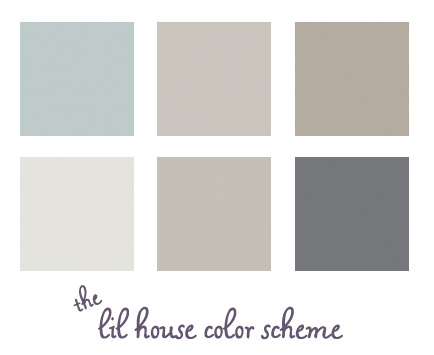
I decided to stick with the color scheme of our house… various grays/greiges/blues.

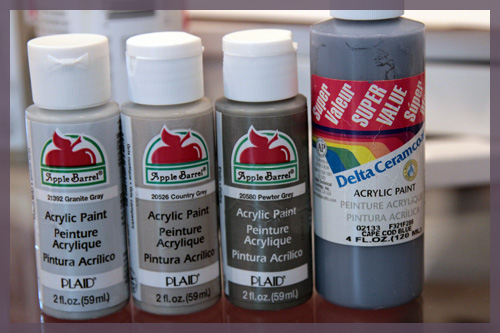
I picked up a couple of extra bottles of 89 cent craft paint just to make my life easier. I basically bought all of the shades of gray they make and I already had the blue.

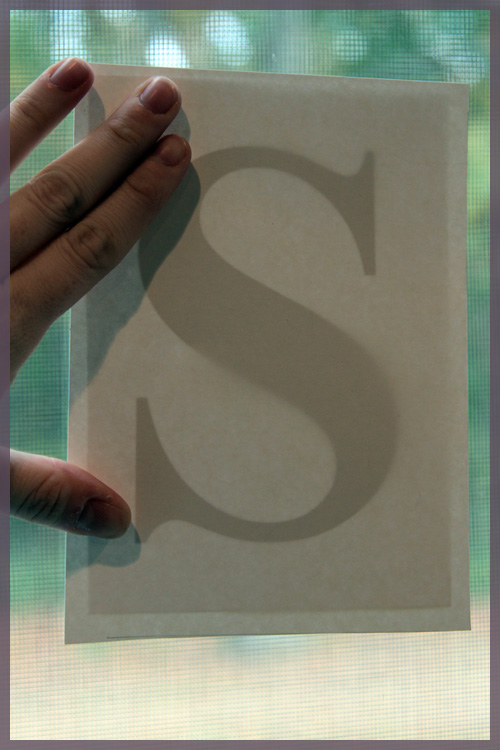
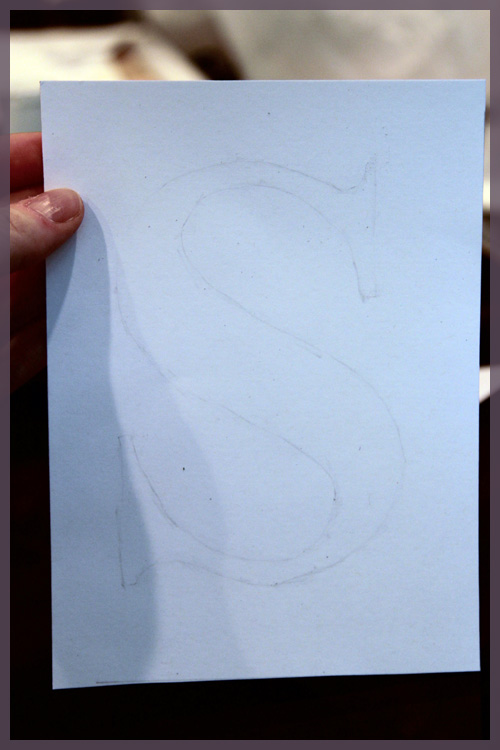
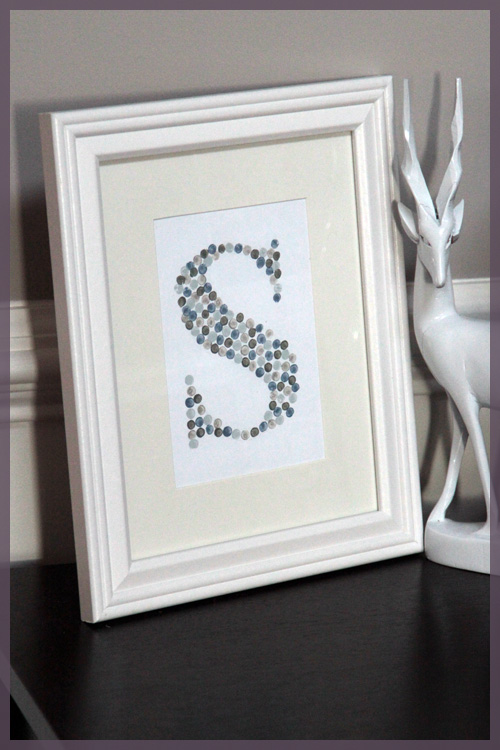
The rest of my materials were 100% free! I used some cardstock I already had, pencils that were laying around and a frame I already purchased. To get the monogram, I printed out our last initial, an S, in a very fancy font called… Times New Roman. I printed it in bold to give me thicker lines to follow. I eyeballed the size in print preview and figured it would look decent on a 5×7 piece of paper. I then traced my printed S onto my cardstock by holding it up against my sliding glass door.

I traced it ever so lightly, then also erased what I had just traced. Sounds crazy, but it left me with the most faint line ever so that it wouldn’t be noticeable under the paint but I could still follow it.

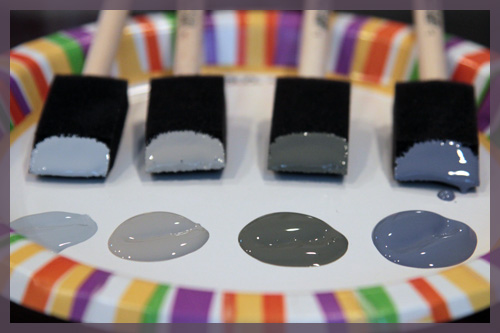
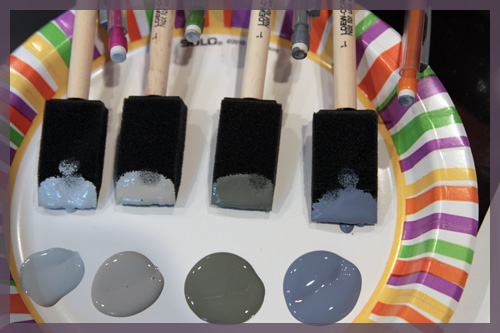
Then it was time for paint! I didn’t use stamps like the pinned image did, so I squirted a little of each paint onto a paper plate, then dipped some sponge brushes I already had in each color…

Then I dapped my pencil erasers on the sponge brush, not the paint itself. If I dapped too much I could use a cleaner part of the sponge to remove some. I had a pencil for each color (digging out a 4th one required some office scouring!)

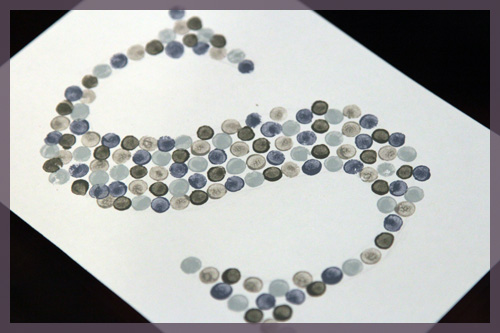
I did some test dabs on a piece of scrap paper before starting. Then I just followed the lines and alternated colors along my S and tada! All done!

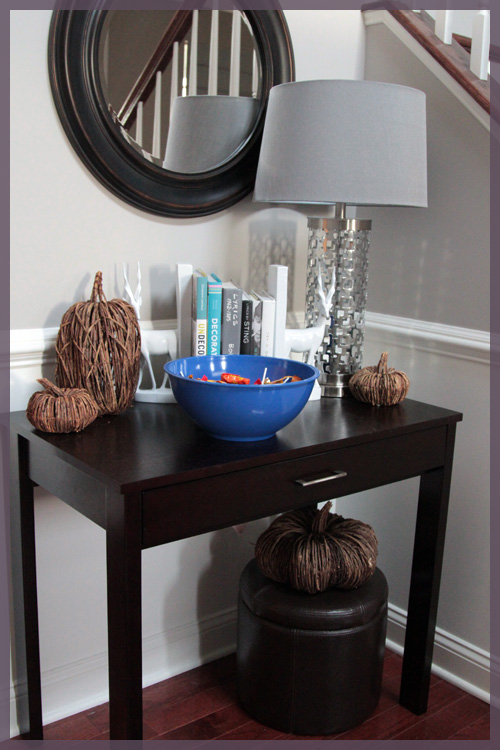
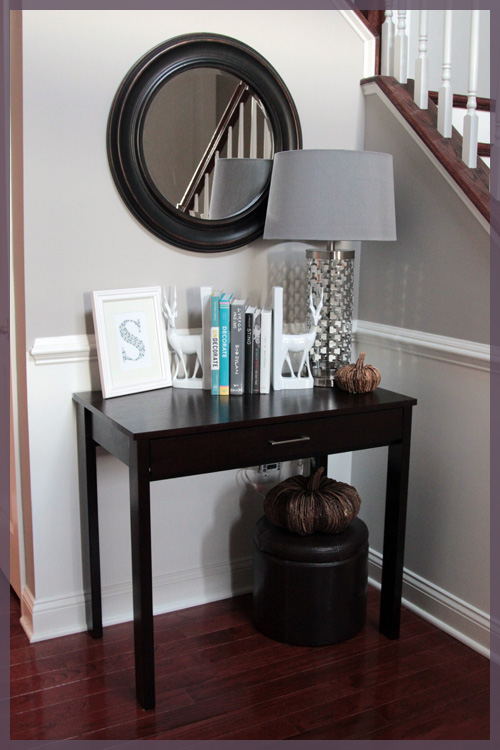
It took me about an hour or so, which was honestly longer than expected, but well worth it. I had to decide where to put my new work of art so I decided on the entryway table, which was filled with pumpkins and Halloween candy today.

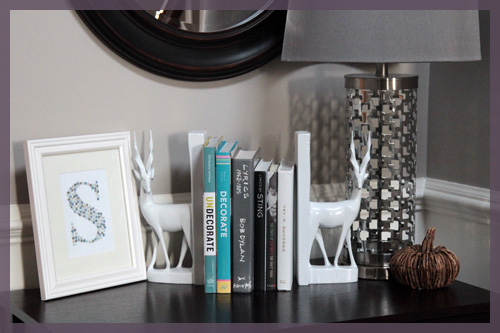
The candy will be leaving tonight, so I just put my art in a matted frame and leaned my frame over by one of my beloved deer bookends. Ps- I’ve been searching for a white lampshade to replace that gray one for months.

I’m not sure if my monogram will be staying here, since we’re planning on adding a whole gallery wall(s) up and down our staircase. Ideally, I’d like to eventually hang it, especially since the frame I had on hand is meant for hanging 🙂

I strangely love that the mat that came with the frame is a little off-white. Since the chair rail, deer and cardstock are bright white, it mixes it up a bit. Maybe even a fun colored mat will look good until I hang it?

I’m very happy that I chose to do another art piece for this Pinterest challenge. I love making things for our house but I often don’t have the time to dedicate to making things anymore. Spending an hour making this completely made my day and I wish I had more creative time these days. I am also proud of myself for scaling down my always overambitious projects. I originally planned to do this monogram, plus two 8×10 more abstract pieces. Once I started eraser stamping I realized how time consuming it was and that an even larger piece of paper would take even longer! Maybe I’ll make them another day (since they were pretty cool ideas, I must say), but for now I am perfectly happy with my monogram 🙂

Challenging

7 Comments

Posted by Rebecca, October 26th, 2011

So Sherry at Young House Love, Katie at Bower Power, Ana at Ana White and Erin from House of Earnest are hosting another Pinterest Challenge. Remember the one back from August where I made those 4 landscape paintings? Well it was fun, and I want to do it again 🙂

Buuut, I have several obstacles in the way. First, I’m not sure what to make. This is partially impacted by my second obstacle, the ever existing lack of time. I have a week to make something and the difference between August and now is a giant thorn in my side called grad school. Plus Mike and I have a jam packed weekend complete with family gatherings and vet visits, so I’m really not sure where I will even find the time to make something along with the obligatory homework, cleaning and laundry. All of this said, I CANNOT FIGHT THE URGE TO PLAY! Pinterest + a bunch of amazing bloggers (not just those hosting, but the 100s sure to link up) = a party I want to attend.

So I’ve been thinking about this all day. I have several ideas, though some are admittedly over-ambitious given the time constraints. Some involve finishing projects I’ve already started. I’m ashamed to admit how many of these exist…

First, of course is the acorn wreath I blogged about last week. It’s the ideal choice, but I honestly don’t think I can pull it off this weekend.

(from Dana Made It via Pinterest)

Then there’s a project I never blogged about but I started, it’s this amazingly creative frosted window courtesy of my buddy Ashley at 7th House on the Left. But once again, very tedious and time consuming (and carpal tunnel inducing.. I can only trace so many a night!)

(from 7th House on the Left via Pinterest)

Then there’s finishing up our power room, which I am quite sure I have tons of inspiration pinned that I can use in that room! Like maybe painting the mirror, hanging some art, decorating the shelves….

Then there are the new projects that I can’t resist wanting to do. First is this DIY roman shade that our walk-in closet needs desperately. The glory of this is that it’s based off of an inexpensive mini-blind, but I’m worried I won’t find the awkward size we need off the shelf anywhere.

(from 365 Days to Simplicity via Pinterest)

Then there is the chevron. The amazing chevron painting that I want to make so badly. I tackled a painting (or 4) last time so I’m not sure I want to do another, though paintings are so fun to me and this one is totally different. I’m also not sure of where to put it? Hmm..

(from here via Pinterest, sorry the blog isn’t in English so I can’t credit the title!)

Then there is the washer art that I’ve mentioned making before. I definitely want to make it, but the lovely Michelle from Decor and the Dog made it during the last challenge (and we have the same last initial!)

(fromDecor and the Dog)

So there’s where I am at the moment (I’m sure I’m missing a bunch of things). Even though I tend to be hard on myself and make myself finish one thing before starting another, maybe I need a fresh new project to boost my confidence? I guess you can find me over at Pinterest for the rest of the night, scouting out some new inspiration on a short time frame 🙂

Anyone else planning on participating? What are you guys making? (or what would you make in a perfect world!)

Acorny

3 Comments

Posted by Rebecca, October 20th, 2011

While still mourning the loss of my favorite fall wreath, I’ve been trying to think of ways to replicate the simple repeating berries of it that I loved so much.

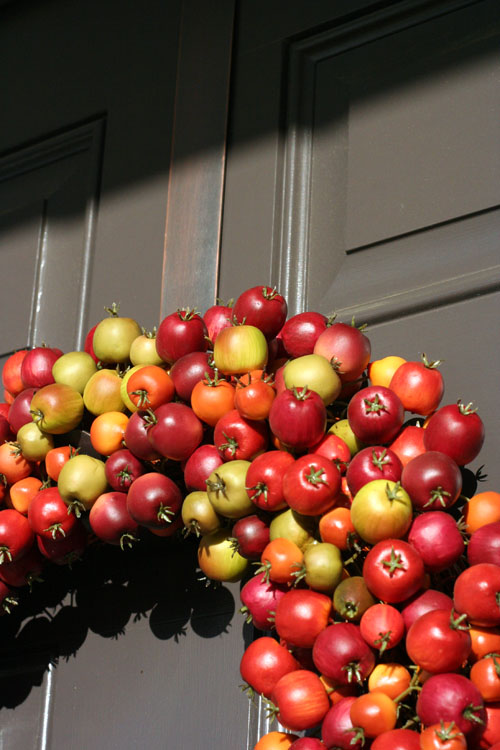
I always thought they kind of looked like cherry tomatoes 🙂 obviously not a good choice to use for a wreath. But while I was at work today, the wind was hurling acorns at my head and I had a lightbulb moment, can I glue acorns on to a wreath?

If this were possible (okay, I knew it was physically possible but wanted to see some ideas), it would of course be found on Pinterest. So I headed over to what Mike calls a glorified google image search and typed in “acorn wreath”. I was not disappointed.

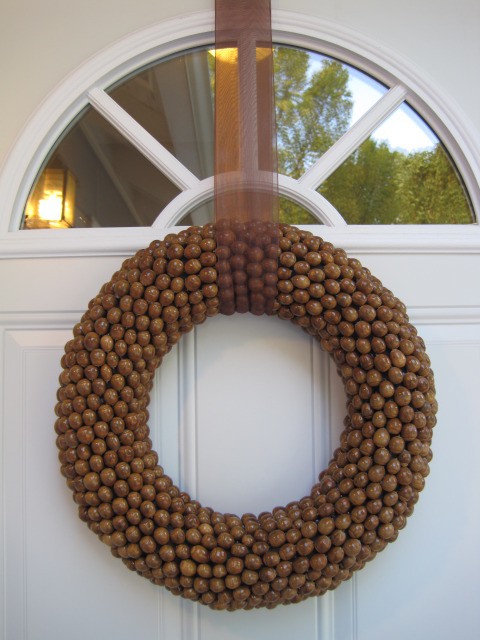
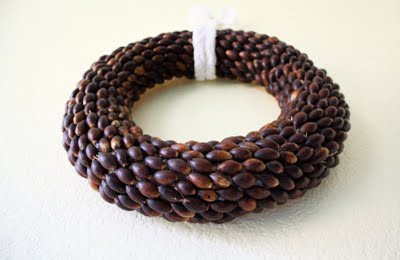
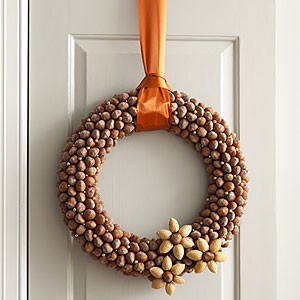
(from The Nest via Pinterest)

(from Dana Made It via Pinterest)

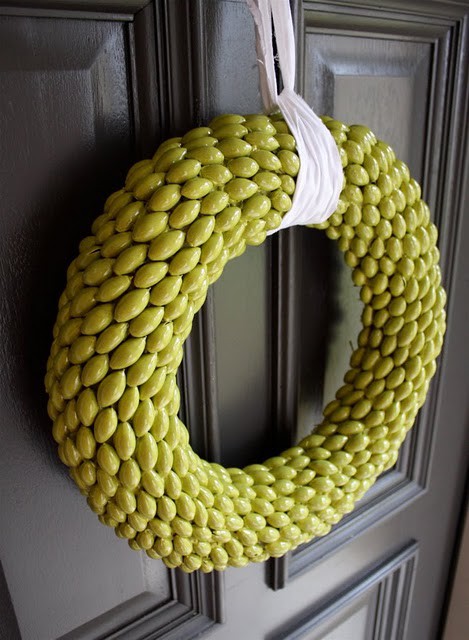
There were even some painted ones, which I am considering to get the bright tones of my former wreath….

(from Dana Made It via Pinterest)

…And an embellished one!

(from All You via Pinterest)

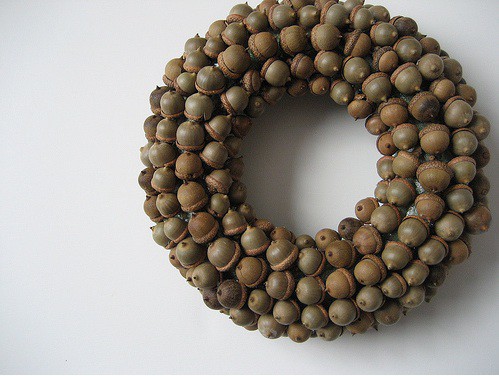
One thing I felt that all of these wreaths were missing though is the cute little hats that come with acorns. I feel like those are what defines an acorn for me and I really wanted to find a way for those to make it on to my wreath. I wasn’t sure if they were removed for a cleaner look (which is probably the case), but I finally managed to find one example of a full-acorn wreath!

(from Ashley Ann Photography via Pinterest)

And I love it. The only thing I may change is the color since my door is brown and I loved the pop of my old bright wreath. I’m not sure if I want to attempt multiple colors, though in theory I would like to. My problem these days is finding the time to do all of the above. Collecting acorns will be tedious, gluing them on will be tedious, so I’m not sure if I want to tackle painting them and giving them time to dry. I guess we shall see where the weekend brings me, but I’ve already planned a day to collect some of these bad boys 🙂

Too bad Macky can’t come with us, I could definitely train him to pick up acorns (as I watch him play fetch with Mike as I type…)

Copyright 2010 - 2011. The Lil House That Could. All rights reserved.