Nursery Listing

7 Comments

Posted by Rebecca, April 5th, 2012

My brain hurts today and my to-do list is massive. We have loads of things in the works for the nursery, but nothing is completed for after pictures and stories. So! A random post of what’s going on it is!

First there are the things we’ve sort of done, or rather, started…

1. Buy dresser
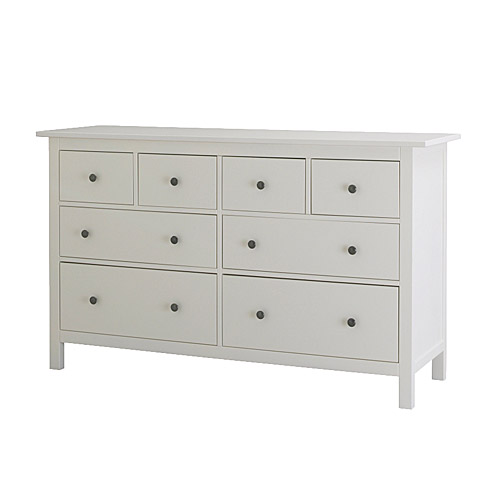
(via Ikea)

Two weekends ago we bought a Hemnes dresser from Ikea. Last weekend, Mike started putting it together and did everything but the drawers. I’ll also have to share how we decided on this dresser and my little email exchange with Ikea.

2. Buy mattress

(via Naturepedic)

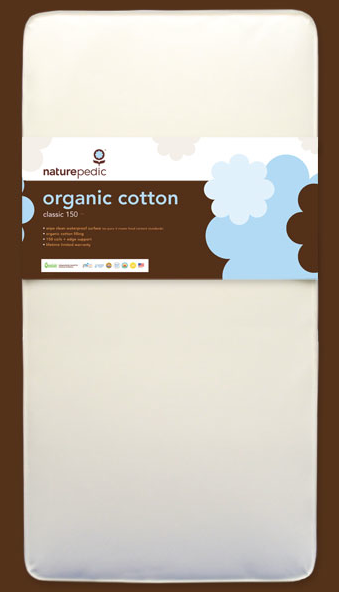
We picked up a Naturepedic crib mattress since I wanted to give it a chance to air out before the baby comes.

3. Buy changing pad

(via Buy Buy Baby)

We also picked up a Naturepedic changing pad. Both the pad and the mattress were chosen for their non-toxic, safer, compositions. But they’re both still in their packaging at the moment.

In the very near future (like maybe this weekend), we plan to…

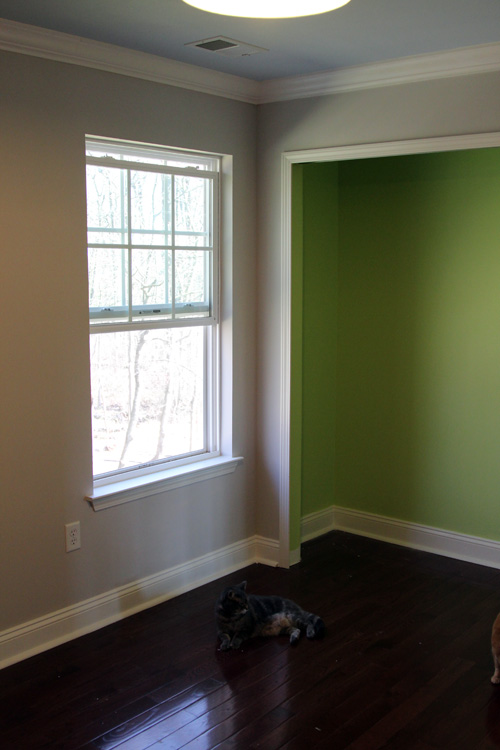
1. Stencil the closet

I have a polka dot stencil waiting to take over this closet! I know it won’t take me long, but my energy levels depend on the day. I think taking a break from painting for a couple of weeks should be sufficient 🙂

3. Install Allen + Roth closet system

(via Lowe’s)

We hope to pick this up this weekend so that whenever we’re ready to get it installed, we have it on hand. I went through all of the baby’s things and I’m itching to put it all away somewhere!

3. Install giraffe sconces

(via Macy’s)

Yes, our first nursery purchase is still in the plans! That is, as long as we think they would be okay with the dresser once that’s in position. Hopefully this weekend will tell and all of the electrical won’t be too tricky.

Then there are the things we need to do somewhere in the future….

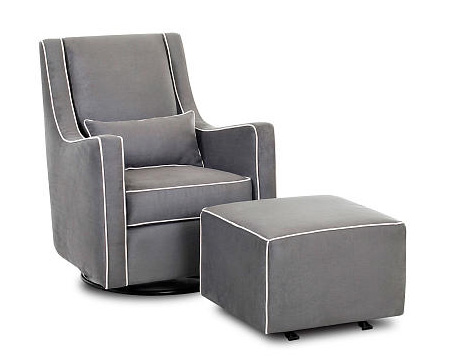
1. Buy glider…the glider that STILL has not gone on sale. I’m losing my patience.

(via Babies R Us)

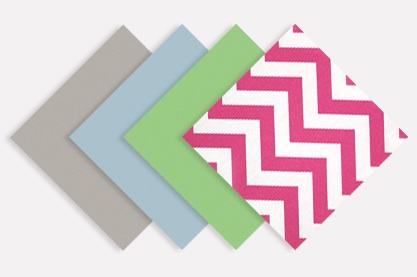
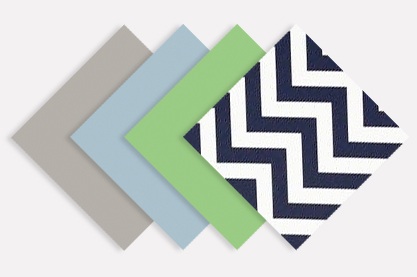
2. Make some curtains out of the 10 yards of chevron fabric we bought to complete either one of our color schemes…

3. Find a bookcase, which depends on how much space we have after all major pieces are in the room

4. Add some wall art! I admittedly don’t have any concrete plans for this. I have to see how everything looks, since the room gets smaller with each piece added. Then I can decide if I want to add a canvas, gallery wall, paper laterns… I’m not sure!

That’s not too much for 5 weeks, right? RIGHT?!?

::blows into paper bag::

Wining

7 Comments

Posted by Rebecca, March 20th, 2012

Nope not winning or whining, but wine-ing. But not me…

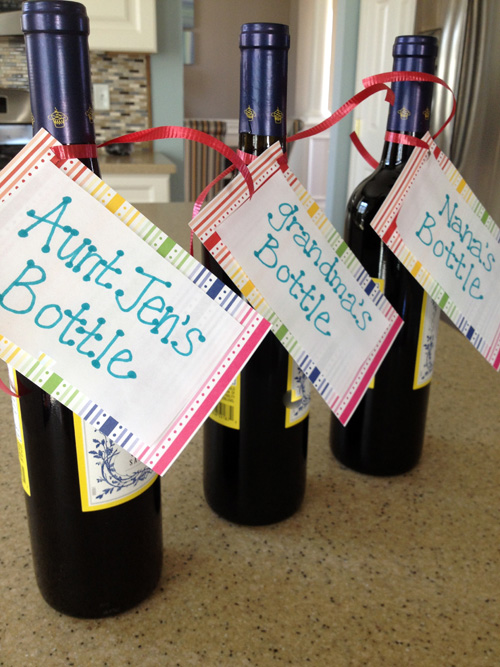
Remember the baby shower that my mom, mother-in-law and sister-in-law threw for me last week? Well, I wanted to give them something to thank them. They all like wine, so I knew I wanted to do something wine related. My friend Laura came up with the idea of giving them each a bottle of wine with a note that said “Grandma’s Bottle”. I loved the idea and decided to take it one step further…

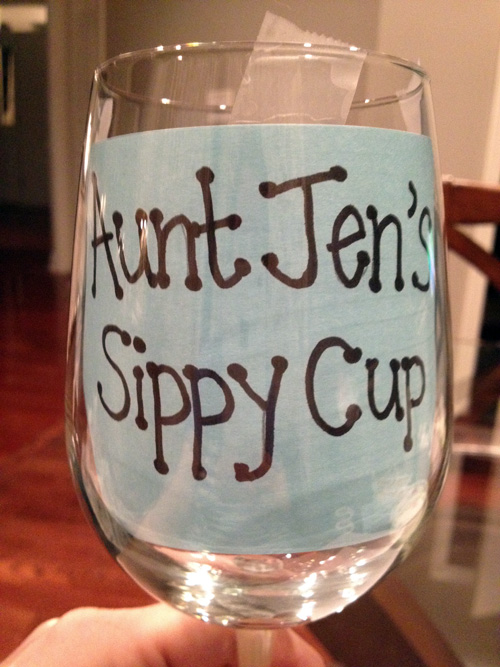
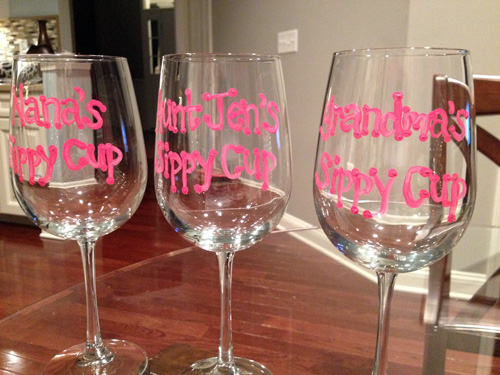
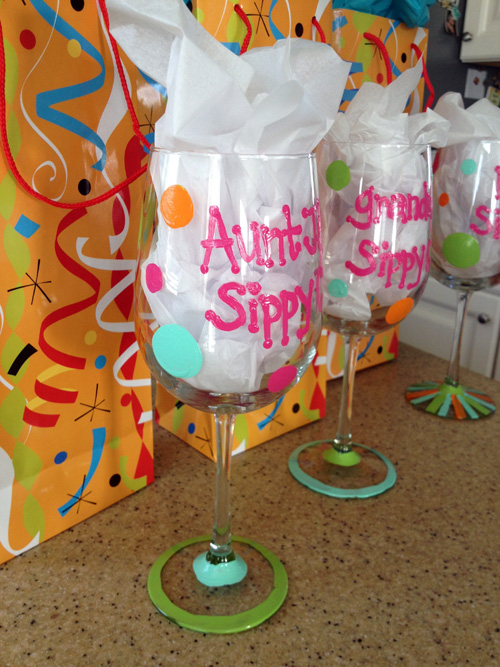
I decided I wanted to give them each a fancy painted wine glass (sippy cup) to go with their bottle. I know those fancy painted wine glasses exist, but I figured the chances of finding one that said “Aunt Jen’s Sippy Cup” were slim to none. I headed to Michael’s to weigh my options and see if I could find some glass paint to whip up a design. Once I finally found the glass paint, I saw it came with a warning that said “CONTAINS A CHEMICAL THAT HAS BEEN PROVEN TO CAUSE BIRTH DEFECTS AND/OR FERTILITY ISSUES”. Um… pregnant person here, creating a baby themed gift, to give as a thank you for throwing a baby shower. I decided using the traditional, bake in the oven, glass paints were not a good idea.

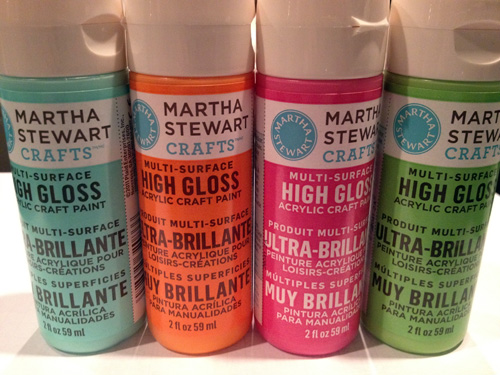
As I was leaving Michael’s, I walked by a display for Martha Stewart non-toxic craft paint that was good to use on glass. The label said that it was microwave and dishwasher safe after curing for 21 days. Jackpot!! I picked up 4 different colors… aqua, orange, hot pink and lime green in high gloss. They had several different finishes and a bunch of colors available.

I also found some clearance wine glasses at Bed, Bath & Beyond. They were marked as part of a set that was opened, so they were less than $2 each. Jackpot again!

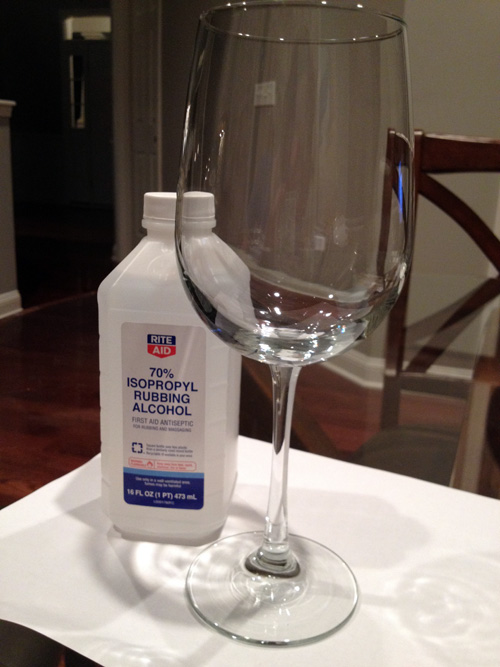
I followed the directions on the paint bottle and cleaned the glass with rubbing alcohol before painting.

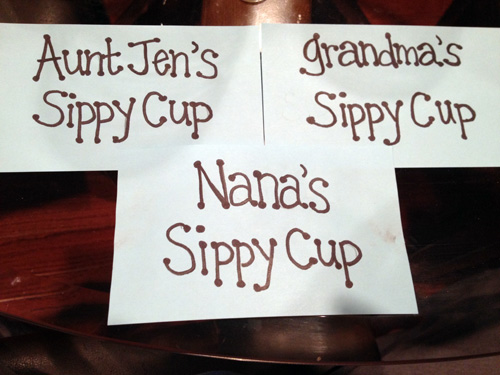
Then I wrote out what I wanted each glass to say on a post-it.

Then I taped each post-it inside of the wine glass as best I could so that I could trace the letters.

It only took me a few minutes to trace the lettering with a thin paint brush on each glass.

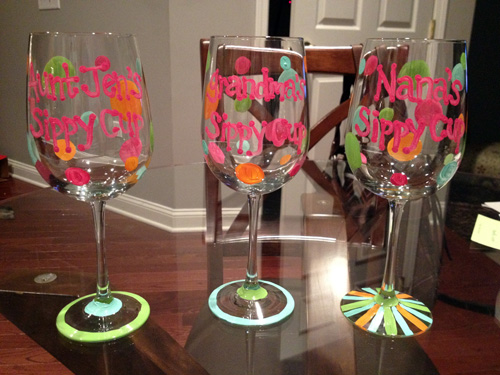
I added some random polka dots and doodled on each stem a little. Here they are after the first coat of paint.

The bottle recommends leaving an hour of drying time between each coat, but I gave it a day.

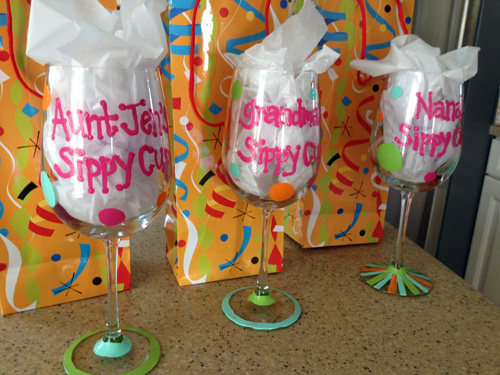
Ta-da! All done!

I paired each wine glass with a bottle of wine with a little tag on it.

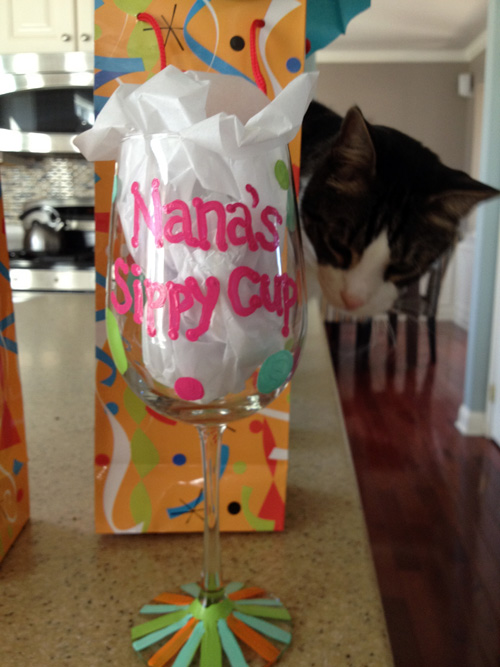
But then something happened. I took these quick after pictures right before I left for my shower. I even took what I thought was a cute picture of Macky admiring my work…

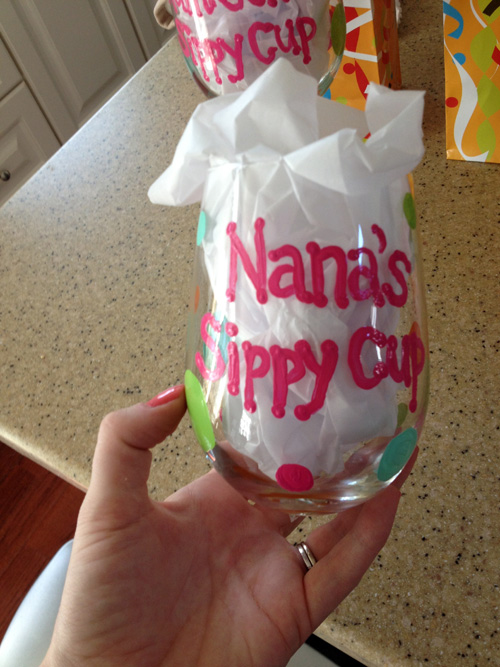
Do you see where this is going? Macky liked Nana’s wine glass a little too much and it ended up on the floor as I foolishly trusted him. I don’t have a picture of the shattered glass since I was worried about little paws, but by some miracle, the painted part stayed intact…

So Nana was given just a top of a wine glass to open. Thankfully, my mom has 5 cats and understood (especially since I had photo evidence), but it was still so frustrating that my hard work ended up on the floor. I have to make her a replacement thanks to my dear son, though I even apologized to him after the incident. He actually was being quite sweet that morning and just wanted to do the kitten facemark on my wine glass and yell “MINE!” He totally didn’t mean to knock it off the counter, he was just being my biggest fan 🙂

making wall letters for kids, part 2!

1 Comment

Posted by Rebecca, September 21st, 2010

Okay, round 2! If you need to start at the beginning of this post, click here.

When I chose the paint colors, I decided to use two shades of pink and two shades of brown to compliment the bedding.  I figured this was the best way to make sure the letters went well with the color scheme of the room. Had I used only one shade of each, they may not have meshed as well, especially since I didn’t have anything with me to compare pinks and browns.

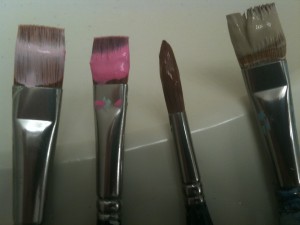
I started off with 4 paint brushes, one for each color…

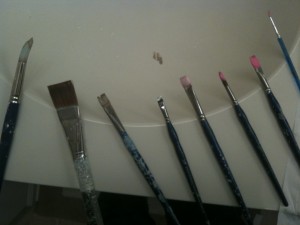
…but ended up using many more

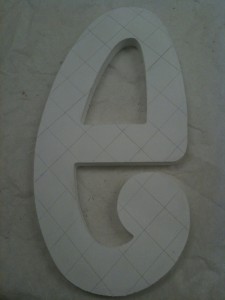
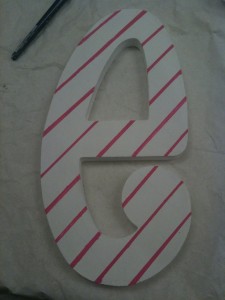
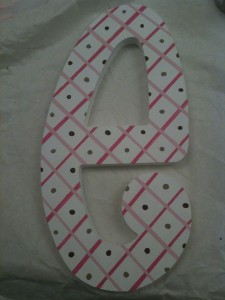
I tackled the middle letter, the one of a kind ‘e’ first.  I am very thankful I decided to use this pattern only once, because it was very, very challenging. But I secretly enjoy an artistic challenge. I first drew lines with a pencil and ruler…

From this point, I thought I could just freehand a pink line over the pencil line.  WRONG.  Not only is it ridiculously hard to paint a line thaaat straight, but the pencil line could be seen through the paint.  I had to resort to taping on either side of my pencil line, basically eyeing the width of the resulting line.  The 2 lines at the very top, the shaky crooked ones, were freehanded.  The rest is being done with scotch tape…

And completed with first set of lines (the darker pink)…

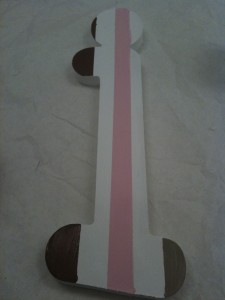
It’s not perfect, I know.  And believe me, looking at it now is bothering me.  But you live and you learn, so I set it aside to dry before I crossed those lines with the lighter pink lines.  I then moved on to the simpler patterns.  My favorite, the block of colors, separated with a white line (using scotch tape)….

Then the large dots, which were done freehand…

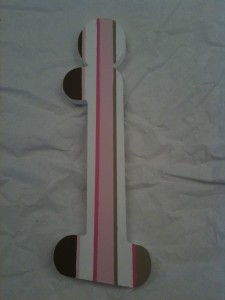
And the lines of random widths…

But wait! I could only fit 3 colors on that little i! So I decided to line each thick line with a thinner line in a contrasting color…

Then I went back to that dreaded ‘e’ and crossed the dark pink lines with the lighter pink lines, using the tape-over-pencil-marks method I used earlier. I then free handed the pin dots in alternating dark and light brown with a very small, round paint brush…

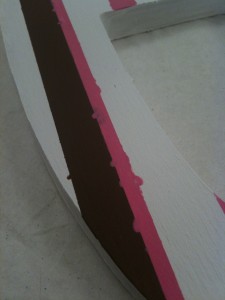
And that that is how I did my 4 main patterns. The end? Oh no, it was not that simple and pretty. Most of the letters that were taped (all but the large polka dot patterned ones) had some form of bleed through such as this…

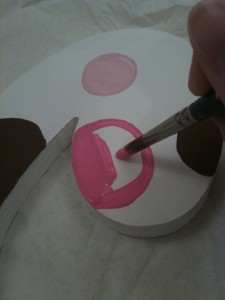
To touch this up, I used the smallest brush in the history of the world, pictured here with my ring finger for perspective.

I then removed all of this tape…

…and touched up as needed. Note, this is the part that requires a very steady hand and a LOT of patience. First I fixed up the brown lines… (may be shaky due to the fact that I was painting with 1 hand, holding iPhone with the other)

Then I fixed up the pink…

And finally I touched up areas that needed to be covered in white for the final product!

As a whole…


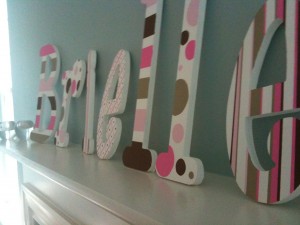
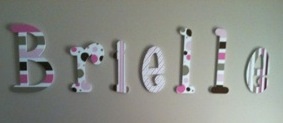
And here is the picture my sister in law sent me, after they hung the letters up in baby Brielle’s room.

Though this is a great way to save money, it is not without it’s downfalls. Each letter takes me about 2 hours from start to finish, over several days. Maybe it’s because I have OCD and wanted to make sure they looked professional, but I wanted to put that warning out there to anyone to attempts to make their own. But in the end, I couldn’t be more proud of how they turned out. Not just how they turned out, but that they came from the absolute bottom of my heart, and that Brielle will have something special, made just for her, to hold on to for the rest of her life. Or at least until she’s a teenager and decides she hates them…. but that will be okay 🙂

making wall letters for kids, part 1!

6 Comments

Posted by Rebecca, September 15th, 2010

Now that my niece has been born and her name is officially released to the public, I can share my little art project.  I decided to make letters for the wall above her crib. Once I knew her name, I was able to begin my planning!

I’m sure most people are familiar with the painted letters trend that has been around for several years (If you are not, here is an example from JCPenney). When creating them, I take many things into consideration… the color of the room, the bedding patterns and the overall vibe. I knew that my brother had painted the walls and that the bedding was Trend Lab’s Maya set.

The paint job…(done with my brother’s blood, sweat and tears)

and the bedding….

So I knew that for a font, I wanted something fun and childish, perhaps cartoon-like.  I’ve used a variety of websites in the past, but this time I ordered the letters from WoodenLetters.net.  I was very impressed by the amount of fonts they offered since I have font OCD. I was also happy with the variety of letter sizes.  I was EXTREMELY impressed with the quality when they arrived.  They were thick, sturdy and clean cut.  I think that if I decide to paint letters again, I will use WoodenLetters!

One more point that I forgot, I always use unfinished wood.  Why you ask?  Can’t you buy letters painted?  Yes you can, but I prefer to paint the base coat myself so that there are no surprises as far as how my paint is going to stick.  I tape a lot, use pencil, erase and touch up, so I want to make sure that I am able to do that successfully.  Plus it’s cheaper.

The font I chose is called Whimsical and I decided on 10 inch letters.  The baby’s name! ::drumroll:: Is Brielle!! Actual names are another thing I take into account.  I usually judge fonts by their lowercase ‘a’, but since her name doesn’t have any, I didn’t have to worry about that.  The ‘i’ looked cute so I was sold.  As for the sizing, the letters from this particular site are sized based on the SMALLEST letter.  I was originally going to do 12 or 14 inch letters but then the ‘B’ would have been ginormous.  The downsize meant that the letters cost me a minimal price of $2.50 each.
So I had my font, size, atmosphere… time for a design plan.  I thought of some patterns that may go with the nursery…(please excuse my colored pencil, elementary school quality, sketches…I was not planning on sharing these)

There are 7 letters in Brielle, so I gave myself the following options:
a) 2 patterns, alternating every other letter

b) 4 patterns, with 3 of them appearing twice and the middle letter having a one of a kind pattern

c) 7 different patterns

Taking into account the variety of patterns in the bedding, I knew I needed more than 2, but not as many as 7, as to not appear too busy.  So choice ‘b’ was the winner!  I wanted a mix of striped and polka dot patterns, so I went with….. top row, the 1st and 2nd patterns and the bottom row, the 1st pattern.  I decided to do the pattern in the 1st row, 4th position as my one of a kind pattern since it had both stripes and dots.  I decided to do all patterns on a white background, since the walls are a light tan where the letters would be, yet the molding in the room is white.

I then sketched out the order of the patterns to see how each one looked on each letter…

Then it was finally time to start painting! I used simple, inexpensive acrylic craft paints.  I first painted all of the letters (front, back and sides) with 2 coats of white paint over several days.  The letters are unfinished so it takes a decent amount of paint to get that solid white look.

I stuck them on a box to get the edges, look at that thickness!

Once the letters were all white, pretty and dried, I got ready for the fun part… colors!

Since this post is long enough, I will get to how I painted the patterns in part 2! So suspenseful! 🙂

the house still stands…

No Comments

Posted by Rebecca, July 9th, 2010

We have been chaotic the past few months and I haven’t had a chance to post anything we’ve done. I’m hoping to get this thing up and running for good very soon!

One of my posting hurdles is that we have yet to find our memory card readers in the packed-last-minute boxes. What good is a house transformation blog with no pictures?! I hope to dig them out shortly..or succumb and buy new ones.

Anywho, most of my time the next two weeks will be consumed with throwing a baby shower for my sister-in-law. Pictures of that will be coming, but
for now I’ll share this awesome nursery I saw while browsing for shower games at thebump.com. They’re having a nursery decor contest and this entry immediately caught my eye…

drsuessroom

There are more pictures here…..http://www.thebump.com/contests/Our-Real-Nursery/story/153540/dr-seuss-nursery-for-charlie

It is just so unbelievably original, something no one else will ever have and most importantly, it’s fun! Sure everyone these days wants the classy, well designed baby’s room, but I think the black and white polka dots give the right amount of style. Theme rooms can sometimes be anything but stylish, but this one strikes a perfect balance of trendy and kid friendly.

Oh and I almost forgot my favorite part! The characters were hand painted by a family member, which I consider to be priceless. No mass produced item can capture the creativity and love that goes into making artwork. More about that at a later date!

Copyright 2010 - 2011. The Lil House That Could. All rights reserved.