Archive for June, 2011

Our Ugly Secret

15 Comments

Posted by Rebecca, June 9th, 2011

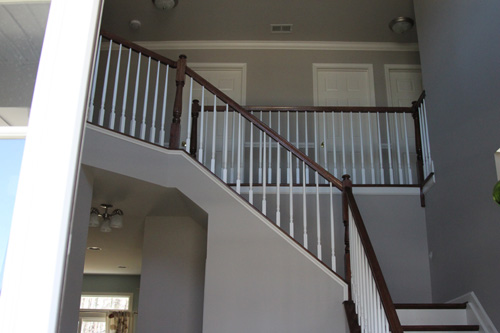
I didn’t realize we were keeping this a secret. I mean, I knew it was ugly, but I guess I’ve subconsciously refrained from showing it in photos. Like this one…

Or this one…

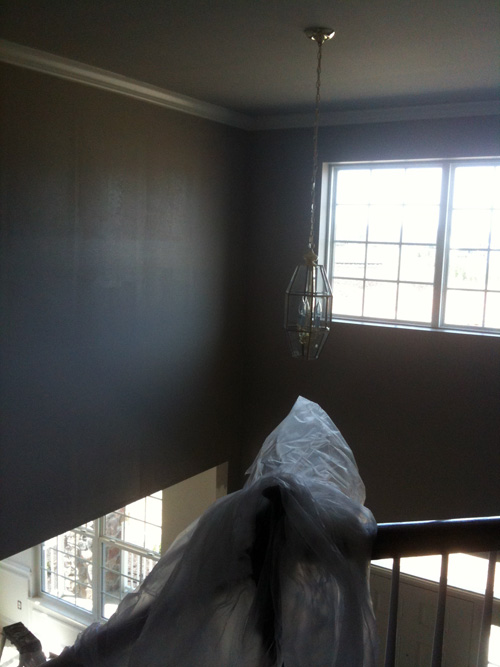
I thought I had pictures of our ugly entryway light, but it turns out, I’ve always made it a point to keep it out of view. Then I finally found this iPhone picture from days after we closed when our entryway was being painted.

There she is in her brassy glory.

Our entryway is one of our favorite places in our house and was on the ‘must have’ list while house hunting. I’ve always loved walking into a house and seeing a dramatic staircase. Ours is a work in progress. We last left you with some chair rail and we’ve primed underneath it. But we still need to add some semi-gloss paint (which we actually bought a week after the primer, thinking we would start ASAP). The warm weather has switched our focus to outside a bit, but I have been on the lookout for a replacement for the brassy lady.

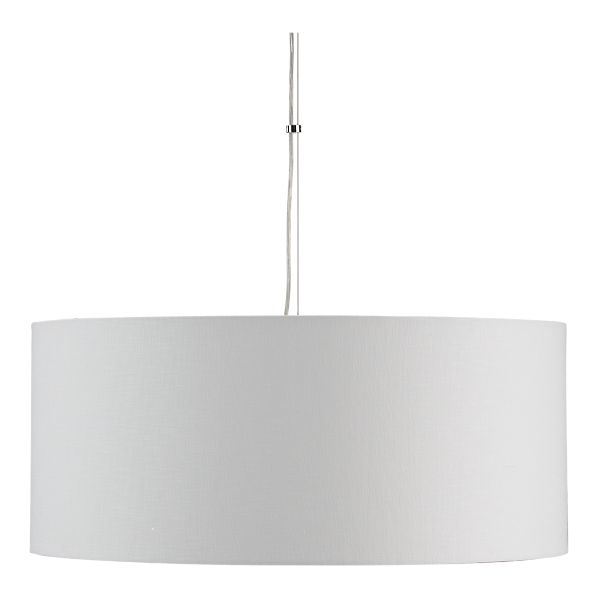
I have always loved large drum pendants. I’ve loved Crate & Barrel’s Finley Large pendant for quite some time.


The downside to this guy is the basically bare wire. I would much rather have a down rod type of contraption, especially since you will be able to see the wire up close and personal while walking around the upstairs hallway. I decided to search around for some other large pendant lights to see what I could find. I had the most luck on the Bellacor website.

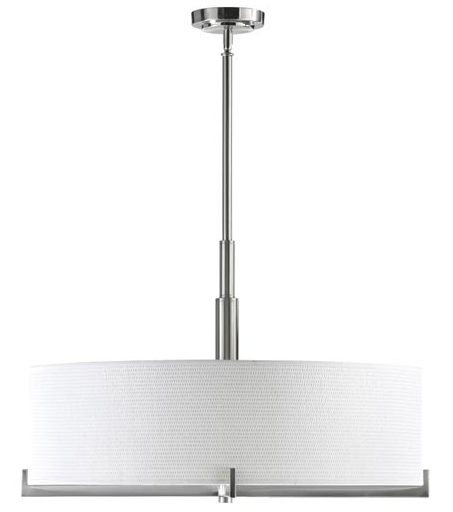
First, I found a light similar to the C&B one, but I started thinking the large entryway needed a little bit more than just a plain white shade. So I found the Nikko Brushed Nickel Pendant:

I like this one for the outer sheer shade and that it reminds me of another Crate & Barrel light, the Eclipse Pendant. I just wasn’t sure if this light had a diffuser at the bottom. You know, that thing that prevents you from staring at/being blinded by the light bulbs up there. I emailed the company a few weeks ago…okay it was so long ago that I forgot about it. They just emailed me back yesterday to tell me that it does indeed have a diffuser. Yay! It goes on the short list.

Another Bellacor option is the Channing 4 Light Brushed Nickel Pendant:

I like that this one would add a nice little “x” view from below. Mike isn’t exactly sold on this one and I think it’s one of those things we’d have to see in person before buying.

These have been my only 2 options up until this point. Yesterday, I got the idea to put a latern style light in the entryway. It is driving me CRAZY that I can’t remember where I saw it. Since I love Pinterest and would have repinned it if I saw it there, I’m going to assume that I saw one of these lights in an entryway on TV. Probably while watching that episode of House Hunters that took place in Atlanta and rocked me to sleep last night. This idea wasn’t a completely new concept to me, since I’ve been loving yet another C&B light, the Cage Pendant, since I first saw it.

So I decided to search around a bit today to see if I could find anything I liked in that style.Β First, courtesy of Bellacor once again, we have the Harvard Court Bronze 3-Light Pendant:

I’m nervous about the bronze factor in this one and it doesn’t come in brushed nickel. If the bronze is as subtle as this photo, I’m all for it. But if it’s a dark bronze? Not so much. I’m not feeling a dark metal pendant in my crisp and airy entry. Plus the potential chain running from the ceiling to this fixture worries me. As I said earlier, I’d prefer a clean down rod since it’s going to be eye level with whoever walks down the upstairs hallway.

Next! The Framed Linen Shade Latern from Shades of Light:

At first I passed this light up because I wasn’t crazy about the top of it. But the more I looked at it, the more it grew on me. I mean, it’s sort of a pendant/latern hybrid! Plus there are these flush mount lights for the 2 hallway lights that compliment it, but aren’t a square matchy matchy…

I’m not sure what to do yet, but I know I want the entryway to be classy and timeless. We will be finishing up our wainscoting and adding white frames for gallery walls upstairs, downstairs and up the stairs. Originally, we were going to use the old dining room fixture from our condo, but it’s pretty much your standard 5-light fixture. Since we’ll have to hire someone to hang this thing (sadly we don’t own scaffolding), it has to be right and an obvious choice. Changing this light out will not be easy and trial and error will not be an option! But I guess if all else fails, we can purchase this

Yes, that is the brushed nickel version of our current light available on the Bellacor website.. And it costs $272. Ouch.

Fiery

7 Comments

Posted by Rebecca, June 7th, 2011

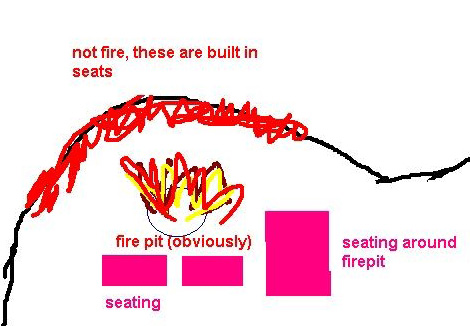
During one of our trips to Lowe’s this weekend, we picked up a fire pit. We’ve always wanted one, as evidenced in this early sketch done by Mike…

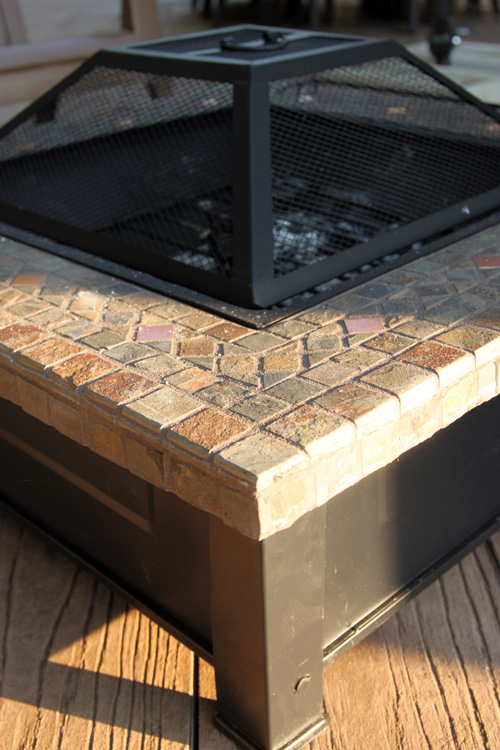
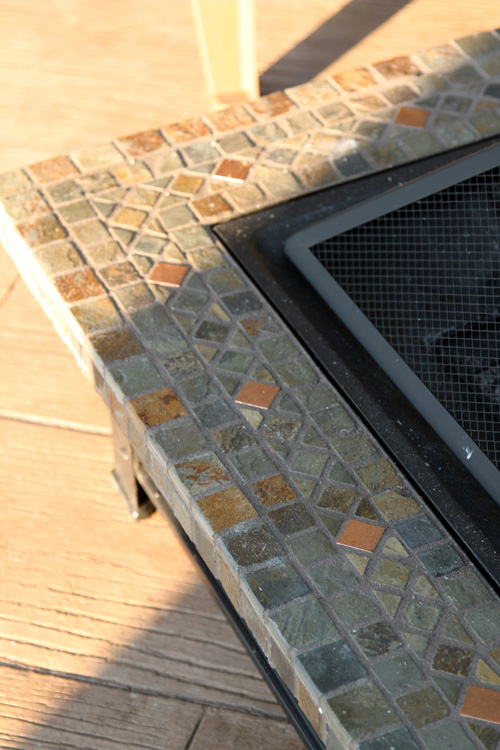
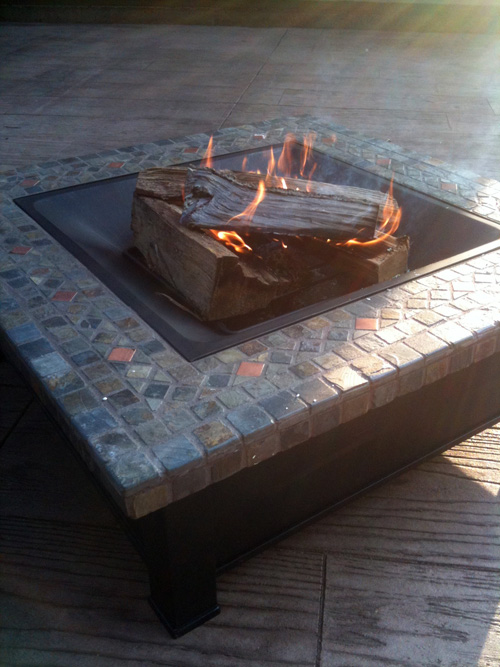
We didn’t want to do a built in fire pit, because we’ve never had one before and wanted to see how often we’d use it before committing to something permanent. Plus I think we like the idea of moving it out of the way if we need the area for more tables or something. So, we decided not to be picky and just go with a fire pit from Target, Lowe’s, etc. Normally I know every single type of whatever I’m looking to buy that exists. I pretty much memorize inventory just to make sure I find the perfect (insert house item here). But in the fire pit category, I was just going for something classy and modern that wouldn’t break the bank. When we spotted a square fire pit with a mosaic tile surround, I couldn’t say no.

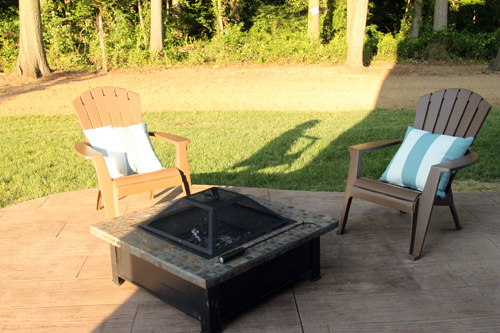
They didn’t have one of these on display, so we purchased it based on the image on the box. I liked the raised panel look on the sides and I thought the base was brown. Turns out it’s black, which I was totally disappointed in, but we decided to keep it as a) the box was 95 lbs and b) Mike assured me if I hated it I could spray paint it with high heat spray paint meant for barbeque grills. Once it was all together and in place, it didn’t bother me so much, though its style is a little more predictable than I thought it would be.

Once everything comes together and we fully furnish, landscape and accessorize this space over time, I am sure this fire pit will fit in just nicely.

Mike hates those plastic adirondack chairs. With each passing day, I think he hates them more. They’re a temporary solution since we blew our furniture budget on our Pottery Barn table and chairs. Β We would love a couch, since Mike and I are incredibly lame and like to sit next to each other, plus 2 chairs to round out the area. Mike thinks it would be awesome to build a curved piece of furniture somehow. I agree, I just have no clue how to tackle that one. I’ll have to consult Ana White πŸ™‚

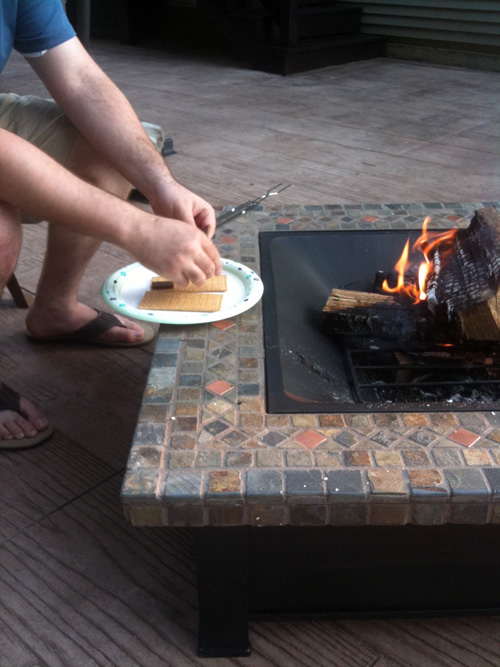
We wasted no time putting our fresh outta the box fire pit to good use (the following pictures were taken with my iPhone)

Confession: I have never made s’mores that didn’t come out of a microwave. I am no longer a rookie πŸ™‚

We went to Target for some random things on Sunday and just out of pure luck walked by a s’mores display. It was the perfect setup for us rookies. I think we snatched up one of everything. The edge of the fire pit had the unexpected perk of acting as a tabletop and is a great area for phones when there’s no fire going.

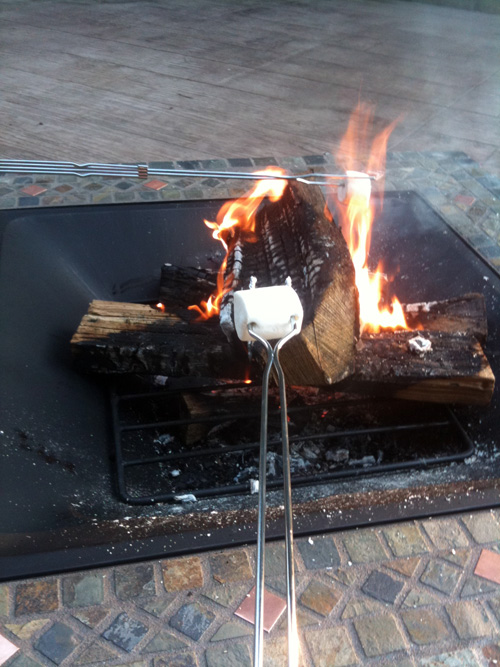
These extendable forks were key. I think they were $7.99 for a set of 4. Another confession: I am the exact opposite of a pyromaniac. Fire terrifies me. I jumped out of fear that the fire was attacking me about 39 times, so the extendable forks allowed me to sit as far away as humanely possible while I toasted my ‘mallow.

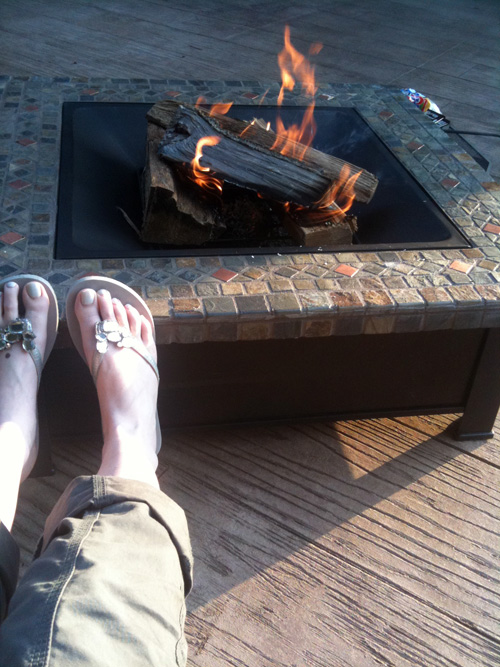
Eventually, I gathered enough courage to toast my feet as the sun set and it got chilly.

I took some night pictures, but there isn’t much to see besides a fire. Mike thought of building some sort of wooden top for the fire pit when it’s not in use so that it looks/functions more like a table. Can you tell we’re itching to build something? πŸ™‚ I think it’s a great idea to best use the space as a fire pit/coffee table area!

Stained

6 Comments

Posted by Rebecca, June 6th, 2011

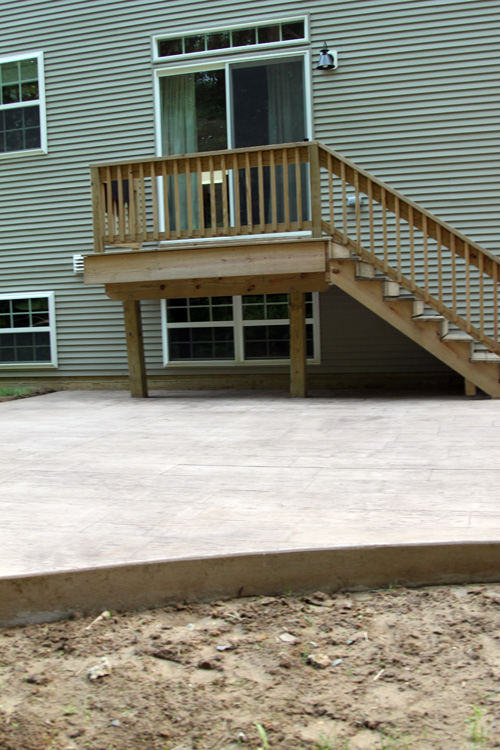
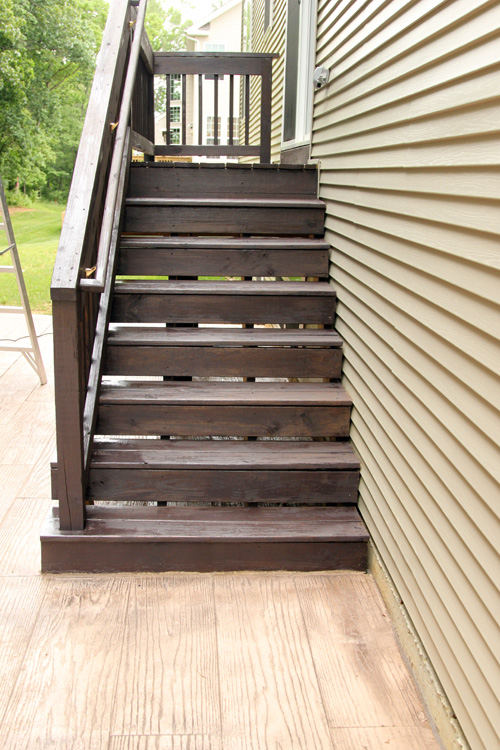
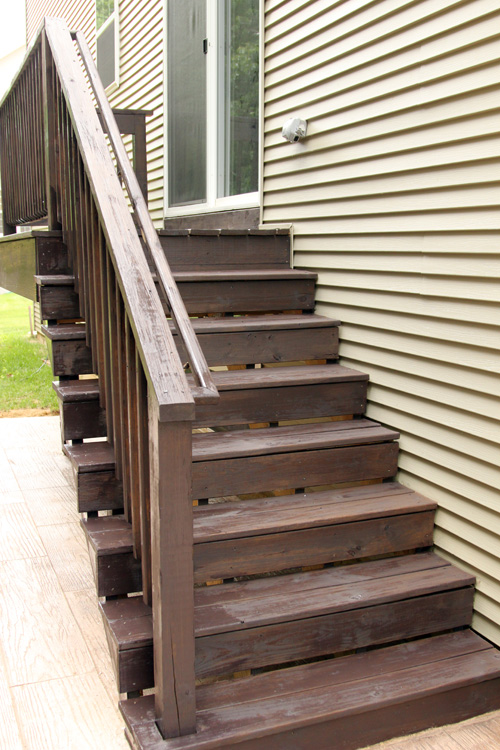
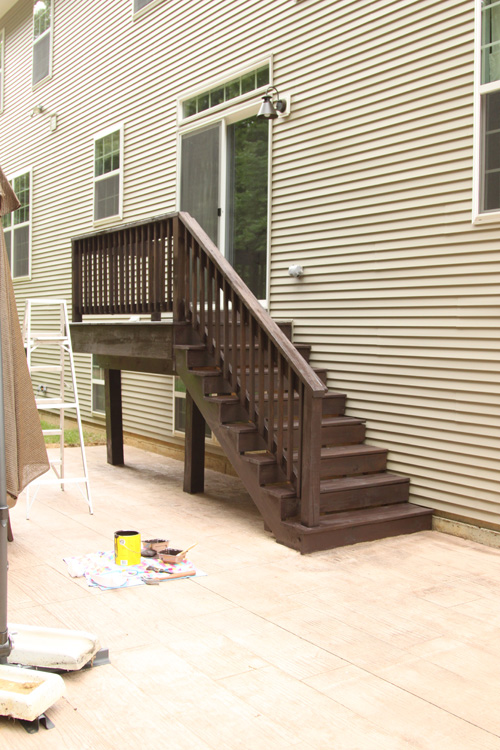
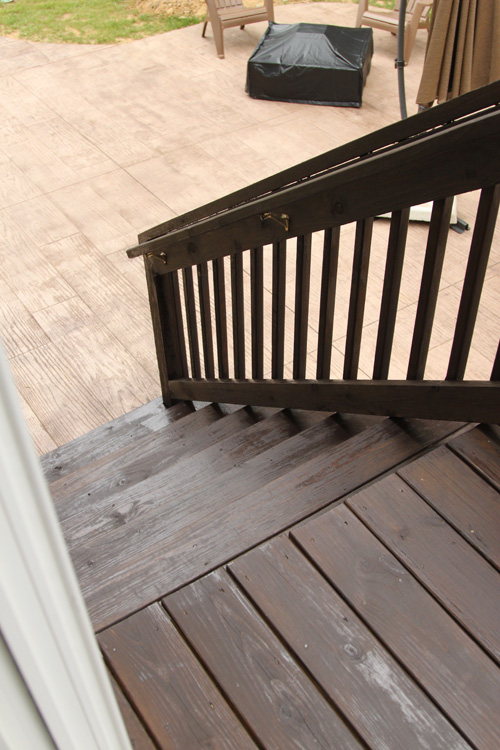
This weekend was uncharacteristically cool with temperatures in the 70s or so both days. I wanted to give the house a good spring cleaning (yes I know, it’s nearly summer) and my closet needed to be organized. But we couldn’t resist the chance to work outside without sweating or getting sunburn, so we decided to tackle a project on our outdoor to-do list. Mike put in his vote for staining the stairs that lead to our patio.

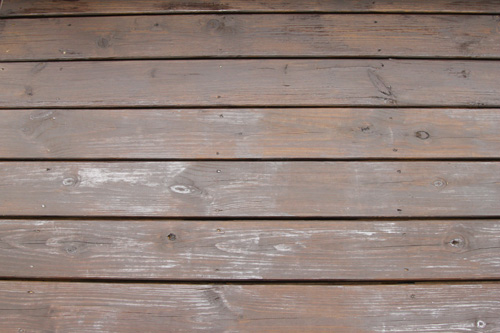
We started later than planned on Saturday since we had some errands to run and we were trying to decide what project to tackle. Once we decided to stain the stairs, we figured we just go to Benjamin Moore (which just happens to be around the corner from our house) to get Pottery Barn’s Chesapeake Brown stain. This is the color of our outdoor furniture and once we saw that they sold the color at Benjamin Moore, we figured it would be an easy choice. We went to our local Benjamin Moore store and they didn’t carry their own brand of stain! We debated whether or not to go to another Benjamin Moore, but we figured since it was already noon we’d just head back to Lowe’s (we had already been over there) and choose a dark stain. Our furniture is a dark brown so we figured it wouldn’t be too hard to get something similar.

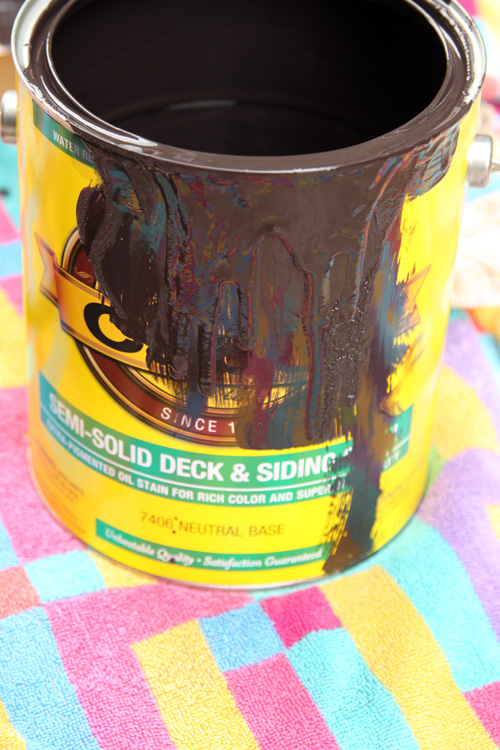
We ended up choosing Cabot Semi-Solid Deck Stain in Cordovan Brown. It was literally the darkest color Lowe’s had and it had to be mixed. I took a before picture, but I apparently butchered some settings on the camera when I did so the picture looks like a trippy x-ray. But here’s the can while we were using it πŸ™‚

We have never stained anything before and didn’t know anything about the products. We chose something that said it was meant for the outdoors and then basically went for a color. However, this stuff stunk and I was not a fan of that.

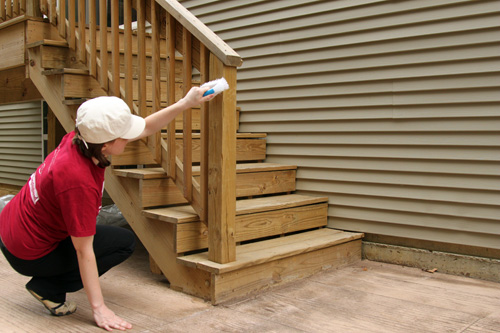
We had to clean off the stairs first, since they were covered in some dirt from the patio process. I used a scrubby brush we bought for our laundry room floor that we haven’t used yet.

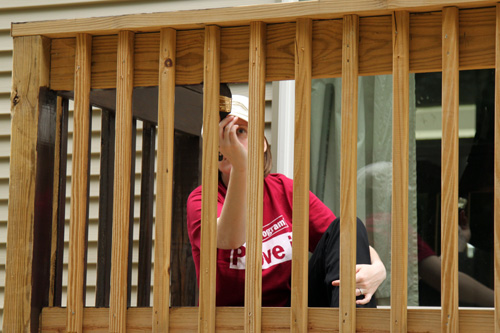
Who’s that 14 year old boy?? No wait, that’s just me… wearing a men’s shirt and a hat. I just got my hair cut last week and it’s in that too-short-for-ponytail phase, so I needed the hat to keep it out of the stain.

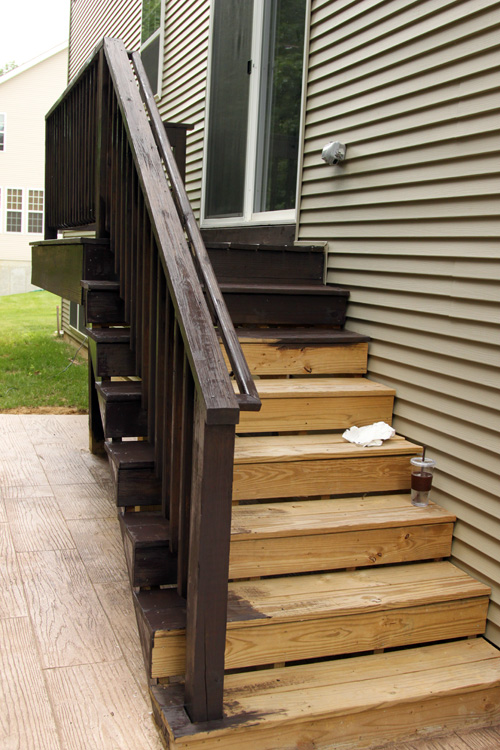
We had some plans Saturday night, so we were only able to tackle the outside and railing/spindles. We saved the areas we had to walk on for last so that we could get up and down the stairs for as long as possible.

I also suffered from several splinters in my…pants. Sitting like this and scooting around made me jump out of my seat several times. Luckily my pants were thick enough to protect from serious injury and/or death πŸ™‚

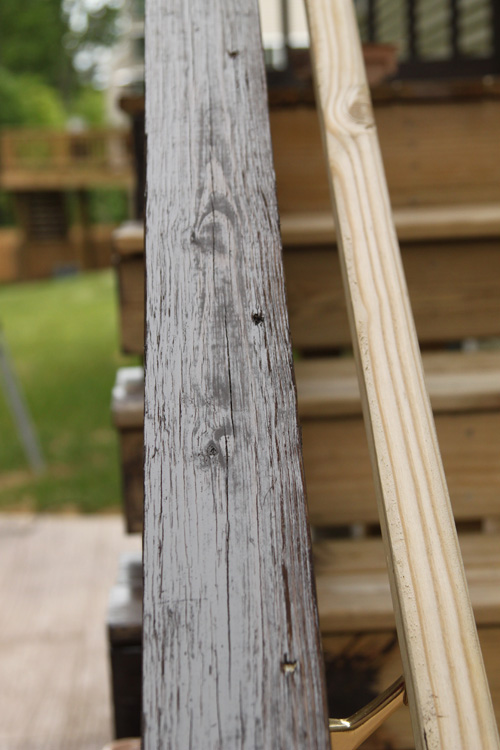
We had to stop for the night around 5 and when I got out of the shower the stairs looked like this…

Yes, it started raining on our hard work minutes after we stopped. Thankfully, it didn’t ruin anything or cause stain to run all over our patio. But can I just say that the weather is a jerk?? This has been happening to us for weeks. I specifically checked the weather and wanted to stain on Saturday because it was supposed to be dry, while Sunday was supposed to have thunderstorms. But of course, Sunday was dry…

Day 2 began the staining of the walkable areas. We started earlier because, you know, I was waiting for those afternoon thunderstorms that never came.

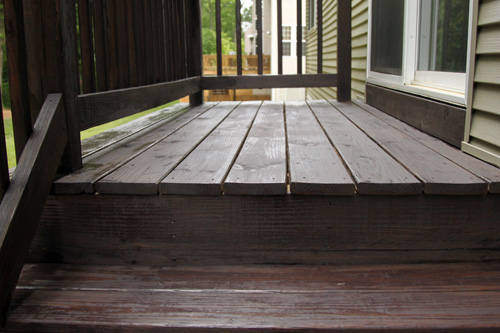
The large, deck portion was a breeze. I thought because it had the greatest area it would be hard, but it went so fast and was pretty fun to do.

The steps were not so fun and took much longer. There were so many pieces of wood and edges hugging the house that it took some attention to detail.

By early afternoon yesterday, we were all done and just waiting for it to dry!

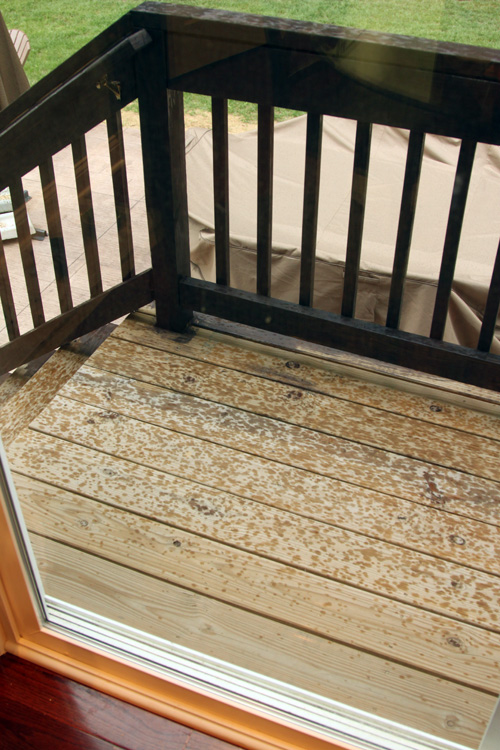
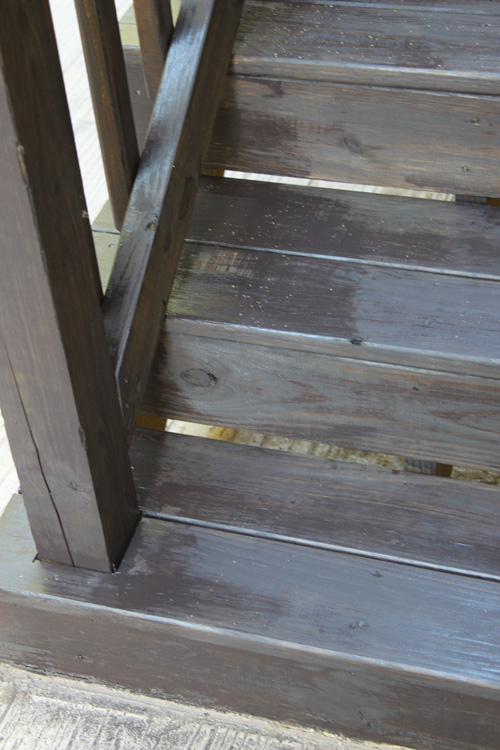
I went outside today to check on the drying process. It was dry to the touch, but I was a little disappointed to see that there was some obvious unevenness. We didn’t wipe off the excess stain, mostly because we wanted it to be dark and because I was putting on thin coats and essentially dry brushing the heck out of it. Mike did most of the outside parts and he put his stain on thicker. So some spots I assumed were wet are actually permanently shiny. I noticed the thicker stain on Saturday and tried to wipe and dry brush the areas out, but it was too late πŸ™

I’m planning on sanding down these super shiny areas and re-staining them to look a little more rustic like the other parts. Rookie lesson learned- make sure you’re both using the same staining method when working in a team πŸ™‚ No big deal, you live and you learn.

psst- I’m linking this post up to Thrifty Decor Chick’s Before & After Party today πŸ™‚

All Clear

3 Comments

Posted by Rebecca, June 3rd, 2011

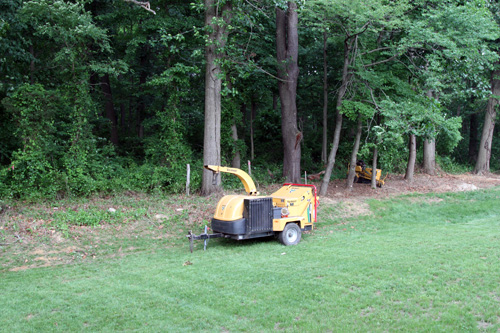
After a little photo mishap, a partial breakdown and a husband who came to my rescue by recovering my files, I am happy to report on our freshly cleared backyard!

The process started yesterday when a team of people pulled up to our house at 7:30 am and immediately started hacking away at our brush. They were so fast that by the time I left for work at 8:30, a good portion of our mess was flattened. How did they work so fast? They started with chainsaws and machetes. Mike and I were very happy to leave this one to professionals, could you imagine this scene?

We just so happened to pick the most graphic photos ever. But I laughed hysterically at that random head in Mike’s hand. Please substitute tree sap for blood and branches for faux head. Don’t worry, we aren’t really serial killers πŸ™‚

But really, we are very accident prone. There may have been in incident last week involving a laptop and Mike’s face. And there may have been blood. I’m not sure I’m allowed to speak about it, but let’s just say that coding SongMeanings is apparently dangerous…

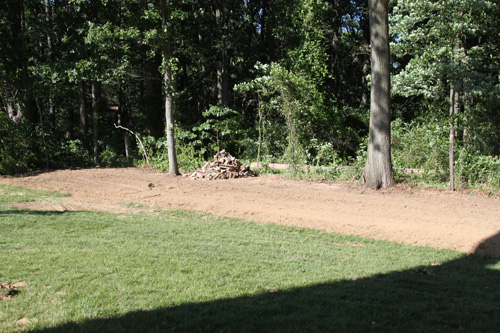
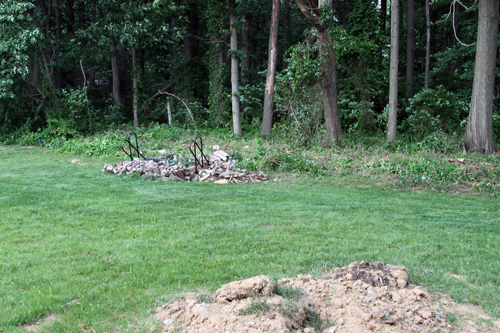
So after some tree hacking, done by professionals, our backyard is looking wonderful!! First, some before pictures…

This next picture looks like it was taken from under the stairs. I promise I was not sitting under there πŸ™‚

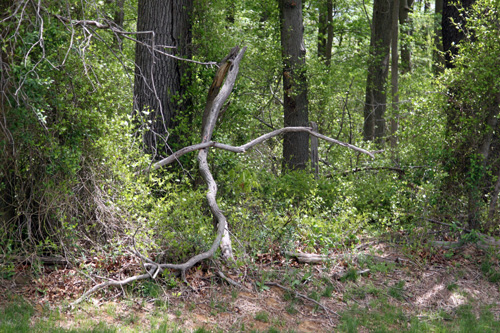
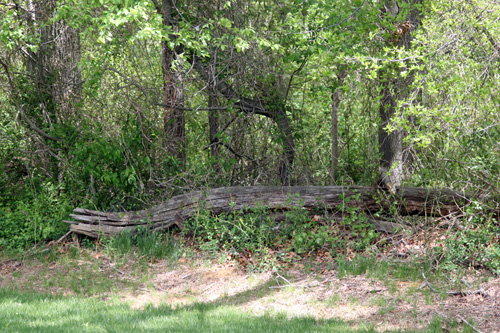
Here are some close-ups of the dead and dying trees that were hanging around back there.

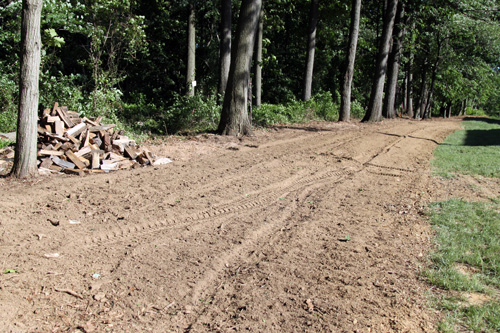
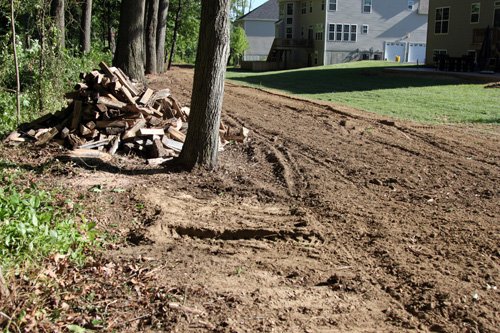
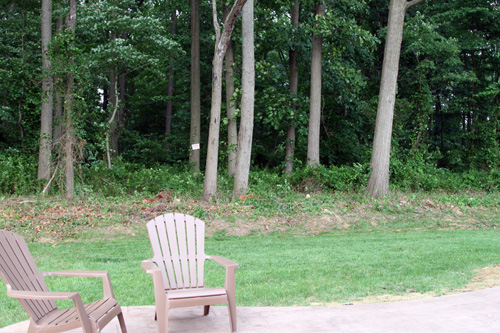
And the much more lively looking after pictures!

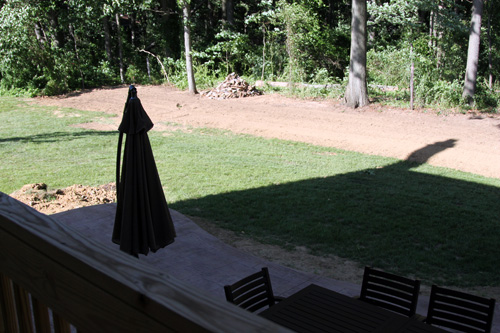
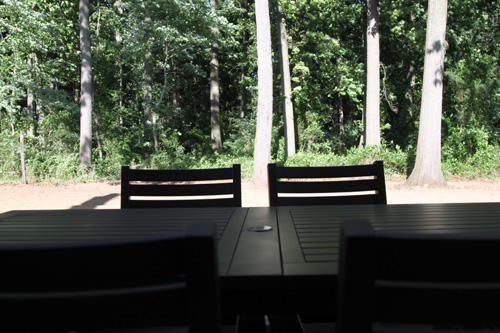
I don’t think I’ve mentioned this before, but one of the unexpected perks of our backyard is that our house acts as a natural awning for most of the day πŸ™‚

We were enjoying the view and the weather so much that we decided to bring our dinner outside πŸ™‚

We made some homemade pizza with fresh spinach since our organic farm membership started up again this week.

Mike took an after dinner walk to our new-found land and I love this picture for perspective…

Since I know it’s very hard to visualize spaces in pictures, I took before and after videos. I apologize if anyone gets sea sick from my after video. I was walking on the new dirt back there and it’s super soft, so I was stumbling around a bit πŸ™‚

The Before Video:

The After Video:

The videos weren’t taken from the same exact place, since where I’m standing in the after is technically in the old brush, but you get the general idea πŸ™‚

Now we’re looking forward to throwing some grass seed back there, maybe uplighting our freshened up trees and just enjoying our new view!

Land Ahead

9 Comments

Posted by Rebecca, June 1st, 2011

Today started the backyard clearing process! When our house was built, the land was only cleared to a certain extent. We have a lot of sticky bush type things, dead trees and even an old log hanging out in our backyard. They all clearly had to go so we could enjoy all of our space, since we couldn’t even see our property markers before today. It’s not completely done yet, so I only took a few pictures to share and hopefully I can give you some before and afters when it’s all done tomorrow.

Here is the right side. All the way to the right you can see our neighbors also had their brush cleared and theirs is all done and looking pretty πŸ™‚

A little more center…

Sort of left center…

And left field side.

We still have 3 dead trees that are getting cut down tomorrow, which is good news considering NJ has a tornado watch in effect tonight. I’ve never lived in an area of tornado watches in my 27 years living here. Yeah so, all the more motivation to get rid of trees that may fall on my house in high winds πŸ™‚

Oh! More good news! Our tree buddy is going to dump our pile of wood at the back of the property line so that we don’t have to carry each of those pieces back there! Yay!

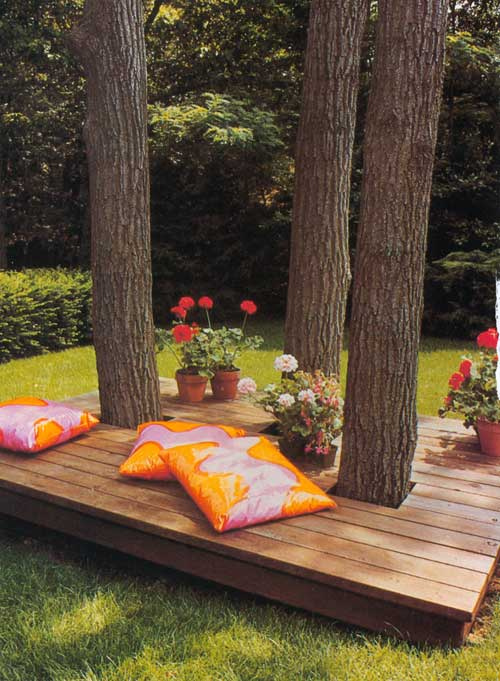
The backyard looks 10 times better already. I’m already thinking of whether I could defy the odds and grow grass in the summer. Hm worth a shot in the shady area between those trees? Then maybe I can do this, which I found on Pinterest…

(via)

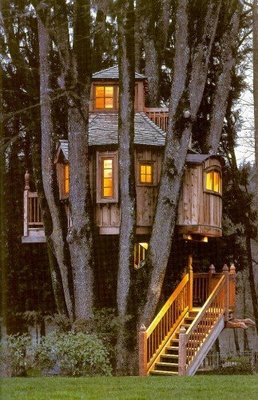
Or maybe build a kick ass treehouse, also found on Pinterest?

(via)

Time will tell what we do with our new found land!

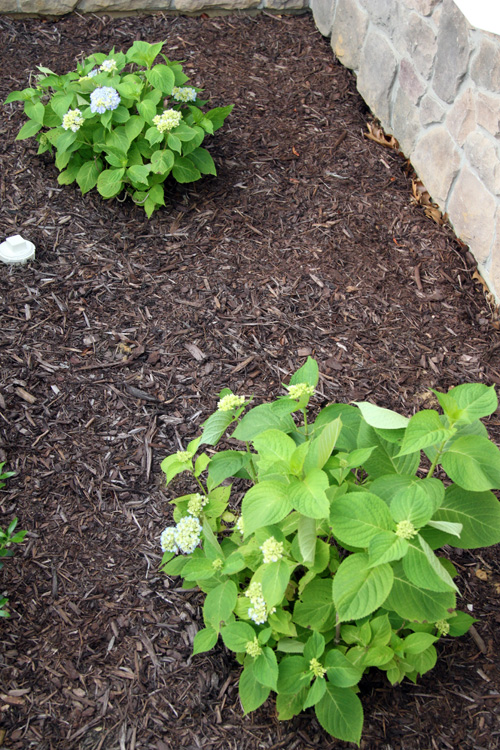
ps- two days later and both hydrangeas in the front yard are blooming!

Copyright 2010 - 2011. The Lil House That Could. All rights reserved.