Random Ramblings
Posted by Rebecca, February 21st, 2013
It’s another one of those days where my brain is on overdrive and I just dump the things I’m thinking about here. Ready? Here goes!
1. We made a trip to Ikea on Monday (thank god for 3 day weekends!). It was only the second time we’ve gone since Easton was born, so it was nice be back in the land of Expedits.
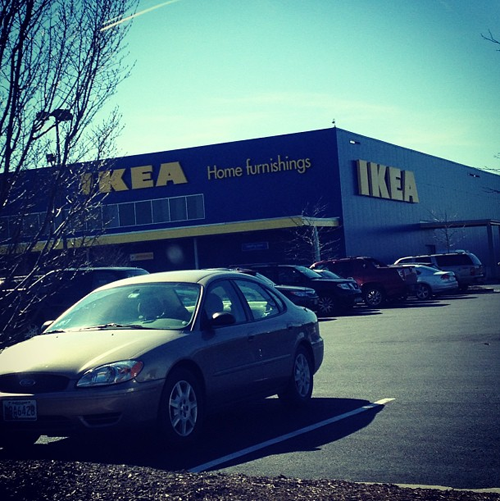
While there we restocked our frame collection for another gallery wall and bought some ledges for book storage in the playroom. We grabbed quite a few of these new (at least to me, it’s been a few months) glossy gray Ribba frames.
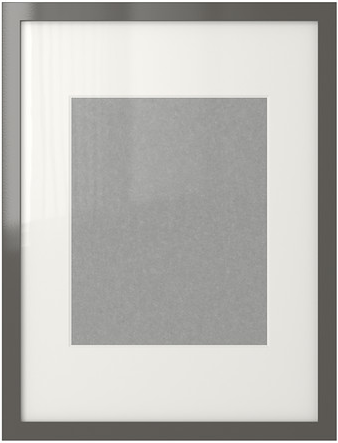 (via Ikea)
I’ve made it my own resolution to hang these things ASAP so they don’t sit around driving me nuts. But…
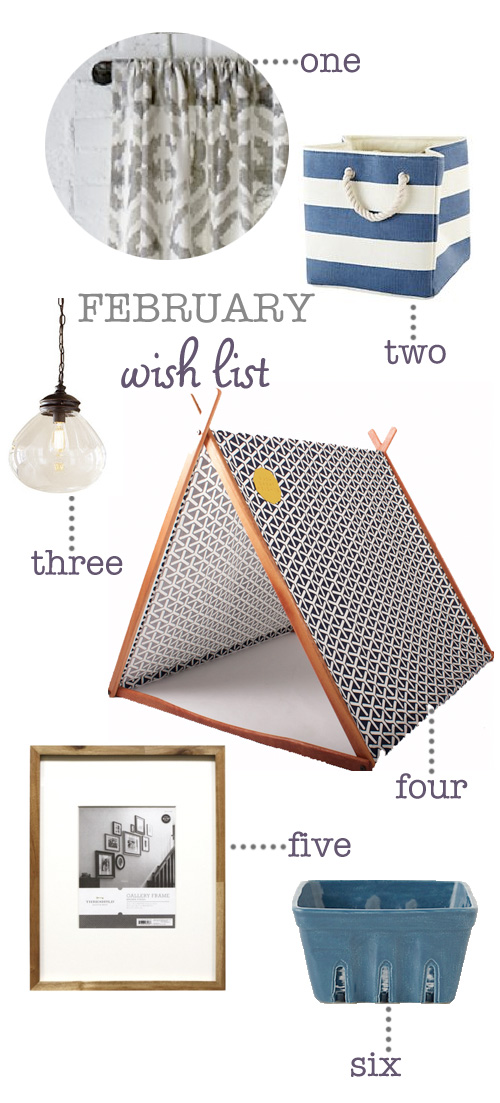
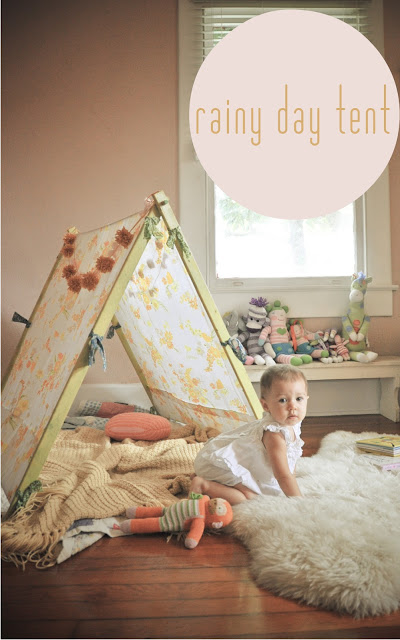
2. It’s Pinterest Challenge time again, so I have an excuse to be unfocused! Probably for the first time since these things started, I know exactly what I want to make… a play tent for Easton. Wish me luck as I buy dowels and sheets this weekend…
3. We’ve been behind on posting Easton’s monthly laundry basket pictures, but we have them hanging around on a memory card. I’ll get them all caught up on one post soon.
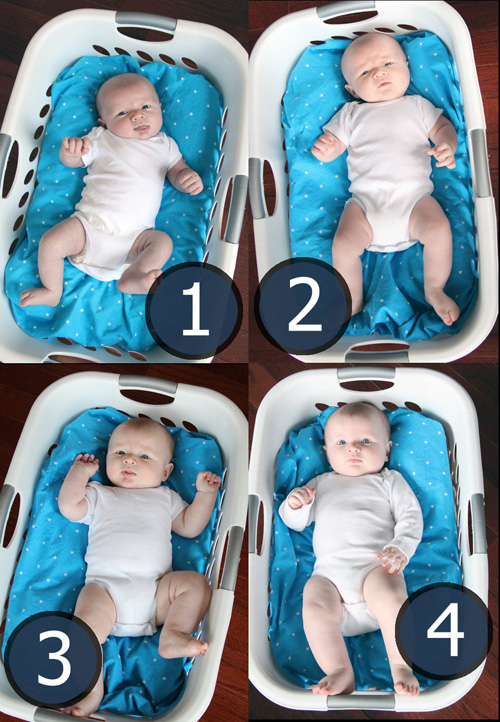
Yeah he doesn’t even fit laying in that basket anymore and he’s, um, almost 9 months now. Whoops.
4. We recently lowered Easton’s crib to the middle setting. Just as I was going to tweak the no sew crib skirt I made to fall flat with his crib, I woke up to this at 2am yesterday.
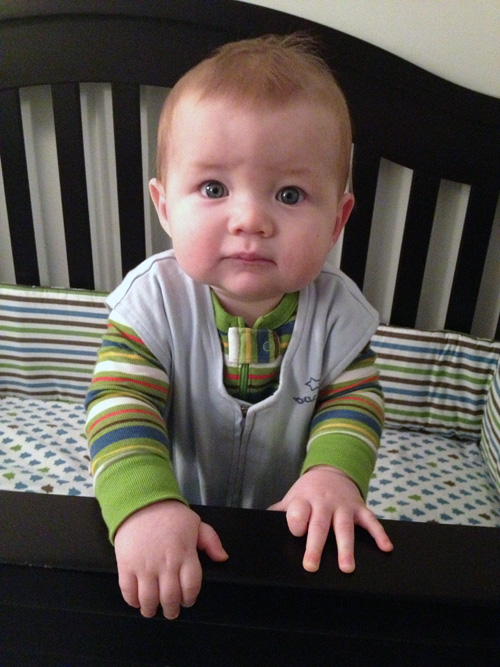
The face says it all, he’s not a morning person either. Luckily, I didn’t take a picture of my face at that moment. My hair was sticking up way more than his 🙂
We lowered the crib fully yesterday and now I have to decide how to work the crib skirt for the small amount of space left. Seriously, the nursery feels like it will never be “complete”. Every time I plan to take room reveal pictures, something happens, like I ram a vacuum into a piece of molding…
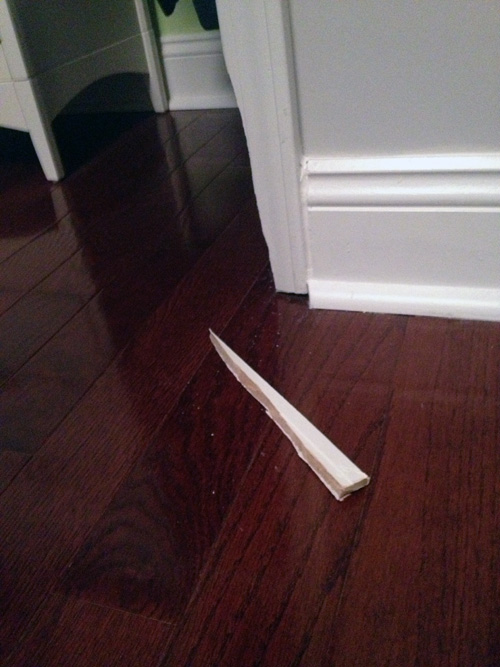
I’m such a jerk.
5. Speaking of my baby growing up, his first birthday isn’t too far away (3 months! only 3 months!! :() so all of that planning is stashed in the back of my head. I don’t want to do a set theme, but I’ve been playing with his Zany Zoo beads and I think I’ve settled on a color scheme…
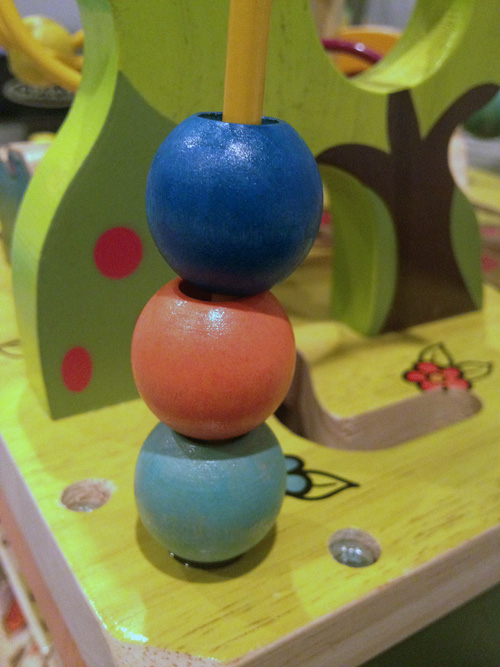
Aqua, orange, lime green and royal blue/navy (whichever I can find more easily). My only expectation is that it be fun and fit for a one year old. I’m not trying to win any Pinterest party planning awards here. A happy baby and some full bellies works for me!
Considering all of these are on my to-do list, I’m obviously not doing a very good job at my New Year’s resolution to streamline my life. Good thing my current resolution is to get more sleep, though my miniature boss is in charge of that one.