Archive for March, 2011

It’s here, it’s here!

8 Comments

Posted by Rebecca, March 31st, 2011

The Beibs is off the hook.

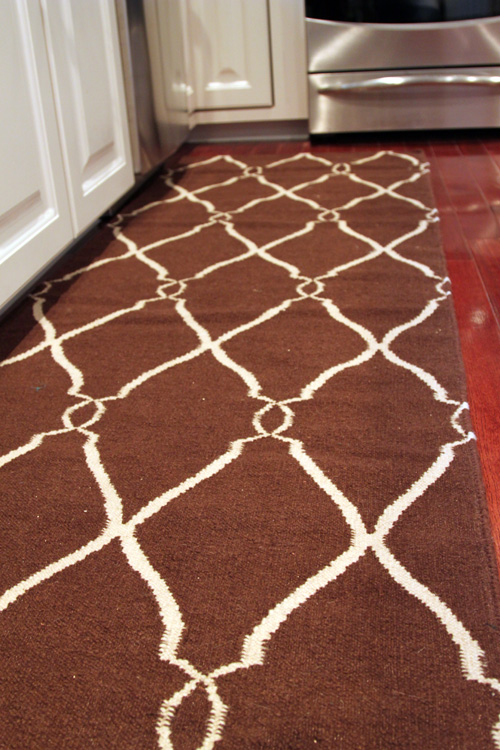
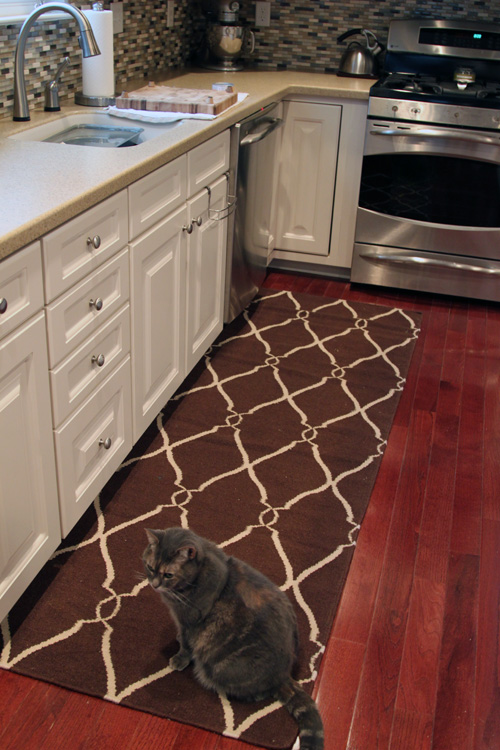
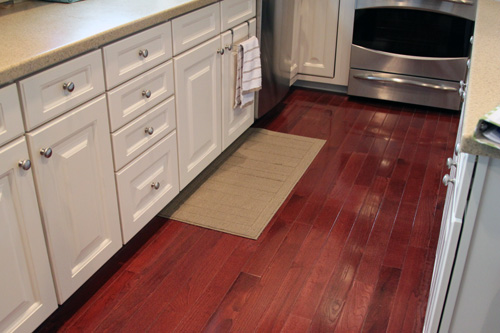
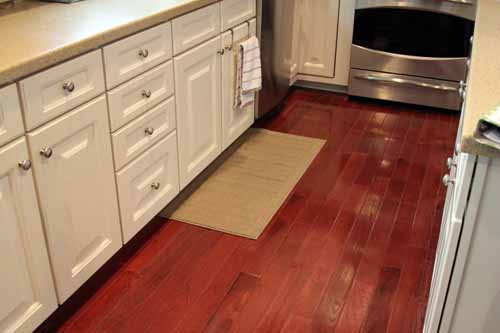
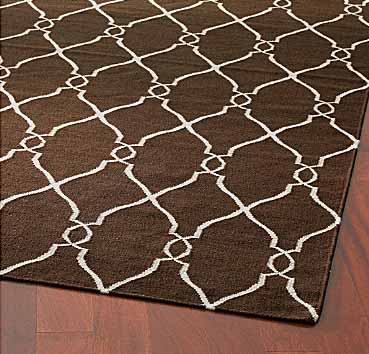
Our kitchen runner arrived yesterday! (it still needs to flatten out a bit from the packing process)

Now, let me zoom out and tell you something…I’m not sure how I feel about it.

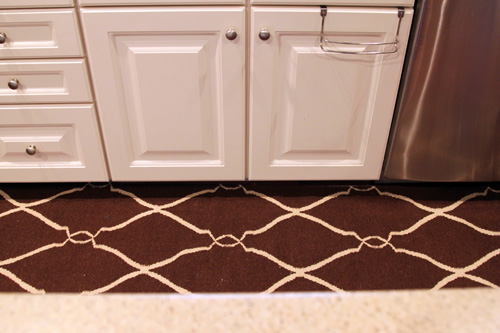
I can explain. I think the pattern is a larger scale than I expected, so it’s overwhelming me a little and making the runner itself appear larger. I knew how big it would be because I measured and marked it out on the floor, but I think the pattern is screaming HEY I’M A LARGE RUNNER! Though it’s much better than our previous choice.

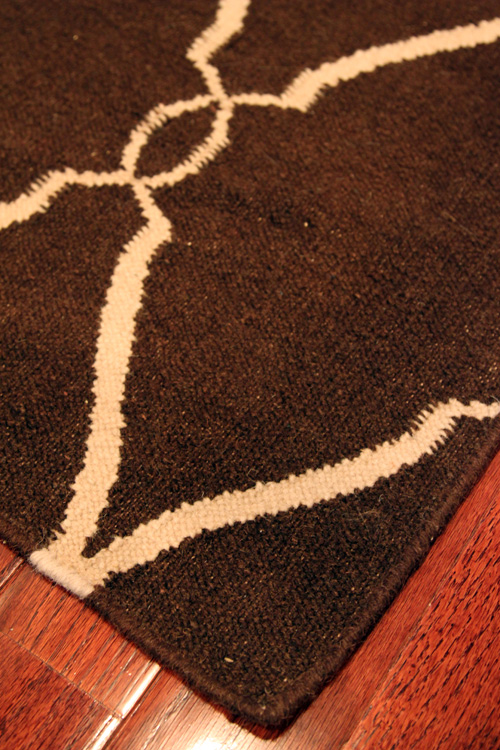
The wool is a tad scratchy, but I think that will help it be a little more durable and wear nicely in such a high traffic area.

It’s also a nice flat weave like we wanted, though we’re going to need a rug pad. I’ve almost gone on a few magic carpet rides of my own already.

But I think it’s just one of those drastic changes I just need to get used to. Like how when we painted the office ceiling dark gray, we swore it was an awful mistake, but after a day, we loved it. What I do like about the larger scale pattern is that our mini-subway tiles are small and more intricate as a pattern, so the runner offers something totally different.

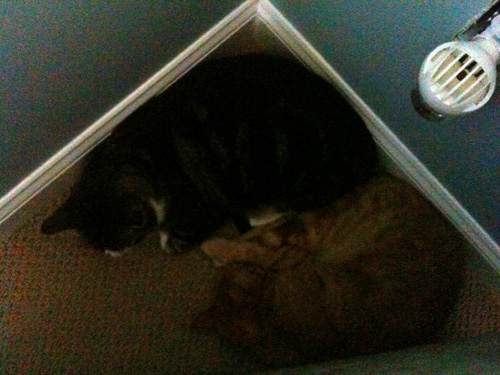
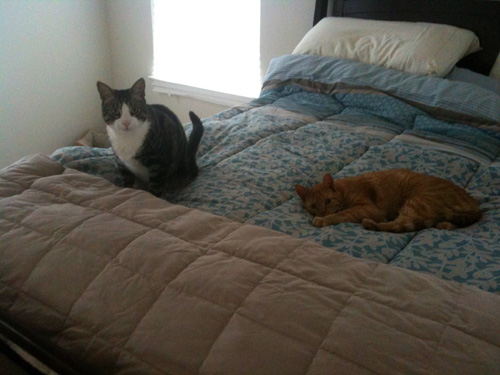
Plus the cats already love it, hopefully I will love it too in a few days!

ps- please ignore the bad lighting and dishes in the sink/drying on the counter in these pictures. I took them this morning while it was gloomy, raining and I was brewing my coffee with my beloved Tassimo. No time to empty the sink 🙂

The Best Baked Potato Soup. Ever.

7 Comments

Posted by Michael, March 30th, 2011

Best baked potato soup.  Ever.

To be honest, I was always skeptical of baked potato soup.  Rebecca would rave about it and me?  I’d just be all, well, meh.  But then I had the baked potato soup at Houlihan’s.  It was very good; I had no idea soup could be something so great.  However, at the end of the day (or after using the toilet, whatever you prefer(hey, we’re friends, right?)) there was still something a bit off about it — the soup had too much of a creamy feel.  I actually wanted more potatoes in that thing.

A week or so ago, I discovered a baked potato soup recipe at The Curvy Carrot.  I admit; at first I shrugged it off thinking it was just another creamy attempt at the soup.  But then!  Then I saw that the crispy goodness on top wasn’t bacon and the recipe sucked me in!  Turns out that the crispy pieces on top are actually the skins from the baked potato!  What a fantastic idea!

And so on Sunday, I decided to make it.  To quote The Curvy Carrot, ‘Enjoy this recipe.  It’s a keeper.’  Amen.

Soup ingredients:

  • 5 russet potatoes, scrubbed well and dried
  • 4 tablespoons unsalted butter (I used salted butter and then used less salt than listed below)
  • 1/2 cup flour; divided into two 1/4 cup portions
  • 6 cups of whole milk
  • 2 teaspoons salt
  • 1/4 teaspoon ground black pepper
  • 3/4 cup cheddar cheese, shredded
  • 1/2 cup green onions, chopped
  • 1/2 cup sour cream (for garnish — Rebecca didn’t use any)

Crispy potato skins ingredients:

  • Reserved potato skins (from the potatoes above)
  • Oil for brushing
  • Salt+Pepper+any other spices you’d like to use (I added some hot pepper)

First thing is to get those potatoes cooked.

I poked some holes in each of the potatoes, sprinkled them with some salt+pepper, and then placed them in a preheated over at 400 degrees.  These things cooked for about an hour until fully cooked and softened. Once they were fully cooked, I let them cool a bit so I could work with them — roughly 45 minutes or so.

Once cooled, I sliced each potato into two pieces.  I carefully peeled back the skins and placed them back in the pan.  Half of the potato insides went into one bowl, while the other half went into another.

The first bowl got mashed pretty good.  The second bowl got cut into bitesize pieces.

The skins got brushed with some oil.  I then sprinkled a bit more salt+pepper on them, as well as some red pepper flakes.   I put these in the over at 375 degrees for about 15-20 minutes, or until they were plenty crispy.  Check these often; you don’t want to burn them.

From here it was on to make the soup.  In a large dutch oven on medium heat, I melted the butter and then added 1/4 cup flour into the butter.  This mixture was wisked like crazy until it was lightly golden brown — maybe 3-4 minutes for me. I slowely added the milk and again wisked like crazy. After this was mixed came the rest of the flour; as well as some more wisking!  This was cooked until the liquid started to get thickened.  The original recipe said this took about 8 minutes.  It took me about 12-15 until it started to get thick.

Once thick, I added the mashed potatoes.  I stirred this well until completed mixed.  This mixture was followed by the bitesize potato pieces and some stirring.   Added some more pepper as well as the cheddar cheese.  Once the cheese was fully melted into the soup, we were good to eat!

I topped my soup off with some green onions and some sour cream.  Rebecca passed on the sour cream.  And then came the best part!  The crispy potato skins!  Mmm.

Once again, we are linking this post up to What I Ate Wednesday at Peas & Crayons!


One Year

7 Comments

Posted by Rebecca, March 29th, 2011

Tomorrow marks one year since we closed on the house! To say this snuck up on us would be an understatement, especially since I think I just realized this last week. It has been a better year than we ever could have asked for and thankfully, half of it is chronicled on this blog. The other half? Lives on my iPhone. It is amazing how much of the past 2 years of my life is documented on my phone. I have around 1,500 pictures and take nearly one a day.

So I’ve decided to show you the first few weeks of our homeownership, through the lens of my iPhone. Please excuse the poor quality as I reminisce 🙂

What the exterior looked like when we closed on Tuesday, March 30 2010

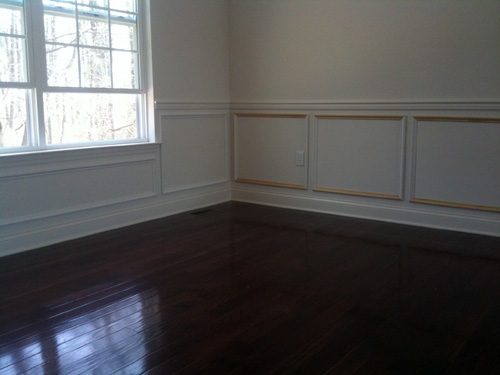
That Friday we had the wainscoting installed in our living and dining rooms

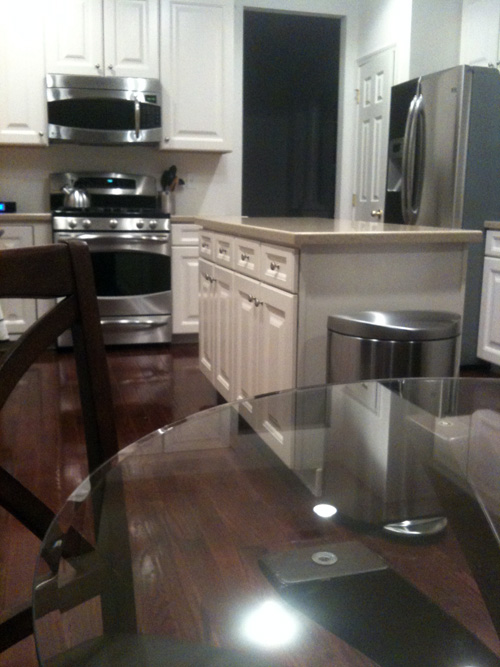
After our fridge was delivered and we managed to squeeze our table out of storage, the kitchen began to look more like home

We had painters scheduled for the Monday after we closed, so we didn’t have too much time to agonize over paint colors

Some words of wisdom on the morning the painters arrived, courtesy of a Ssips juice box. This place has given me millions of mind stretching opportunities!

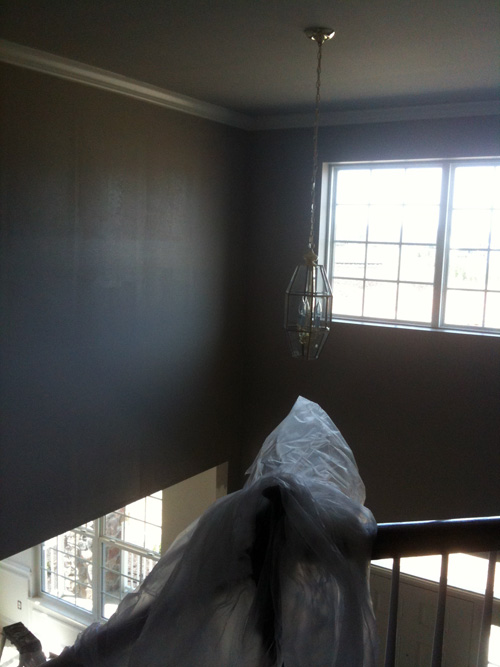
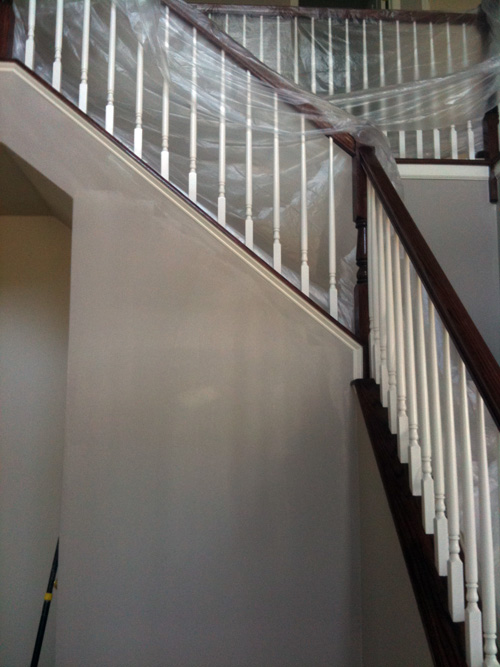
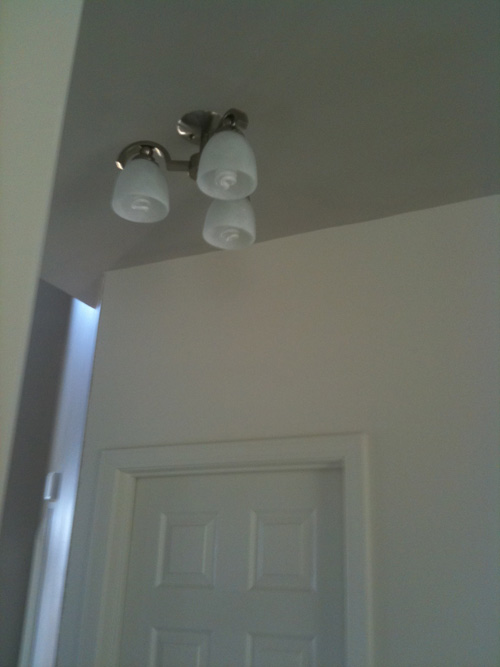
The two story entryway painting in progress, we could have never, ever done this ourselves! In fact, that ugly light is still hanging until we hire someone to change it!

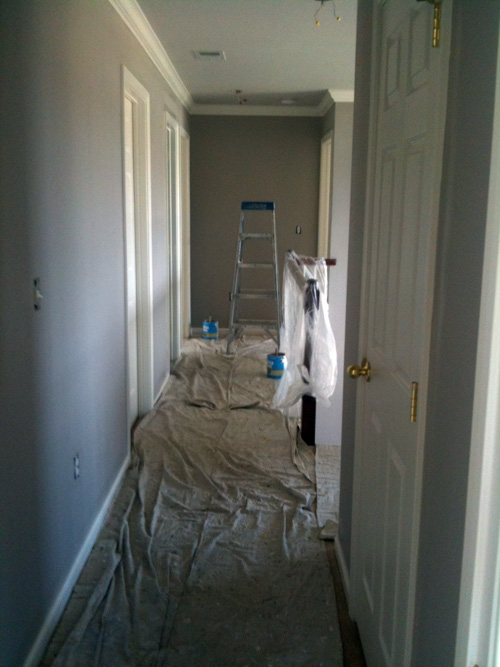
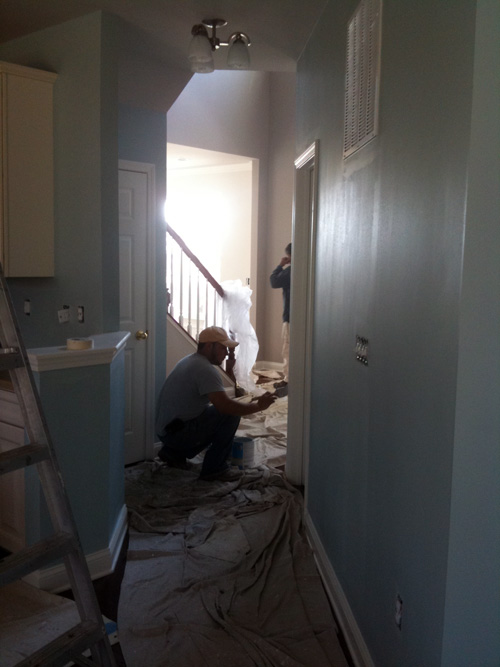
The hallway in progress

The nerve-racking process of waiting for paint to dry to see the true color

And waiting some more…

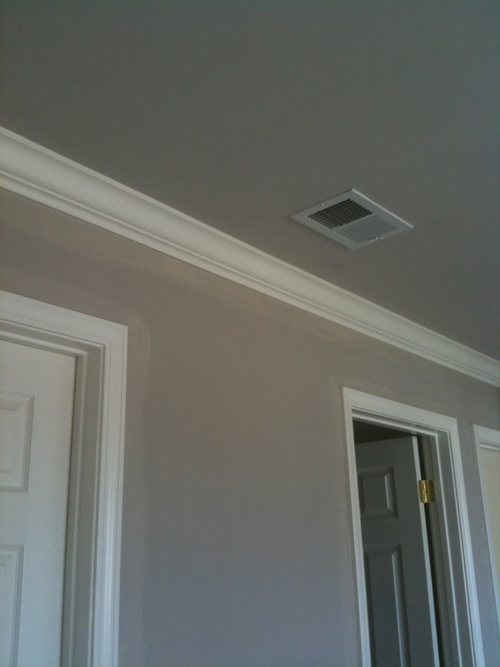
Bet you never noticed that our ceilings are painted a very light gray! This is the only picture where it’s noticeable. We just wanted to take away some of the starkness of the builder white.

The hallway between the entryway and kitchen was originally blue. After seeing it, we asked them to repaint these walls the same light taupe as the entryway.

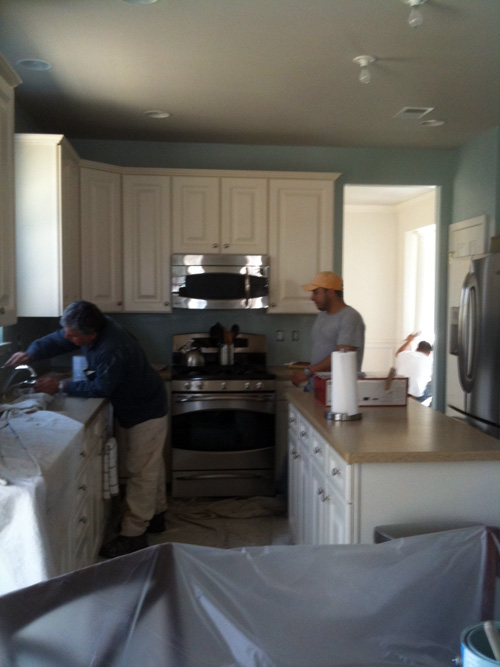
The moment the kitchen turned blue! (see that the dining room back there is still white?)

Blue family room and a newly delivered entertainment center

After the dining room was painted, we headed to Ikea later that week to purchase our Stornas table… but the color we wanted was discontinued and out of stock. This picture is from our 8pm trip to Brooklyn to get one of the last tables in the tri-state area.

But it was so worth the trip!

Maybe it was our pot of gold? This rainbow was over the entrance to our neighborhood in early April of last year.

Pretty grass! The builder laid our sod a couple of weeks after closing, when it was a little warmer.

However, we still hadn’t moved ourselves in. Our mini-family was still squeezing on a full sized bed at Mike’s parent’s place. We saved the best part of the house for last…

In mid-April, we moved the kittens in. This is Mowie about 10 seconds after we let her out of her carrier, she loved it immediately.

While Macky and Darwin snuggled behind the couch for a few hours

But pretty soon, they were enjoying the finer parts of the house

And everything seemed right in the world (and the yard!)

Happy day you become ours, little house.

Chair Rail, Check!

15 Comments

Posted by Rebecca, March 28th, 2011

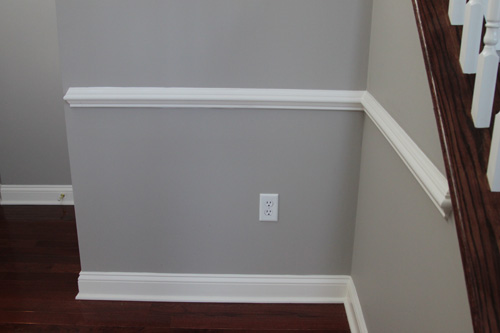
This weekend, we tackled part 2 of our molding project. Mike got to write about our adventures in the hallway last Monday, so now it’s my turn 🙂

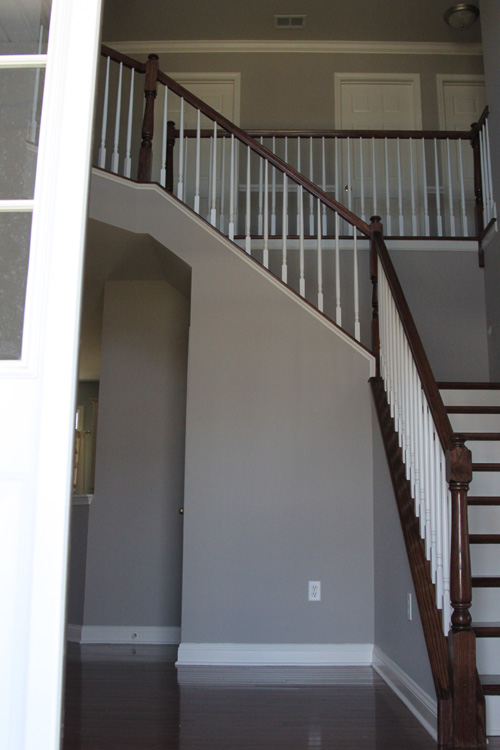
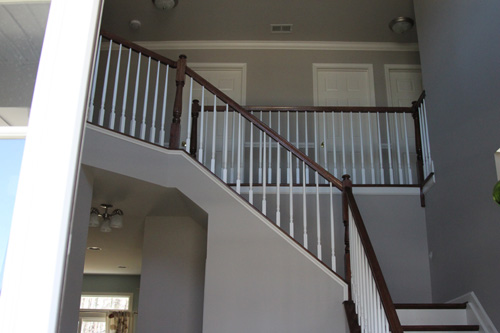
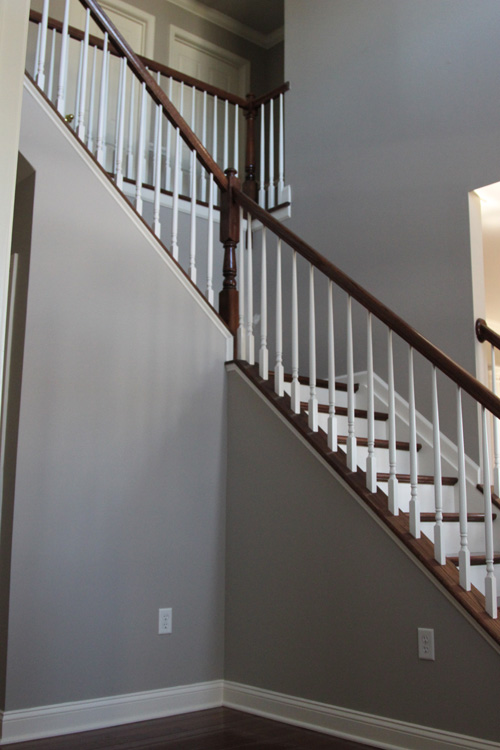
First, some before pictures. Okay, they’re partial before pictures since if you look closely, you can see that the chair rail is already installed upstairs. This started so suddenly last weekend that I didn’t think to take true before pictures.

View from the front door (with it open..brr)
A better view of the upstairs.
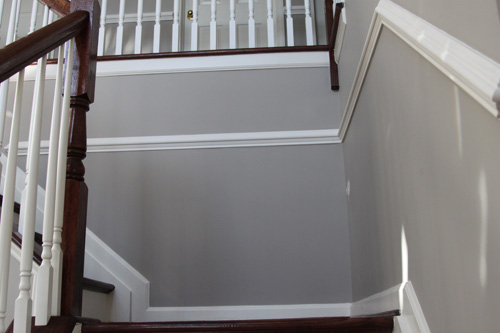
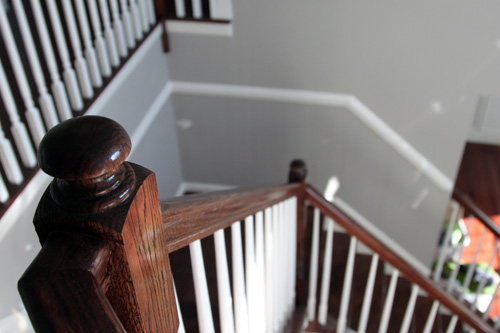
And the staircase angle that drove us insane.
Going into this week, we already had a whole 2 hours of experience in installing chair rail. We knew downstairs included mostly 45 degree cuts, but several things made us nervous.

1) that above the staircase angle

2) this pre-existing molding that we needed to remove in order to connect the old and new chair rails
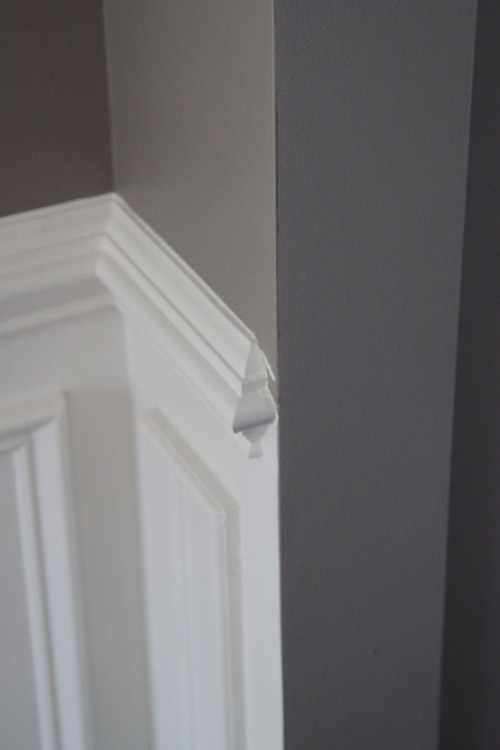
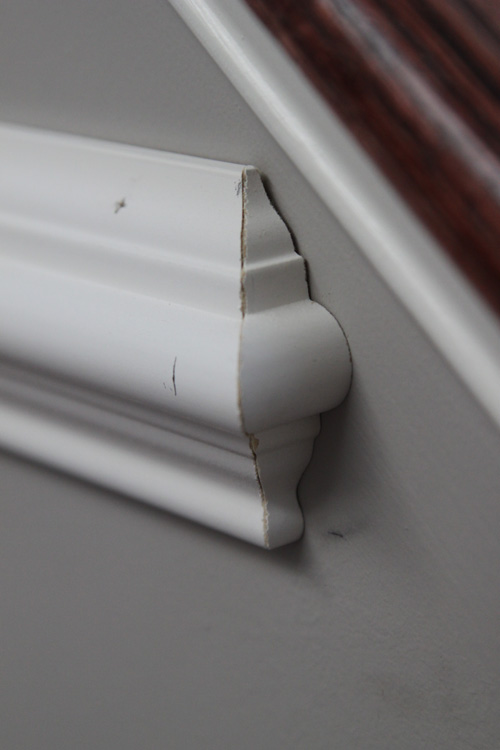
3) that fancy end piece finishing off that exposed edge of chair rail above

Originally, when we started this project last weekend, we were going to get the chair rail up in the hallway just so that we could start our gallery wall. But when we had so much fun with the saw and nail gun, we decided to finish up all of the molding.

We started by prying off that one piece of pre-existing molding. At one point, Mike suggested we just start the new moldings on the opposite side of the wall.
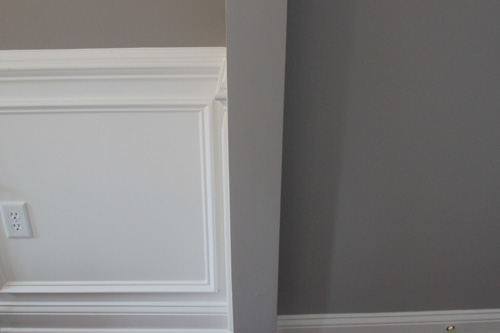
But I thought that despite the fact that we had never done this before, we should do it right and connect the pieces along that small wall. So we crossed our fingers and hoped that it would come off clean.
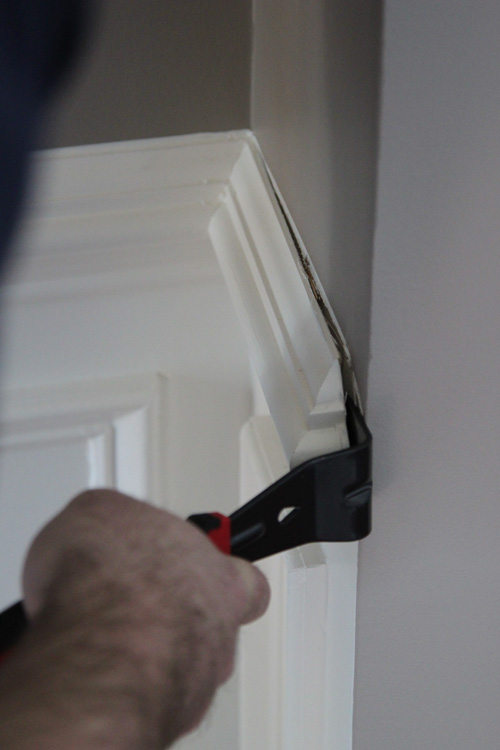
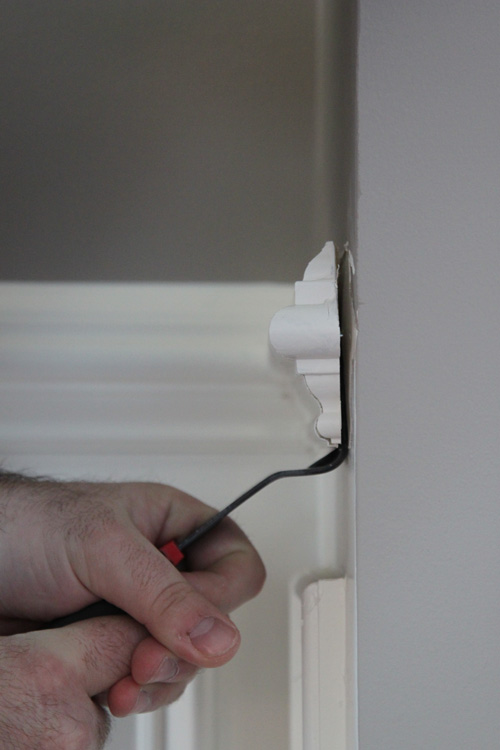
Thankfully, it did! 🙂
We began to install the chair rail from this point by measuring, measuring, leveling, leveling and cutting 45 degree angles. The bottom of our chair rail is 33.5 inches from the floor, so we just marked off this measurement every foot or so around the room, then lined the chair rail up on the dots and leveled it. I didn’t take many in-progress pictures because my hands were full most of the time 🙂

We used our same crappy electric nail gun, which once again didn’t shoot the nails all the way through the molding. So we used a hammer and screwdriver method to drive them fully in.
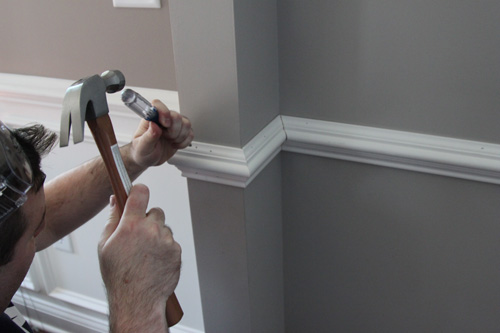
Here’s our little wall all dressed up, before caulk.
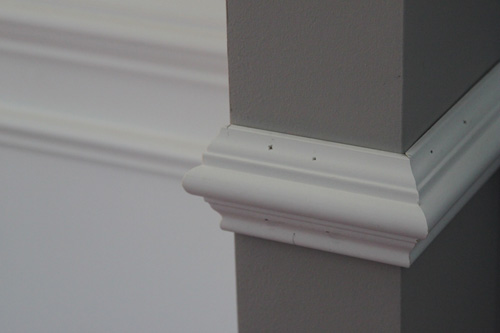
We’re so glad we decided to do that little wall. It’s my favorite part of the project now!

Our second beast was the stairway angle. Once again, I didn’t take any in-progress pictures, probably because it would have just been images of Mike and I staring at each other. But here it is once we finally got it up there.
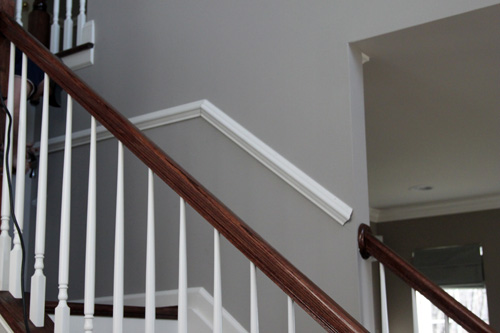
We decided to keep the height of this chair rail consistent with the other areas, which was 33.5 inches from the floor to the bottom of the rail. We debated whether to line it up with the railing, but decided to keep the measurement. It’s pretty close to being in line with the railing anyway! I measured 33.5 inches from the bottom of the baseboard, in several places, then connected them with a pencil line.

I wish I could tell you how we calculated the angle of the stairs, but it was really a lucky guess. It bothered me that we guessed by looking at the baseboard cuts, then tried it out on some scrap pieces and just so happened to have guessed correctly. In an effort to learn the proper way to do this, I found this article. According to this guy, our method was exactly right! I felt all guilty like I cheated on a geometry test or something…no, I’m not a nerd…

We disagreed about how the end of this piece angled piece should be cut. We ended up going with my suggestion of keeping the cut consistent with the other end pieces. Mike thought that this would look funny because it would not meet the railing at the same angle- there would be more open space at the bottom then there would be at the top. But I figured that once the bottom half of the wall is painted white, that part wouldn’t be noticeable. I was more considered about the funny pattern that would result from cutting this particular rail at a different angle.

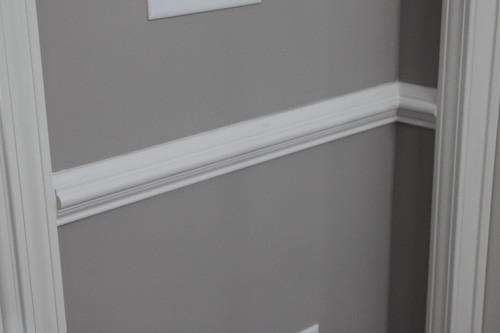
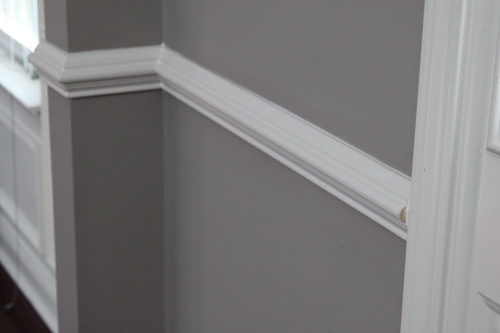
Finally, we tackled the super scary end pieces. They were the easiest thing ever. Ever. I don’t know why they scared us. In fact, we had loads of scraps around and didn’t even have to cut some of them. They just required a 45 degree cut, then the other side was a straight cut from the point where the 45 degree angle ended. Here’s a piece.
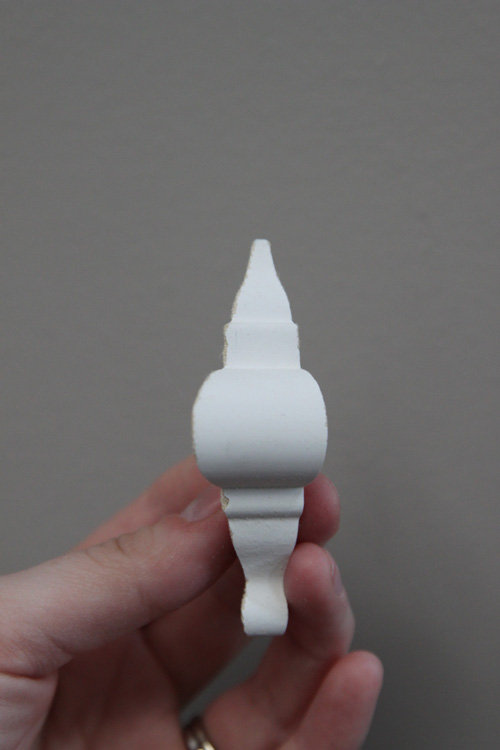
We actually attached these with Gorilla glue, since our nail gun isn’t the best and these pieces are small.

We really couldn’t believe how easy these were to install, yet they add such a pretty effect!
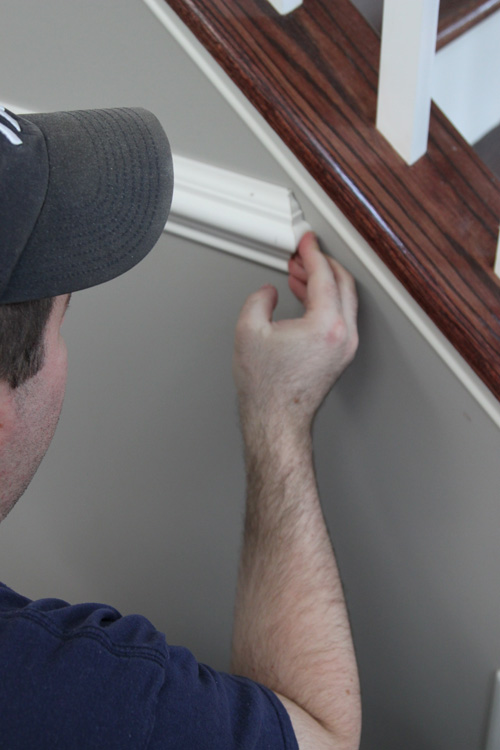
Finally, yesterday morning we caulked. I have never caulked before in my life, but we managed to get the entire downstairs finished. We still have some work to do upstairs, since we have to do the baseboards up there from the hardwood floors we had installed this past fall. All it took was a quick line of caulk, a wipe with my finger, then a few wipes with a wet cloth to get any excess off of the walls.

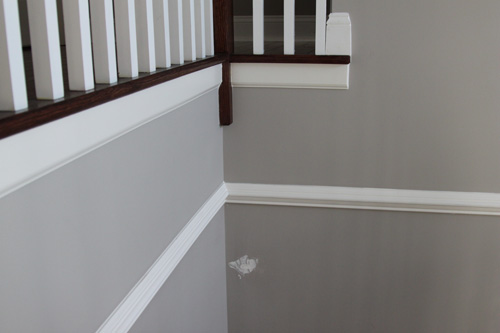
Tada! Here are some pictures of our finished (but not painted) chair rail!
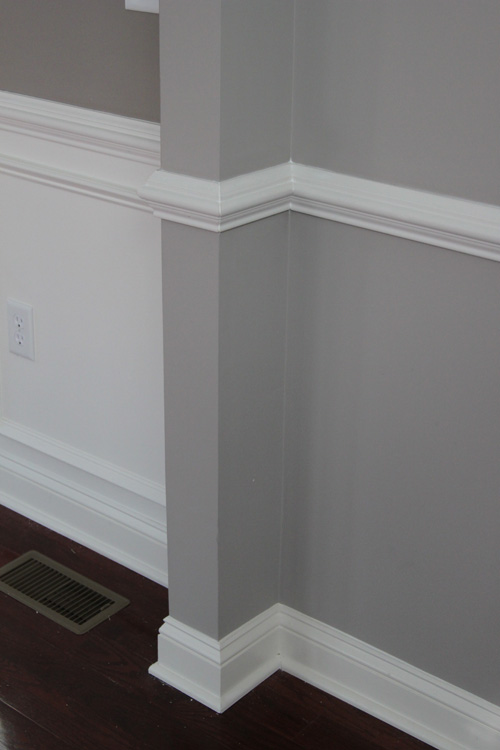
I think to say I love how this is turning out would be an understatement. I cannot wait for next Saturday to paint the trim and the lower half of the wall a glossy white, then eventually add the boxes underneath, then down the road add the gallery of pictures I’ve been dreaming of.

So, is it Saturday yet??

ps- I’m linking this post up to How To’sday at The Lettered Cottage and Thrifty Decor Chick’s Before & After Party!

Where in the World…

15 Comments

Posted by Rebecca, March 24th, 2011

..Is my kitchen runner?

Remember this post around Valentine’s Day about how I wanted to order a runner to replace this shabby kitchen mat?

Well I pulled the trigger, the very next day, and ordered the Bogart Flat-Weave Wool Rug from Garnet Hill.

But when I ordered, I got this message.

Side note: I just noticed this, but how funny is it that they put this message the top of the email?

So my rug wasn’t going to ship until a month after my order, which was okay with me. This wasn’t an urgent-need-it-now purchase, plus I’m a patient person.

About two weeks ago, I remembered my rug was coming soon and got excited, then carried on. Last week I remembered it was being shipped, but I never heard anything about it. A few days ago, Mike looked at our kitchen mat with disdain and asked where the new one was. We were getting to that we-want-it-now point.

So today I decided to shoot Garnet Hill an email to ask if I would be notified when my rug was shipped. I wasn’t sure if a) it shipped and I wasn’t told or b) it just didn’t ship. They kindly responded to tell me that they didn’t know where my rug was, but their “specialist” would contact the manufacturer.

I began to get nervous….where the heck was my Bogart Flat-Weave rug??

Disney World?

Is there some sort of wait list for my rug that requires me to sleep outside of the Apple Store? Because I’ll do it.

Accenting one of the world’s wonders?

Transporting people to a whole new world (and therefore landing itself in another world)?

Experiencing Beiber fever?!??

Thankfully, Garnet Hill left me a voicemail later today to let me know that they’ve hunted down the manufacturer and my rug will be shipped tomorrow. Kudos to them for some great customer service.

Beiber is forgiven. As if I could ever be mad at him…

Copyright 2010 - 2011. The Lil House That Could. All rights reserved.