Archive for October, 2011

The New Office Inspiration

6 Comments

Posted by Rebecca, October 19th, 2011

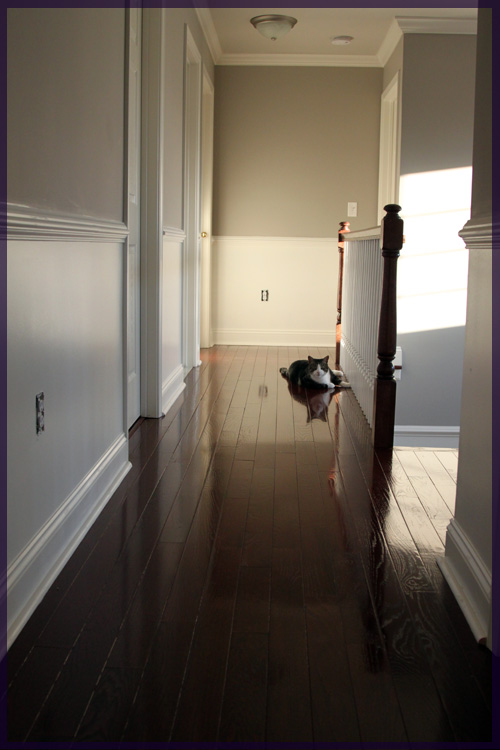
No, I’m not talking about the Office with Andy Bernard in charge (which just isn’t the same, btw), I’m talking about the office we plan to move upstairs that I mentioned here. I’ve blogged about how I’d like to build a window seat and Mike posted about how he’d like to do some dramatically large lyrics on the wall, but other than that we haven’t told you much. We have received an estimate to continue the hardwood flooring we added to our hallway and master last year into the remaining 3 bedrooms. That would mean that our entire upstairs would be seamlessly full of this…

This was our plan all along, we just tried to break up the expense over 2 installs. Since we’re getting serious about moving the office, we figured the carpet should go before we do so. Macky looooves shredding that particular type of carpet and whenever he weasels his way into one of the spare bedrooms, he immediately goes to town. This would probably drive us crazy after about…. an hour of sitting in the new office.

Then we bought a couch and a tv so the addition of the floors got put on the back burner. We like to only tackle a major expense at a time, so we’ve decided to wait until November/December to add the floors (depending on our contractor’s availability). In the meantime, Mike and I have been scouring Pinterest for some inspiration. Yes, Mike sneaks on Pinterest and sends me links to things he likes quite often.

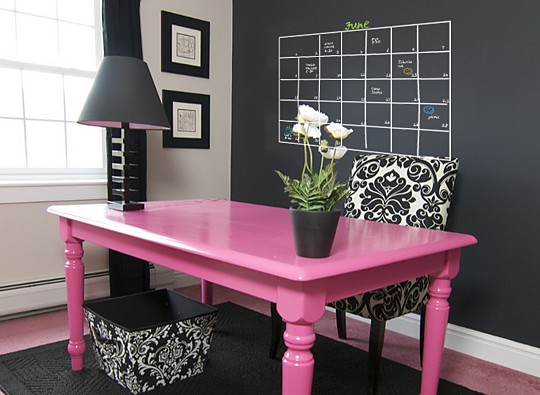
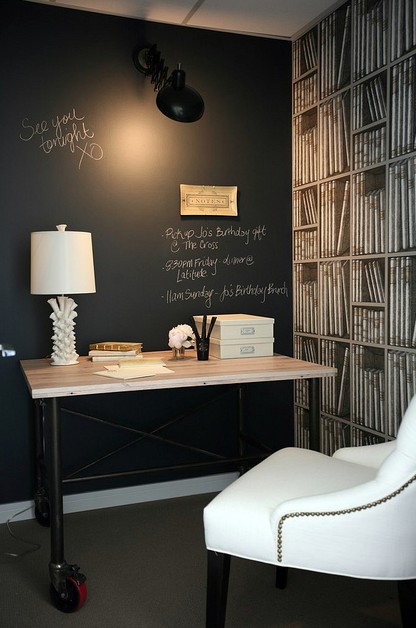
First, the chalkboard walls. We want chalkboard paint walls behind our desks. We’re both desperately missing a space to jot down notes, code and to-do lists in our current office and chalkboard paint is the natural choice.

(from Craftaholics Anonymous via Pinterest)

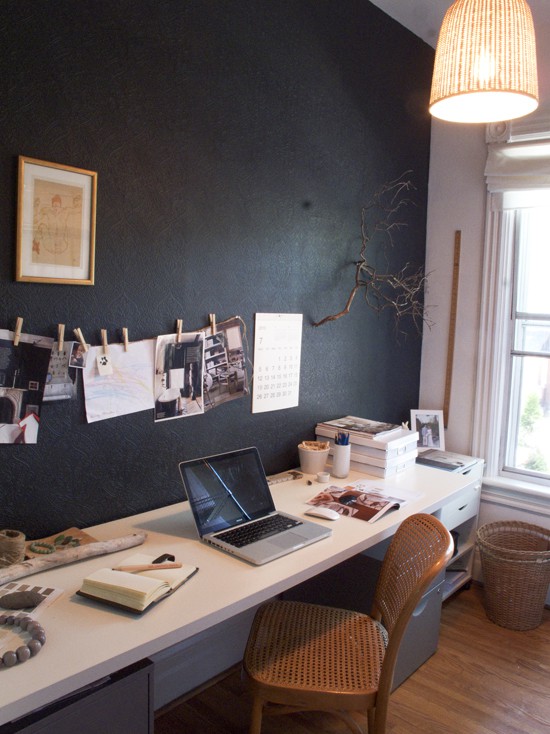
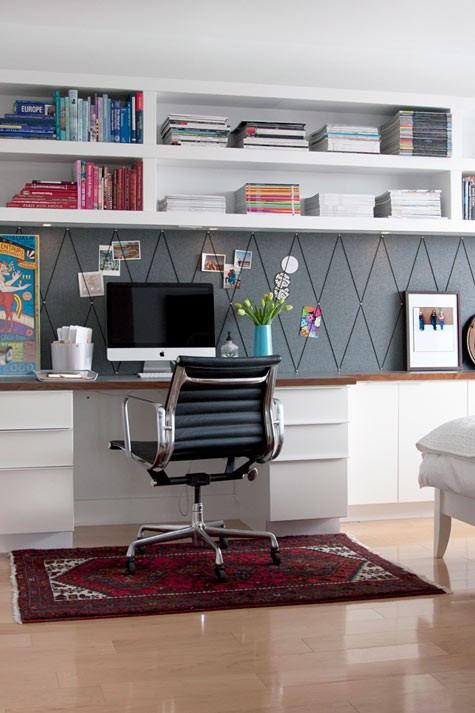
I love the clothesline for inspiration pictures in this one, though I’m not sure it’s chalkboard paint, it could be!

(from The Marion House Book via Pinterest)

(from Decor Pad via Pinterest)

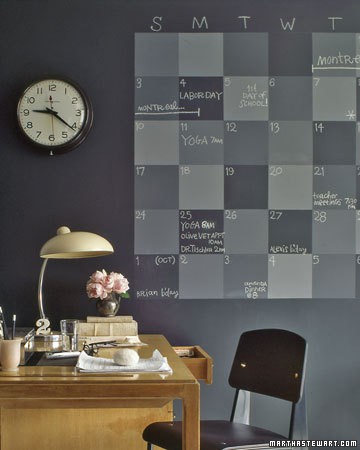
And the classic chalkboard calendar from good, ol’ Martha.

(from Martha Stewart via Pinterest)

Other than giant chalkboard walls and a built-in bench, we’re not entirely sure what we want to do with the rest of the room. The room is so large that it’s hard to visualize and I’m afraid we’ll end up with 2 smallish desks floating in the center of two 15 foot walls. Then today, Mike found a few ideas that I think can work for us.

First, some wall cabinetry flanking either side of the desk to break up the large chalkboard wall…

(from Blueprint Bliss via Pinterest)

Second, maybe some high, open shelving to keep the “backsplash” area open for chalkboard writing.

(from Design*Sponge via Pinterest)

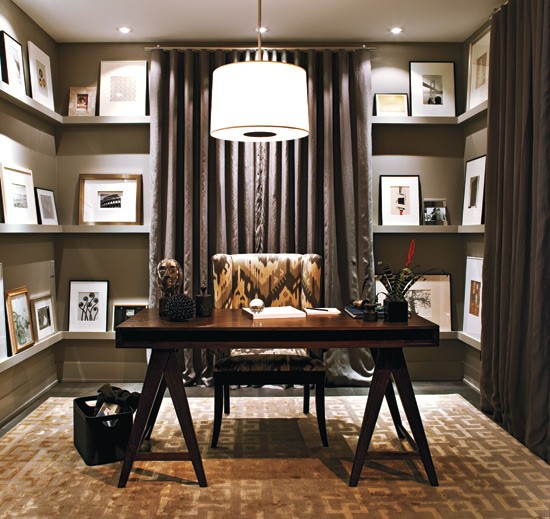
Furthering the open shelving look, I like the idea of doing just one continous shelf around the top of the room. Sort of like the top shelf in this picture…

(from Marcus Design via Pinterest)

Whatever we decide, the change will likely be gradual. I know Mike wants to get settled into the office quickly, but we’ll still tackle one project at a time and see where the room takes us. We just know we want it to be streamlined, clean, full of storage and uncluttered. We’re currently having a serious paper issue in our office. Meaning that, Mowie chews paper… in our office. She ate my softcover, rented textbook last night. Needless to say, we’re reaching our limit with storage-less desks and we’re looking forward to some new solutions 🙂

Fall Fail

7 Comments

Posted by Rebecca, October 17th, 2011

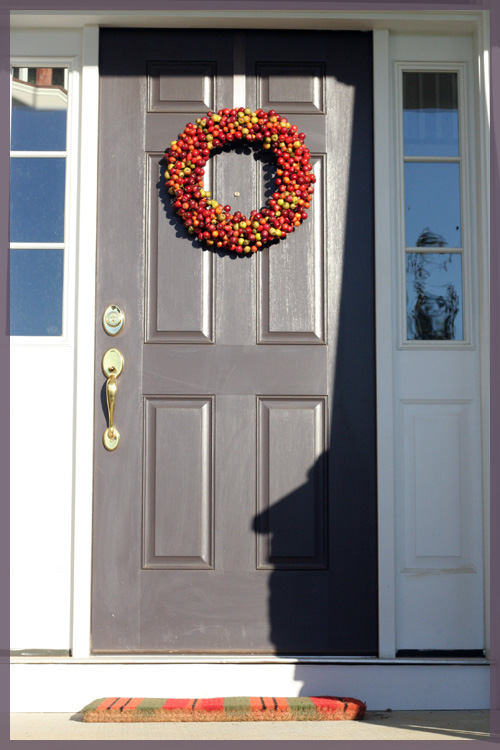
This weekend, one of my main goals was to finish up some fall decorating around here. You can imagine my excitement as I finished my homework relatively early on Sunday (around 3, since we were at Darwin’s weekly vet appointment from 11-1). The minute I finished, I hiked myself down to the basement to fish out my beloved fall wreath. You remember the one, with the pretty orangey berries from Crate & Barrel that looked so nice on my door last year…

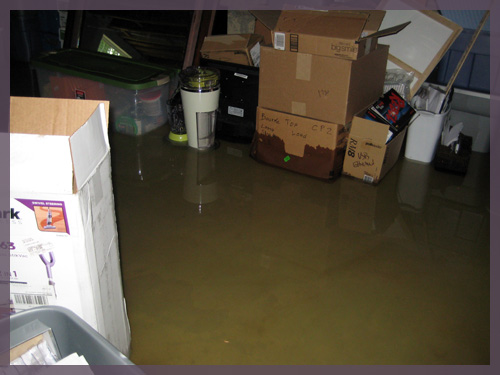
Well, something happened, remember Hurricane Irene and her nasty basement flood?

Well, this fall wreath lived in the office for probably, hm, 8 months.  I couldn’t remember where I put the nice sturdy box it came in, so it stayed put until I finally dug the box out. Buuuut, I didn’t remember doing this.  I thought for sure that wreath was separated from it’s box, thinking Mike got sick of looking at it in the office and just put it in the basement. Do you see where this is going?

There was a wreath box, in a plastic bag, in the basement through the flood.  #1. It was in plastic, sure to be dry! #2. I was lazy and the wreath wasn’t in there anyway, right? Right?? Wrong. When I didn’t spot my wreath yesterday I grabbed the plastic bag with the box in it only to discover that it was heavy. Heavier than an empty box should be. The box was moldy, but I thought maybe the wreath was spared.

What I saw was so disturbing that I only glanced. Not only did water get through the plastic bag, but mold had viciously attacked my beloved wreath. I’m talking I couldn’t even fully open the box because I was scared for my health, mold. I was so upset that I hadn’t realized the wreath was in there or that the box got wet. I mean there were cardboard boxes down there that got wet and didn’t get an ounce of mold. I’m guessing that the plastic bag hindered rather than helped the situation.

So I was wreathless. And upset. It was nearly 4 and all I had accomplished was finding a couple of spiders (huuuge spiders in our basement, btw).  Rather than sulk over a wasted weekend, Mike and I ran out to find another wreath. We first checked the Crate & Barrel website, but I’m not liking any of their wreaths this year. We headed to Target, with no luck there either. I also thought I could pick up the ottoman I’ve been eyeing at Target, but that was sold out of every store in our area. I had a serious whaaamp whaaaamp strike out shopping trip.

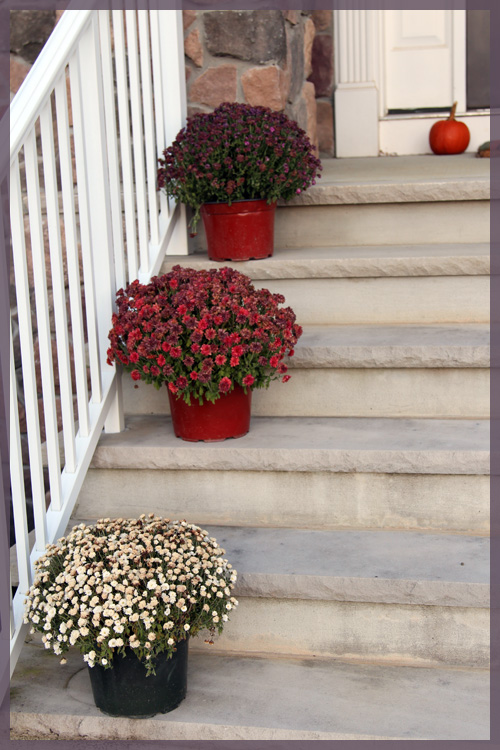
I did manage to pick up some mums last weekend, though I have yet to put them in actual pots.

When I took these pictures today, I realized that my mums aren’t looking so hot. They were so pretty, a pretty purple, deep orange and white. We’ve had a lot of rain lately so I thought maybe they got too wet, but the soil feels dry? I’m not sure what to do with them, I am a notorious plant killer 🙁

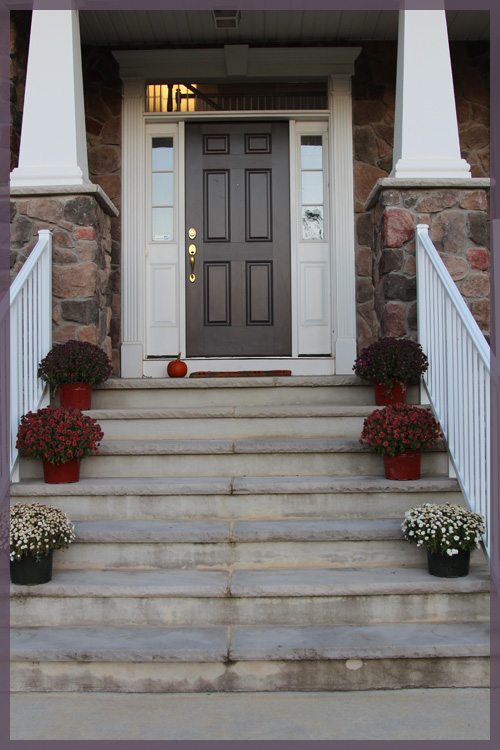
So here’s where I am…a bunch of pot-less mums, a wreath-less door and a single pumpkin (our CSA farm fell victim to the bad pumpkin season so we got a lot less than last year).

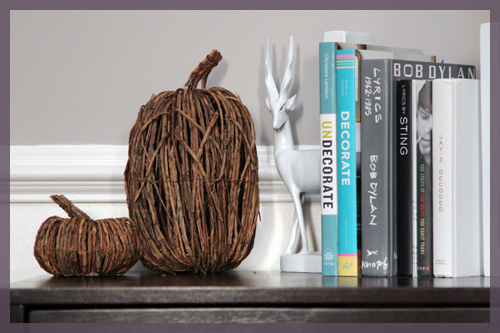
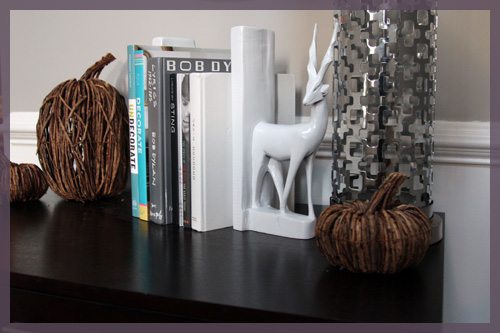
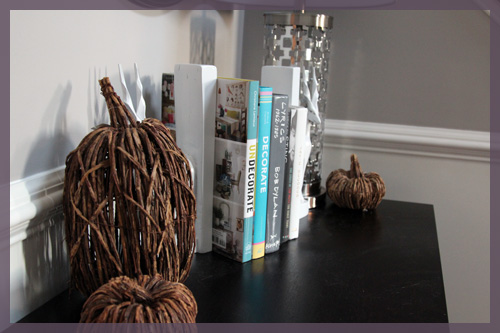
I did pick up a single game changer at Crate & Barrel. Meet the vine gourd I mentioned here.

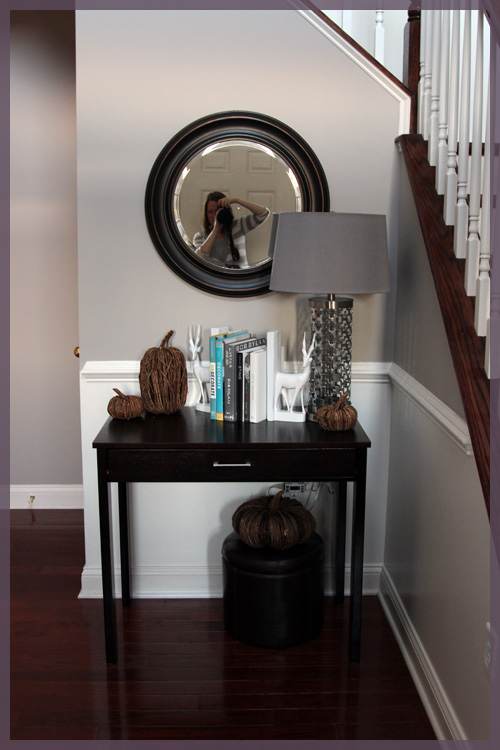
I mixed him in on the entryway table with the round pumpkins I bought last year, which C&B still has if anyone is interested. No, they don’t still carry my wreath, but vine pumpkins they have (no, I’m not bitter).

I only got one small gourd because I thought the little round ones would offset it well.

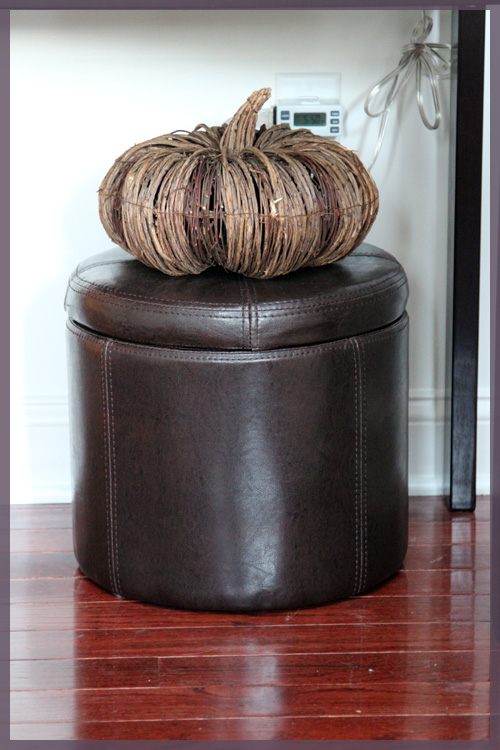
I have a large pumpkin from last year that I stuck on the ottoman under the table for now. (ps- I swear I just mopped my floors and the direct sunlight is dark floors’ worst enemy)

Wait, ottoman under the entryway table? Yes, I bought this little storage ottoman from TJMaxx weeks ago but never blogged about it. It’s a little too small for the table and probably isn’t staying, though the pumpkin balances the size well!

That’s about all I managed to get done around here for fall. Maybe next weekend I’ll have more luck finding a fall wreath and maybe my mums will liven up again? A girl can dream.

ps- Here’s how I used the vine pumpkins last year and here is the outside of the house decked out for fall a year ago!

Our Paint Colors

52 Comments

Posted by Rebecca, October 13th, 2011

A couple of weeks ago when I planned to do a post with some frequently asked questions, I wanted to include a section for all of the paint colors we’ve used in our house. Mike ended up taking over the post for me when I fell asleep, answering his own version of our FAQs. Since the #1 question I am asked is what paint colors we’ve used in various rooms, I figured it was about time the question received it’s own post!

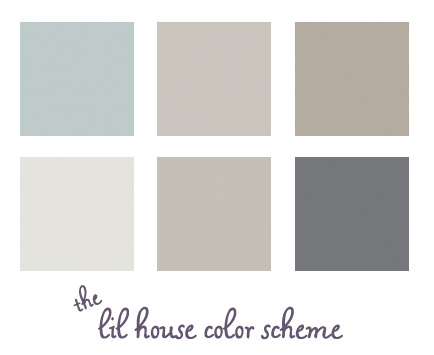
Here are all of our current paint colors displayed together. Some observations…

1. I never realized how well all of our house colors blend together. Since I didn’t really have the whole house in mind when choosing colors, I’m surprised that they all work well! I especially thought the dark gray was bolder and less expected, but even that blends in well.

2. The two middle colors on the top and bottom rows do not look that similar in real life. Or maybe they do? Mike says they do. I think the top color is more brown based and the bottom one is more of a true gray. At least I’m consistent in my choices 🙂

Here is our color breakdown, by room.

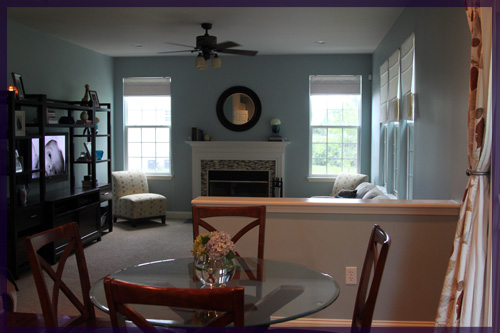
Family Room & Kitchen:

Wedgewood Gray

Benjamin Moore HC-146

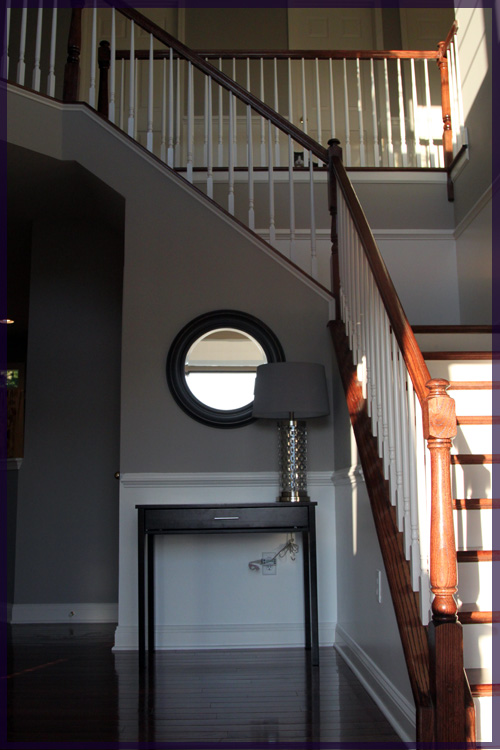
Entryway & Upstairs Hallway:

Himalayan Trek

Benjamin Moore 1542

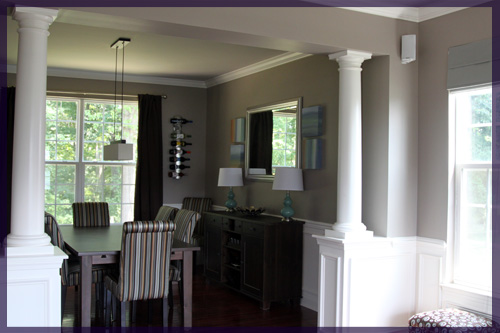
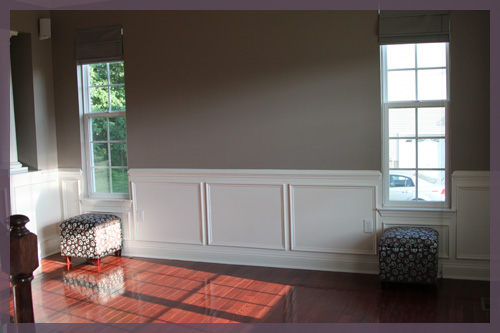
Living Room & Dining Room:

Waynesboro Taupe

Benjamin Moore 1544

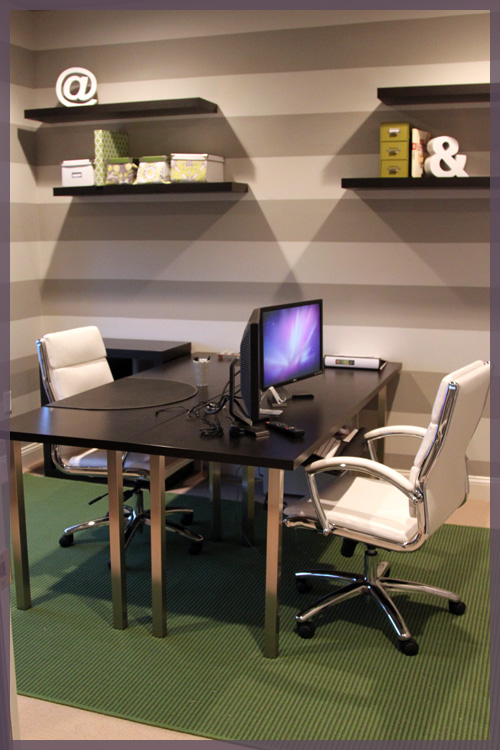
Office:

Light Stripe- Gray Ghost

Olympic D17-2

Dark Stripe- Silver Fox

Benjamin Moore 2108-50

(we color matched the dark stripe to Olympic, but it is nearly identical to Olympic’s Silver Dollar D17-3)

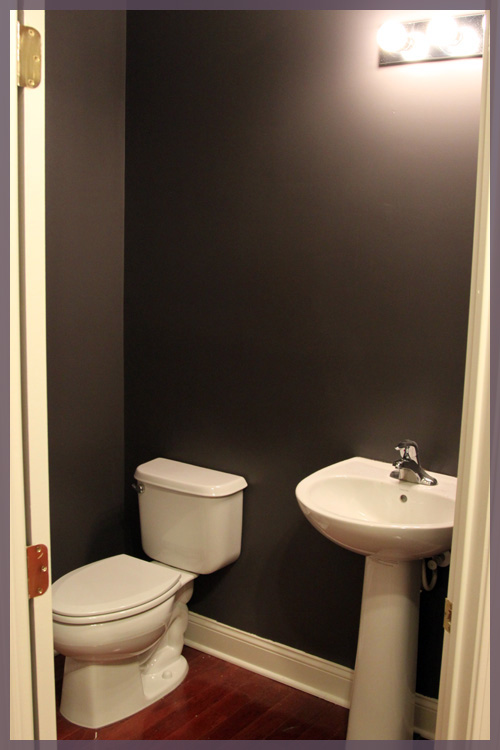
Powder Room:

Cracked Slate

Olympic D44-5

You’ll notice that our recent paint projects have been done with Olympic’s no VOC paint. We try to keep things as toxin free as possible around here since Macky has seizures and we don’t want any unnecessary triggers. Plus those smells just aren’t good for anyone 🙁 The Benjamin Moore paints we used were for rooms we had professionally painted before we moved in so Macky wasn’t exposed to those fumes (we couldn’t paint our two story entryway on our own so we hired it out).

I hope this post answers all of your paint questions in one spot. I plan to update it as we paint more rooms down the road. I’ll also add this post to our top navigation bar for easy access 🙂

Mac and Cheese

5 Comments

Posted by Michael, October 12th, 2011

The other day while playing the “what do you want for dinner?” “I don’t know, what do you want for dinner?” game with Rebecca, she finally responded with “mac and cheese.”

And I was all like, YES!  WE’RE HAVING THE CHEAP CRAPPY STUFF!

Then I read the rest of the email where she suggested we find a recipe.

Wait, what?

You see, Rebecca and I don’t argue much nor really disagree with one another, but when it comes down to mac and cheese, well, it’s quite different.  I like the cheap Kraft is-this-really-cheese stuff.  Rebecca likes the fancy Kraft Velveeta shells and cheese.  I often lose this battle and we end up going with the Velveeta crap. But this time it was different, we were going to make it from scratch.

So I went to my trusty source of great blog recipes, The Way the Cookie Crumbles, and found what seemed like a great recipe.  But it seemed too ordinary.  I went to my back-up, The Curvy Carrot, and found another great macaroni and cheese recipe.

Sure enough, the recipes were identical.  And because of that, I’ll keep the recipe identical here, too.

Classic Macaroni and Cheese

Serves 6 to 8, or 10 to 12 as a side.

Bread Crumb Topping

  • 6 slices white sandwich bread (good-quality, about 6 ounces), torn into rough pieces
  • 3 tablespoons unsalted butter (cold), cut into 6 pieces

Pasta and Cheese

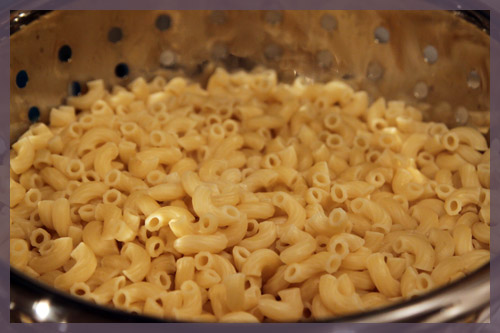
  • 1 pound elbow macaroni (I had rotini on hand-it worked just as well!)
  • 1 tablespoon table salt
  • 5 tablespoons unsalted butter
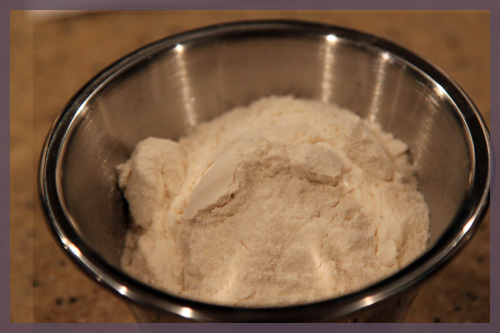
  • 6 tablespoons all-purpose flour
  • 1 1/2 teaspoons powdered mustard
  • 1/4 teaspoon cayenne pepper (optional)
  • 5 cups milk (I used whole milk, just to add more calories 😉 )
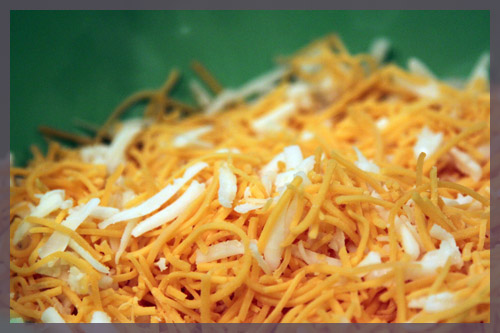
  • 8 ounces Monterey Jack cheese , shredded (2 cups)
  • 8 ounces sharp cheddar cheese , shredded (2 cups)
  • 1 teaspoon table salt

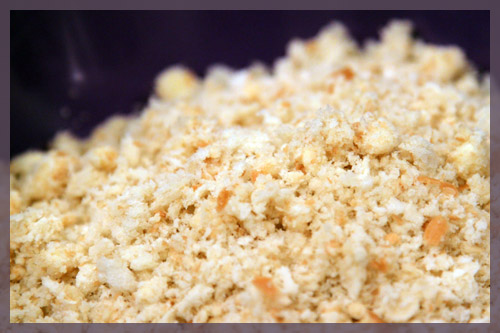
For the bread crumbs: Pulse bread and butter in food processor until crumbs are no larger than 1/8 inch, ten to fifteen 1-second pulses. Set aside.

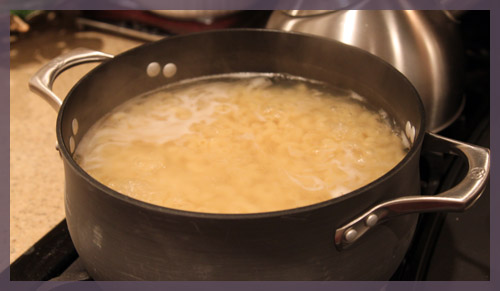
For the pasta and cheese: Adjust oven rack to lower-middle position and heat broiler. Bring 4 quarts water to boil in Dutch oven over high heat. Add macaroni and 1 tablespoon salt; cook until pasta is tender. Drain pasta and set aside in colander.

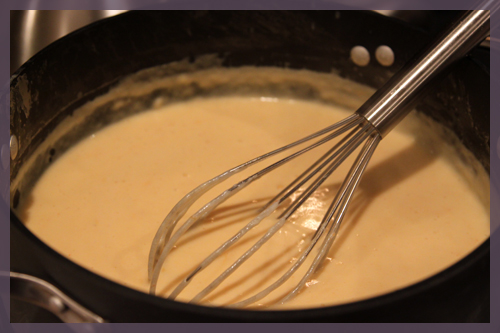
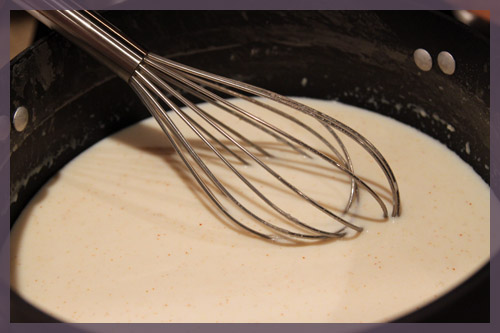
In now-empty Dutch oven, heat butter over medium-high heat until foaming. Add flour, mustard, and cayenne (if using) and whisk well to combine.

Continue whisking until mixture becomes fragrant and deepens in color, about 1 minute. Gradually whisk in milk; bring mixture to boil, whisking constantly (mixture must reach full boil to fully thicken). Reduce heat to medium and simmer, whisking occasionally, until thickened to consistency of heavy cream, about 5 minutes.

Off heat, whisk in cheeses and 1 teaspoon salt until cheeses are fully melted.

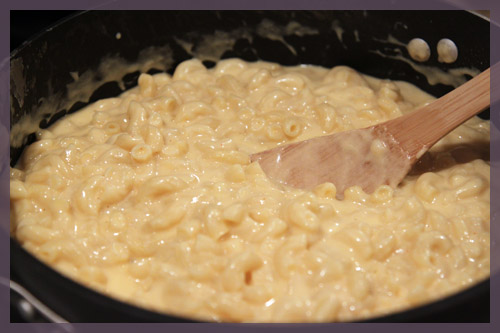
Add pasta and cook over medium-low heat, stirring constantly, until mixture is steaming and heated through, about 6 minutes.

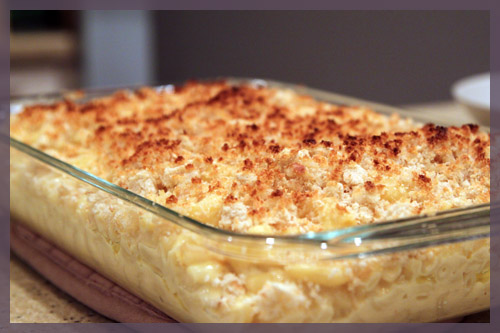
Transfer mixture to broiler-safe 9-by 13-inch baking dish and sprinkle evenly with bread crumbs. Broil until crumbs are deep golden brown, 3 to 5 minutes, rotating pan if necessary for even browning. Cool about 5 minutes, then serve.

This was absolutely delicious and I was quite happy we stayed with this recipe.  I think, quite like The Curvy Carrot, I may experiment with some different cheeses the next time.  It’s not that this wasn’t good (it was very good), we both felt like it missed a certain creamyness in the cheese flavor we were anticipating — perhaps an alternative to monterey jack or a mild cheddar.

We figured we haven’t done a What I Ate Wednesday post in a while, so we were long overdue for one. We’re linking this up to Jenn’s weekly link party over at Peas and Crayons 🙂
Two Years

10 Comments

Posted by Rebecca, October 10th, 2011

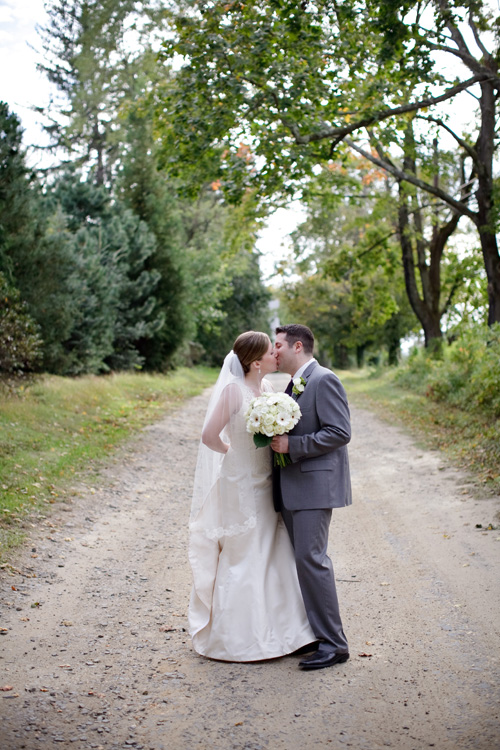
Today is our two year wedding anniversary! We didn’t do much to celebrate this year (okay we didn’t do anything), but it doesn’t mean we’ve forgotten what today is. Mike and I just aren’t always big gift givers when it comes to holidays, birthdays, anniversaries, etc. That doesn’t mean that we don’t always exchange gifts, occasionally we do. We tend to exchange more when we want to, even if it’s not a special occasion. I guess we just do a little less of what is expected and try to stay true to what we’re doing at the moment. Same thing with making special plans. You see, we just bought a new TV and a new sectional, so we figured that was more than enough gift to one another in the material sense. We made a trip to Baltimore two weekends ago and we’ve been out of the house a lot recently, so our gift was to stay home and hang out with our new TV and couch 🙂 Isn’t that what it’s all about? It’s not about what you’re expected to do, or what other people think, it’s about what makes the two of you happy. And that is the exact approach we took with our wedding and honeymoon.
Last year I covered some overall style pictures of the wedding, so rather than bore you with more of the same, I figured I’d dish out some of my personal favorite wedding/honeymoon pictures. So without further adieu, I’ll let the pictures display the happy 🙂
If I could give engaged people any advice it would be what I just said… stay true to yourselves. Don’t forget why you’re getting married, though I know it’s easy to get up in details. They are just details and in the grand scheme of things, they are insignificant. In fact that holds true for life in general. What is important is that your wedding is a reflection of you and that it will not be perfect, because nothing is perfect. Your florist will ignore your wishes, forget your cake topper, the ground will be wet and the temperature will drop 30 degrees overnight. But it doesn’t matter, because you can’t tell that from our pictures or our memories.  And our memories are full of damn, can we do that again?

Also, advice number two, don’t skimp on the honeymoon. Take your time with it, go somewhere you’ve always wanted to go. I think if I had to, I would have had a more simple wedding to keep my Hawaiian honeymoon. In fact, we sort of did this when we decided to buy the house. We cut back on a lot of wedding expenses because we weren’t willing to give up Hawaii. Those two weeks were the best of our lives and I wouldn’t give them up for the ceremony programs or videographer that we cut out of the budget. I mean, you never forget hiking around this…

Or this view…

Or how small we felt when we walked under this…

Happy Anniversary to my favorite person, my best friend, the love of my life, the best teammate ever and my biggest fan. I love you.

ps- Sorry I didn’t get you a card, but can we go back to Hawaii now?

All wedding photos courtesy of Zlatko Batistich, whose homepage is currently hosting our fist pumping picture front and center 🙂

Copyright 2010 - 2011. The Lil House That Could. All rights reserved.