Planning The Nursery Gallery Wall
Posted by Rebecca, October 25th, 2012
Oh hey, remember when I was working on that nursery? Yeah I still haven’t finished it. Why haven’t I finished it, you ask? Because the gallery wall I’ve planned has been a major pain.
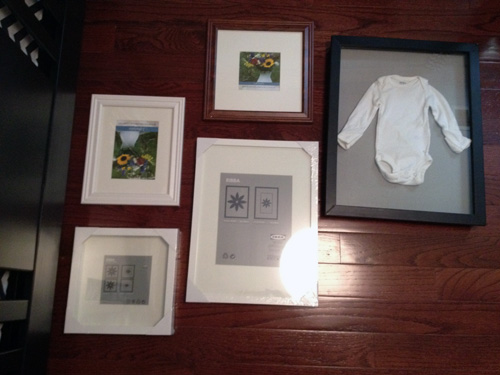
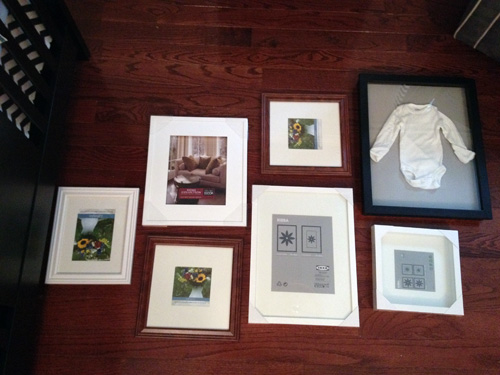
I didn’t plan the gallery wall before Easton was born because I really didn’t know what to do with it. Then I decided to pick up a shadowbox from Michael’s to house one of Easton’s super tiny newborn onesies.
They didn’t have white frames, so I went with black with an awesome gray fabric and decided to paint it white. I used this as a starting point for the rest of the wall and just started playing with frames we already had. Note: this all initially happened back in like, July and all pictures were taken with my iPhone.
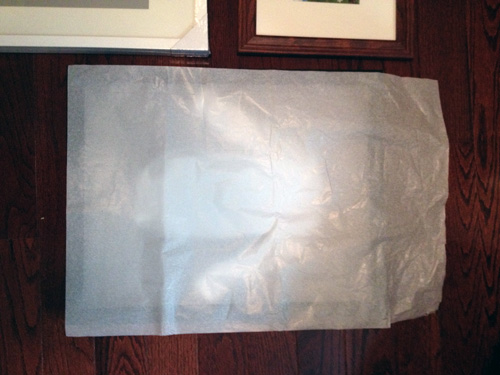
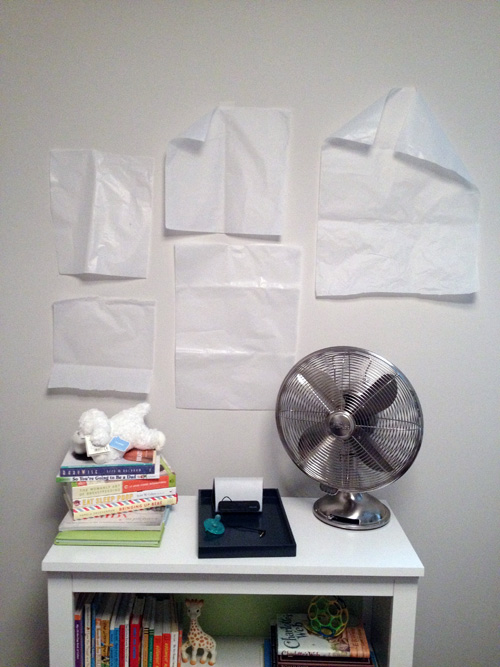
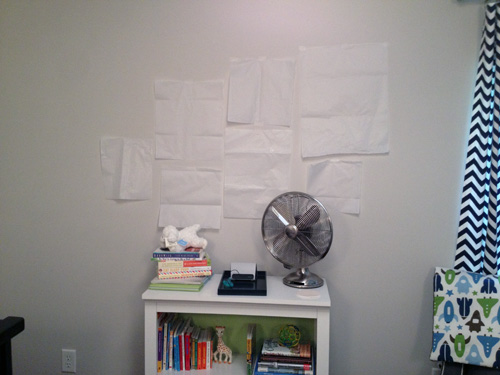
This was the first configuration I came up with and I thought it looked good. I then just had to figure out how it would look on the wall. I decided to use tissue paper as a template because a) the sheets were large enough and 2) I literally paid $1 for a whole huge pack of it. It was more flimsy than using say, cardboard, but it was cheap and easy. I just traced over each frame and cut the tissue paper to size.
Once on the wall, I wasn’t all that happy and felt like I needed just one more frame to the left (and some tape on the corners of that tissue paper, which I added after the fact)
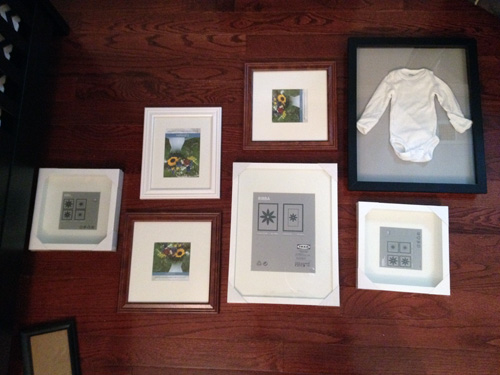
So I started to play around once again. First there was this…
Yep, I actually added two more frames to the mix. I swapped out a few of the smaller frames and ended up with this…
Once the tissue templates were on the wall, it passed the test for me.
The only thing that I wanted to change was to hang them all slightly higher, which I figured could be done when they were really hung. No sense in messing around with tissue paper more than necessary.
Now all I had to do was make all of the frames white and plan what I wanted to go in them. Easy, right? RIGHT?!? No.
First, the simple frame spray painting. Instead of using what I’ve used in the past, Rustoleum Universal spray paint, I went with a basic Valspar one that chipped a million times. I sprayed the frames literally about 3 times because I kept chipping them by moving them or placing them in the garage.
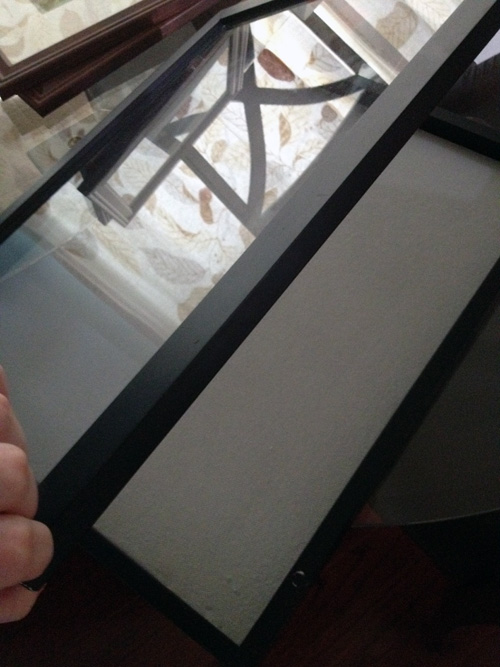
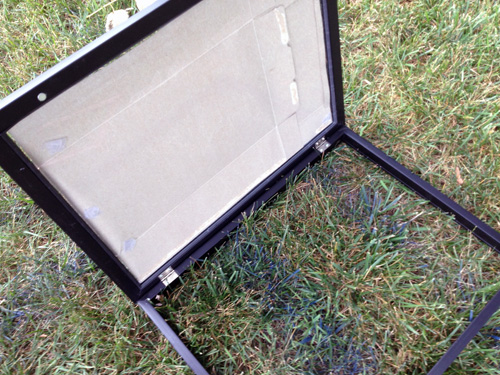
Second, that shadowbox. It may be the death of me. I didn’t realize that the glass doesn’t come out. The fabric? Yes, totally removable.
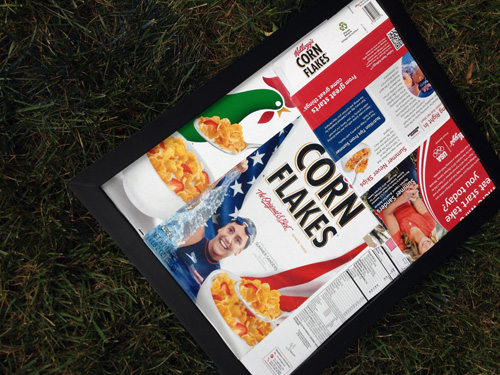
Then I had the genius idea to tape off the glass and spray paint it (with shoddy spray paint mentioned above). I spent way too much time on this Corn Flakes box turned shadowbox drop cloth.
The spray paint not only ended up chipping like the frames above, but the coverage on the black was awful and it oversprayed onto the glass. I decided I wanted to hand paint this bad boy.
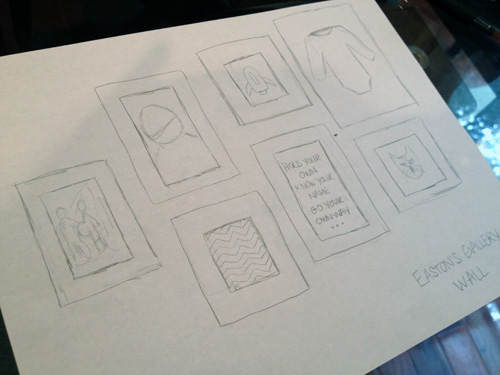
The strangely easy part of all of this gallery planning? Deciding what to put in the frames. I made a little sketch of the frame arrangement I went with and then doodled what I wanted to put in each to make sure I liked it.
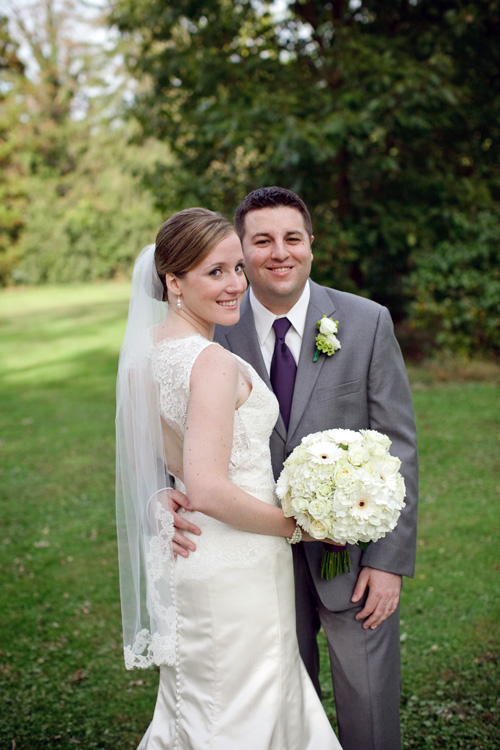
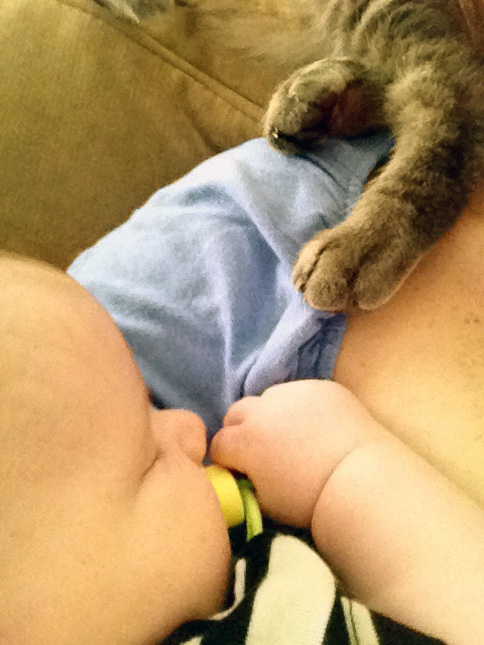
Included are some photographs, fabric, some word art and a little painting that I made. Those all took no time. But painting frames??
Take several coats of spray paint that failed + returning to work and you have me, 3 months later with tissue paper still on my wall.
There is hope though, I recently picked up a can of the good spray paint and hand painted a coat of paint and primer in one on the shadowbox (plus I did a little sanding). Hopefully this neverending project ends soon or I may lose my mind. I am dyiiiing for a final nursery reveal.


