Archive for the ‘crafts’ Category

Making Spirits Bright

6 Comments

Posted by Rebecca, December 18th, 2012

I think we have all had heavy hearts lately, saddened that the world can be such a cruel place for those who are so innocent. After watching/reading the news all day on Friday, I decided to doodle on something I made the weekend before. Doodles always make me smile, maybe they do the same for you.

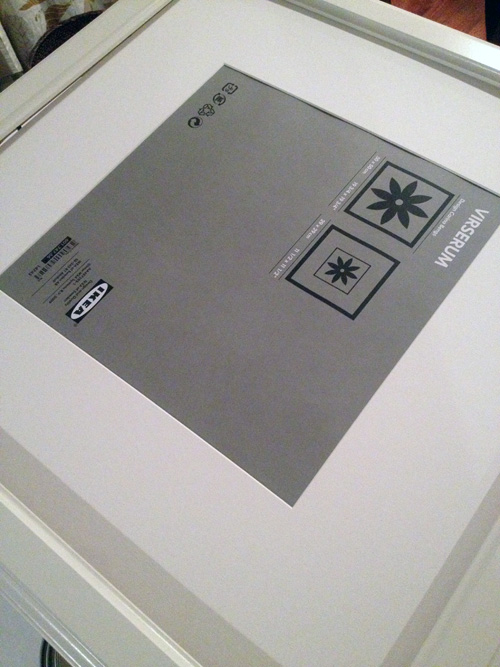
I started with an Ikea frame we already had.

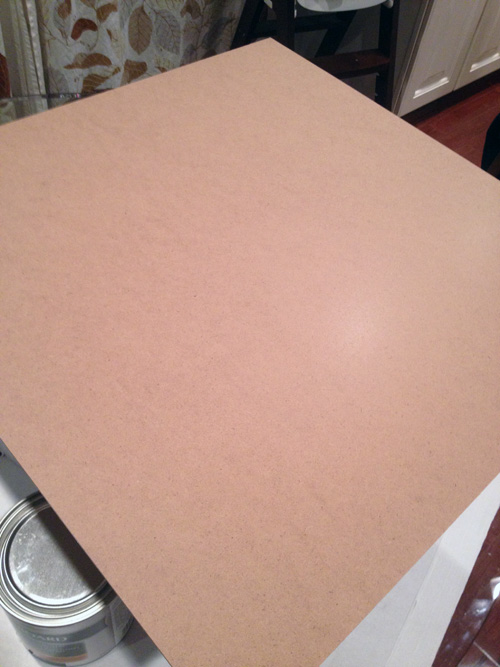
I checked to see what the backing to the frame looked like. Turns out, it was a nice smooth board. Perfect for some chalkboard paint 🙂

As a kid, I always loved playing school and writing on the blue chalkboard I had in my room. I was always the first to volunteer to write on the board at school and I loved trying different types of handwriting (my middle school speciality was that I could write on a chalkboard just as well with my left hand as my right). With the chalkboard trend making the rounds, I have wanted one for over a year. We’re planning on making one wall of the office a chalkboard wall, but I got impatient. Need. Doodles.

While I was taking an initial look at the frame, I broke the glass. It was a total accident that actually worked out for me because I felt bad wasting it. Now the only part I wasn’t using was the mat, which I ended up placing behind the board to keep everything fitting tight. Whew?

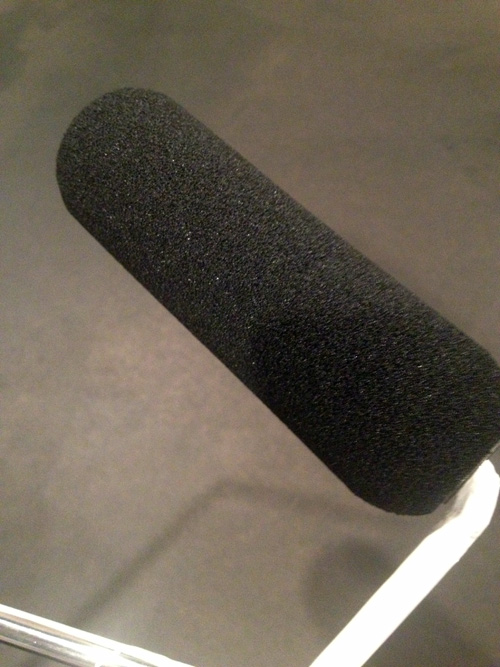
I used Valspar’s chalkboard paint in black and rolled it on with a foam roller we had hanging around.

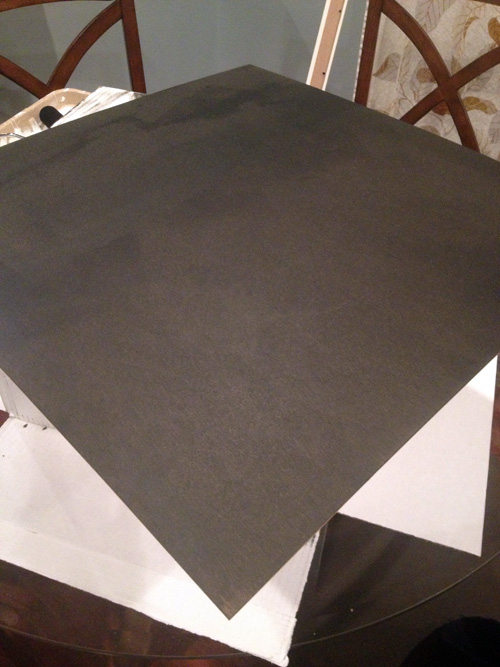
Each coat took me about… 1 minute. I waited maybe 10 minutes between each coat and ended up doing 3 coats.

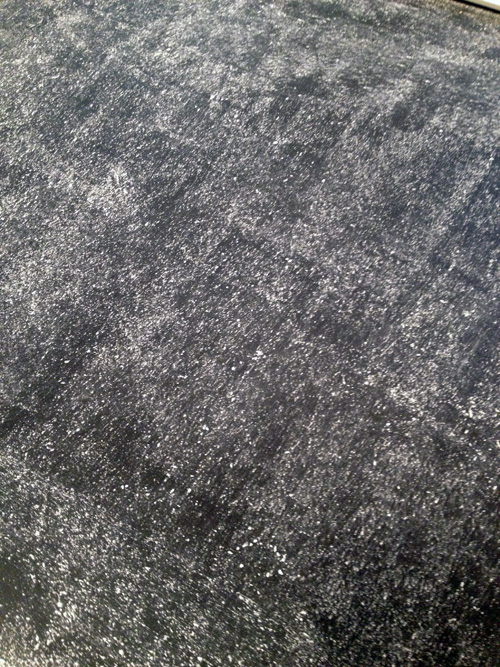
I let it completely cure overnight, then I rubbed some chalk over the entire surface. The Valspar can said nothing about doing this, but I had seen it all over other blogs. Better safe than sorry.

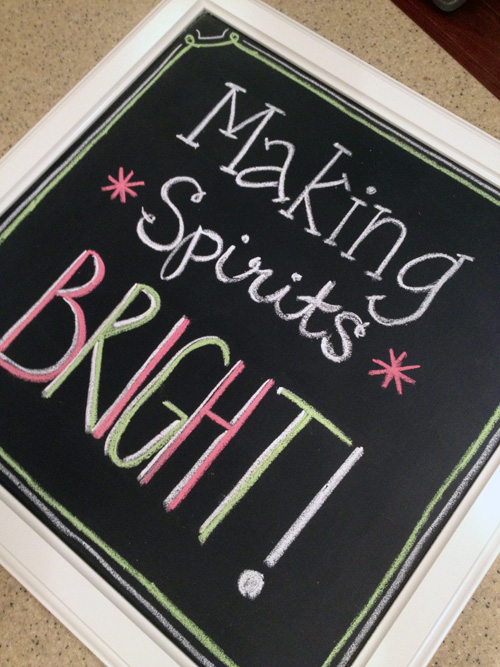
Once it was all done, I got to writing. In the past, I’ve watched some YouTube videos of professional chalkboard writers and took some hints. One of these days, I’ll try something elaborate with proper spacing and planning but for now, this is what I did in a total of 10 minutes.

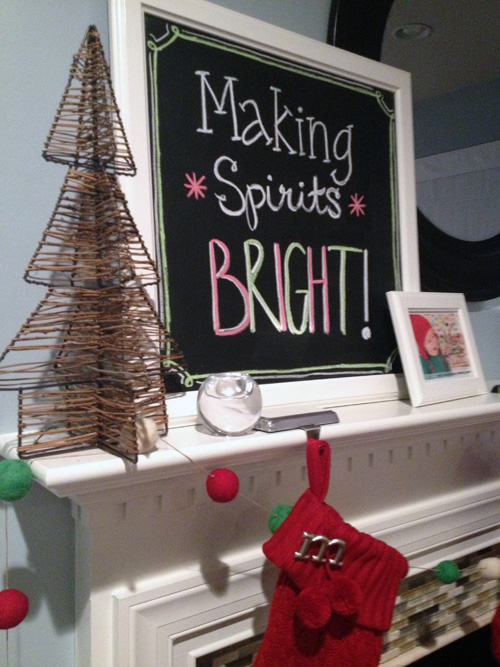
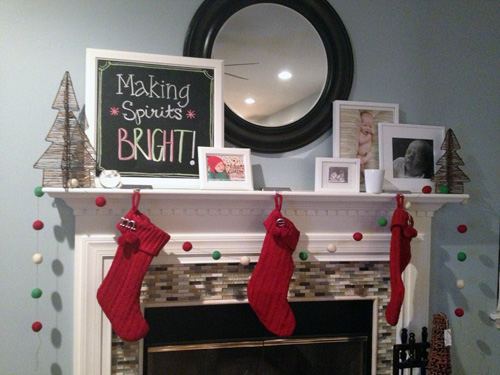
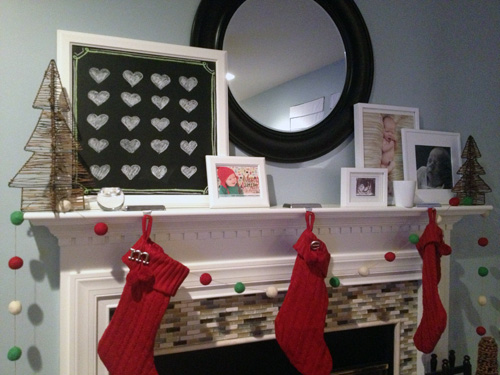
Needs work, but not bad for a first attempt at chalkboard art. I then stuck it on the mantel, which is still a work in progress.

We’re waiting for some Christmas prints of Easton to arrive to fill a frame or two, then I might add some wrapping paper to the remaining ones. Once that happens I can take some decent daylight pictures of our Christmas mantel.

I planned this post out in my head and then jumped in the shower. It didn’t feel right to me to not fully address what happened in Connecticut, though I really don’t feel like I have the right words to say. “Making Spirits Bright”, while positive, still felt like I was being cold.

So I just ran downstairs, erased my chalkboard, and changed it to this.

Twenty little hearts, for twenty little hearts.

Because a picture is worth more words than I could string together.

The Finishing Touches

12 Comments

Posted by Rebecca, July 17th, 2012

Now that we’ve used the nursery for a bit, I feel like I’m finally ready to wrap things up in there. For the longest time, I didn’t know if I wanted a rug and a mobile. I also had no clue what kind of arrangement to do for the gallery wall. I think I (mostly) figured it out!

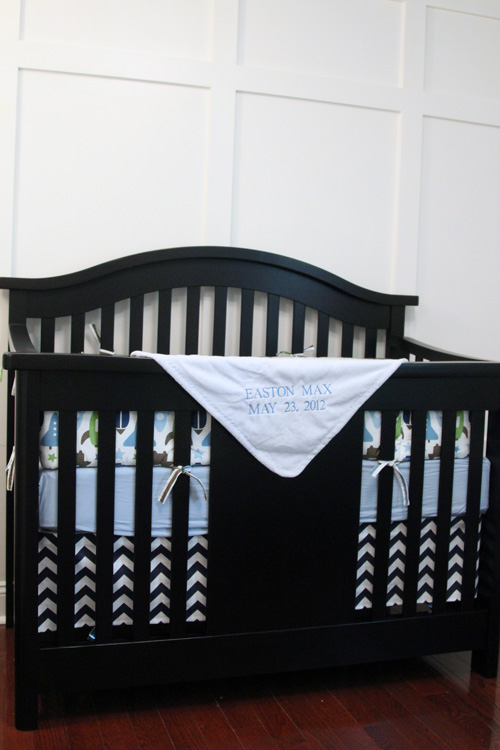
First, the mobile. Back in January I posted about how I had no clue what kind of mobile to add or if I even wanted one. Well, once we finished the crib area with the paneled accent wall, the bedding and the chevron crib skirt I made, I decided that I didn’t want a mobile and liked the less is more look we had going on.

Well, fast forward a few months and Mr. Easton had other plans. He’s becoming so much more aware of his surroundings and I’m happy to report that he loves his room. He stares at his curtains, ABC art and giraffe sconces… like honestly, he does. He even sometimes enjoys his room so much that he giggles at inanimate objects. There’s something around his closet area that captivates him and always gets a giggle. I like to think it’s those polka dots I slaved over while 9 months pregnant. He’s a future designer…

As we begin to think about putting him in his crib in the upcoming months (sniffle sniffle, tear), we know he would absolutely LOVE a mobile. Wanting to stick with something minimal, I decided to go with one of the ones I found originally, from Little Dreamers Inc on Etsy.

I wanted to make a mobile on my own, but I saw that the Little Dreamers Etsy shop sold DIY mobile kits for $25. I figured that would save me some time cutting out all of those stars and I would pay probably $10-$15 in materials, so I set out to order it. When I told my mom, she told me that Easton would like his mobile before he’s 12. She offered to pay for it fully assembled so that I didn’t have to put it together. Since I’m still feeding Easton every 2 hours and the mobile has around 165 stars, I agreed to accept the offer. It will be here in 2-4 weeks 🙂

Up next is the gallery wall I’ve planned to do over the bookcase.

During one of Easton’s naps this weekend, I was actually able to make some progress! I settled on a nice little arrangement…

I also had a chance to spray paint the darker frames white, when the can of spray paint I was using decided to clog beyond repair. I’m also working on selecting photos and art to fill these things (though that little onesie is staying, after it gets ironed), so the details will be coming. Hopefully this week…as long as the spray paint gods are nice to me for round 2.
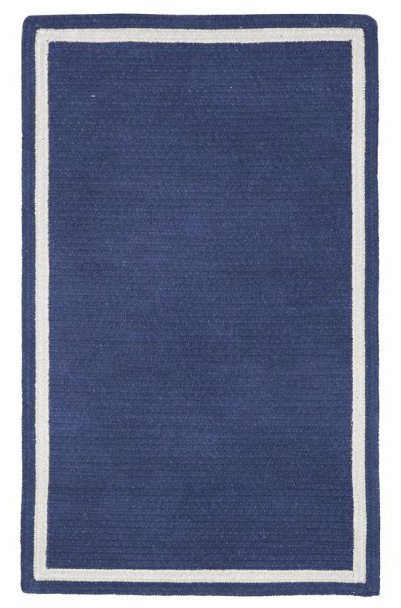
Finally, the rug. I knew eventually we’d want an area rug for the room, but I knew it wasn’t an urgent item so I held off. Now that Easton plays more, I really want to be able to put him down in there. I was originally eyeing up the Capel rug from Pottery Barn Kids in either light blue with navy or navy with white…

We have a gift card and I thought the 4’x6′ size would work. But when I measured it out in the room, it is way too small. We need a 5’x8′ rug, which means way more money. I’m back to the drawing board on this one, anyone have any suggestions? I’m actually not all that picky about looks on this one and I’d take any solid blue or green rug in various shades. Heck, I’d take a cool patterned rug as well! The important thing to me is that it’s soft for little knees and that it’s safe and not full of chemicals. All of the 5’x8′ cotton/wool rugs I’ve found seem to be $500. Recommendations welcome 🙂

ps- If I owe any of you an email, I apologize for the wait. Never mind the feeding a baby every 2 hours thing, but my laptop charger kicked the bucket so my computer time is limited. How does one’s charger die? One word… Macky. He chews wires. Twice in one month apparently. He needs to get a job.

Wining

7 Comments

Posted by Rebecca, March 20th, 2012

Nope not winning or whining, but wine-ing. But not me…

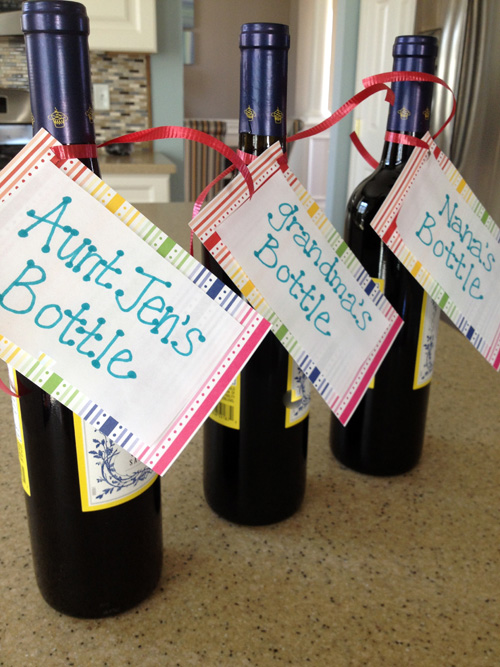
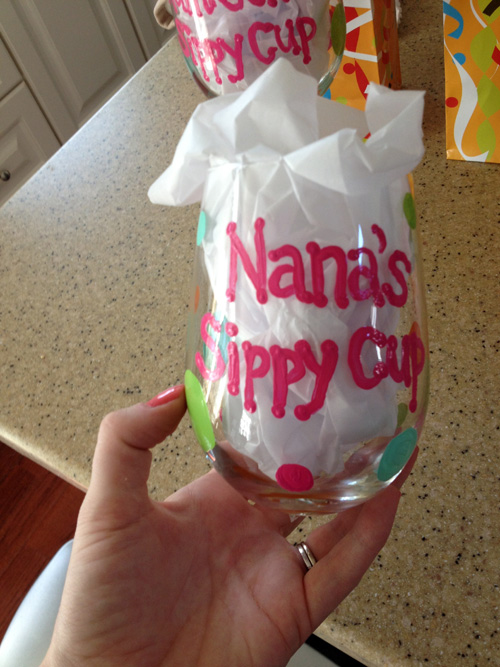
Remember the baby shower that my mom, mother-in-law and sister-in-law threw for me last week? Well, I wanted to give them something to thank them. They all like wine, so I knew I wanted to do something wine related. My friend Laura came up with the idea of giving them each a bottle of wine with a note that said “Grandma’s Bottle”. I loved the idea and decided to take it one step further…

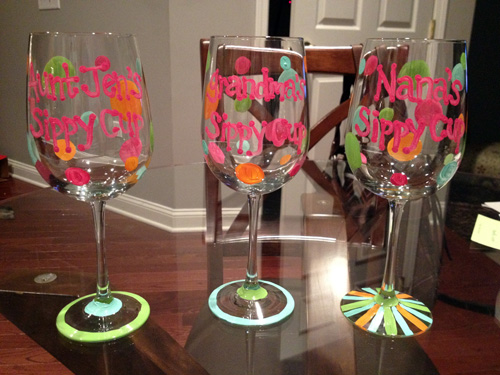
I decided I wanted to give them each a fancy painted wine glass (sippy cup) to go with their bottle. I know those fancy painted wine glasses exist, but I figured the chances of finding one that said “Aunt Jen’s Sippy Cup” were slim to none. I headed to Michael’s to weigh my options and see if I could find some glass paint to whip up a design. Once I finally found the glass paint, I saw it came with a warning that said “CONTAINS A CHEMICAL THAT HAS BEEN PROVEN TO CAUSE BIRTH DEFECTS AND/OR FERTILITY ISSUES”. Um… pregnant person here, creating a baby themed gift, to give as a thank you for throwing a baby shower. I decided using the traditional, bake in the oven, glass paints were not a good idea.

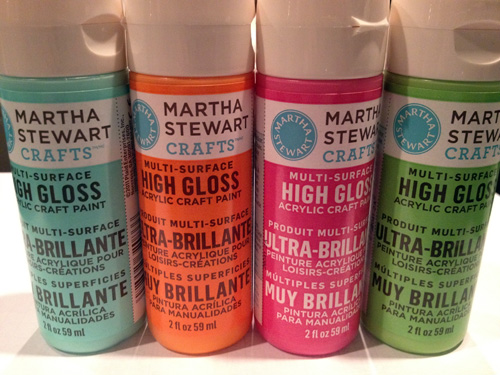
As I was leaving Michael’s, I walked by a display for Martha Stewart non-toxic craft paint that was good to use on glass. The label said that it was microwave and dishwasher safe after curing for 21 days. Jackpot!! I picked up 4 different colors… aqua, orange, hot pink and lime green in high gloss. They had several different finishes and a bunch of colors available.

I also found some clearance wine glasses at Bed, Bath & Beyond. They were marked as part of a set that was opened, so they were less than $2 each. Jackpot again!

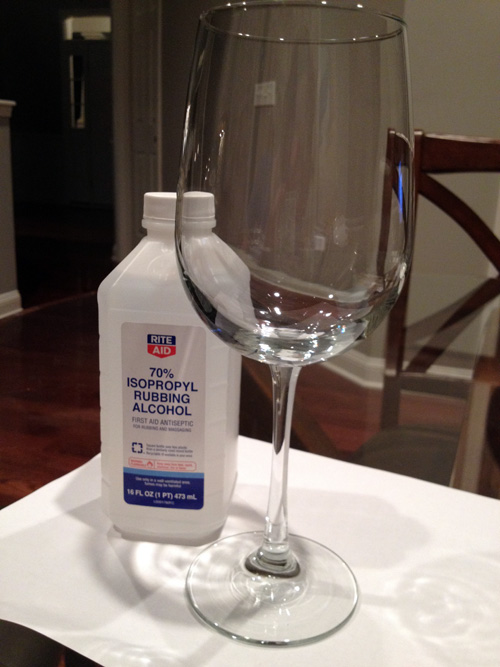
I followed the directions on the paint bottle and cleaned the glass with rubbing alcohol before painting.

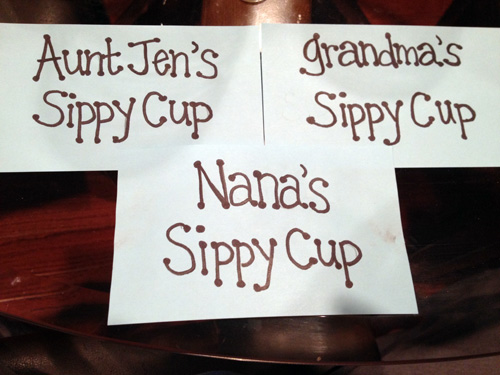
Then I wrote out what I wanted each glass to say on a post-it.

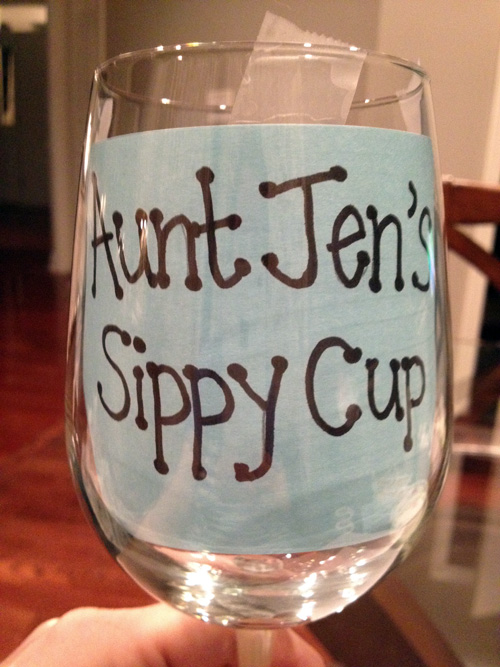
Then I taped each post-it inside of the wine glass as best I could so that I could trace the letters.

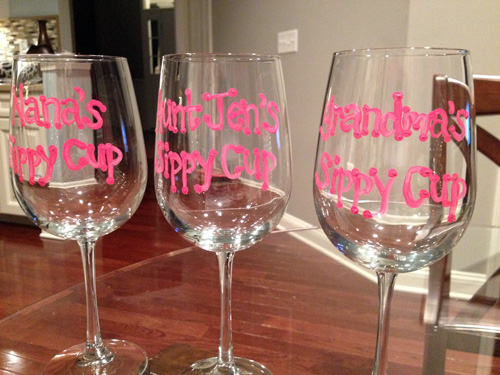
It only took me a few minutes to trace the lettering with a thin paint brush on each glass.

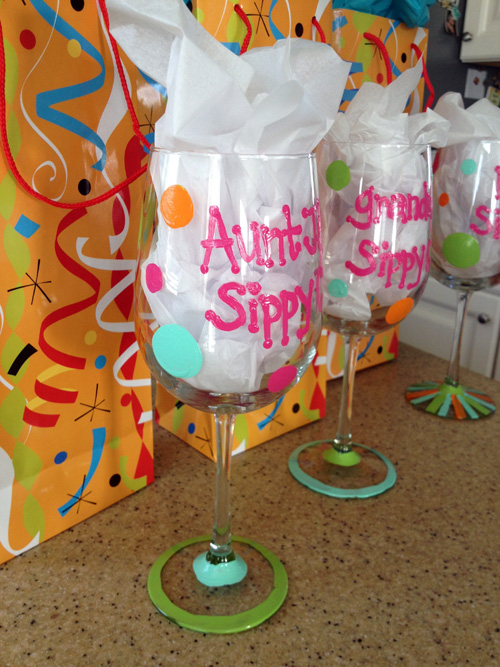
I added some random polka dots and doodled on each stem a little. Here they are after the first coat of paint.

The bottle recommends leaving an hour of drying time between each coat, but I gave it a day.

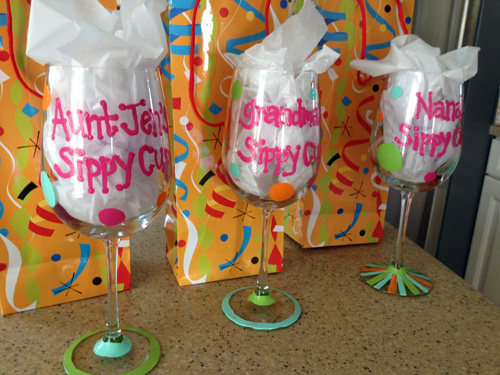
Ta-da! All done!

I paired each wine glass with a bottle of wine with a little tag on it.

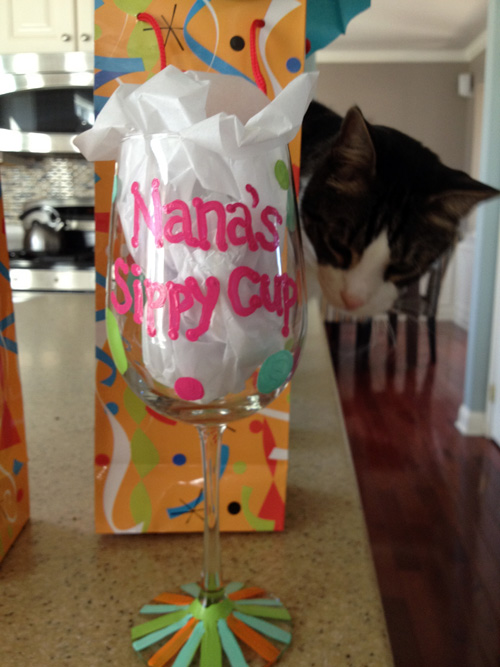
But then something happened. I took these quick after pictures right before I left for my shower. I even took what I thought was a cute picture of Macky admiring my work…

Do you see where this is going? Macky liked Nana’s wine glass a little too much and it ended up on the floor as I foolishly trusted him. I don’t have a picture of the shattered glass since I was worried about little paws, but by some miracle, the painted part stayed intact…

So Nana was given just a top of a wine glass to open. Thankfully, my mom has 5 cats and understood (especially since I had photo evidence), but it was still so frustrating that my hard work ended up on the floor. I have to make her a replacement thanks to my dear son, though I even apologized to him after the incident. He actually was being quite sweet that morning and just wanted to do the kitten facemark on my wine glass and yell “MINE!” He totally didn’t mean to knock it off the counter, he was just being my biggest fan 🙂

Going Mobile

6 Comments

Posted by Rebecca, January 25th, 2012

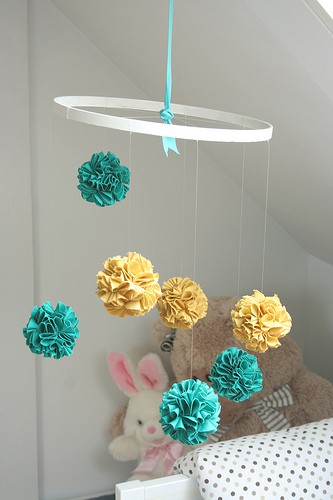
Up until this point, I think we’ve had a pretty good vision for what we want for the nursery. One element I haven’t put much thought into is what the heck to put over the crib. Though mirrors and pictures always look nice and classy, I still like the idea of having a fun mobile for the baby to look at. I’ve been assembling some happy medium choices on Pinterest since, well apparently, before I was pregnant.

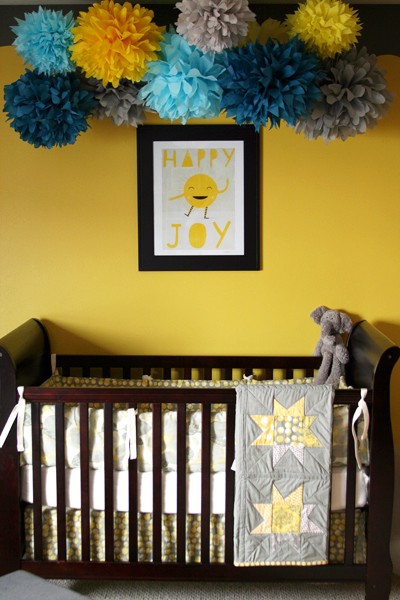
First there are the tissue pom installations, which I always find appealing…

(from Melanie Bauer via Pinterest)

(from Sweet Tea Paper on Etsy via Pinterest)

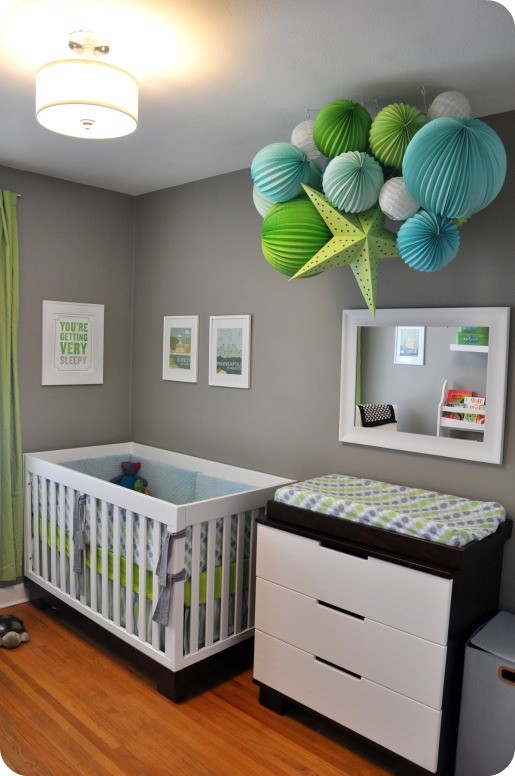
I’ve always liked big poofy things on the ceiling and they remind me of the paper lanterns we had at our wedding. I’ve even seen paper lanterns used in nurseries, which is a great option because those lanterns are cheap 🙂

(from Cheap Chic Nursery via Pinterest)

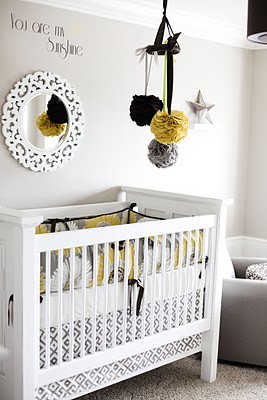
Though I like the idea of something large that catches the eye, I think I’m leaning towards something smaller and more subtle. I love the idea of sticking with a pom, but on a smaller scale like these…

(from Petite Lemon via Pinterest)

(from First Time Fancy via Pinterest)

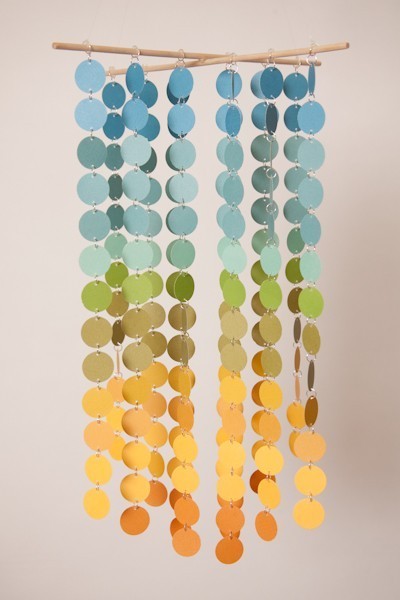
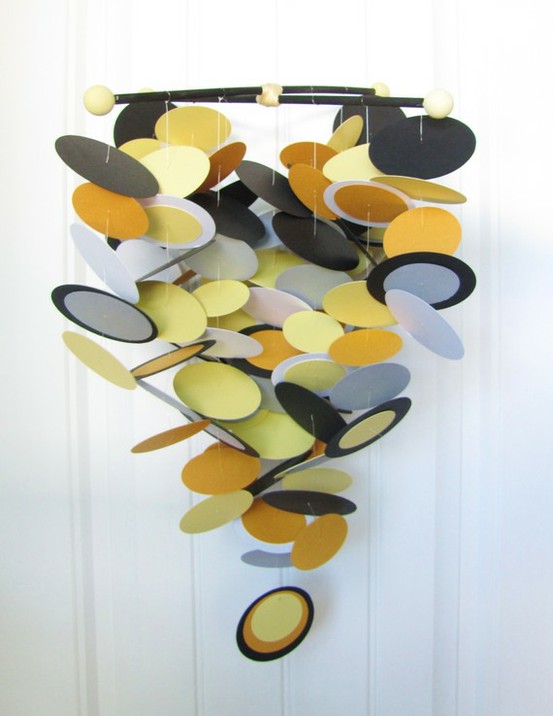
Then I found some mobiles made out of various shapes and they got the wheels in my head spinning. I definitely want to DIY something and here are some of the non-pom ones I’m currently loving…

I love the idea of pretty circles…simple, not complicated, but with major impact.

(from Lil’ Sprout Creations on Etsy via Pinterest)

(from The Whimsy Boutique on Etsy via Pinterest)

(from Jenna Bee on Etsy via Pinterest)

I also like the idea of more unique shapes, like this butterfly mobile…

(from Little Nest Box on Etsy via Pinterest)

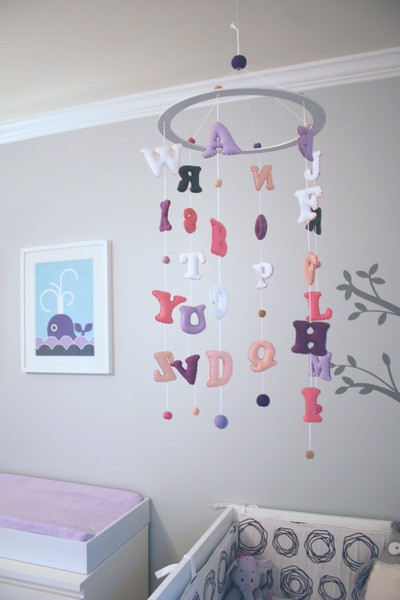
Or this one made out of letters…

(from Project Nursery via Pinterest)

Here’s one made with stars…

(from Little Dreamers Inc on Etsy via Pinterest)

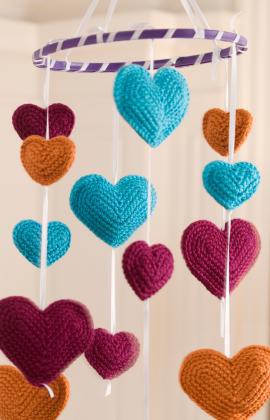
I also love these little crocheted hearts…

(from Fave Crafts via Pinterest)

I do know how to knit and I started to learn how to crochet right before I started this blog. But then, my ‘hobby’ time went here. I wonder if I could knit a shape instead, considering that is more natural to me than crocheting? Hmmm…

Regardless of whether I use fabric, paper or yarn, I definitely want to make something that is appealing to a baby, but keeps some style to it. I’ll have to think of something creative to go with the rest of our nursery… whenever we start it 🙂

Acorny

3 Comments

Posted by Rebecca, October 20th, 2011

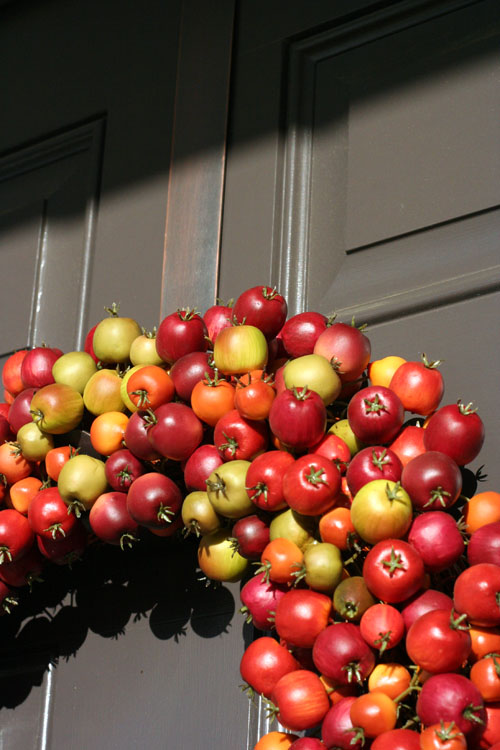
While still mourning the loss of my favorite fall wreath, I’ve been trying to think of ways to replicate the simple repeating berries of it that I loved so much.

I always thought they kind of looked like cherry tomatoes 🙂 obviously not a good choice to use for a wreath. But while I was at work today, the wind was hurling acorns at my head and I had a lightbulb moment, can I glue acorns on to a wreath?

If this were possible (okay, I knew it was physically possible but wanted to see some ideas), it would of course be found on Pinterest. So I headed over to what Mike calls a glorified google image search and typed in “acorn wreath”. I was not disappointed.

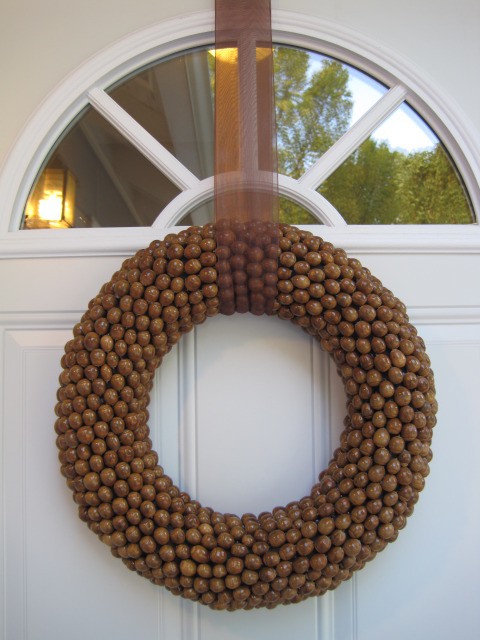
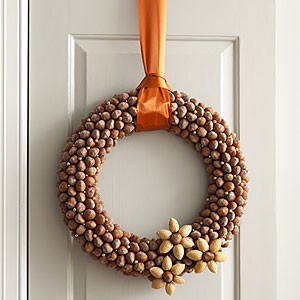
(from The Nest via Pinterest)

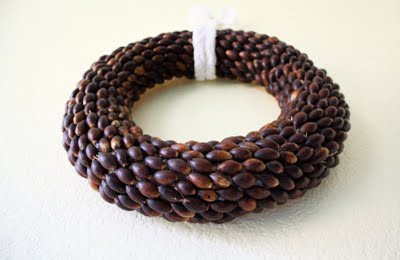
(from Dana Made It via Pinterest)

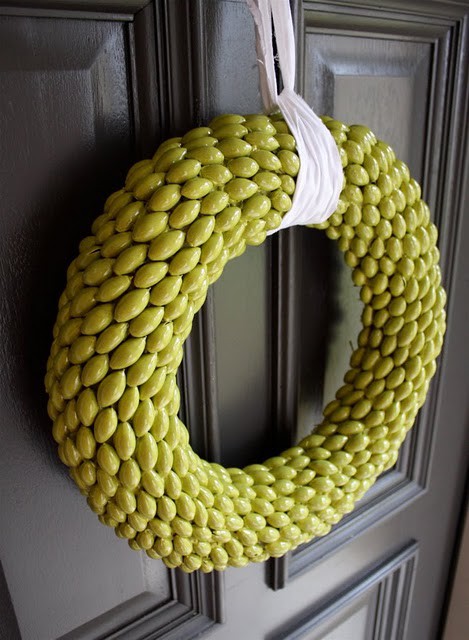
There were even some painted ones, which I am considering to get the bright tones of my former wreath….

(from Dana Made It via Pinterest)

…And an embellished one!

(from All You via Pinterest)

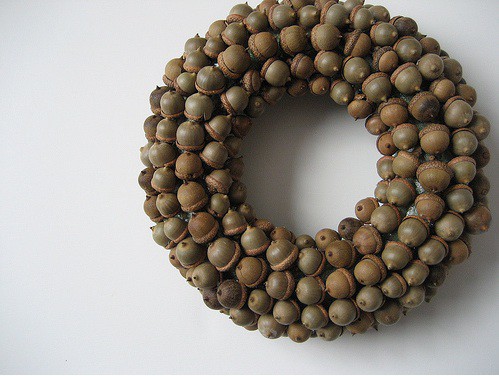
One thing I felt that all of these wreaths were missing though is the cute little hats that come with acorns. I feel like those are what defines an acorn for me and I really wanted to find a way for those to make it on to my wreath. I wasn’t sure if they were removed for a cleaner look (which is probably the case), but I finally managed to find one example of a full-acorn wreath!

(from Ashley Ann Photography via Pinterest)

And I love it. The only thing I may change is the color since my door is brown and I loved the pop of my old bright wreath. I’m not sure if I want to attempt multiple colors, though in theory I would like to. My problem these days is finding the time to do all of the above. Collecting acorns will be tedious, gluing them on will be tedious, so I’m not sure if I want to tackle painting them and giving them time to dry. I guess we shall see where the weekend brings me, but I’ve already planned a day to collect some of these bad boys 🙂

Too bad Macky can’t come with us, I could definitely train him to pick up acorns (as I watch him play fetch with Mike as I type…)

Copyright 2010 - 2011. The Lil House That Could. All rights reserved.