Archive for the ‘crafts’ Category

A Touch of White

7 Comments

Posted by Rebecca, March 14th, 2011

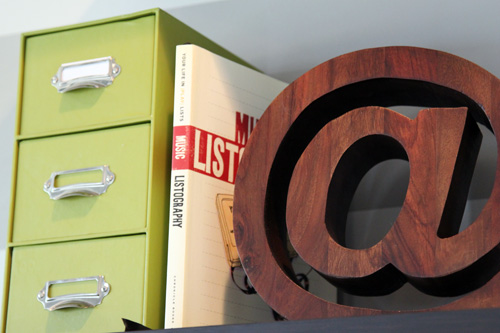
Waaaay back in January, we visited the Crate & Barrel outlet and finally purchased something(s) I’ve wanted for about a year. We scored these bookends for 30% off the original price.

I have always loved the wooden chunkiness of these guys. I love the ampersand and I actually handwrite it often. The “@” symbol has become a little part of me since I started this blog. I comment on other blogs and use it as part of my name multiple times per day. Throw in the discounted price and I felt like we could finally take the plunge…the only problem was where to put them.

I’ve shared our original office plans before, which included built-in cabinets in a dark stain. We have since obviously decided to go with a black/gray/white/green color scheme that the bookends did not fit in with. I thought maybe we could put these in our bedroom or on our dark wood entertainment center in the family room, but at the end of the day they felt much more office appropriate.

The solution? Spray paint them white.

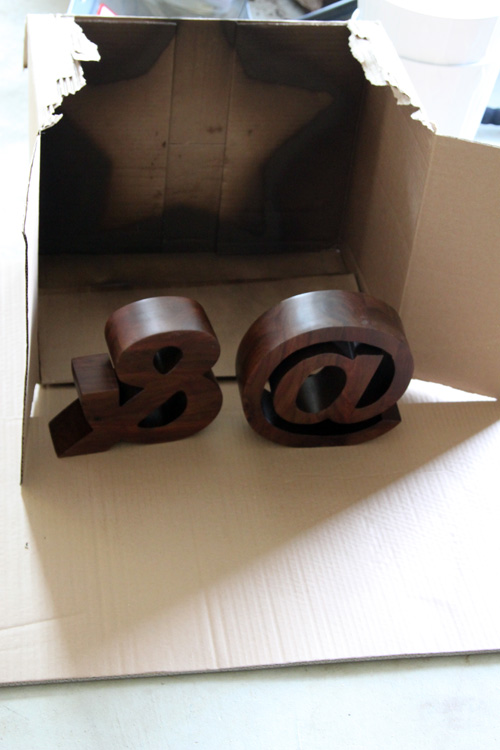
I know, it hurts. I love the wood grain in these possibly more than anyone. My rustic loving self is still shaking this one off. But at the end of the day, the symbols were the right fit for the office. I’d rather have white symbols than no symbols. So yesterday, despite 20 mph winds, I managed to get outside to do some spray painting. Scratch that, I decided to spray paint in the garage. No worries, I left the doors open of course, I just needed some barrier from the wind.

I used the same box that I used to spray paint my Pier 1 star basket at Christmastime, how is that for thrifty? 🙂

After a quick coat, I was feeling much better about my decision.

It was a little tricky to get in all of the nooks and cranies of these things, but all it took was one coat and a round of touch ups and we were good to go!

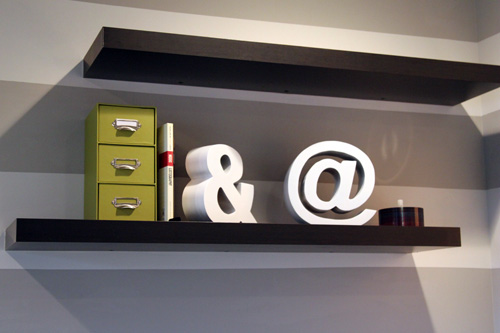
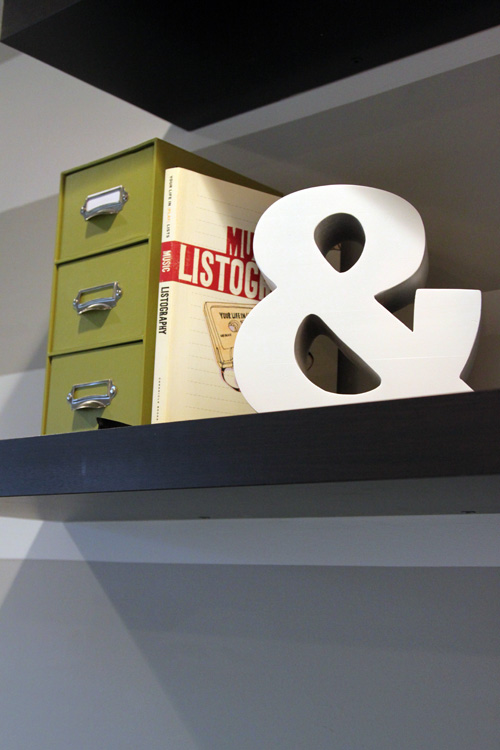
They are definitely different than they were before, but I love the crisp modern vibe that the white gives off.

I love the contrast between the shelves and the symbols and how they add that pop of white we’ve wanted to have in this room. Once we add the other white items we have planned, as well as some actual books to the shelves, I know they are going to look great!

ps- I did use my green spray paint this weekend, but the verdict of that project is still pending…

A Little Logical Thinking

3 Comments

Posted by Rebecca, March 10th, 2011

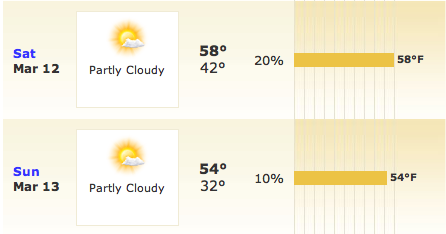
Since the weather this weekend is supposed to be this…

I’m hoping to finally get outside to play with this…

And even some of this…


I bought this spray paint a while ago, but because of cold, rain and being busy, I haven’t had a chance to use it. I’m hoping to spray some office accessories this weekend, as long as the weather cooperates. I would tell you what I’m spraying, but I am slightly nervous to take my beautifully traditional things and make them funky with glossy green spray paint. It is either going to be a brilliant idea or a complete disaster.

Good thing I have this blog to publicly humiliate myself if this doesn’t work out, but I have a feeling I’ll be just fine 🙂

A New Addiction

3 Comments

Posted by Rebecca, February 28th, 2011

Mike and I were busy bees this weekend, working away at finishing our office.  I have lots of good stories to tell of trips to Ikea and long overdue purchases, but it’s been a very long day!

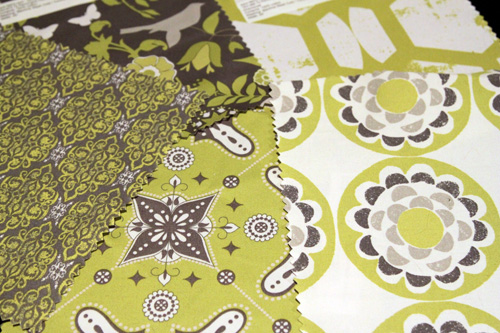
My rough day was made much better when I came home to see that some fabric samples I ordered from Fabric.com had arrived. How did I not venture into online fabric shopping before?? I am in love with all of the possibilities! Here’s a little sneak peak at the first round I am considering…

I think I have a front runner and seeing this picture has given me even more ideas. I love seeing different patterns together like this, especially when designers make it easy for you by matching the same colors in a bunch of different styles! I am just learning to venture out with patterns and textures, so the online option takes some of the intimidation out of the way. It’s like a whole new wooooorld! Cue the Aladdin! Wait.. more about that tomorrow…

Did I just pull a teaser? Maybe 🙂

a Christmas table

7 Comments

Posted by Rebecca, December 21st, 2010

This is my second turn at this tablescape game, since my first attempt was Thanksgiving. After my last run, I was inspired with so many new ideas.  I felt like there were a million things I could do, to the point where Mike told me to make up several options.  But I didn’t get a chance to finish up all of the crafts I had planned and when I set out to do this, I was stumped.  I had already put together our mantel, which was rather effortless, and I guess my creative juices were running dry.  It took a lot of rounds of changes, but I finally came up with something I was pleased with.

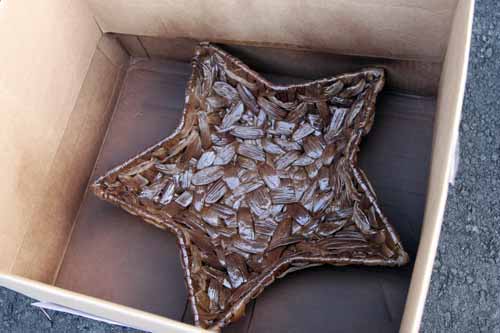
First, I bought this star shaped basket from Pier 1 a few weeks back.  I love using stars in my Christmas decorations, but I didn’t love the light color of the basket.

So I decided to spray paint it a darker brown.

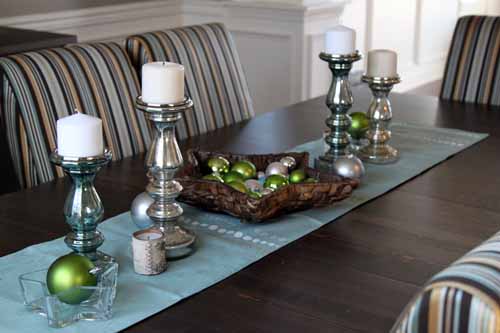
I only did one coat so that some of the natural variation was still seen, then I put some ornaments in it.

I built my table area around this, using mostly candle type things to not take away from the pretty ornaments. Plus I didn’t want it to be too tall or too busy so that it can stay on the table as people eat, like our Thanksgiving tablescape did.

On each end, I used some star dishes I got from the dollar store and put a large green ornament in them to add some more green, since my Target runner is blue. I later saw these dishes at Pier 1 for $3. I’m not going to lie, I was hoping they were $10 so I could tell you I saved $9 on them, but I only saved $2.

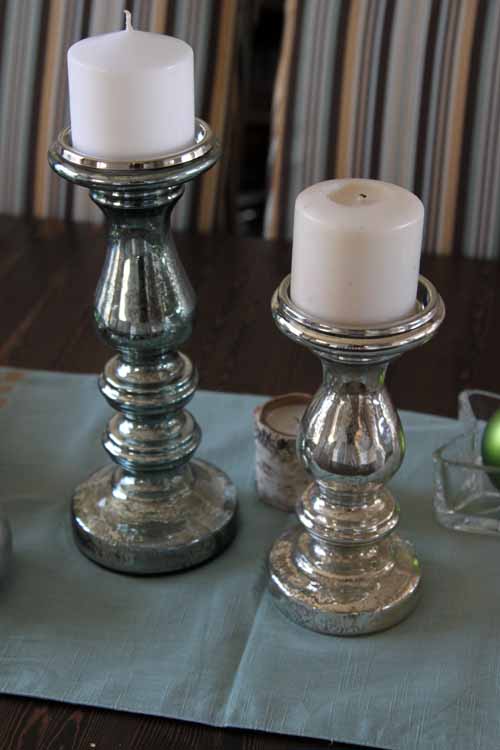
Then I have the silver candle holders I used on my mantel (I replaced the mantel ones with wooden ones, Target was out of silver) and some in the same style that are blue.

One of those white candles on top is new and one is a few years old.  They are totally different colors of white when next to each other, but I think it’s interesting (and that’s what happens when you try to buy them 4 days before Christmas…)

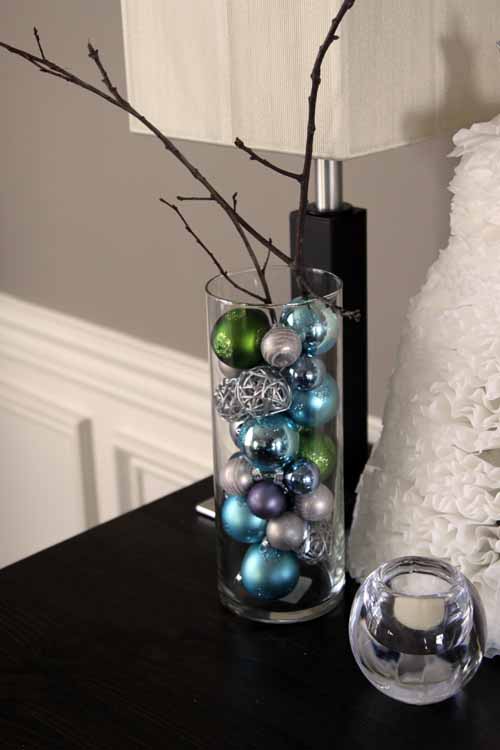
Over on the buffet, I put my crooked coffee filer tree and some vases filled with ornaments and topped with sticks.

I’ve filled those vases with ornaments every year I’ve decorated for Christmas, but this year I wasn’t sure if I should put them on the mantel, table or buffet.  I tried them on the table, but I felt like with the star basket, I needed some shiny ornaments on this piece of furniture too!

All in all, I’m happy with how it turned out.  I gravitate towards the simple and clean and I think this conveys that better than my previous tablescape.

I’m thankful I have a large stash of neutral type candles that I can mix in when needed.  The round class tealight holders and the silver ornament candles definitely came in handy during my constant swapping!

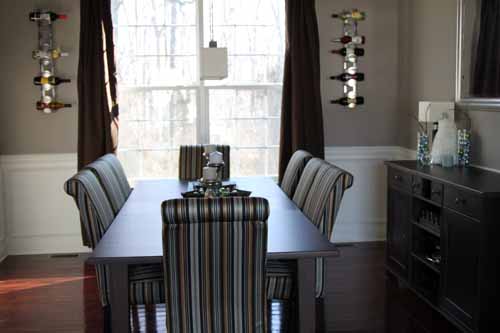
Oh and there are some other new editions to the dining room this holiday season, but I will have to let Mike explain those to you. If I can get him to blog again.. 🙂

ps- I just noticed that I didn’t actually put plates on the table this time.  I will be sure to snap some pictures when it’s all set for Christmas dinner!

coffee filter tree

7 Comments

Posted by Rebecca, December 15th, 2010

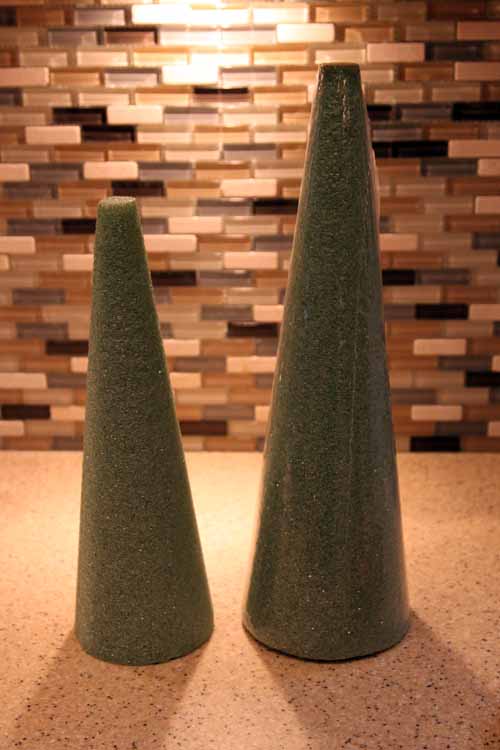
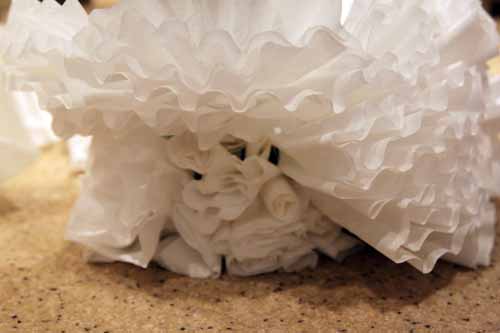
I mentioned in my coffee filter wreath post that I had also made a tree.  I picked up 4 of these foam cone forms from the craft store.

I first experimented with some fancy paper patterns, but they were far too time consuming.  In the end, I stuck with the same method as the wreath.

By the way, have you ever tried to remove something you’ve hot glued? My god those little rosette flowers I made were nearly impossible to rip off!

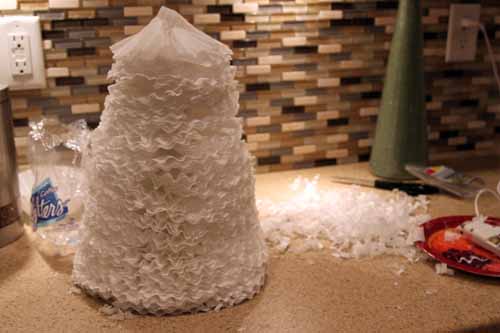
I just kept adding the filters until I ended up with this.

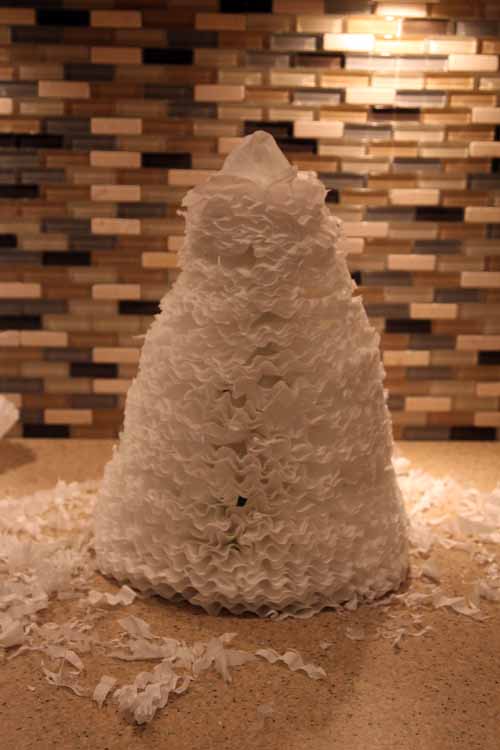
You can see the trimmings there in the back.  That was the first round of my scissor-handing.  This thing was so massive and ugly that I didn’t even think to take a picture of the before process.  I was just immediately thinking of how I could help this abominable snow/coffee filter tree.  Mike’s response? “What the heck happened at the top?” Well as you add the filters, suddenly you’re at the top, but the filters are still like 3 inches away from the point.  So you end up with flat top.  I knew this would happen because I had seen pictures of other coffee filter trees out there.  I guess I just thought it would be easier to trim down.  I did manage to do quite a bit of trimming.

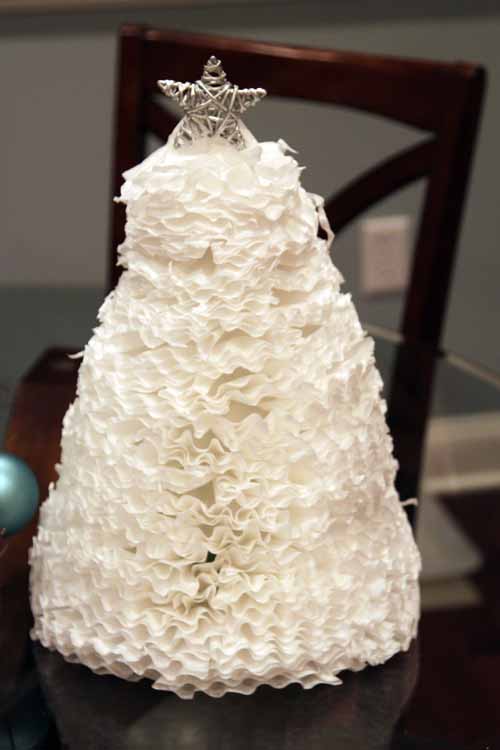
I also stuck a floral wire, which I shaped into a point into the top of the foam to add a couple more inches to work with.  Then I stuck a star I had hanging around on the top to hide the awkward lack of pointy top.

I totally didn’t realize there was a chunk missing on the right until I took these pictures.  Whoops! You can’t tell in person, I promise 🙂

With the star on top and after staring at it for a couple of days, I like it much more.  I may still add some ribbon to it.

It still has that full and fluffy texture that I love about the coffee filter wreath.

I don’t think this is going to cut it as our only tree though.

10 days until Christmas. I should probably put a full sized tree there.

Excuse me, I must now go and trim that lump out of my coffee filter tree.  Looking at these pictures is driving me crazy.  No wonder why Mike doesn’t let me trim his hair….

Copyright 2010 - 2011. The Lil House That Could. All rights reserved.