Archive for the ‘food’ Category

Mac and Cheese

5 Comments

Posted by Michael, October 12th, 2011

The other day while playing the “what do you want for dinner?” “I don’t know, what do you want for dinner?” game with Rebecca, she finally responded with “mac and cheese.”

And I was all like, YES!  WE’RE HAVING THE CHEAP CRAPPY STUFF!

Then I read the rest of the email where she suggested we find a recipe.

Wait, what?

You see, Rebecca and I don’t argue much nor really disagree with one another, but when it comes down to mac and cheese, well, it’s quite different.  I like the cheap Kraft is-this-really-cheese stuff.  Rebecca likes the fancy Kraft Velveeta shells and cheese.  I often lose this battle and we end up going with the Velveeta crap. But this time it was different, we were going to make it from scratch.

So I went to my trusty source of great blog recipes, The Way the Cookie Crumbles, and found what seemed like a great recipe.  But it seemed too ordinary.  I went to my back-up, The Curvy Carrot, and found another great macaroni and cheese recipe.

Sure enough, the recipes were identical.  And because of that, I’ll keep the recipe identical here, too.

Classic Macaroni and Cheese

Serves 6 to 8, or 10 to 12 as a side.

Bread Crumb Topping

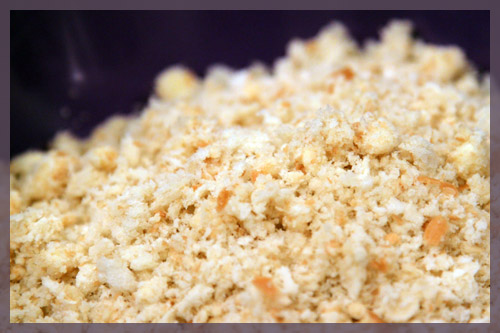
  • 6 slices white sandwich bread (good-quality, about 6 ounces), torn into rough pieces
  • 3 tablespoons unsalted butter (cold), cut into 6 pieces

Pasta and Cheese

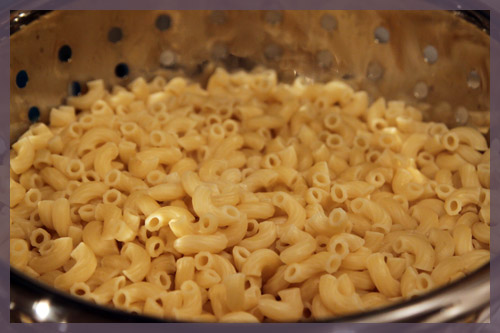
  • 1 pound elbow macaroni (I had rotini on hand-it worked just as well!)
  • 1 tablespoon table salt
  • 5 tablespoons unsalted butter
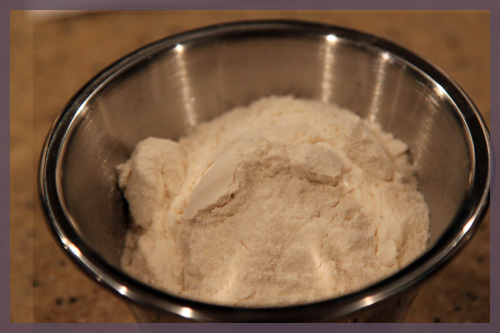
  • 6 tablespoons all-purpose flour
  • 1 1/2 teaspoons powdered mustard
  • 1/4 teaspoon cayenne pepper (optional)
  • 5 cups milk (I used whole milk, just to add more calories 😉 )
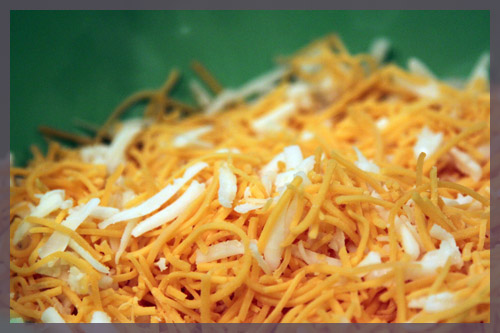
  • 8 ounces Monterey Jack cheese , shredded (2 cups)
  • 8 ounces sharp cheddar cheese , shredded (2 cups)
  • 1 teaspoon table salt

For the bread crumbs: Pulse bread and butter in food processor until crumbs are no larger than 1/8 inch, ten to fifteen 1-second pulses. Set aside.

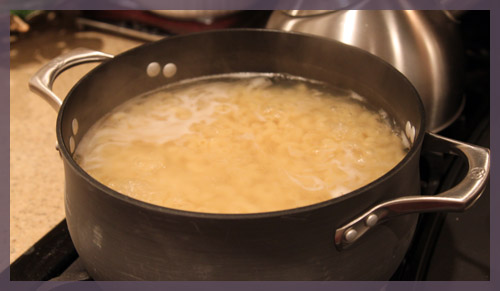
For the pasta and cheese: Adjust oven rack to lower-middle position and heat broiler. Bring 4 quarts water to boil in Dutch oven over high heat. Add macaroni and 1 tablespoon salt; cook until pasta is tender. Drain pasta and set aside in colander.

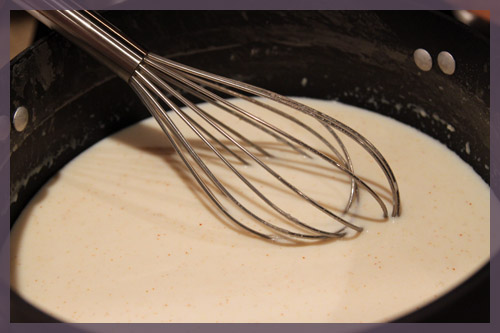
In now-empty Dutch oven, heat butter over medium-high heat until foaming. Add flour, mustard, and cayenne (if using) and whisk well to combine.

Continue whisking until mixture becomes fragrant and deepens in color, about 1 minute. Gradually whisk in milk; bring mixture to boil, whisking constantly (mixture must reach full boil to fully thicken). Reduce heat to medium and simmer, whisking occasionally, until thickened to consistency of heavy cream, about 5 minutes.

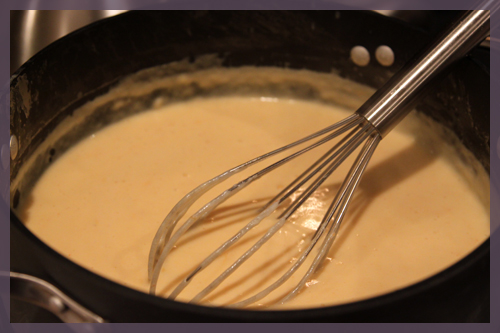
Off heat, whisk in cheeses and 1 teaspoon salt until cheeses are fully melted.

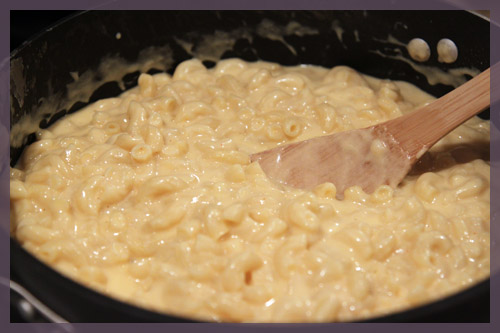
Add pasta and cook over medium-low heat, stirring constantly, until mixture is steaming and heated through, about 6 minutes.

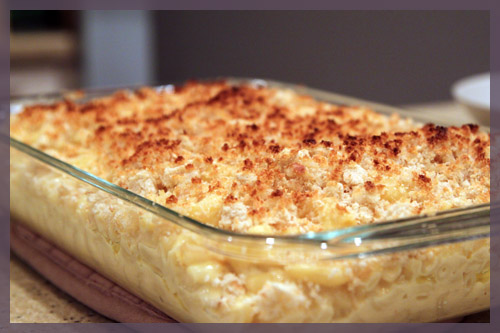
Transfer mixture to broiler-safe 9-by 13-inch baking dish and sprinkle evenly with bread crumbs. Broil until crumbs are deep golden brown, 3 to 5 minutes, rotating pan if necessary for even browning. Cool about 5 minutes, then serve.

This was absolutely delicious and I was quite happy we stayed with this recipe.  I think, quite like The Curvy Carrot, I may experiment with some different cheeses the next time.  It’s not that this wasn’t good (it was very good), we both felt like it missed a certain creamyness in the cheese flavor we were anticipating — perhaps an alternative to monterey jack or a mild cheddar.

We figured we haven’t done a What I Ate Wednesday post in a while, so we were long overdue for one. We’re linking this up to Jenn’s weekly link party over at Peas and Crayons 🙂

¡Macky Taqueria!

1 Comment

Posted by Michael, April 6th, 2011

One day, Rebecca and I will be ‘retired’ and on a beach in Maui.  We’ll own a small taco restuarant on par with the likes of Maui Tacos and Surf Taco.  We’ll grow our own avocados (uhh I paid 2 bucks for 1 avocado tonight; something is not right!) and continually make fresh guacamole.  We’ll serve all types of tacos, burritos and the like.  Heck, we’ll probably even open up a road side stand on the Hana Highway where we’ll sell fresh banana bread.  One can dream, right?

How do I do that by 30?

We played the “what do you want for dinner? … I don’t know, what do you want? … I don’t care, what are you in the mood for?” game tonight.  We settled with doing some kind of fajitas.  Typically when we’ve previously made vegetable fajitas, the veggies were bland — maybe only a sprinkle of cumin and cayenne pepper.  So we both agreed that these veggies tonight had to have some kind of flavor.  We briefly talked about using the packet fajita seasoning, but we both shrugged it off.  Rebecca had the vegetable fajitas at Jose Tejas the other night and loved them, so she set off to find a recipe.

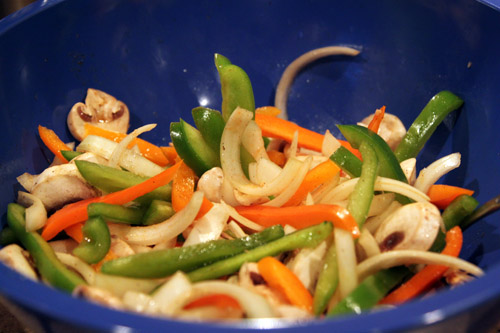
And sure enough a few seconds later, she found one and emailed me so I could pick up the ingredients.  We settled on some peppers, onions, carrots, mushrooms and broccoli.  These veggies would be cooked in the marinade provided by the Allrecipes.com recipe (btw, how come all recipe sites are horrible?). The marinade was pretty easy.  I just combined the following ingredients.

  • 1/4 cup fresh lime juice
  • 1/3 cup water
  • 2 tablespoons olive oil
  • 4 cloves garlic, crushed
  • 2 teaspoons soy sauce
  • 1 teaspoon salt
  • 1/2 teaspoon liquid smoke flavoring
  • 1/2 teaspoon cayenne pepper
  • 1/2 teaspoon ground black pepper

I let the veggies soak in the marinade a bit before I cooked them in a wok.  I especially wanted the mushrooms to soak in the marinade knowing they would pick up, and hold, all the good flavors.

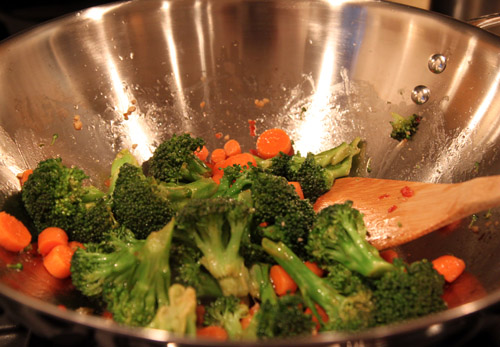
The broccoli and carrots were cooked for about 10 minutes first since they were the thickest and would need the most cooking time.

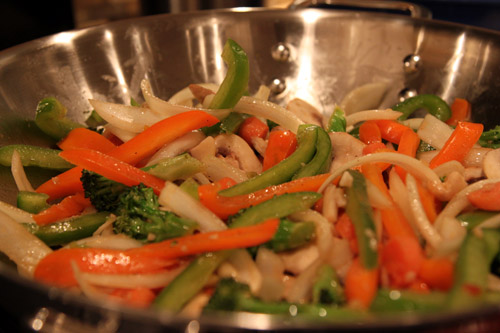
Once cooked, I added the remaining vegetables and cooked for another 10-15 minutes or so in the wok — constantly stirring.

And after spilling a glass of water ALL OVER THE PLACE, we finally sat down to relax and eat our fajitas.  And then Macky started SCREAMING for our attention.  It’s never ending here at our house with our three needy, yet very lovable, cats.  And to think, we almost adopted a little girl today too!

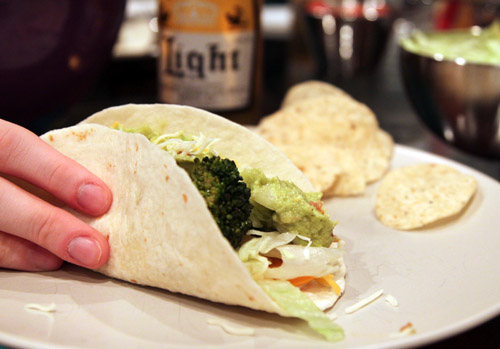
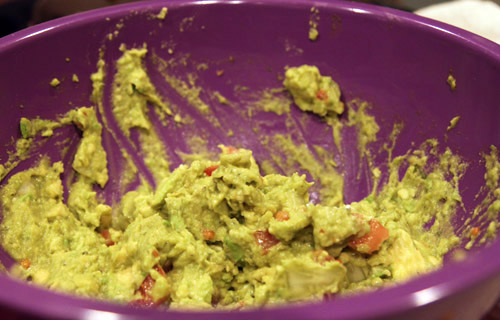
Oh!  And I cannot forget about the fresh guacamole!  3 avocados (at 2 bucks each!  2 bucks!  each!), some diced onion, diced tomato, a squeeze of fresh lime juice, salt+pepper, and some cilantro!  So good!

As usual, we’re linking this up to What I Ate Wednesday at Peas & Crayons!


The Best Baked Potato Soup. Ever.

7 Comments

Posted by Michael, March 30th, 2011

Best baked potato soup.  Ever.

To be honest, I was always skeptical of baked potato soup.  Rebecca would rave about it and me?  I’d just be all, well, meh.  But then I had the baked potato soup at Houlihan’s.  It was very good; I had no idea soup could be something so great.  However, at the end of the day (or after using the toilet, whatever you prefer(hey, we’re friends, right?)) there was still something a bit off about it — the soup had too much of a creamy feel.  I actually wanted more potatoes in that thing.

A week or so ago, I discovered a baked potato soup recipe at The Curvy Carrot.  I admit; at first I shrugged it off thinking it was just another creamy attempt at the soup.  But then!  Then I saw that the crispy goodness on top wasn’t bacon and the recipe sucked me in!  Turns out that the crispy pieces on top are actually the skins from the baked potato!  What a fantastic idea!

And so on Sunday, I decided to make it.  To quote The Curvy Carrot, ‘Enjoy this recipe.  It’s a keeper.’  Amen.

Soup ingredients:

  • 5 russet potatoes, scrubbed well and dried
  • 4 tablespoons unsalted butter (I used salted butter and then used less salt than listed below)
  • 1/2 cup flour; divided into two 1/4 cup portions
  • 6 cups of whole milk
  • 2 teaspoons salt
  • 1/4 teaspoon ground black pepper
  • 3/4 cup cheddar cheese, shredded
  • 1/2 cup green onions, chopped
  • 1/2 cup sour cream (for garnish — Rebecca didn’t use any)

Crispy potato skins ingredients:

  • Reserved potato skins (from the potatoes above)
  • Oil for brushing
  • Salt+Pepper+any other spices you’d like to use (I added some hot pepper)

First thing is to get those potatoes cooked.

I poked some holes in each of the potatoes, sprinkled them with some salt+pepper, and then placed them in a preheated over at 400 degrees.  These things cooked for about an hour until fully cooked and softened. Once they were fully cooked, I let them cool a bit so I could work with them — roughly 45 minutes or so.

Once cooled, I sliced each potato into two pieces.  I carefully peeled back the skins and placed them back in the pan.  Half of the potato insides went into one bowl, while the other half went into another.

The first bowl got mashed pretty good.  The second bowl got cut into bitesize pieces.

The skins got brushed with some oil.  I then sprinkled a bit more salt+pepper on them, as well as some red pepper flakes.   I put these in the over at 375 degrees for about 15-20 minutes, or until they were plenty crispy.  Check these often; you don’t want to burn them.

From here it was on to make the soup.  In a large dutch oven on medium heat, I melted the butter and then added 1/4 cup flour into the butter.  This mixture was wisked like crazy until it was lightly golden brown — maybe 3-4 minutes for me. I slowely added the milk and again wisked like crazy. After this was mixed came the rest of the flour; as well as some more wisking!  This was cooked until the liquid started to get thickened.  The original recipe said this took about 8 minutes.  It took me about 12-15 until it started to get thick.

Once thick, I added the mashed potatoes.  I stirred this well until completed mixed.  This mixture was followed by the bitesize potato pieces and some stirring.   Added some more pepper as well as the cheddar cheese.  Once the cheese was fully melted into the soup, we were good to eat!

I topped my soup off with some green onions and some sour cream.  Rebecca passed on the sour cream.  And then came the best part!  The crispy potato skins!  Mmm.

Once again, we are linking this post up to What I Ate Wednesday at Peas & Crayons!


It’s a Throwdown!

12 Comments

Posted by Michael, March 16th, 2011

No, not really, but one can wish, right?

However, we did get some great inspiration from Bobby Flay’s Vegetable Lasagna Throwdown episode for our own lasagna.  Watching the episode made the both of us drool (even if it was midnight) and we both instantly agreed to make lasagna the following day.

In the Lasagna Throwdown, Bobby at first insisted on making his lasagna with mushrooms only (ding!) — eventually he was talked into adding creamed cauliflower.  The challenger fried up some zucchini for her dish (ding!).

Those dings! are what we took from the episode and added to our lasagna: mushrooms and fried zucchini.

I first made a traditional tomato sauce which I inherited from my mother; which she inherited from her mother.  Nothing fancy, but definitely a comfort food for me.  Any tomato sauce will do in lasagna — some like jar sauce, some like a bolognese sauce.  Me?  I stick to my mom’s sauce.

To do the fried zucchini, I sliced it thin (maybe a quarter of an inch thick) longways and left the skin on,  I dipped each slice in an egg bath and then dipped it in a combination of flour+salt+pepper+garlic-powder.  I probably did 2 cups flour, 1 teaspoon salt, 1 teaspoon pepper, 1/2 teaspoon garlic powder.  But honestly, any combination will work.  After all, you are frying these bad boys.

I fried each side of the zucchini until they were golden brown; roughly 4-5 minutes on each side.  I then placed the zucchini on a cooling rack allowing the excess oil to drop down onto the paper towels.

These things came out crispy and incredibly good.  In fact, they were so good that we ended up making some fried zucchini sticks to hold us over.  So good!

The mushrooms were a combination of shiitake, portobello and cremini.  I diced them up and sauteed them with a little bit of oil, butter and garlic.  I also roasted some carrots in hopes of adding a bit of sweetness to the lasagna.

I totally forgot to take pictures of the mushrooms and carrots — sorry about that.

After the mushrooms, I prepared the ricotta mix which consisted of a large container ricotta, two eggs and some grated parmesan and romano cheese. From here, it was time to start doing the layers of the lasagna.  And please forgive me, but while I was busy eating the zucchini sticks, I totally forgot to snap pictures of the complete process.

I started with a thin layer of the tomato sauce followed by a layer of the lasagna pasta.  I placed the zucchini down next followed by the ricotta and then a layer of shredded mozzarella cheese.  On top of the mozzarella, I added some tomato sauce.

And then it was time to start my next layer by applying a layer of lasagna pasta.  This was followed by the mushrooms as well as the carrots.  The ricotta mix, mozzarella and a spread of sauce finished this layer.  I finished the lasagna with a layer of the ricotta, lasagna pasta, mozzarella and tomato sauce — in that order.

The lasagna was then baked for about an hour; just enough for the top layer to be slightly bubbly and crispy/brown in some areas.

By the way, we still have a half tray of lasagna sitting in our fridge if anyone wants to hit us up for some leftovers.

Oh and mom, I have your lasagna tray.  I stole borrowed it while you were away.  It has a great home now.

We are once again linking this up to Jenn’s What I Ate Wednesday party at Peas and Crayons. It’s her birthday, so pay her a visit 🙂
What We Ate Wednesday- Black Bean Tacos

15 Comments

Posted by Rebecca, February 23rd, 2011

It’s Wednesday, which means it’s time for our fifth installment of What We Ate Wednesday for Jenn’s link party over at Peas and Crayons! So far we’ve had mushroom risotto stuffed peppers, blackened mahi-mahi, beans & macaroni and homemade pizza. We’ve made a lot of delicious meals since last week, but then we got preoccupied with painting our office stripes and ran out of food. For two days, we’ve been eating Froot Loops (<3) and frozen pizza, thinking this week’s meal wouldn’t happen. But thankfully Mike picked up some basics on his way home from work and we were able to whip up one of our go-to meals just before Wednesday was over!

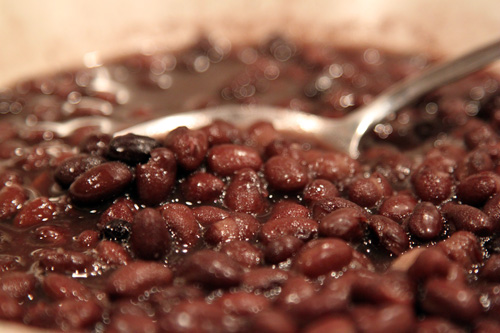
This one is simple, black bean tacos.

Ingredients:

Can of black beans (we like Goya)

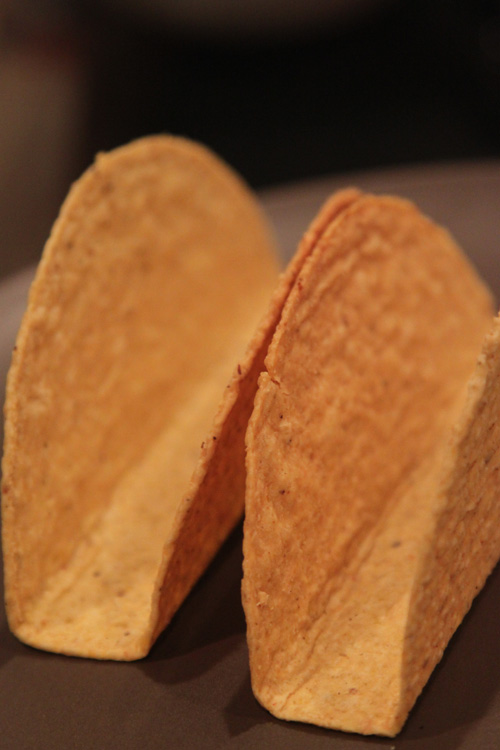
Taco shells (stand n’ stuff will make your life easier!)

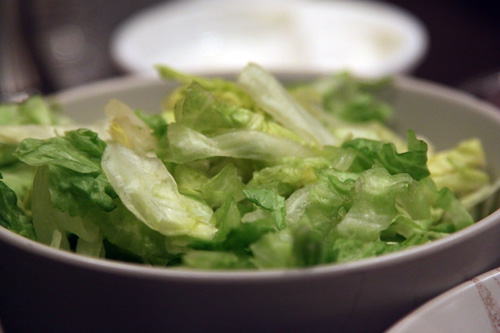
Lettuce

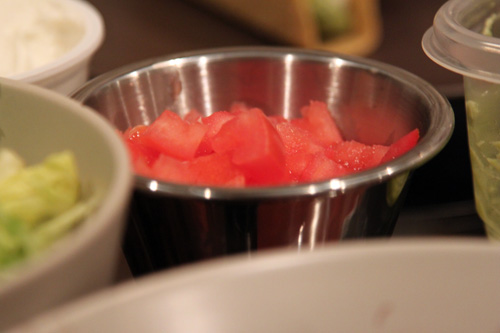
Tomatoes

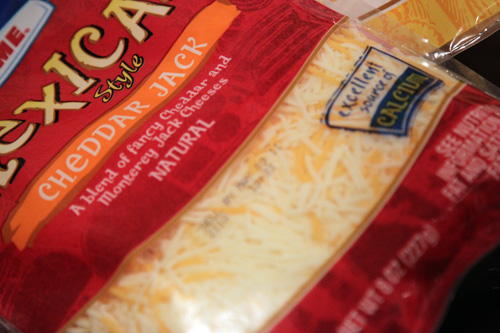
Cheese

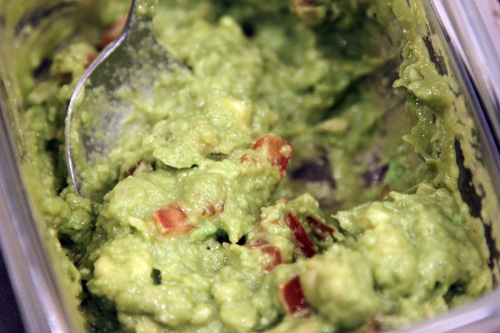
Guacamole!

Sour Cream  (which I didn’t take a picture of)

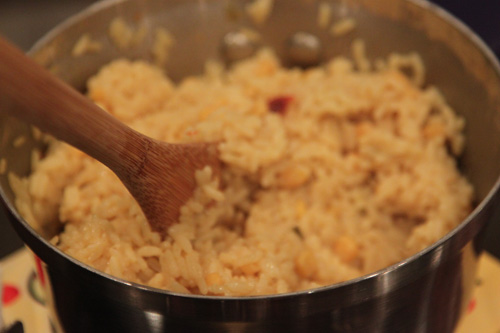
Sometimes we throw in extras like rice, peppers and onions or some fish.

The great thing about this meal? The only cooking required is to heat up the beans and the shells!

I have always loved tacos, Mike not so much, but I really really love black bean tacos and so does he. The beans fill you up, add a lot of flavor and they’re good for you! I don’t miss the greasy orange stuff that always dripped out of the chop meat version you make with the seasoning packets. We originally got this idea after eating at Moe’s shortly after giving up meat and ordering the unanimous decision tacos. If you’ve never been to Moe’s, you must go. Though we have an ongoing debate around here about whether or not Chipotle is better…I will not reveal which side I am on, but I will say that I am in love with both!

I just realized I didn’t take a picture of my assembled taco, but head on over to Jenn’s for some more recipes (complete with pictures! :))

Copyright 2010 - 2011. The Lil House That Could. All rights reserved.