Archive for the ‘inexpensive design’ Category

A Combination of Inspiration

44 Comments

Posted by Rebecca, October 31st, 2011

I mentioned last week how I wanted to make something for this season’s Pinterest Challenge with Sherry at Young House Love, Katie at Bower Power, Ana at Ana White and Erin from House of Earnest. I just wasn’t sure what to make! One of the projects I’ve been wanting to make was this washer monogram, but Michelle from Decor and the Dog tackled it during the last challenge…
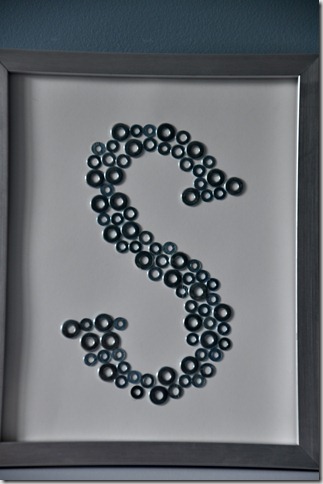
(from Decor and the Dog)

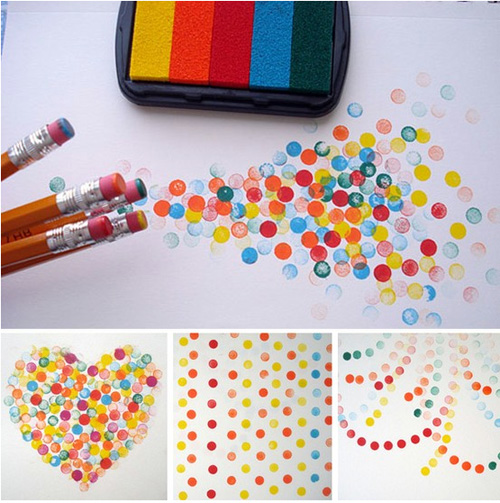
So I looked through all of the things I’ve pinned the past few months to come up with something I could tackle in a few hours. I stumbled upon this pencil-eraser-used-as-stamp art from Li’l Magoolie

(from Li’l Magoolie via Pinterest)

And I had a light bulb moment… why don’t I make a monogram using pencil erasers as stamps? That way it’s entirely different, but bringing together two Pinterest projects! So that’s what I decided to do πŸ™‚

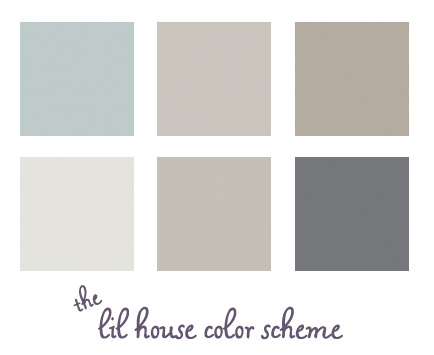
I decided to stick with the color scheme of our house… various grays/greiges/blues.

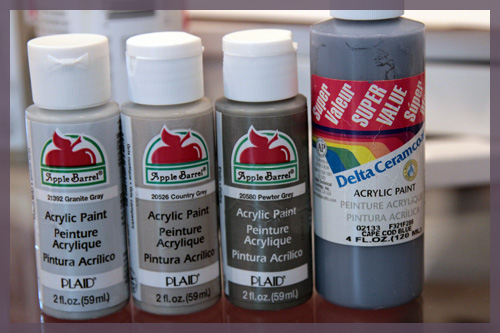
I picked up a couple of extra bottles of 89 cent craft paint just to make my life easier. I basically bought all of the shades of gray they make and I already had the blue.

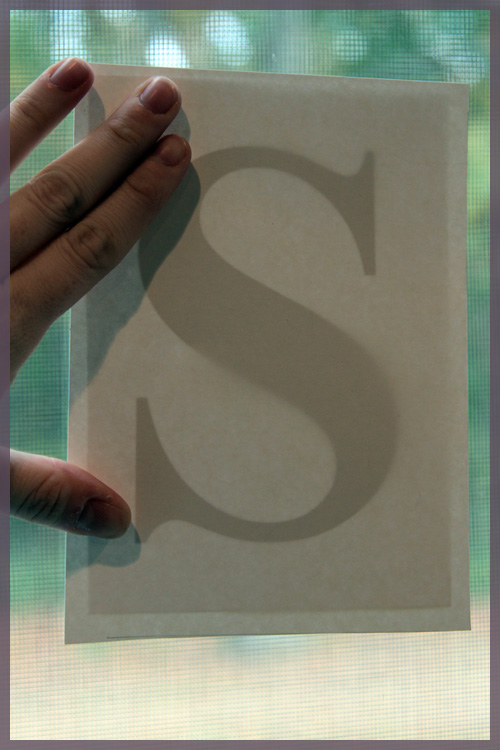
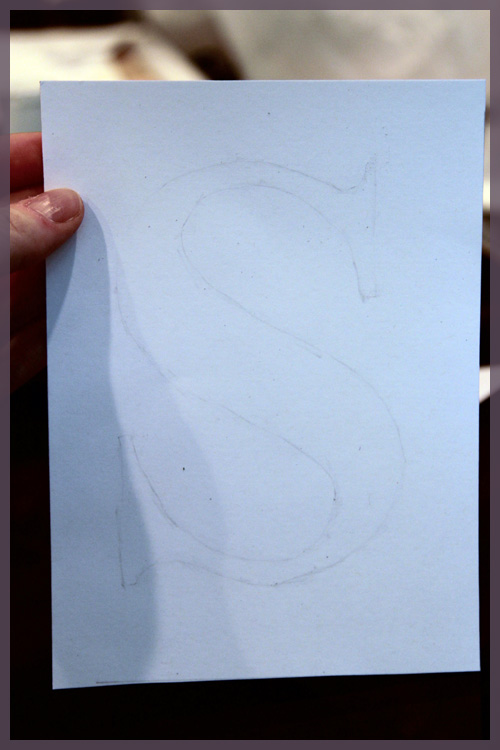
The rest of my materials were 100% free! I used some cardstock I already had, pencils that were laying around and a frame I already purchased. To get the monogram, I printed out our last initial, an S, in a very fancy font called… Times New Roman. I printed it in bold to give me thicker lines to follow. I eyeballed the size in print preview and figured it would look decent on a 5×7 piece of paper. I then traced my printed S onto my cardstock by holding it up against my sliding glass door.

I traced it ever so lightly, then also erased what I had just traced. Sounds crazy, but it left me with the most faint line ever so that it wouldn’t be noticeable under the paint but I could still follow it.

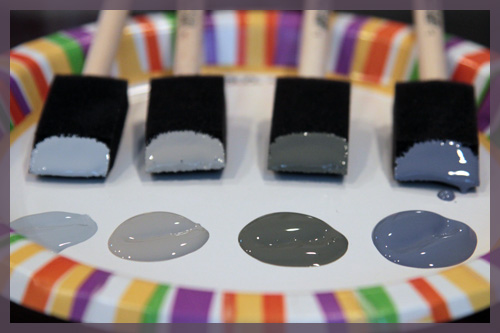
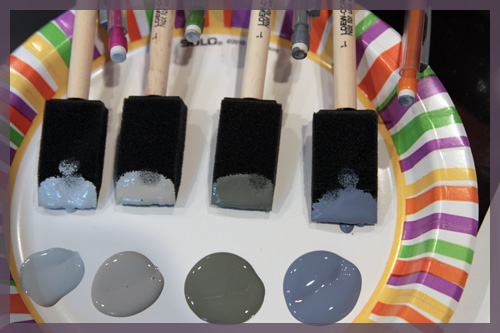
Then it was time for paint! I didn’t use stamps like the pinned image did, so I squirted a little of each paint onto a paper plate, then dipped some sponge brushes I already had in each color…

Then I dapped my pencil erasers on the sponge brush, not the paint itself. If I dapped too much I could use a cleaner part of the sponge to remove some. I had a pencil for each color (digging out a 4th one required some office scouring!)

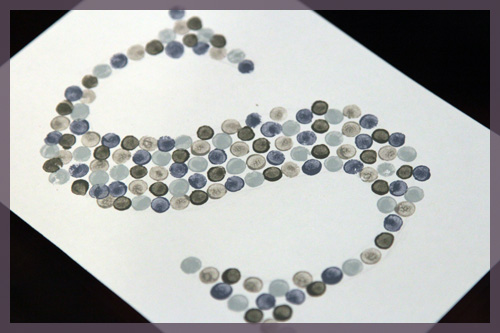
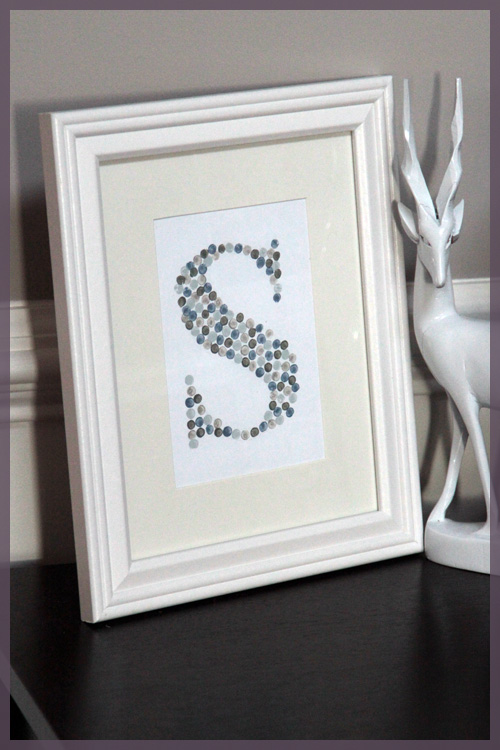
I did some test dabs on a piece of scrap paper before starting. Then I just followed the lines and alternated colors along my S and tada! All done!

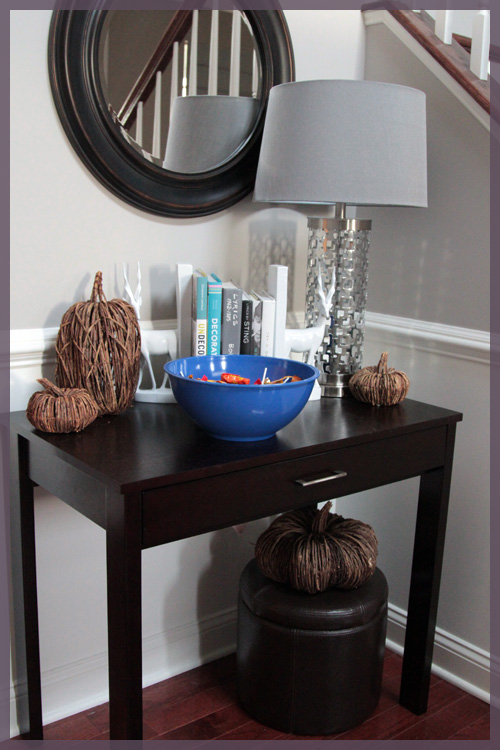
It took me about an hour or so, which was honestly longer than expected, but well worth it. I had to decide where to put my new work of art so I decided on the entryway table, which was filled with pumpkins and Halloween candy today.

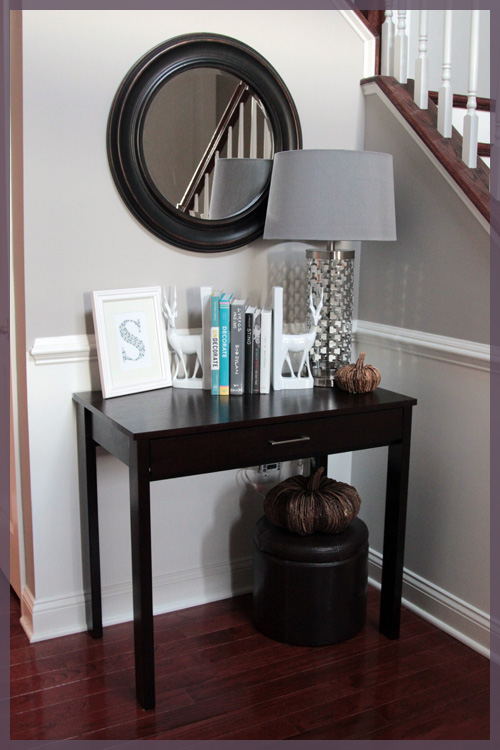
The candy will be leaving tonight, so I just put my art in a matted frame and leaned my frame over by one of my beloved deer bookends. Ps- I’ve been searching for a white lampshade to replace that gray one for months.

I’m not sure if my monogram will be staying here, since we’re planning on adding a whole gallery wall(s) up and down our staircase. Ideally, I’d like to eventually hang it, especially since the frame I had on hand is meant for hanging πŸ™‚

I strangely love that the mat that came with the frame is a little off-white. Since the chair rail, deer and cardstock are bright white, it mixes it up a bit. Maybe even a fun colored mat will look good until I hang it?

I’m very happy that I chose to do another art piece for this Pinterest challenge. I love making things for our house but I often don’t have the time to dedicate to making things anymore. Spending an hour making this completely made my day and I wish I had more creative time these days. I am also proud of myself for scaling down my always overambitious projects. I originally planned to do this monogram, plus two 8×10 more abstract pieces. Once I started eraser stamping I realized how time consuming it was and that an even larger piece of paper would take even longer! Maybe I’ll make them another day (since they were pretty cool ideas, I must say), but for now I am perfectly happy with my monogram πŸ™‚

Return of the Deer

10 Comments

Posted by Rebecca, August 31st, 2011

This morning before I left for work, I checked on my deer only to find them covered in dew. I figured that would definitely mean I would have to redo them and I was prepared to come home and tell you that there would be no deer reveal.

Well, the deer faked me out. When I got home, they looked just fine! No marks from my failed attemped to move them while they were still wet, no dew marks and you could hardly see that weird stain seepage I mentioned yesterday. I was all set to sand them this weekend, but I think they’ll do just fine πŸ™‚

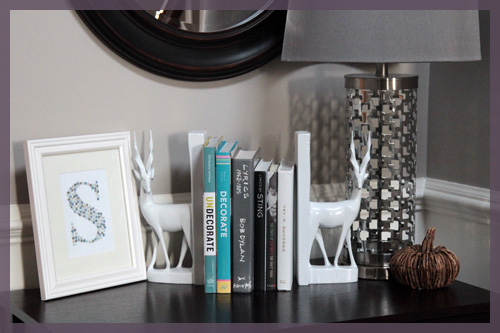
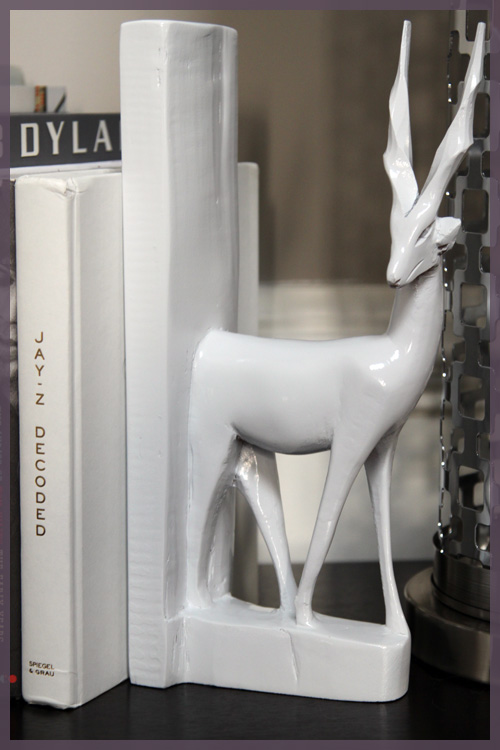
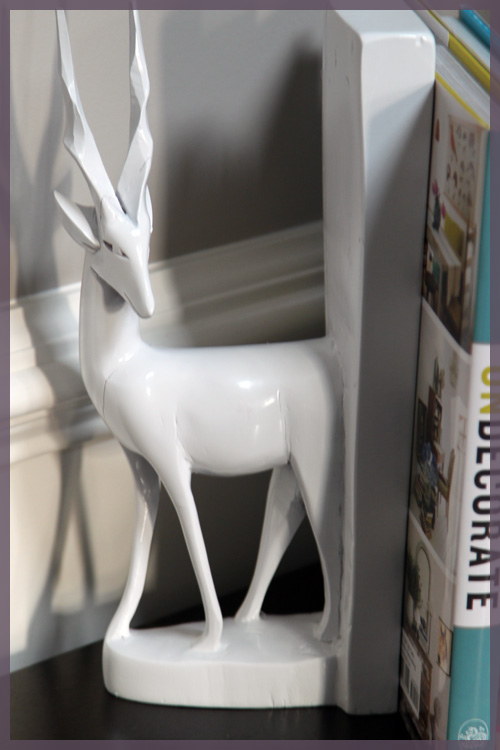
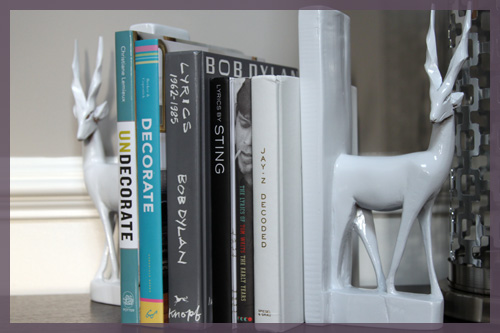
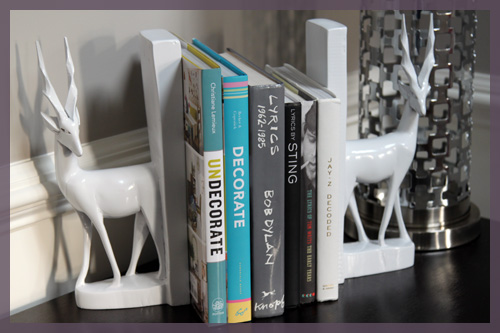
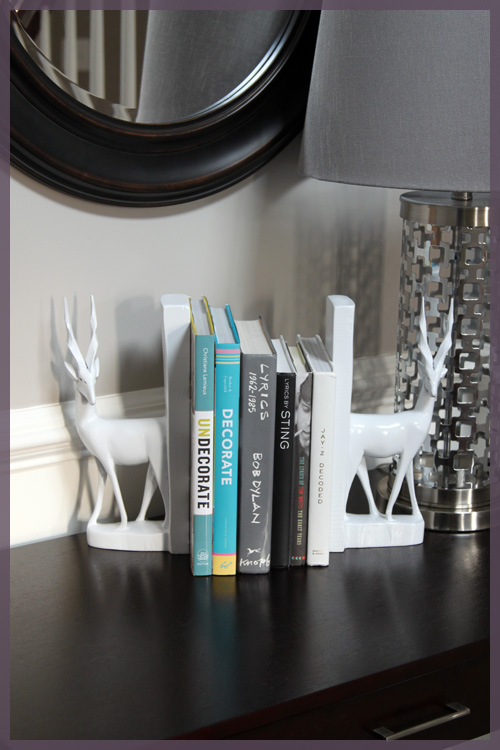
I stuck them on the entryway table to take pictures, but I liked them there since the table has been lacking in the accessories department for months. I decided to add books that represented both my and Mike’s websites… so we have decorating and lyrics πŸ™‚

I decided to angle the books rather than put them flush against the wall. They just looked better that way.

Who knows if they’ll stay here once we finish up the entryway and finally find a white lampshade. I think it would be fun to spray them an interesting color someday (ala Antonio from Design Star’s pink geese), but I’m liking my new display so far πŸ™‚

Since I was standing in front of a mirror and I promised to try to include more pictures of myself, I couldn’t resist.

Sorry guys, I really tried to take myself seriously, but it didn’t happen. I mean, I was standing in front of a mirror with a camera… what is this 2005? Plus the mirror has a smudge. And I’m wearing the shirt I sleep in. It’s the thought that counts πŸ™‚

Anyway, I’m in the midst of another entryway project so I’m keeping it short tonight. Hopefully I’ll finish it this year this week…

Update: here is the before picture of the deer again, so you don’t have to click back to the previous post πŸ™‚

Oh Deer

5 Comments

Posted by Rebecca, August 30th, 2011

Yesterday, Mike spotted this in our backyard…

I love our random deer sightings. It’s amazing how well they camouflage themselves and I’m sure they’re out there more than we realize. Mike and I grew up in a more congested area (we’re from the same town) and deer sightings were rare and always exciting. I love having furry, speckled butt neighbors πŸ™‚

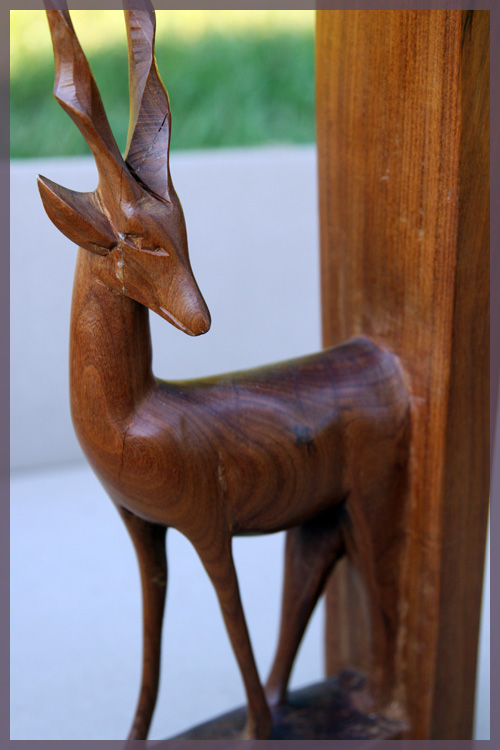
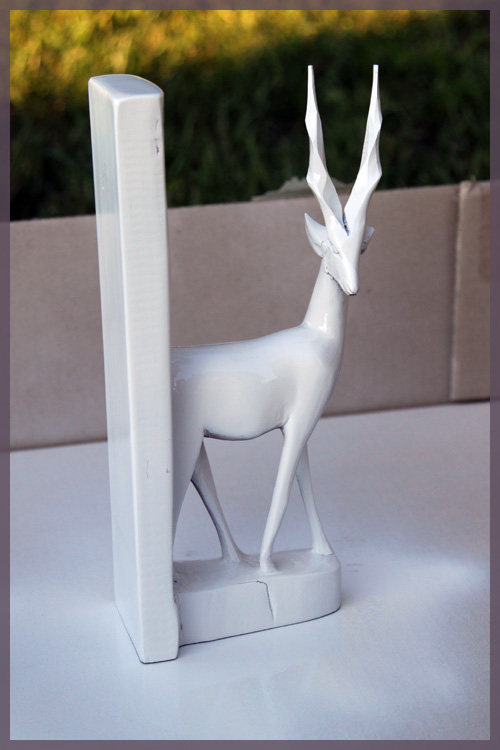
I love them so much that when my mother in law was getting rid of these bookends, I decided to take them.

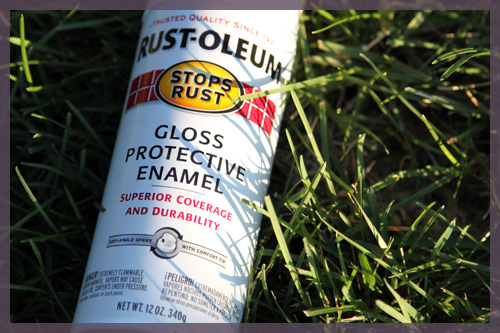
They belonged to Mike’s grandmother and are apparently decades old. But you know what? The oldies are coming back. I figured with a little white, high gloss spray paint these would look like they came straight out of West Elm.

But first, I couldn’t resist doing this.

Yes, I tried to recreate the live deer scene. However, the bookend version was way smaller than I anticipated. But maybe Deer can be our version of the Travelocity gnome and just pop up in random places?

If my neighbors didn’t already know about this blog (yes, secret’s out… hey guys!), then I would have felt weird. But I obviously have no shame and put inanimate objects in my weeds for entertainment purposes.

After I was done gnoming, it was time to get down to business.

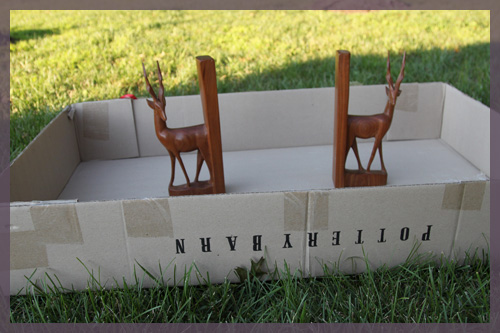
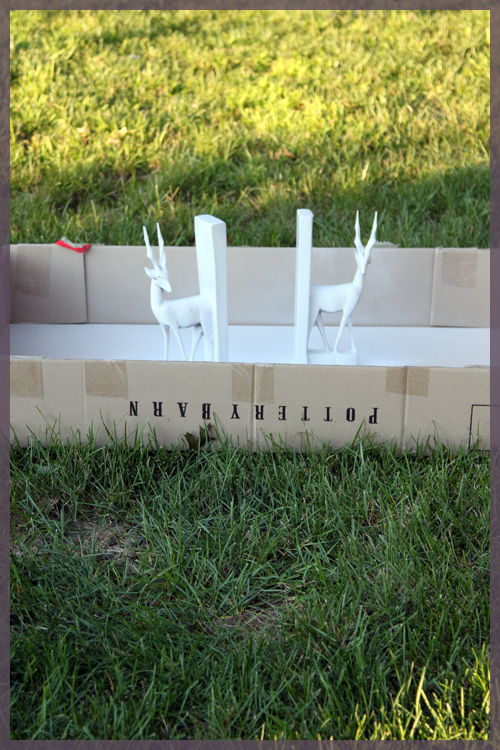
I often spray paint in the garage, but all of our outdoor furniture (including a table, 6 chairs, a bench, 2 umbrellas and a fire pit) are still taking hurricane shelter in there. So I decided to use this old Pottery Barn box and spray them in the grass.

I used the short and quick spray method. I confess that I am normally rather impatient and just hold the trigger down, 3 inches away from the object (12 is the recommended) and generally succeed. I didn’t want to mess these up, so I was more cautious.

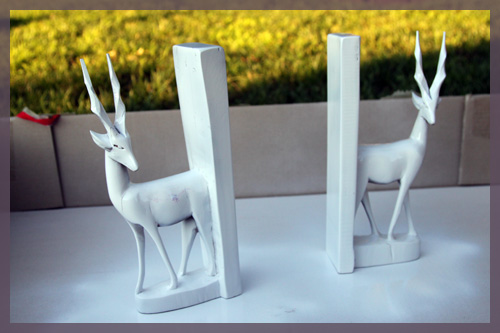
They look a little more worn when spray painted (they have some cracks) but it doesn’t bother me. Here are the two of them after a first coat.

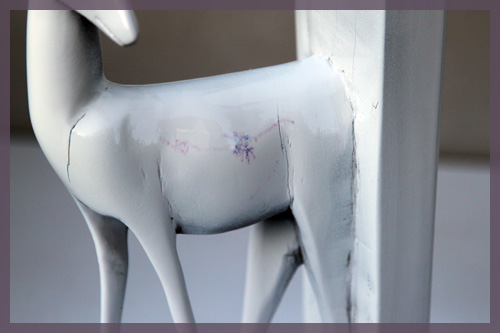
I went back outside a half hour or so later for a second coat. Even after that, this strange mark keeps popping back up. Chemical reaction or something?

I eventually lost my patience and just sprayed the hell out of it, but it kept reappearing after a minute. Weird.

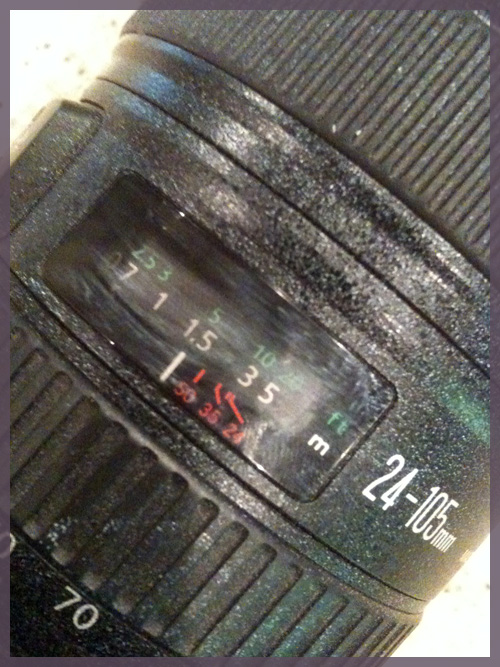
I have no pictures of my second coat because after the first one, I noticed that this happened…

That is my camera. With a light dusting of spray paint. Ugh. Thankfully, the lens was spared and it just looks stupid. The wind was blowing lightly and I didn’t realize that my camera was laying in the grass, in the line of fire. Therefore, it stayed inside for the rest of the night.

However, my bookends will not be staying inside tonight. I went to pick up the Pottery Barn box to move it inside and the bookends fell over. While soaked. Then I had to use my hands to stand them back up, which not only got me messy but required touch up work. I’m hoping the tacky surface that was left isn’t noticeable, considering I just sprayed right over it. So I ended up leaving the entire box outside for the night. Don’t worry, it’s not supposed to rain. I’m actually more concered with bugs getting stuck to them…

The one time I try to spray paint properly. The one time! ::shakes fist in air::Β Hopefully I’ll have true after pictures later this week…


ps- The Office wedding episode was just on and that dance scene gets me every time! Couldn’t help but stop to watch πŸ™‚

Four Paintings are Better Than One

7 Comments

Posted by Rebecca, July 27th, 2011

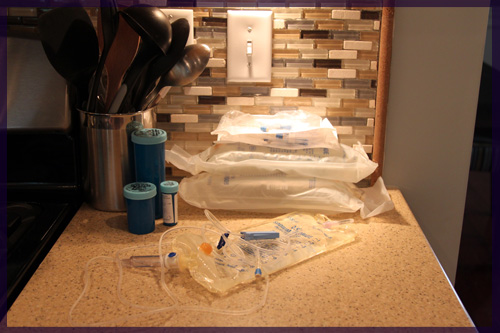
I’m itching to do the next round of the casa tour in the kitchen, but Mike is currently cooking and it’s functioning as a part-time kitty oncology unit…

I hate fluid drips. And we’re now doing them twice a day. Grr.

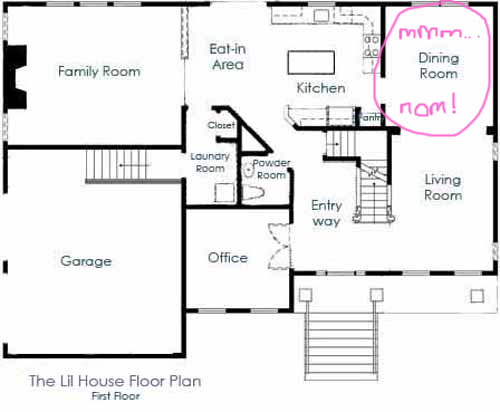
Anyway, I decided to jump into the dining room next since I have a project lined up for that room this weekend.

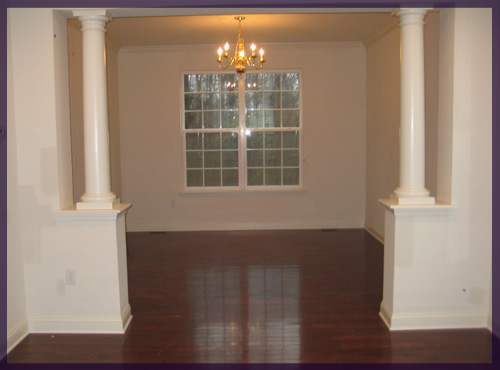
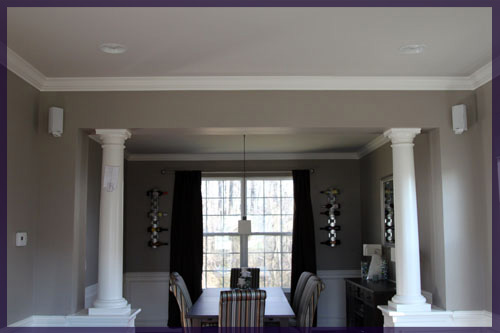
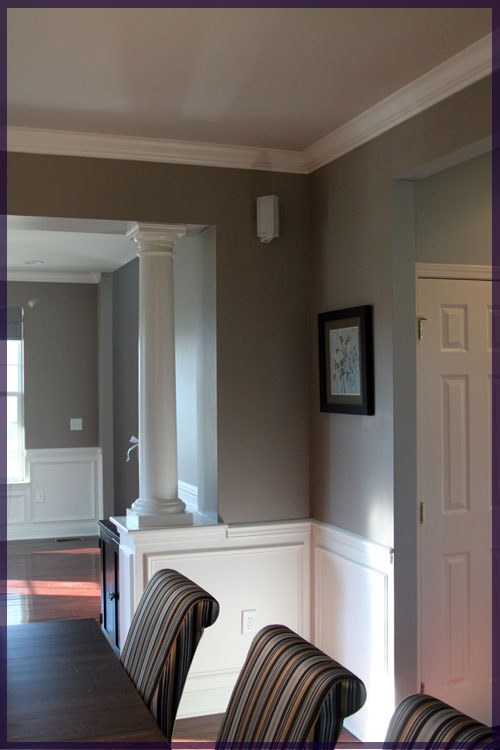
Here’s what the place looked like when we moved in…

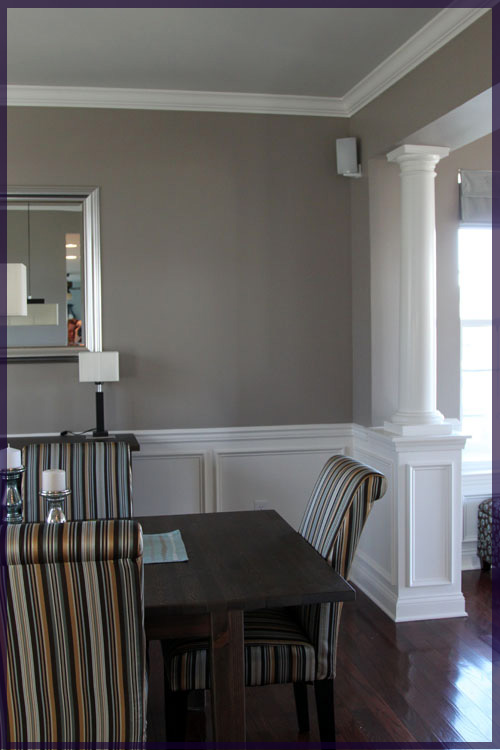
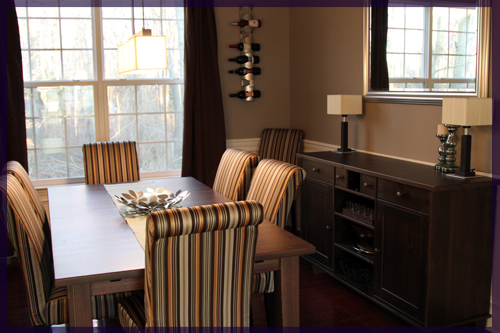
We painted the dining room days after we moved in and bought a Stornas table and buffet from Ikea shortly after. The chairs were a months long saga of searching, ordering, then reordering, but we’re very happy with our Target Avington Stripe Parson’s chairs πŸ™‚

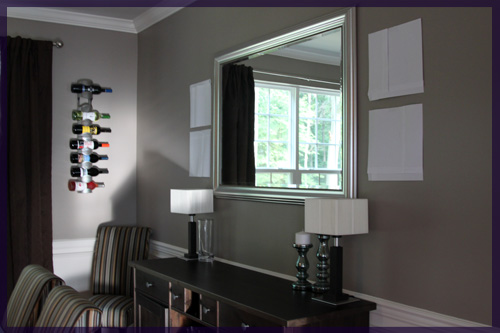
We’re not fans of those columns and hopefully they’re out of there someday! The builder gave us the chair rail in the dining room and we added the boxes underneath (or rather we had someone do it since we hadn’t yet mastered the nail gun). The wine racks are from Ikea and we had them in our condo.

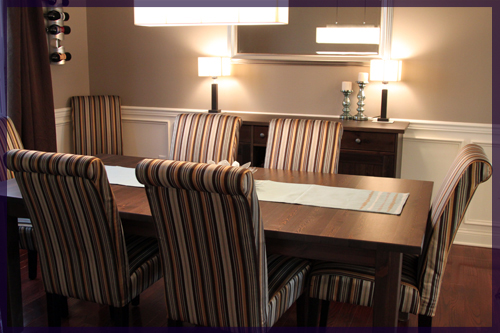
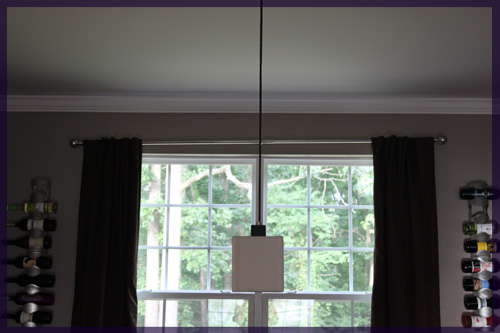
MikeΒ added speakers in this room and the living room so we have some music when we have large groups of people eating over.Β The mirror is also from Ikea and the light fixtures are from Home Depot. We fell in love with the lights before we bought the house, but they’re on their way out. They probably inspired this room the most in the beginning, but as it’s grown and evolved (and we have too) I think we need less square and more round elements in the room. So I’m planning on adding large, white, round lamps (with maybe a blue base?) and 1 (or 2!) large white drum pendants over the table.

We’ll either stick the old fixtures on Ebay or Craigslist, or save them for the basement. Either way, we’re not in a rush to get rid of them right now.

We really love how they make the space seem like a swanky restaurant more than a dining room, but as you can see in that last picture, the proportion of the lamps to mirror is off. They’re too short, mirror is too big, mirror is too square, lamps are also square, molding is white, lamps are off-white. You get the idea.

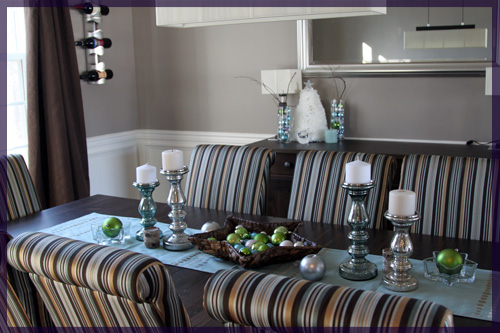
Here’s the table decked out for Thanksgiving…

And for Christmas…

The only year round decoration (and the only picture hanging in the entire house!) resides in this room. I got it at Kohl’s for dirt cheap when we moved in and I figured I could always change out the print and reuse the square and double matted (!) frame for the $15 or so it was.

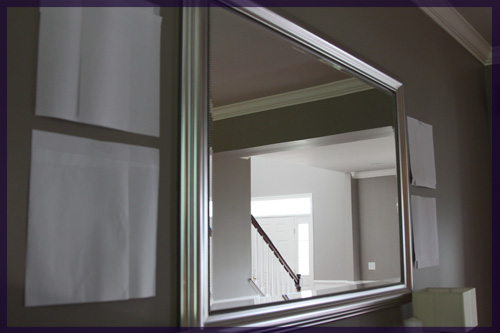
Since we have a serious lack of art and the scale of the mirror is irking me, I decided to pick up four 12″x12″ canvases in Michael’s a couple of weeks ago. I haven’t painted anything in years and I thought this room could use some abstract landscape art. I think that two on either side of the mirror will make the buffet wall look much more subtantial.

To make sure I wasn’t crazy, I chopped up some pieces of paper to get the size of the canvases and taped them to the wall.

Once we have taller, more substantial lamps, I think it will layer nicely.

I think one of my favorite aspects of this room is that not a single thing in here was expensive. The table and buffet were being discontinued in the stain we bought, so they were $199 each. They are solid wood and the table has two leaves that extend the table to fit 12+ people. The target chairs were about $65 each and they had free shipping. The curtains are from Target, wine racks from Ikea and that’s about it! Classy doesn’t have to be pricey πŸ™‚

ps- What happens when you mix an almost 20lb cat and a curtain rod?

No my camera is not crooked, the rod is. Macky has pulled it partially out of the wall. Someone please tell him that he’s 5 and this type behavior is no longer age appropriate?

Island Dreaming

4 Comments

Posted by Rebecca, June 28th, 2011

Remember waaay back when (last week) I was envious of Dana’s kitchen island?

(via House*Tweaking)

Well I think it may be partially possible, we can probably add the shelves but not the stools. This excites me beyond belief because I have wanted to add a different countertop to our island since, well, before we moved in! I thought we could add stools to our island and we planned to extend our countertop with butcher block long before this blog was born. But once we moved in, we realized that the salesperson was wrong when she told us we could fit stools at our island πŸ™ it would be too close of a squeeze near the refrigerator and the lower cabinets next to it.

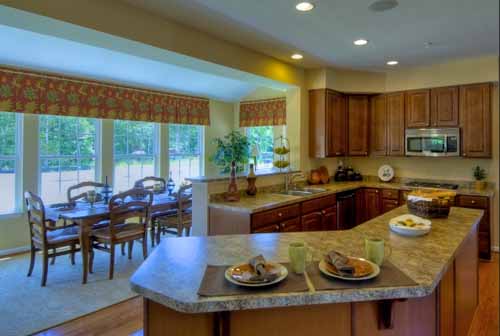
Despite the sad news, I never gave up hope of making our kitchen more customized. For a while, Mike and I thought we may want to add a sunroom type of thing to the back of our house so that we could extend our island.

(via another model home in our development that has since sold)

But obviously, we have since added our patio and we will not be putting any additions on the back of our house. It was a fun dream while it lasted!

Mike and I have been thinking about adding a bookcase area to our island since I discovered Dana’s. When we talked it out, we realized it was completely realistic if we made one simple change.

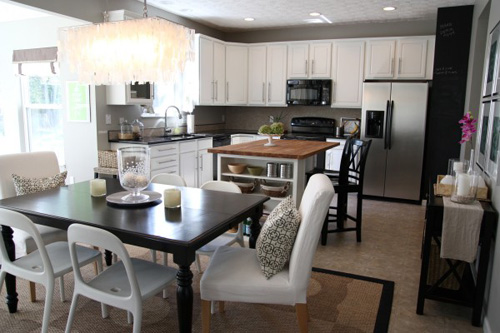
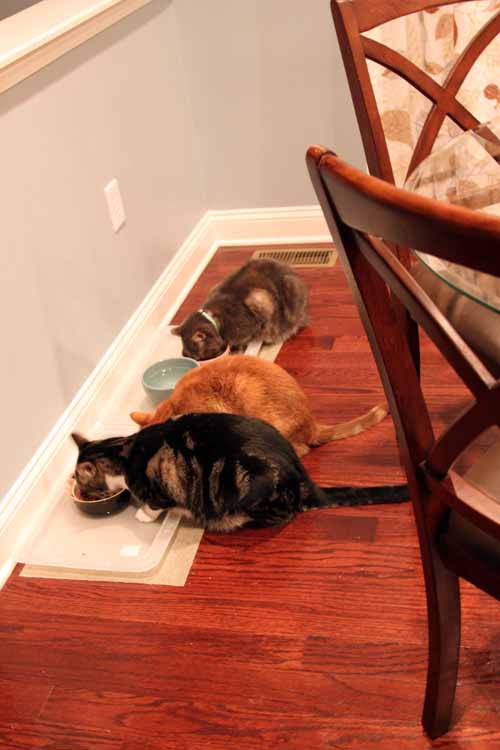
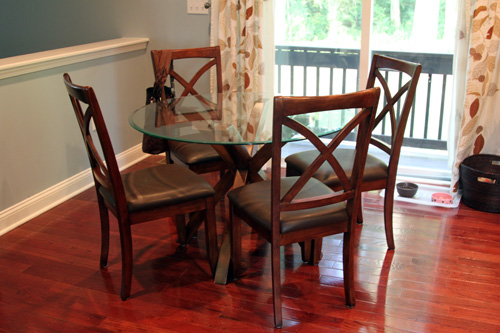
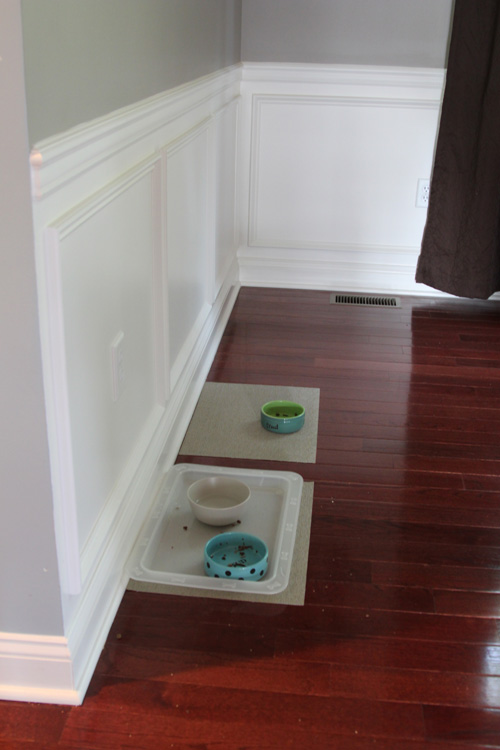
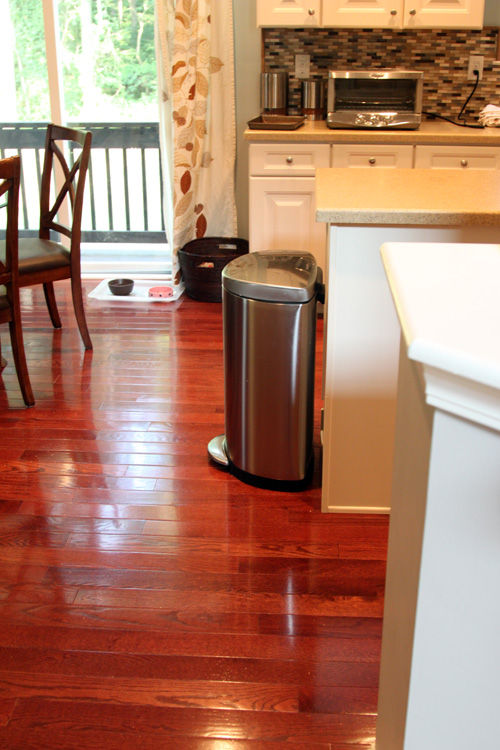
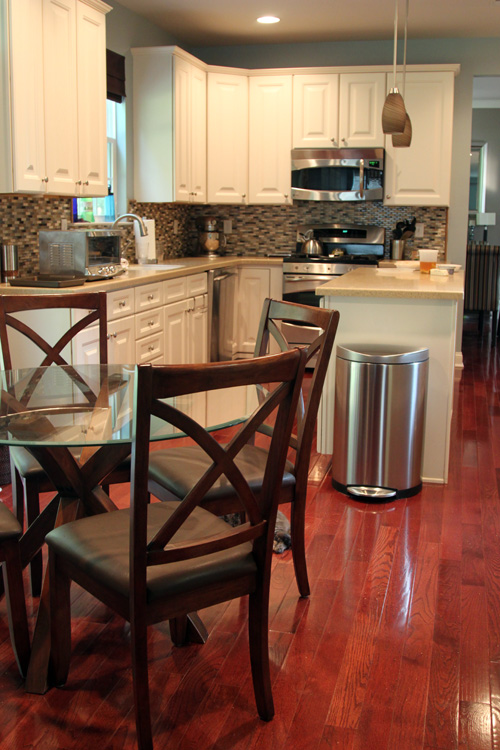
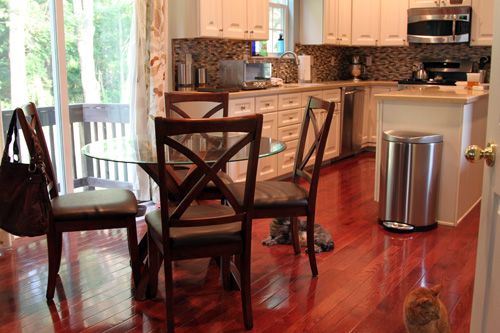
The cats can’t eat anymore. I’m kidding I’m kidding. Yesterday, I moved their bowls out of our eat-in area so that it now looks like this…

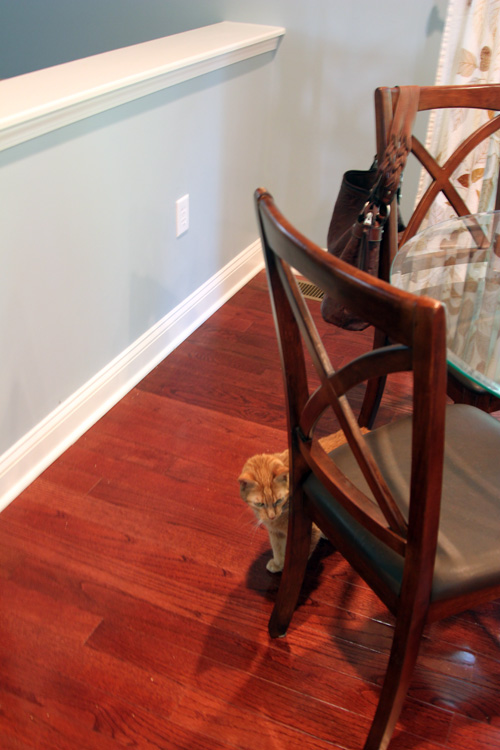
Now that I look at this picture, it looks like Darwin is standing there like “Maa! Where’s my food!?” He was just photo bombing, as my cats always seem to do. Actually, since Darwin was diagnosed with kidney disease and started his special food last week, we’ve been feeding him separately so his bowl got to stay in the kitchen until he gains some weight. It’s back there by the sliding glass door for now.

Macky and Mowie are now dining, in the dining room. They feel all classy and stuff.

(Yes my cats are messy eaters. Sometimes the placemat and dog tray can’t even contain their messes)

We figure that we only use the dining room for special occassions and during those times, we usually leave just one bowl out for the cats or put their food in our bedroom. This keeps them protected from the chaos and foot traffic, and makes a little more room for people to walk around. Since our kitchen/eat-in area is an area we use daily, we figure we can spread ourselves out a little and let the cats eat in their own room. Don’t worry, we really don’t eat at the same time anyway. They’re on a 8:30am/8:30pm schedule. We usually eat our dinner around 6:30 πŸ™‚

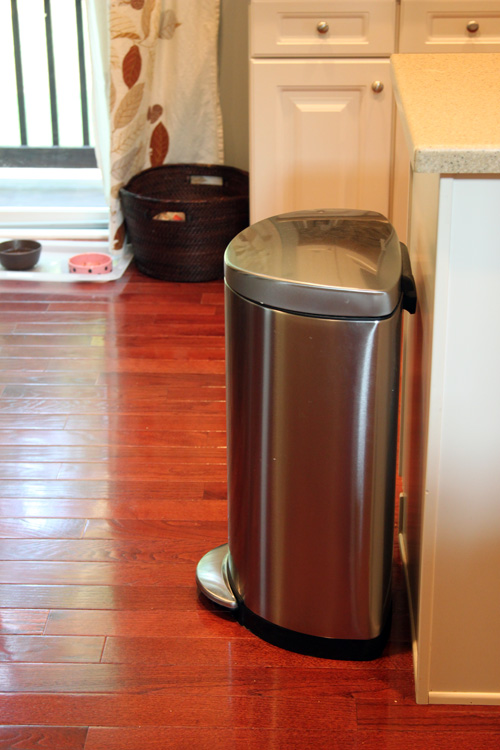
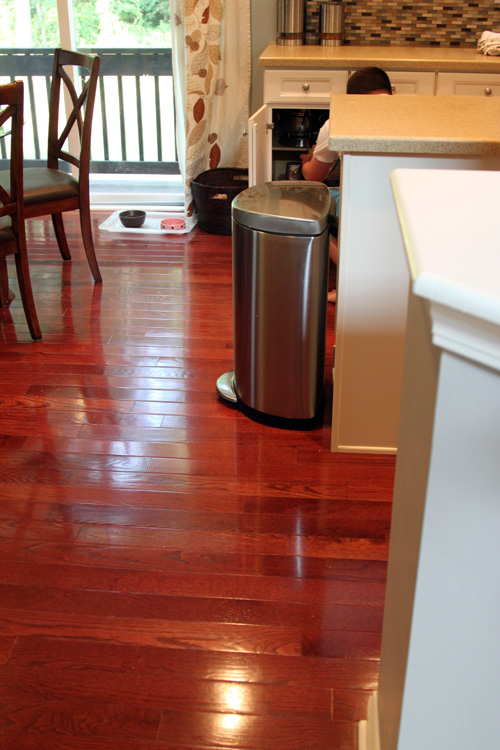
With the bowls out of the way, we have a lot more room to plan our island area. We’d probably move our garbage can to where the recycling basket currently is.

Then probably move the recycling basket to the opposite corner so that we can extend our island about a foot or so. I thought it might be weird that we have a half wall across from the island and I wasn’t sure if the island was lined up with it, but apparently the island isn’t lined up with anything! It sort of falls in between the half wall and the cabinets behind it.

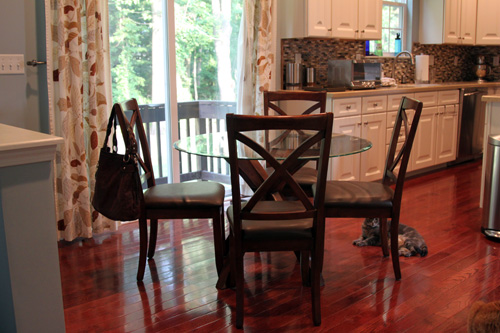
We have a lot more space now to push our small table over so that there’s still a nice amount of open space in the area.

I think that if we add a rectangular table down the line, we will have even more space. But I’m not ready to part with my $199 table and chair set just yet.

These pictures were taken while heating up some leftovers for dinner. The toaster oven magically appeared on the countertop halfway through my pictures.

Just incase you were wondering where we keep our gargantuan toaster oven πŸ™‚ Yes we have the fanciest toaster oven around (it’s a Calphalon one we received as a bridal shower gift) and we use it probably once a day. I am not exaggerating, that thing is my favorite appliance in the world.

While I had a bagel, Mike had some Chinese food. So please ignore the weird combination of food on the island during these full kitchen shots πŸ™‚

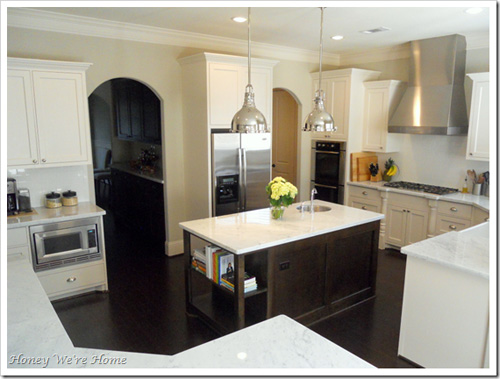
Wouldn’t an island bookcase like this one look wonderful where our garbage can is?

(via Megan at Honey We’re Home)

I can’t wait to give it a try. We’ll probably mark out the area and make sure it’s not too intrusive before making any decisions. It’s on the short list right after finishing our chair rail/wainscoting project πŸ™‚

Copyright 2010 - 2011. The Lil House That Could. All rights reserved.