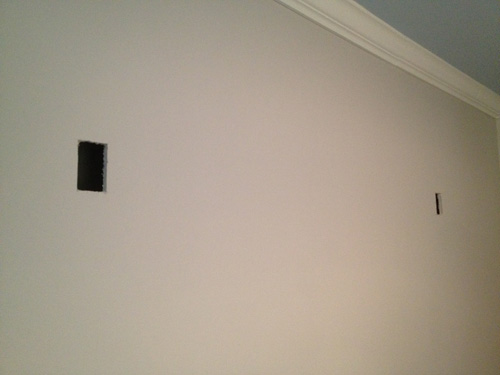
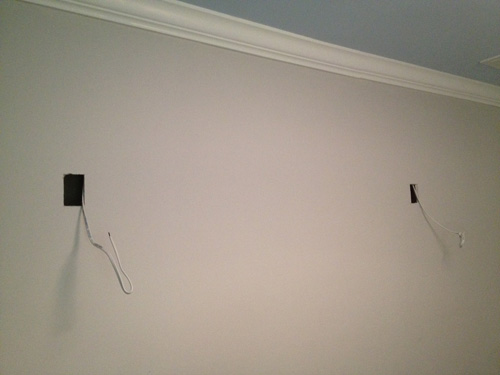
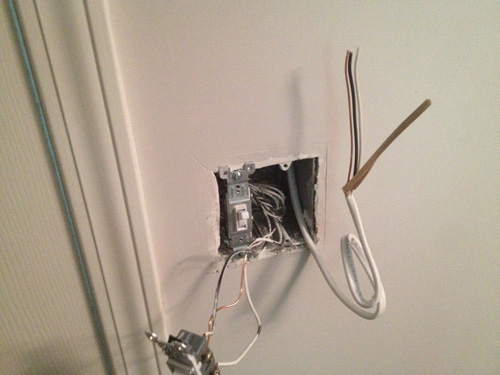
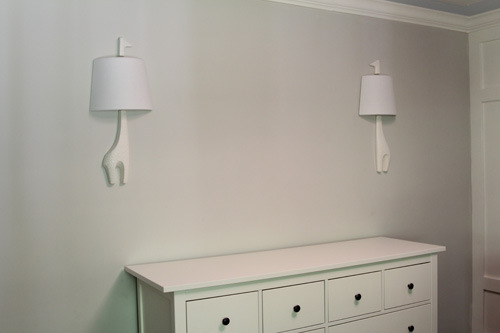
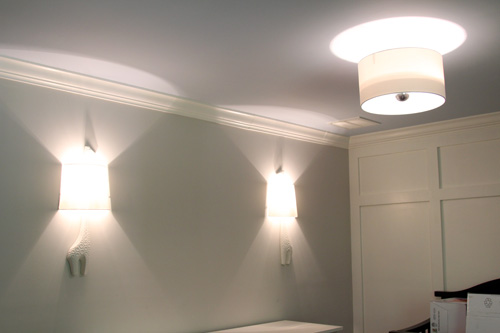
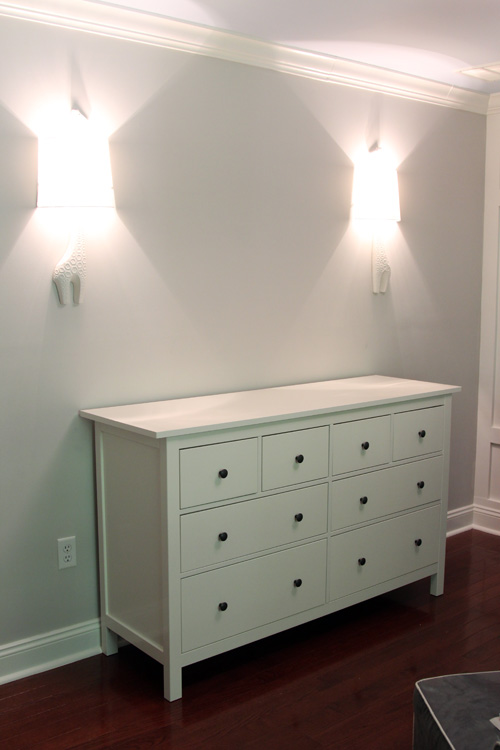
During the past week or so, Mike and I have been busy chipping away at nursery projects. So busy, in fact, that we have way more to blog about than we have left to do. It’s so amazing and exciting to see the room come together and I am itching to share everything. Right now, we’ve been focusing on getting everything done before the little one is here. With each extra day we get comes a new opportunity to tackle some projects.
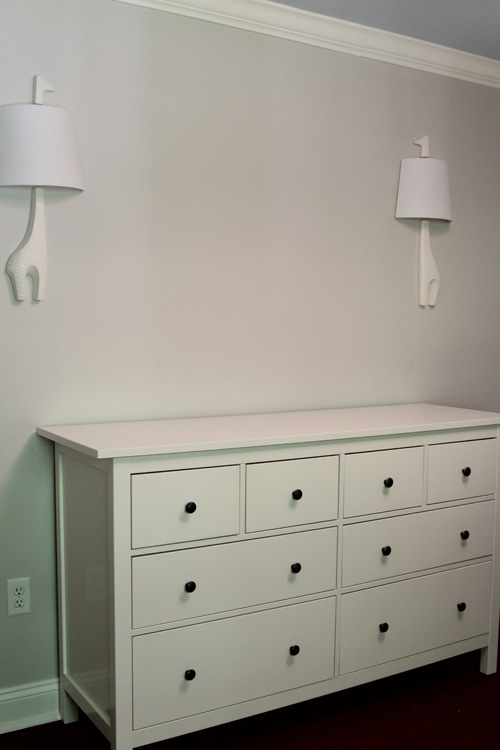
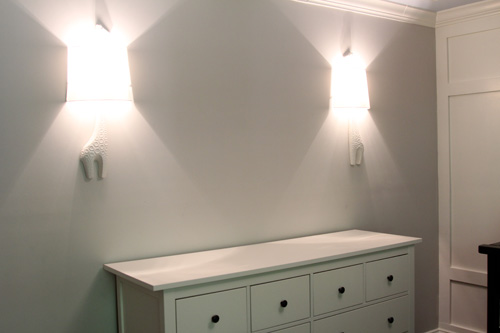
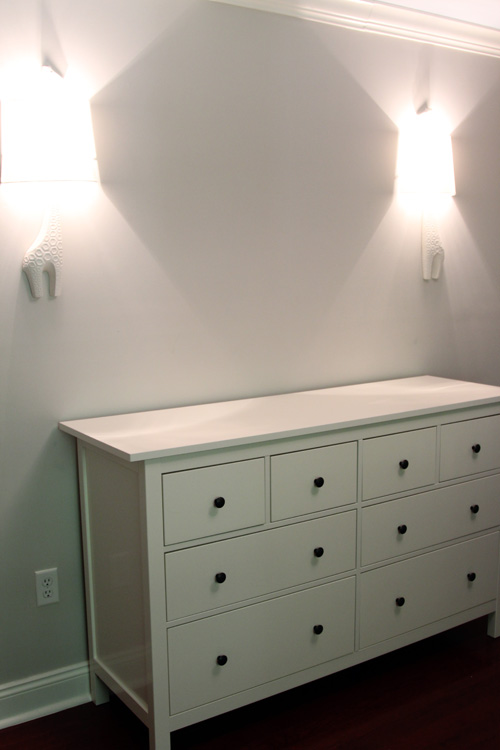
Right around the time Mike finished installing the giraffe sconces, the missing closet piece arrived. They sent us an entire new panel for the screw/bolt part we needed. In case you need a refresher, we bought an Allen + Roth premium wood closet system from Lowe’s.

(via Lowe’s)
We have a similar version in our master closet and love it. In our old place, we used some inexpensive Closetmaid organizers that ended up falling apart on us. Like, I literally pulled open a drawer one day and the entire front came unglued. Since then we stick to the solid wood products from Lowe’s. We can cut the shelves down to whatever size we need and customize all of the configurations.
Mike got to putting together the center tower right away. Then, being the rocket scientists we are, we had to figure out how to get the tall tower into the actual closet.
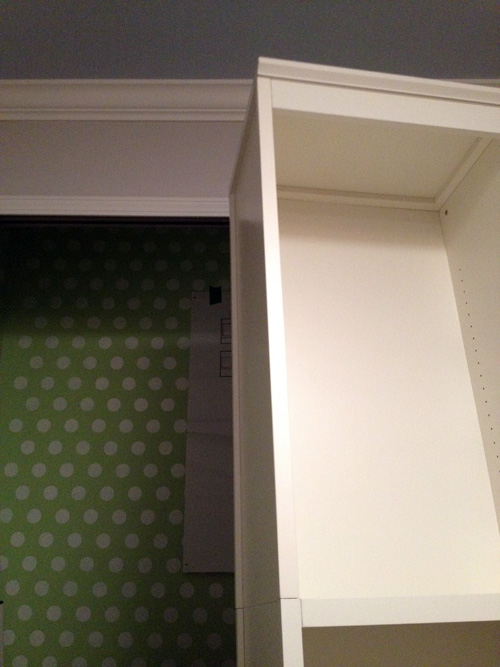
It took a few tilts and laughs, but we got it in.
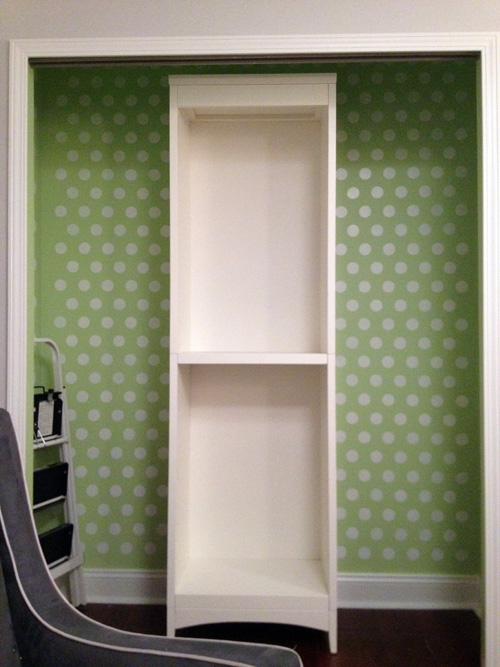
By we, I mean Mike. I pretty much sat in the glider through the whole process, snapping pictures with my iPhone.
Please note the white paint all over my pajama pants. They were the victim of the spilled tray of paint while I stenciled the closet.
After we got the tower in, we went back to Lowe’s to pick up some shelves. We needed 25 inch wide shelves on each side. The shelves came in 21″, 48″ or 72″. None of those options were ideal. We literally scratched our heads in Lowe’s forever trying to figure out how we can pull this all off. Another problem was that the clothing rods Lowe’s sold were too large. We checked some of their other brands and saw some expandable rods that were 24″-36″, but they were in white. To save some money, we decided to only get one of the 72″ shelves and just do shelves over the top rod of the closet. We went to Home Depot to see if they had any chrome rods that would fit the 25″ we needed. Thankfully they did!
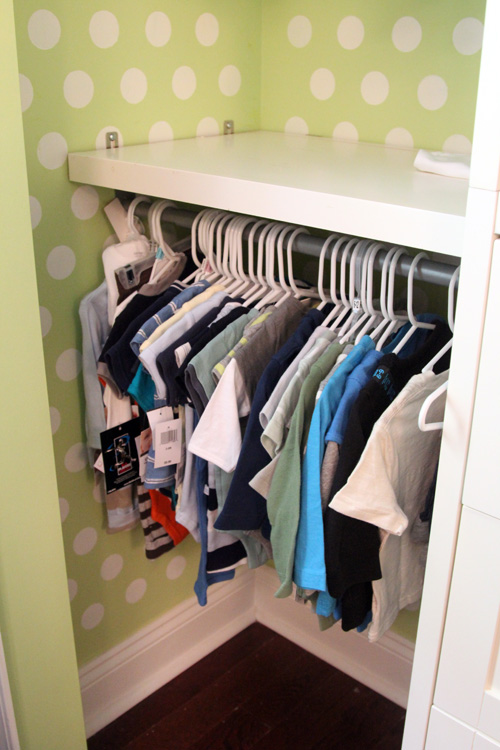
We got home and Mike cut 2 shelves to 25″. He installed them with some brackets, anchoring them to two walls and the tower. Just below each shelf, we put a clothing rod.
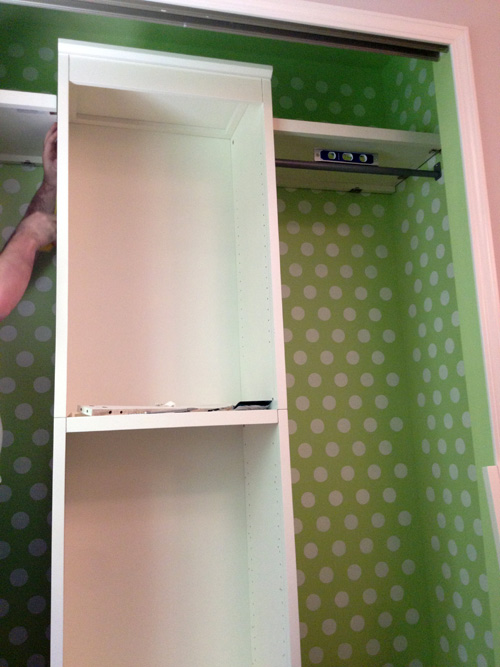
To gauge where we wanted to put the next level of rods, we grabbed one of Mike’s shirts for some scale (since baby clothes are so tiny).
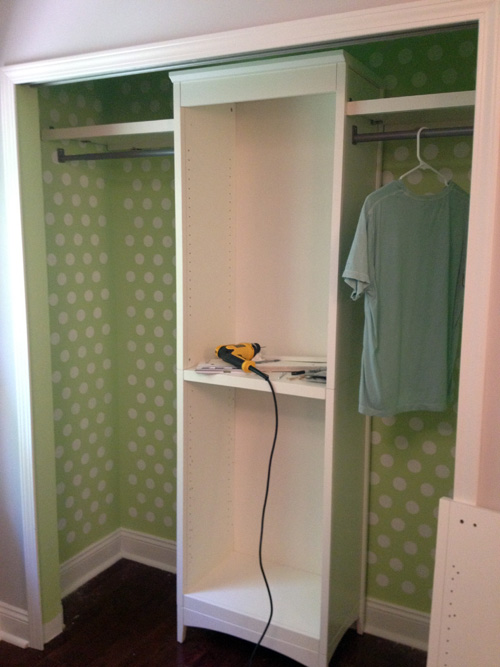
Then we decided something. Since baby clothes are so small, we decided we DID want to do that second level of shelves. We knew it would look better and give us a place to put little shoes and stuff. We know for an adult a shelf might not be practical, but it can always be removed.
Back to Lowe’s Mike went for another 72″ shelf! He repeated the shelf and rod process on the lower level and we were almost done!
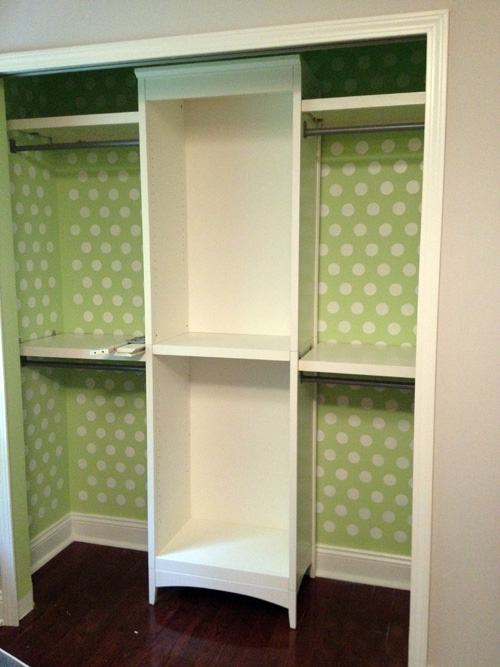
Next, the drawers went in… we decided to get 3. The bottom of the tower can be left as shelves, drawers, metal baskets or a shoe rack. We were going to do just 2 drawers but then decided that the closed storage is more versatile.
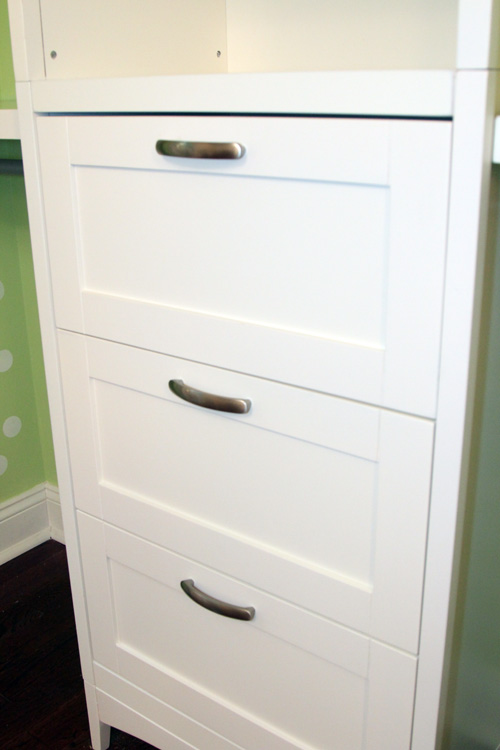
We went with the flat front panel, but Lowe’s also sells a more traditional, beveled drawer front. Oh and for the tower? They give you both a straight top piece and a curved one. This baffled both of us for a while because we wanted the straight piece but all of the boxes had the curved piece on the picture. We didn’t realize it came with both options, pretty clever.
We also decided to stick with the hardware that came with the drawers. Why not? We like it. Maybe down the road we’ll go for something more custom, but it’s perfectly fine with me right now.
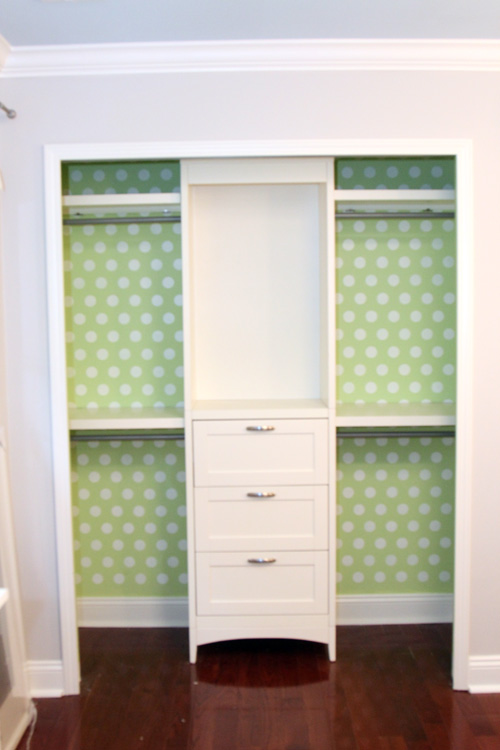
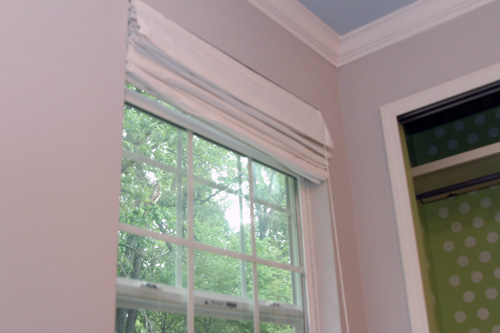
I couldn’t back up to take better pictures because there was a lot of furniture in the way behind me (we were working on hanging curtains on the same day, so things were shifted).
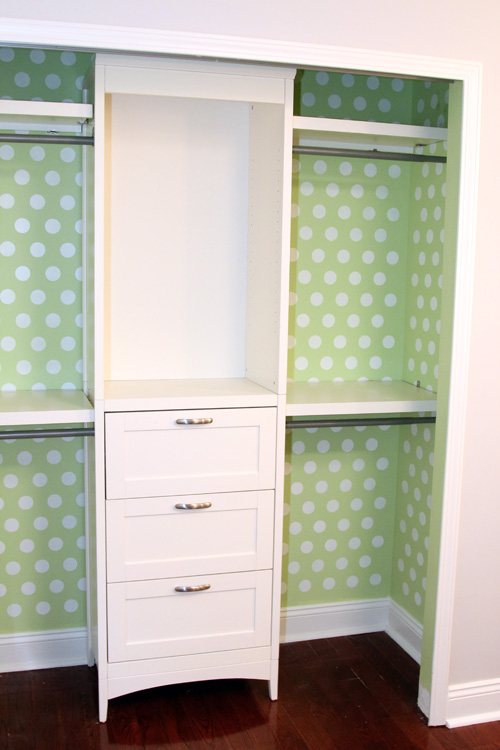
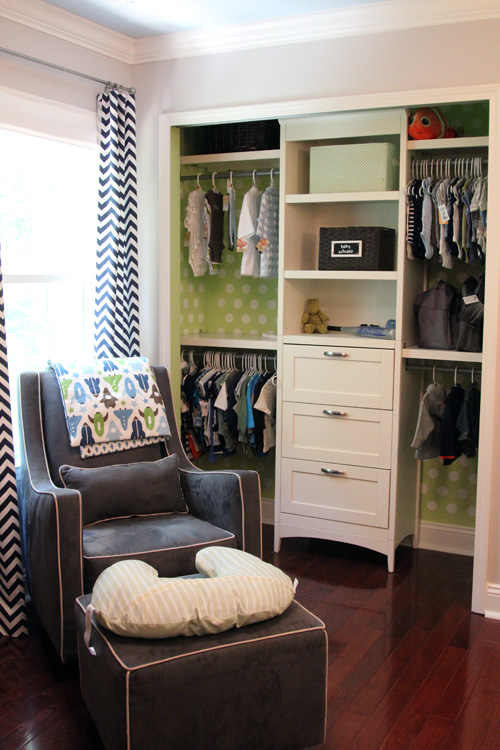
I almost forgot to include a picture with the shelves in the tower! I didn’t realize that the zoomed out pictures were taken before we put them in, so here they are!
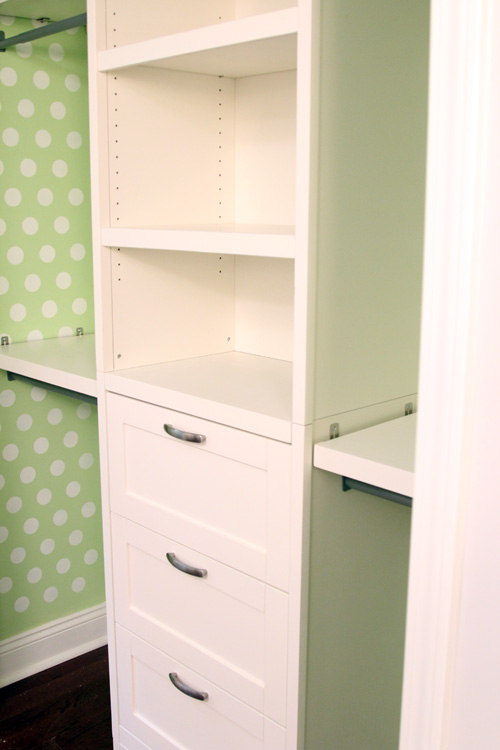
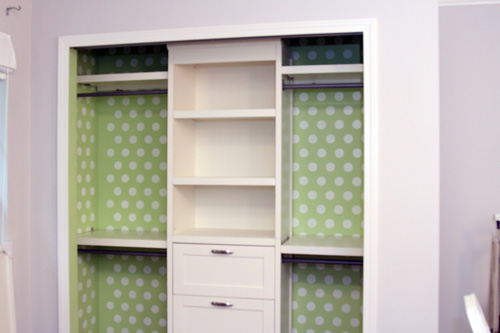
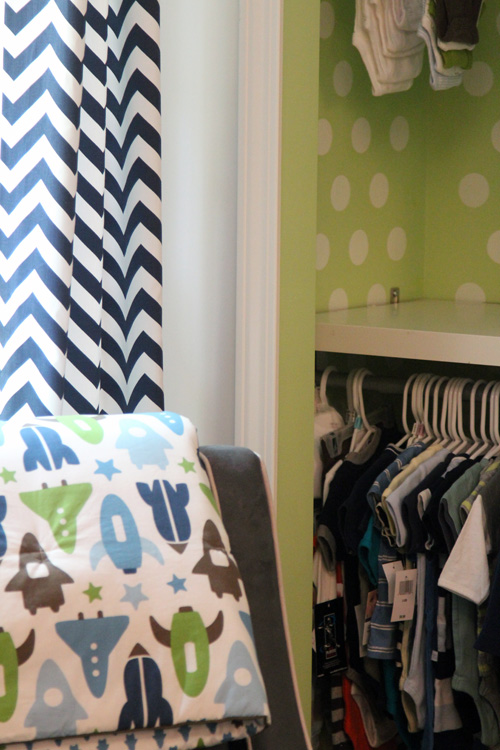
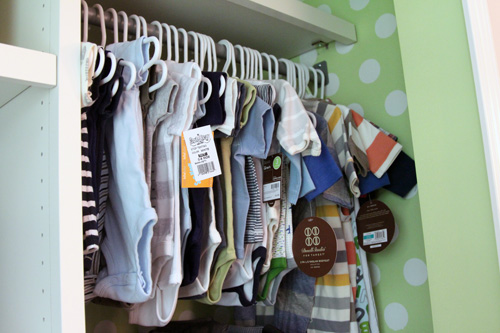
Of course, it took me about 2 minutes to run to the spare bedroom and grab all of the baby’s clothes that have been living in there since we started this. The closet was stocked about 5 minutes later 🙂 I put newborn clothes on one rod, 0-3 months on another, 3-6 months on the next rod and 6-12 months on the last rod. It’s pretty amazing to be nice and organized. In the drawers right now are smaller odds and ends, though the drawers are amazingly deep and have a nice little self closing feature. I fit an entire breast pump (still in the box) along with a bunch of accessories and a nursing cover in one of the drawers. The top shelves are home to some baskets and the tower is currently holding Boppys, a basket and some little decorative items.
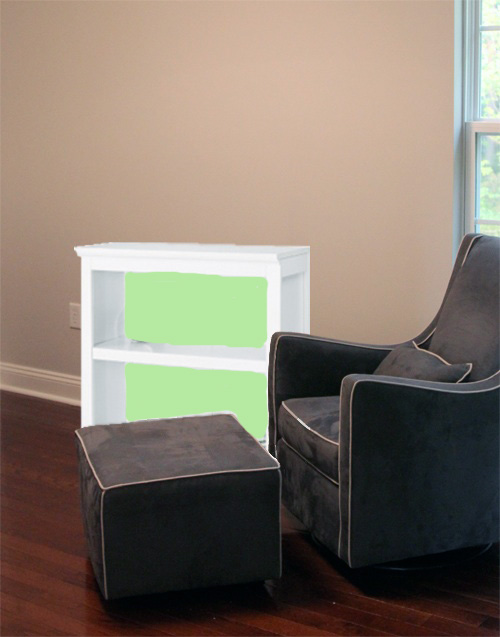
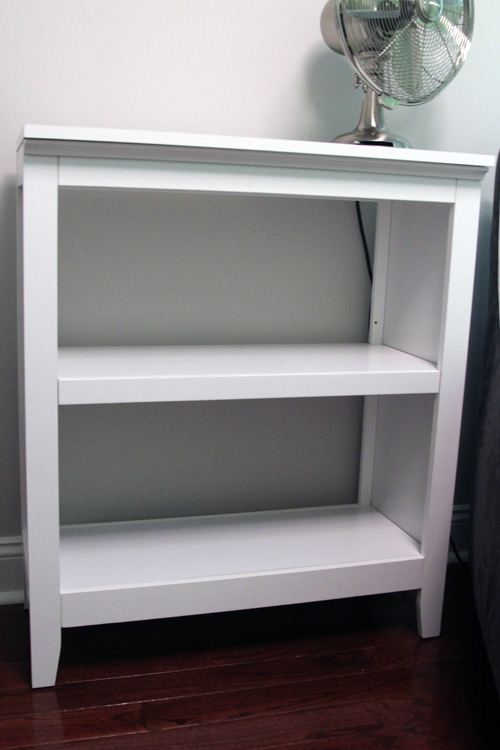
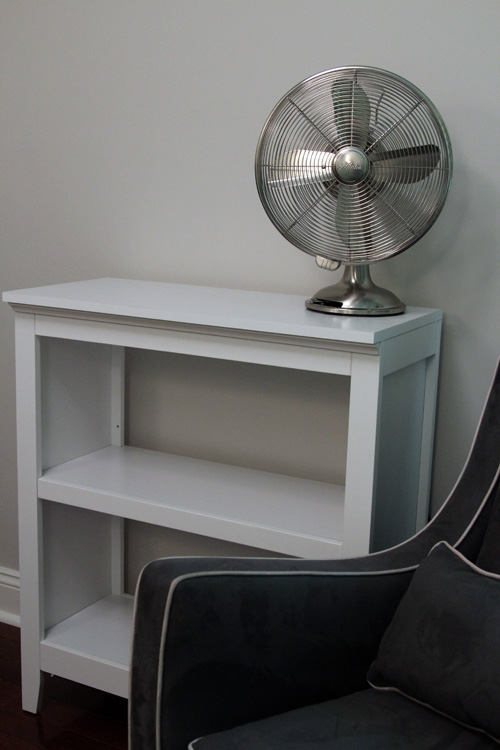
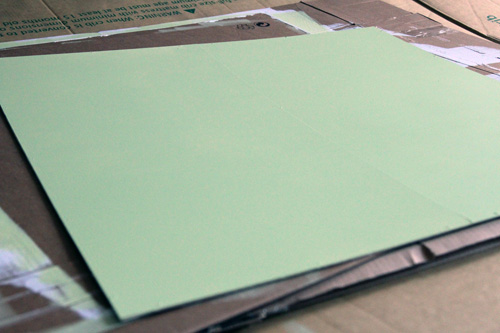
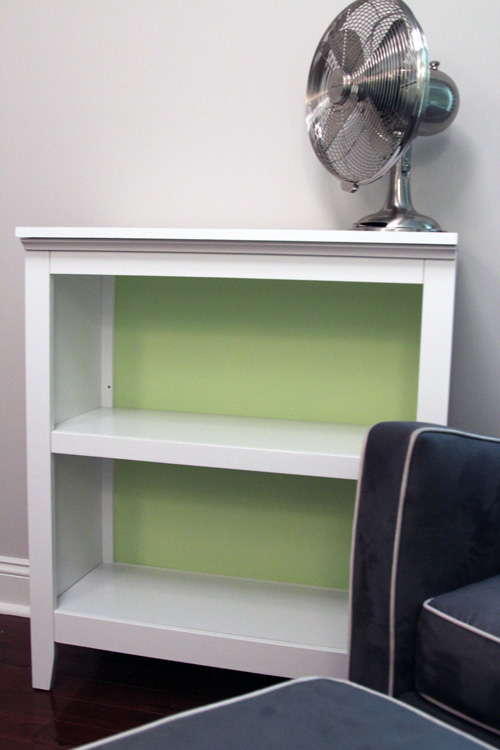
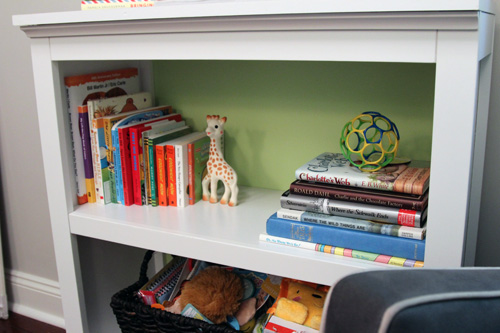
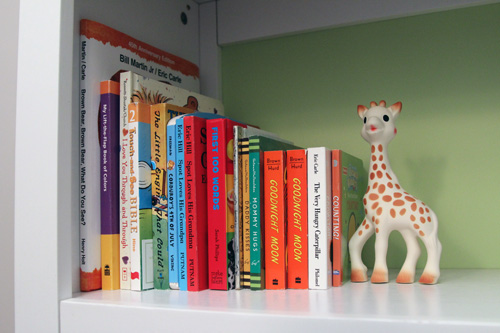
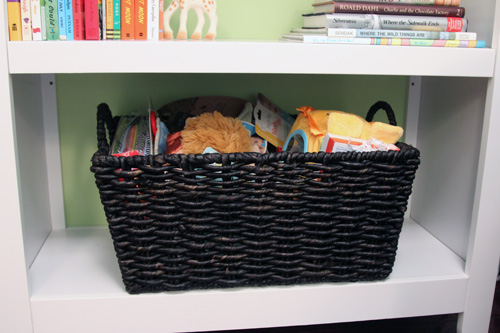
The bookcase has arrived and I painted the back of it green, only to have the paint not stick at all, so Mike had to coat it with a layer of primer for me (since it wasn’t no-VOC). He finished that tonight so hopefully the next layer of green I put on actually works! I also made some chevron curtains, a bed skirt, made the crib, decorated the changing area and designed some ABC art in Photoshop. Once this baby actually comes, I can share some real after pictures!


