Organizing the Wrap
Posted by Rebecca, March 13th, 2012
It’s that time again, time for Young House Love and Bower Power‘s Pinterest challenge! For the last two Pinterest challenges, I made paintings… one was the landscapes I hung in our dining room and the other was a pencil eraser monogram. I really had no clue what to make this time since we’re still in the middle of painting the nursery and not quite ready for any other projects in there. I also did not want to tackle any other large projects on our to-do list, since the nursery is our primary focus these days (considering we only have 8 weeks, eek!) I was honestly thinking I’d sit this one out when Mike reminded me that we picked up some things from Ikea a while back to organize our gift wrap. He’s a keeper.
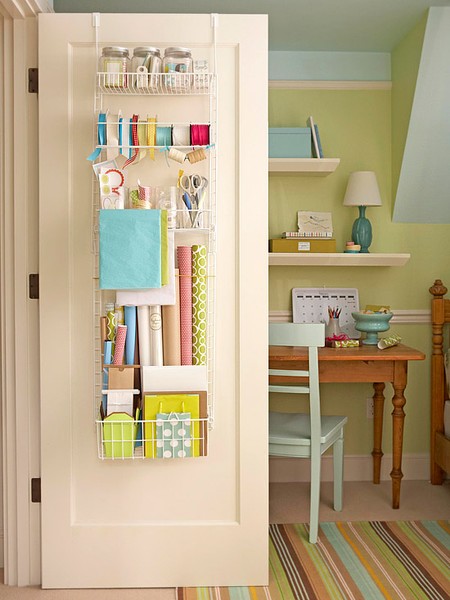
Cue the Pinspiration!
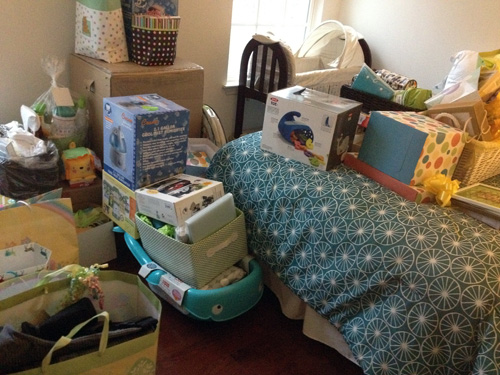
Up until this point, I’ve stored gift wrap in one of those Rubbermaid gift wrap containers. Problem was it didn’t really accomodate my ribbon collection or taller wrapping paper. Our wrapping paper has been hanging out in our guest room and this year I decided to use the Rubbermaid container exclusively for Christmas wrapping stuff. Considering the guest room looks like this as of our baby shower this weekend, this challenge could not have come at a better time….
This is only the smaller gifts… the larger ones are downstairs. Once the baby’s closet is all painted and done, we can move this stuff out of here. All the way in the corner was my wrapping paper collection, I rescued it from the sea of baby.
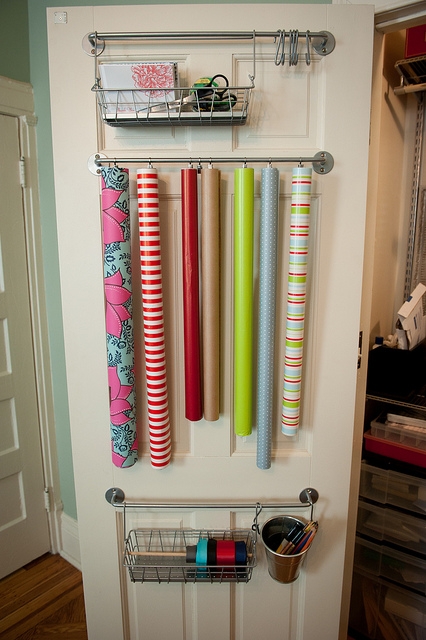
I decided to use another organizing method I found on Pinterest, this one from A Brooklyn Limestone.
(from A Brooklyn Limestone via Pinterest)
We picked up supplies to tackle this back when we were on a new office kick. We literally dropped everything to work on the nursery once February rolled around, so this got put on the back burner. We pretty much bought exactly the same supplies as the inspiration picture, with a few modifications….
1 pack of Dignitet curtain clips
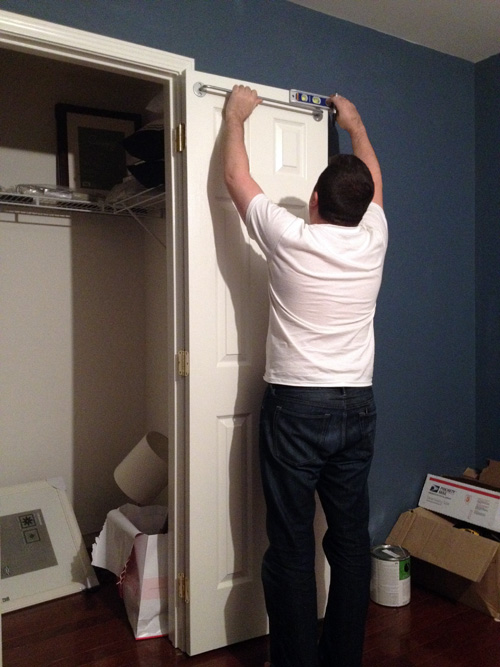
I didn’t take any in progress pictures except for this one, please excuse the mess all over the place. This room was our clutter and sawing area while working on the nursery.
The process was pretty simple and self explanatory. Some important things to note though, the bars do not come with screws. Also, if you go with the Grundtal cups, they screws they give you (or at least they gave us) were too short. So keep some spare screws nearby 🙂
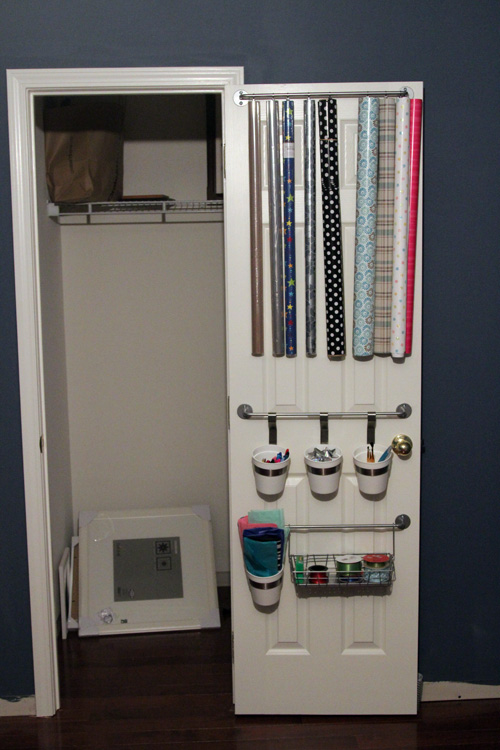
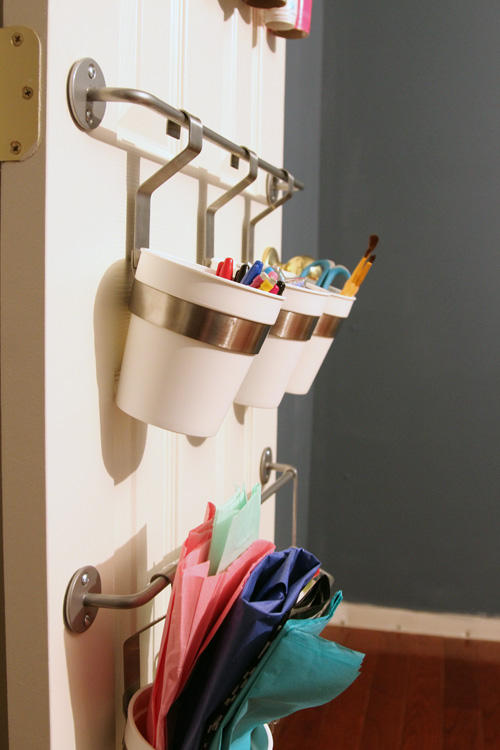
Here’s our finished product (with crappy night photos because I got home from work late)
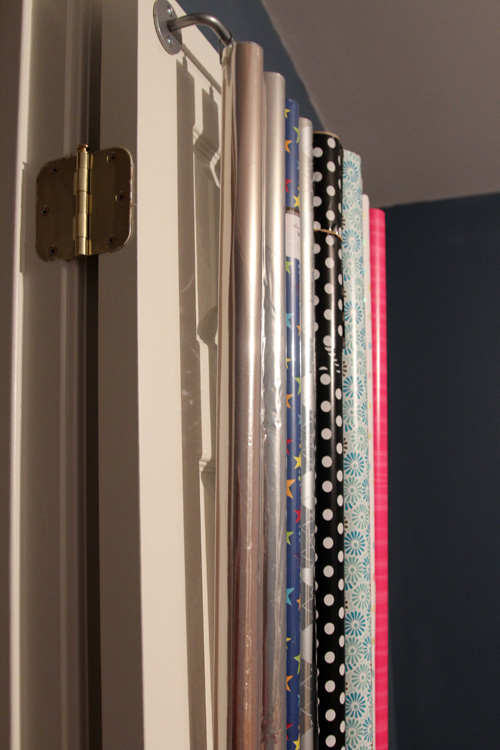
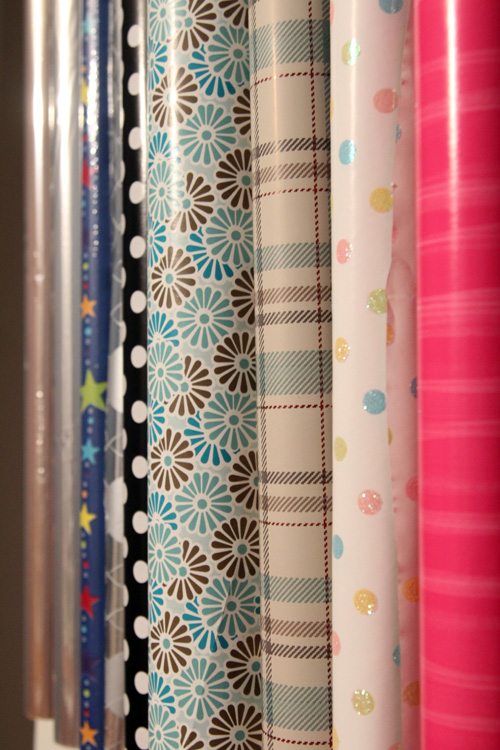
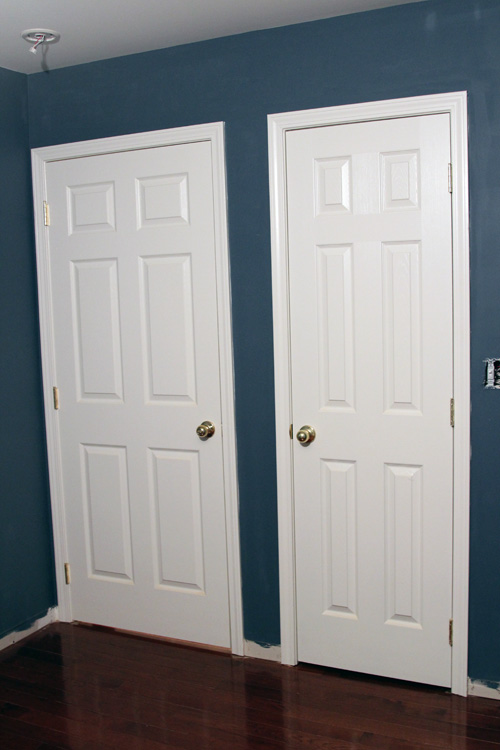
I know, the quality of that picture makes me cringe too. I tried 8 million times to take a better one but the room just has poor lighting at night. Anyway! We decided to put our wrapping paper up top since our door is super narrow and we had to work around the door knob.
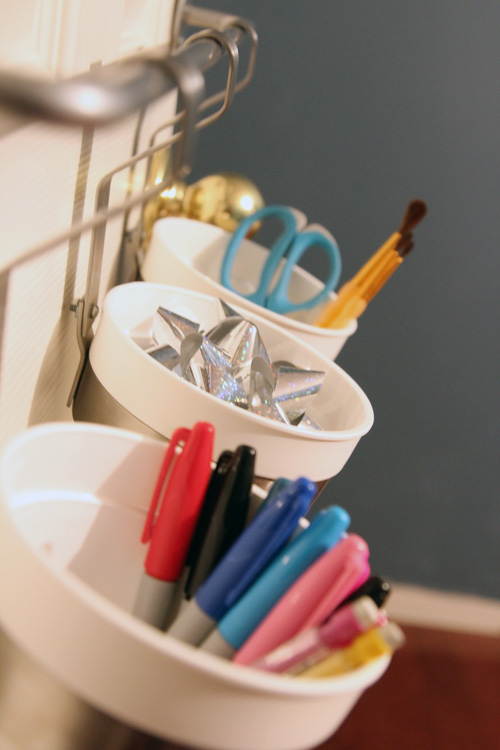
Next, we put 3 cups with some Sharpies, bows and paint brushes for now. Once we fully move the office upstairs I will have tons more crafty things to put in these.
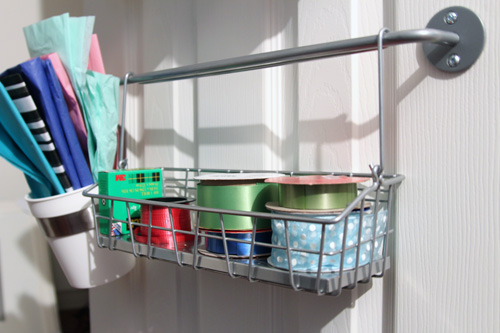
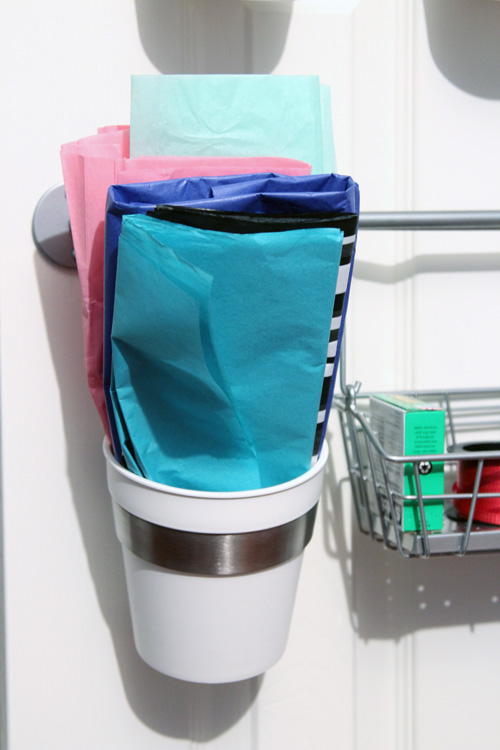
On the bottom we put a flat wire rack with ribbon in it and another cup full of colored tissue paper.
All in all, it was a super easy and cheap way to be able to see all of my pretty stuff. Plus it holds way more wrapping paper than I thought it would.
And the best part? It hides away nicely behind a door 🙂
Be sure to check out Sherry’s (Young House Love) and Katie’s (Bower Power) projects tomorrow. Plus, this time around they’ve teamed up with Cassie from Hi Sugarplum and Erin from The Great Indoors, so check out their projects as well. I shall be in all 4 places tomorrow 🙂
ps- maybe i can update this with better daylight pictures tomorrow!


