No Sew Chevron Curtains
Posted by Rebecca, June 11th, 2012
Finally, a post on those nursery curtains! We’ve been a little hectic around here the past two weeks… no, not just because we have a newborn. Mike mentioned that his side of our walk-in closet system collapsed when Easton was a few days old, so Mike has been spending all of his spare time spackling, painting and installing that. Then there was the broken AC and the broken microwave (yeah we didn’t tell you about that one), then we both caught colds. Needless to say, we haven’t had much time to blog, but I’m trying to get back into a routine.
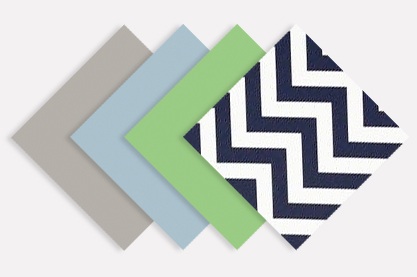
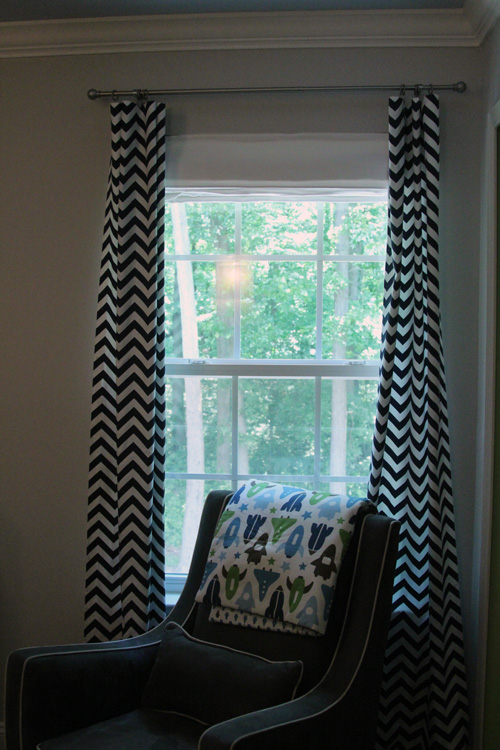
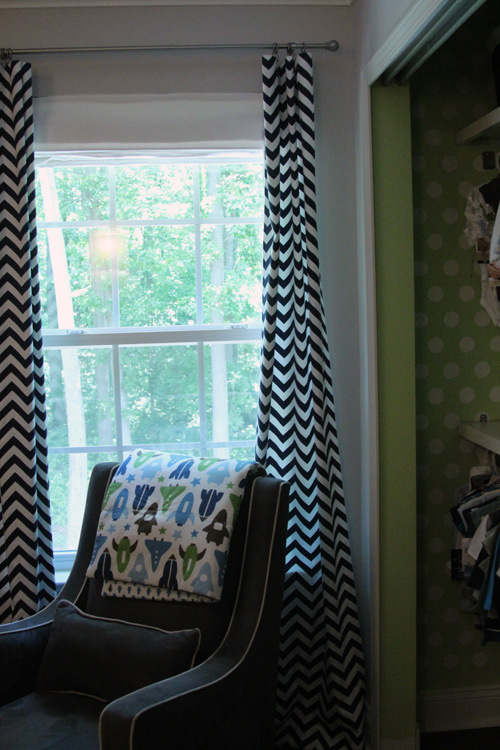
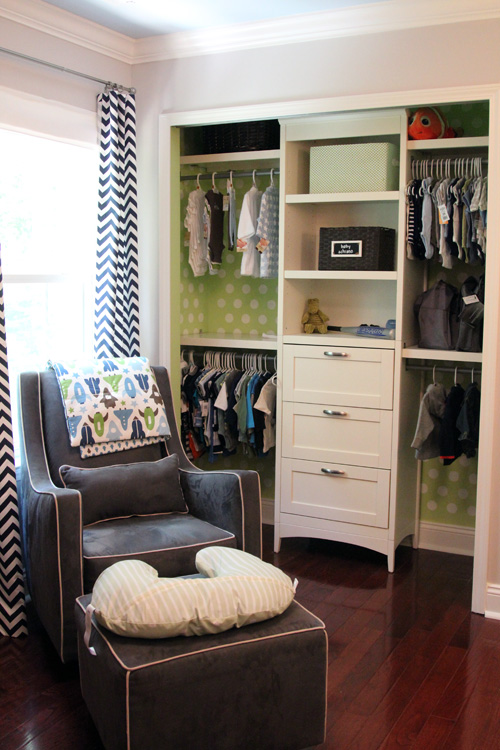
So anyway, while I was waiting for Easton to arrive in those final days, I was able to complete the chevron curtains I’d been planning. It only took me a few hours and was incredibly easy. As you probably guessed since Easton is a boy, we went with this nursery color scheme..
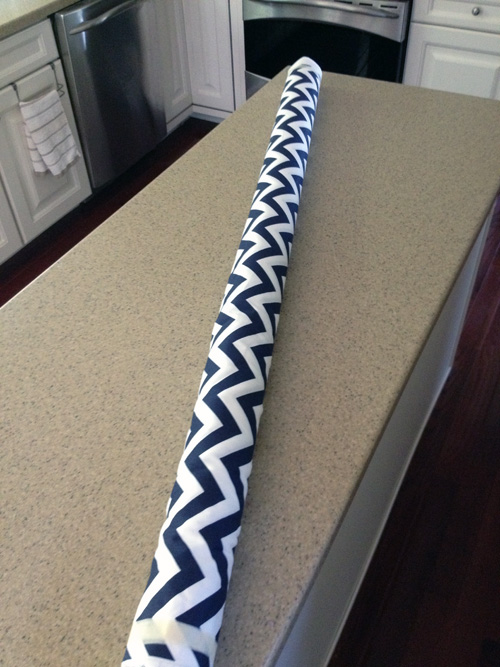
It’s crazy how close to these colors the final product ended up being! I ordered the navy chevron fabric from OnlineFabricStore.net, it’s Premier Prints Zig Zag Blue Twill and you can order it here. I believe I ordered 10 yards at the time because I was originally planning on making additional panels for the closet. It came in this gigantic roll…
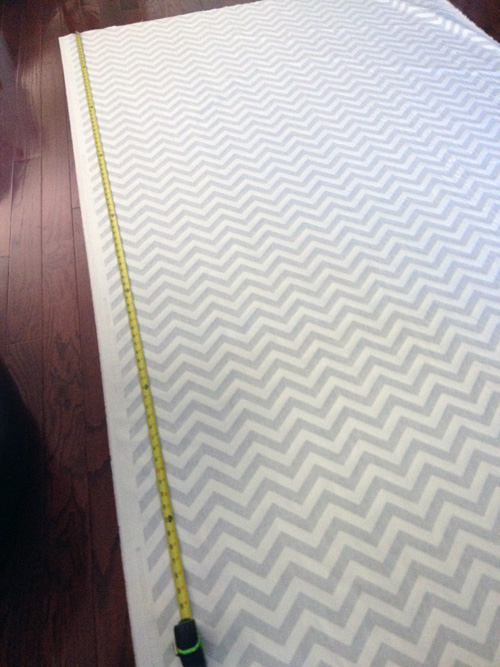
The roll is 54″ wide. Since our window is only 36″ wide, I knew I could cut two panels out of the width and still be able to pull them closed. All I had to figure out was the length, which was easy enough.
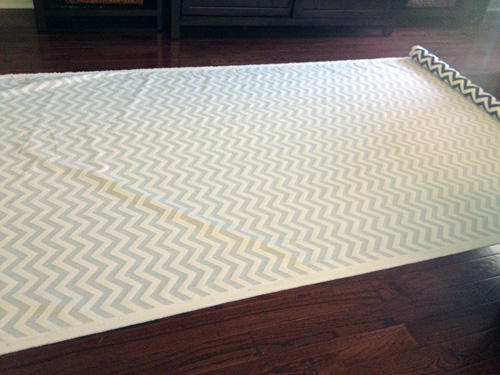
I laid the fabric on our family room floor to cut it, which was insanely hard being overdue pregnant, but I managed to crawl around to make cuts.
I made sure that when I measured, I left about an additional two inches around each edge to be sure to have enough room to hem. Young House Love has a more detailed tutorial on no sew curtains, so I won’t reinvent the wheel here 🙂
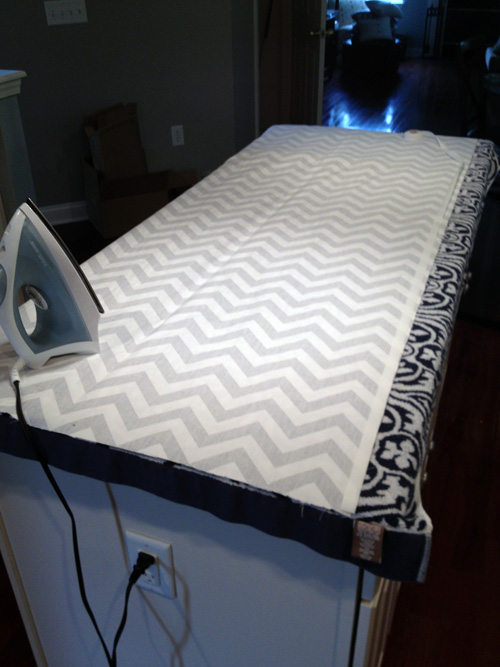
Then it was as simple as cutting some iron on hem tape the length of my seams, peeling the paper off and ironing the one side on… (done on our island with a towel so that I didn’t have to fight the fabric on a thin ironing board)
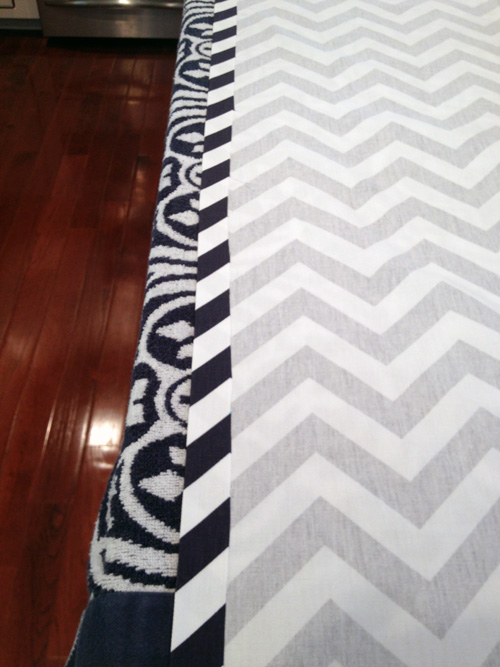
Then folding the fabric over to create the hem, and ironing over the tape again to adhere the other side. These directions are all on the no sew tape, which was Heat n’ Bond I picked up at Michael’s.
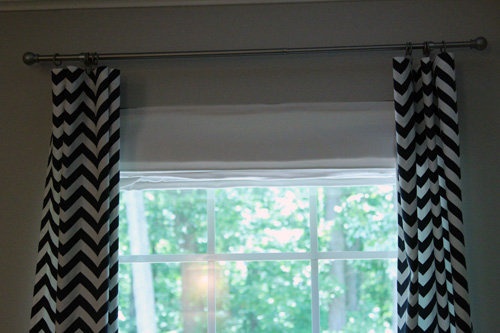
You can probably see that I can’t cut a straight line for the life of me, which is okay just as long as your fold is straight. I did all four sides like this, for 2 panels. Also, for a pattern like chevron, you want to make sure your zig zags are going to line up when you hang them. Both of my panels were cut from one strip of fabric so it was easy, I just had to make sure my top and bottom fold overs were at the exact same part of the zig zigs on each panel. That way, when they’re completely closed in the nursery, they will look like one continuous piece of fabric, all nicely lined up.
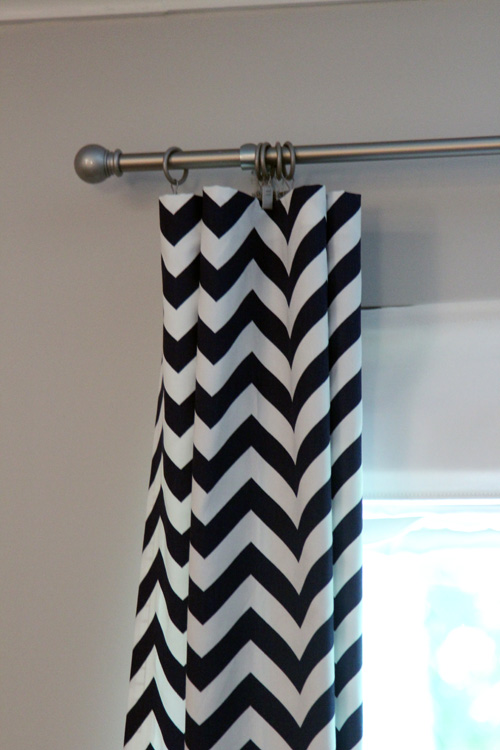
For the curtain rod, we picked up this inexpensive silver one from Target with some matching clips. I think the rod was literally less than $10 on clearance. We needed something not so bulky since the right side of it would be very close to the corner.
When deciding how many clips to use, I just started by putting one each on either end of the panel, then I filled in the middle until I thought there were enough, but it wasn’t too crowded. I ended up with 5 on each panel.
They were really easy to make and took about 2 seconds to hang. I thought I’d have to fight them a little more to get clean pleats, but not at all!
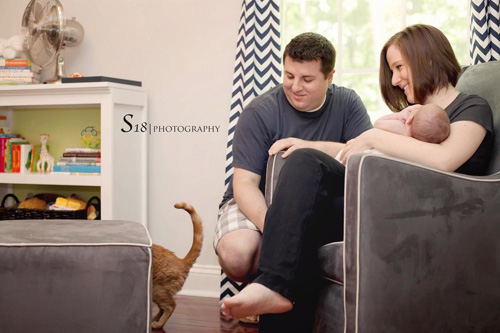
The curtains even made it into Easton’s newborn photos, in one of my favorite pictures ever. How well does this sum up our lives?
(image courtesy of S18 Photography)
Yes that’s Darwin’s butt, my cats even photo bomb on a professional level. Darwin loves his baby brother and follows us around wherever we carry him.
I loved the way the curtains turned out so much that a few days later, I decided to make a matching crib skirt out of some of the remaining fabric. I’ll be sharing that soon, as long as the baby’s nap schedule permits 🙂
ps- be sure to check out our daily Easton pictures over at Macky & Co!


