Posts Tagged ‘built-in’

Goal Setting 2012

3 Comments

Posted by Rebecca, January 16th, 2012

Since I finally put away our Christmas things, I feel as though I need to write out everything we want to get done around here while it’s fresh in my mind. If I could have tackled all of this tonight, I would have. I am so anxious to finally organize this house and make some progress on projects that were put on the back burner when I was busy with school.

Oh, and we have a baby coming in May so many of these items are marked urgent. Some are just marked as “they are bothering us and we’d like to do them ASAP”. Since we realize we have to prioritize (I’m approaching the third trimester here, eek), I’m putting them in the order we’d like to do them.

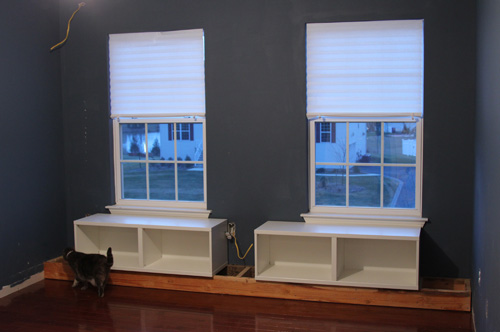
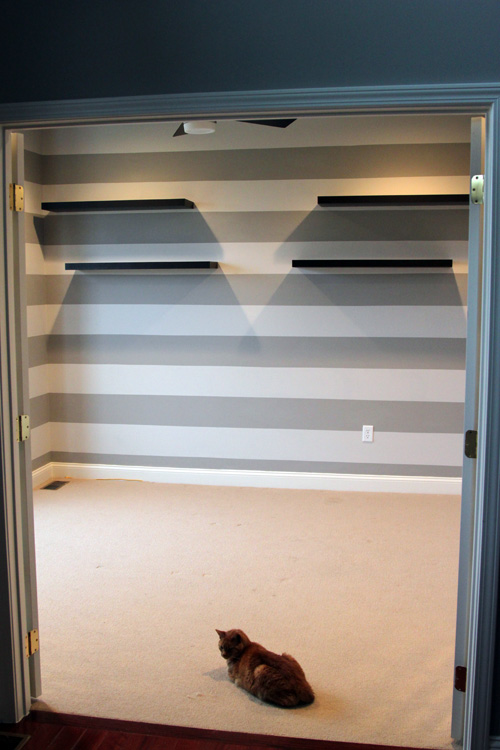
1. Finish built-in bench in new office

We scratched our heads and shopped for wood this weekend, but hit a standstill when we realized we need to buy a table saw or something. And we’re cheap a–es. Solution pending.

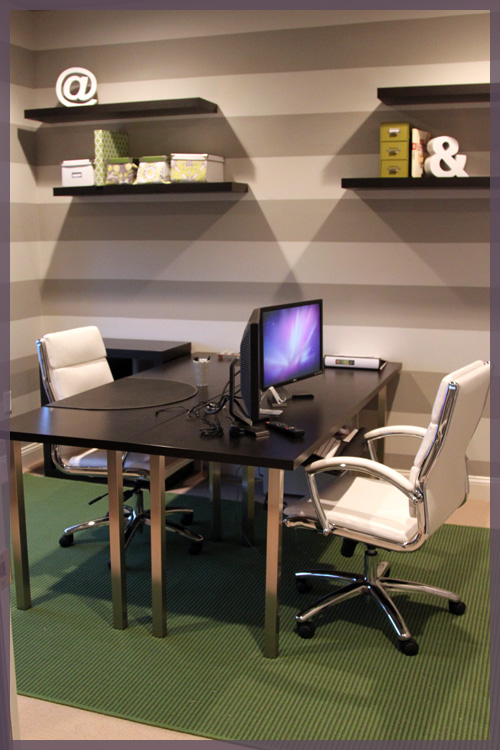
2. Move office furniture in

Mike needs this room to work in and be organized and our goal was to get him somewhat settled in the new office before the baby comes. We’re going to use the furniture we currently have with some potential hacks.

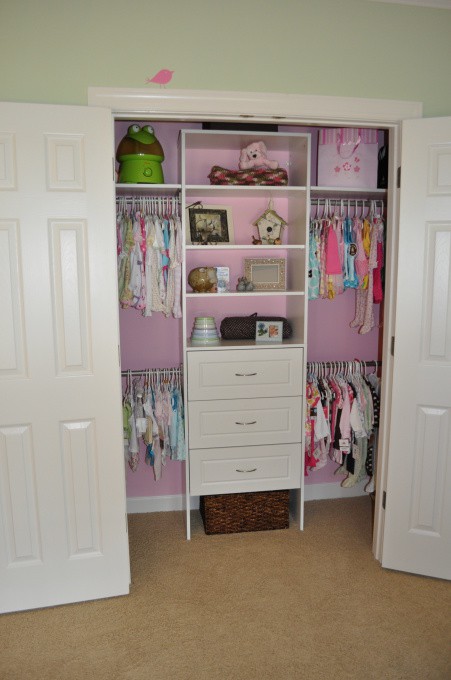
3. Remove wire rack from the baby’s closet, paint, stencil and add closet system

(from Roomzaar via Pinterest)

I put this as first in the baby’s room progress because the closet is the most needed to start to organize some of the stuff we already have. Hanging tiny little clothes in a huge closet is killllling me. Must. Make. Closet. Pretty.

4. Add board and batten to the baby’s room

(via Decorchick)

We plan to add molding high and all the way around the room, like Emily’s living room. Pattern to be determined 🙂

5. Add crown molding to the baby’s room, paint, add furniture, etc.

I know this category is huge and can probably be another to-do ist in itself, but we kinda have to wait until we get through other stages to work this part out. We have furniture in mind and a general idea of where we’re going, so we’ll share as much of it as we can as we go along (being sure not to spill any gender specific details :))

6. Replace playroom carpet

We originally planned to do this before Christmas but that didn’t happen. Since it’s not a space we’ll be using right away, we put the new office and the baby’s room first. But this carpet has got to go. If carpet wasn’t so expensive, we probably would have committed to this already.

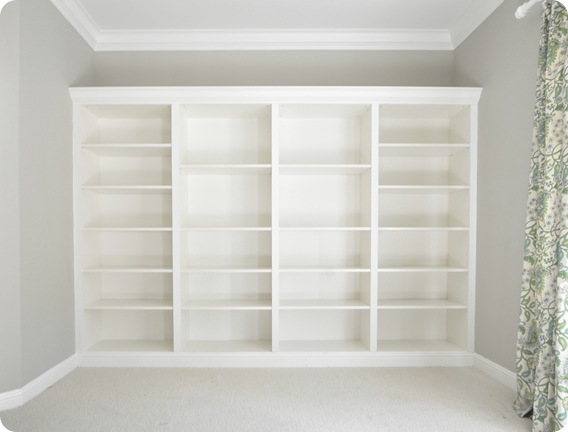
7. Add bookcases to playroom

(via Centsational Girl)

We want to add some Ikea bookcases to the wall where the shelving is in the picture above and make them look built-in, like Kate did with hers.

8. Finish up the molding in our entryway

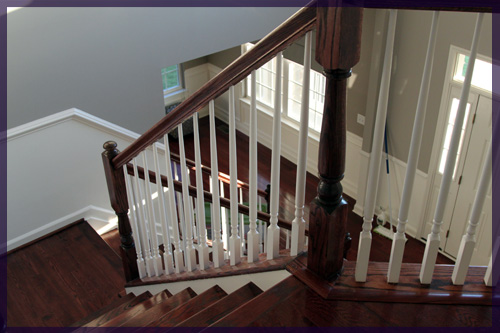
We need to add the box portion underneath our chair rail in the entryway and upstairs hallway. Mike is itching to finish this one but we reeeally need to do the baby’s room first. We’re just dying to get to number 8…

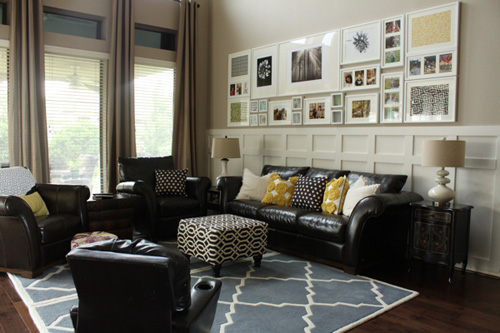
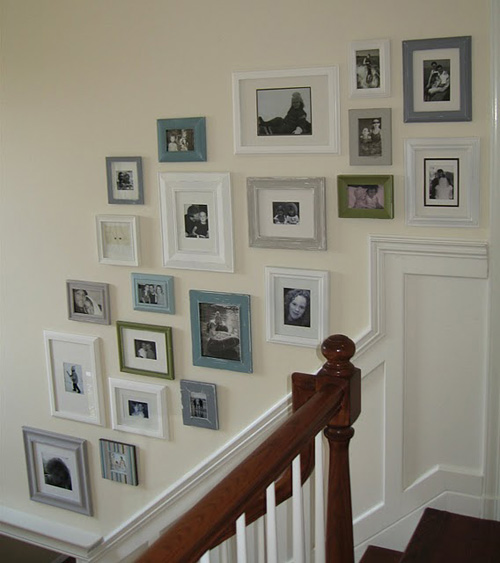
9. Start our gallery wall(s)

(via Sawdust and Paper Scraps)

I’ve shared this inspiration picture from Sandra before and we’ve been slowly accumulating frames to hang all the way throughout our entryway. We haven’t hung any yet because we figured we’d have to take them down to nail into the wall to finish the molding, so we wanted to do #7 first.

10. Build outdoor kitchen

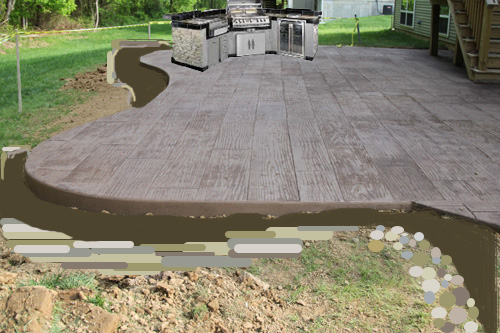
Despite the fact that we’ll have a newborn, we’re hoping to make some progress in our backyard this year. We seeded back there in the fall and we hope to do something with the landscaping and start working on the built-in grill we’ve been dreaming of (and drawing in Paint :))

Um anyone else overwhelmed by this list? I’m about to have a Jessie Spano freak out moment and start screaming “there’s never enough time!!!”….

So Much Wood

8 Comments

Posted by Michael, January 11th, 2012

It’s been great being able to work on SongMeanings during the day and have time at night to work on projects around the house.  Just a few weeks ago, it was working all day at Corporate America, coming home exhausted and working on SongMeanings as much as I could until my eyes got too tired and strained.

It was nearly impossible for Rebecca and I to really get anything accomplished house-wise during the week.  My schedule has been roughly 8:30-5:30 dedicated to SongMeanings and the business; mostly coding away on new features and taking a few conference calls.  At night, it’s been a mix of things — still working on SM, calls with the business partner, spending quality time with Rebecca when she’s not blogging (err on Pinterest), annnddd building the office window seat.

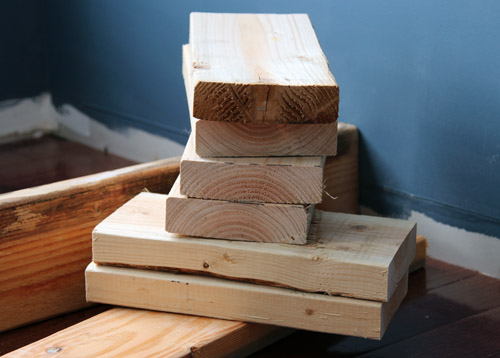
This weekend, Rebecca and I picked up some lumber from Lowe’s; three 12-foot 2×6 boards.  The car ride home was quite funny with a good foot of wood sticking out of the trunk.  Rebecca was paranoid as can be thinking a) we’d kill ourselves or b) we’d kill someone else.  I kept telling her I’ve seen my father do much worse and be successful, but for some reason that didn’t exactly comfort her.

I cut two of the boards to be able to span the entire width of the wall, or just under 12ft.  With the remaining piece of 2×6, I cut out eight 12-inch pieces.  These would connect the long boards to essentially make up the frame.

I used wood screws to screw the boards together.  There was conflicting information online on whether to use nails or screws when building a frame.  Some said nails allow for flexing while others said screws would be more reliable.   Using the screws were fairly easy; the hardest part (or tedious rather) was continually drilling pilot holes.

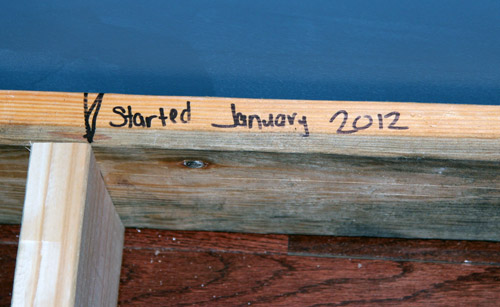
And for fun, I decided to write our lil domain on one of the planks.  I figured if someone ever dismantled this thing and the blog was still operating, he or she could then contact me to ask me what the heck I was doing building this thing.  I’m still asking myself that same question.  I also wrote when we started the project.  But the world is going to end in a few short months, so I’m not quite sure why any of this mattered.

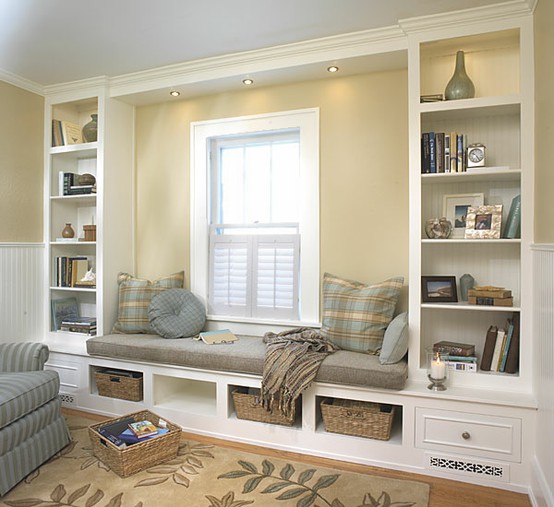
(via Plans Now)

We wanted to install puck lighting on our built-ins much like the inspiration above.  We had an existing outlet centered on the wall which I could tap into.  The only problem was actually running the electrical wire through the studs and up the wall.  I discussed the plan, and route, with several friends.  When one of them told me to stop being wuss and do it already, I took the leap.  After a couple of hours that spanned two nights, a dozen or so curse words, getting shocked once and causing some open wounds, I finally succeeded in running the wire — all within code, too.  Phew.  The idea was to get an outlet at the very top of the bookcase and then use the variance to hide the additional wiring for the puck-lighting.

That wire you see on the cabinet (isn’t live) and is just extra cord.  I’ll be trimming that down to fit into the outlet — or as seen below.

One issue I ran into, and it was one we were expecting, was the molding on the window sill.  The cabinets come up too high, so we’ll be removing them shortly.

I was expecting when I finished the frame and rested the cabinets on it, it would not be level.  But best thing ever?  I put the level on it and sure enough, it was damn near perfect on both sides.  I was assuming I’d have to use shims to get this puppy level.  I’m not sure how I accomplished it being level, but hopefully it makes the rest of the project much easier.

So next steps?

  • Attach the frame to the studs in the walls for a secure fit (right now the frame is just resting in there).
  • Remove the molding from the window sill.
  • Start building the open boxes which will sit on side each of the cabinets against the wall.

Bookcase Envy

16 Comments

Posted by Rebecca, January 11th, 2011

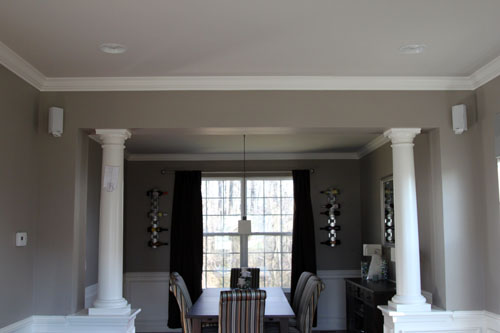
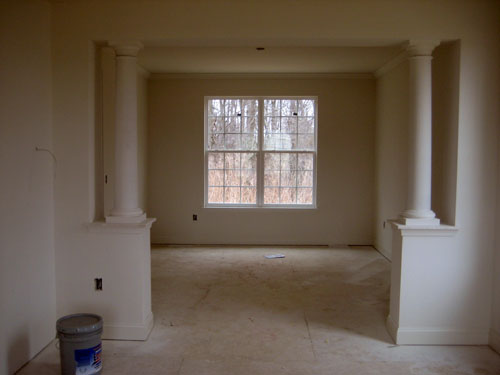
When we bought our house, included were these columns in between our dining and formal living rooms.

I stole that picture from Mike’s speaker files, since he still hasn’t posted about it and they’re nice daylight pictures. So please ignore the sloppy curtains and the speaker template taped to the column. I once asked him to take some daytime pictures of our bedroom and he took a picture that included his dirty clothes on the floor, so let’s consider this an improvement 😉

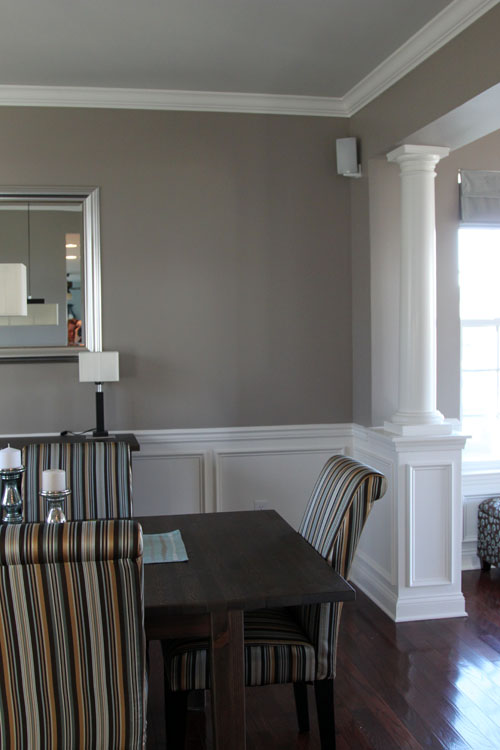
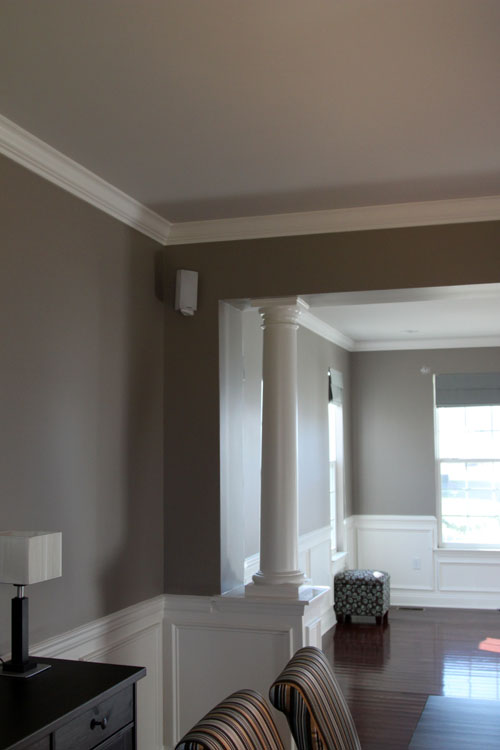
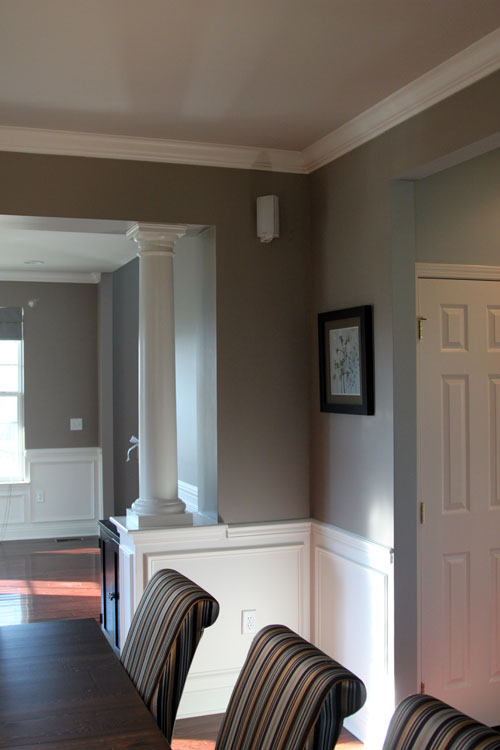
Anyway, here are a few more shots of the columns, which were technically part of the upgraded trim package we were given as a result of a crappy real estate market.

I know some of you will cringe at this statement, but we’re not crazy about them. They’re nice, but they’re just not our style. We were considering asking for a credit rather than having them put in, but we did want the extra wall piece between the rooms, so we decided to keep them around. Before we even closed on the house, we were scheming up things to do with the space. Here’s a vintage lil house pic from shortly after the columns were installed, nearly a year ago…

What a crazy difference from the first picture in this post, huh??

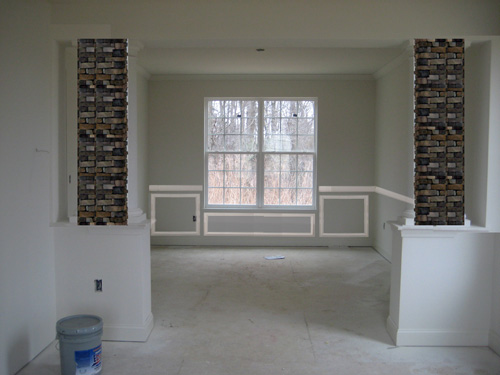
My first idea was to do some sort of a stone column, maybe a brick type or dry stack to compensate for the fact that new homes have no exposed brick. So long before we moved in, Mike photoshopped some stone columns into this picture.

He even stuck some wainscoting in there, which we had installed the day after closing 🙂 Nice to see one idea come to life! We thought we could maybe even stick some sconces on those stone columns and make them feel all warm and fuzzy.

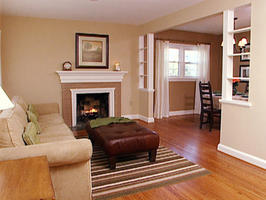
Then just Sunday, I sat on our JetBlue flight home from Disney watching HGTV. Isn’t JetBlue lovely?? You can just sit there and watch tv! Anyway, I did fall asleep due to exhaustion and woke up to a reveal of a room on Designed to Sell. I tapped Mike and pointed to my screen (he had headphones on too) and he nodded back in approval. Lucky for you guys, I found an image of what I saw on HGTV.com

It’s small and hard to see, but they built bookcases in the space between the rooms. Genius!! I am currently loving built-in bookcases after seeing Sara’s bookcases over at Russet Street Reno and Young House Love’s bold painted bookcases. Though I’m still thinking of places in our house where I can replicate Sara’s project, I’m thinking some bookcases in between our living and dining rooms could be an inexpensive, happy compromise to both issues… my bookcase envy and my column hatred.

Copyright 2010 - 2011. The Lil House That Could. All rights reserved.