Crowning the New Office
Posted by Rebecca, July 26th, 2012
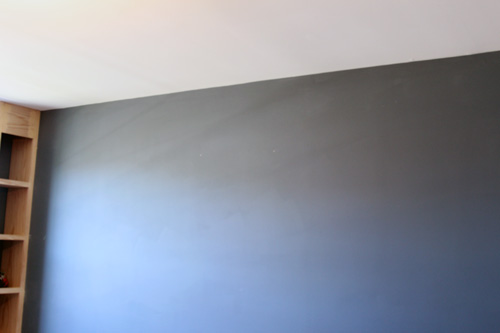
Yesterday, my mom came over to watch Easton so that I could help Mike install the crown molding in our new office. If you recall from our adventures in installing crown in the nursery, I figured out the angles while Mike provided the muscle. We figured this second installation would be cake, though we had to work around the new built-in bookcases.
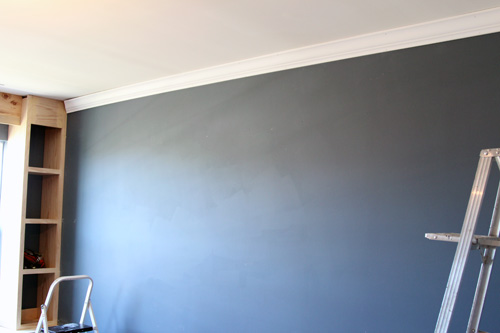
We picked up 12 foot pieces of molding so that we had less seams to caulk. We started simple with the 3 walls that didn’t have bookcases.
Seemed simple enough, though the wall was longer than 12 feet, so a seam was inevitable.
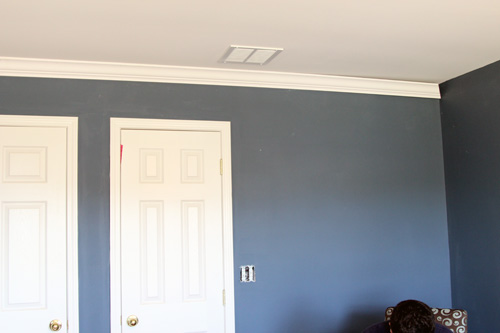
You can read all about the details of how we made our cuts in this previous post. Though we realized we must really be horrible at installing crown because it was impossible to match up the corners of these long 12 foot runs. The chances of our ceiling being level from end to end are slim to none. The pieces have some flexibility to them, but it’s still hard to get everything matched up to a point where gaps are caulkable. Therefore, we once again ended up breaking some of the longer pieces down to match up the corners perfectly. I think we’d rather build 5 more bookcases than have to install crown again, but at least this shorter wall was easier…
If you notice we didn’t nail the ends right away so that we could move the pieces to match the corners. We learned this trick the hard way last time 🙂
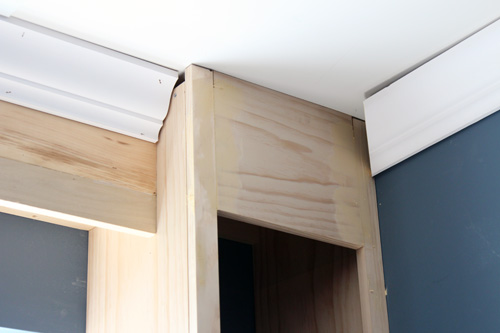
So that was the easy part, next was adding the crown to the top of the built-in. We thought it through a little (okay, not really too much) and decided to start with a straight run of molding across the top first.
When we did the paneled wall in the nursery, we topped it with a straight cut of crown and coped the side pieces into it. We thought we could go with the some method. We called it a quits since I had a baby to feed and we got all of the long pieces done. All that was left to do were these smaller pieces around the bookcases…
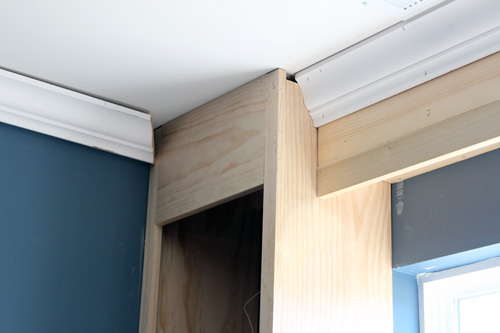
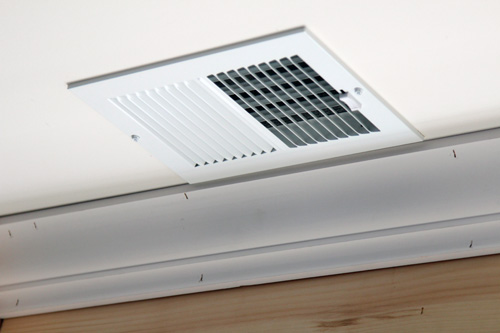
But yeah, that didn’t work. First, we need to put that top piece at more of an angle. We tried to install it so that we could avoid making cuts around 2 vents that are on the ceiling.
After that, we have to figure out how to make an inside corner and an outside corner in an incredibly small piece of molding. We’re not sure that coping was the right choice, since that piece is so small to begin with. Mike tried solving it for a bit today, but the little hamster that runs on the wheel in his head got tired and he came downstairs. I think I saw some smoke coming out of his ears from all of that thinking…
If we can ever figure this out, all we have to do then is caulk and paint the built-ins and trim! Then we will finally be able to start moving in to our new workspace… and Easton will have his playroom 🙂
Wish us luck for a speedy recovery solution!


