Posts Tagged ‘green peppers’

Vegetarian Chili

9 Comments

Posted by Michael, April 20th, 2011

We usually do the vegetarian chili thing on cold wintery nights, but when Rebecca mentioned it the other day, how could we not make it?  And while it hasn’t exactly been spring here in good ol’ New Jersey, it’s not winter either.  We’ve been stuck in 40-50 degree weather for these last few weeks with the exception of a random 85ish day thrown in there.

I know when people hear vegetarian they, more than likely, think of something bland; this chili recipe is far from bland.  I think even if I did the meat thing, I’d prefer this chili.  The recipe is from The Way the Cookie Crumbles and it is one of the few recipes that I haven’t really put my own spin on (with the exception of adding a different vegetable or two).  It’s that damn good.

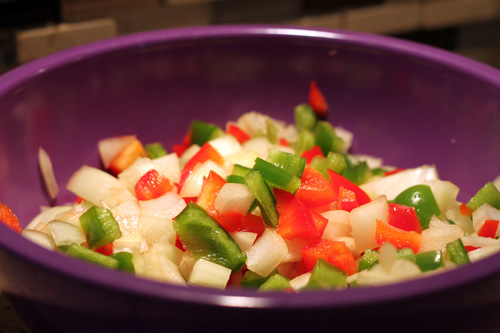
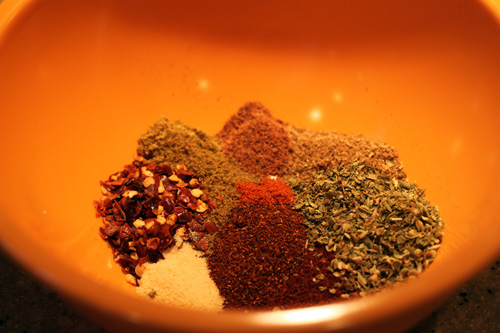
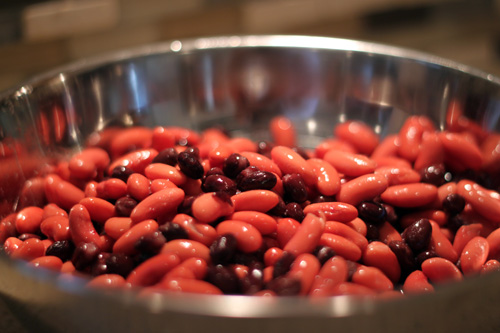
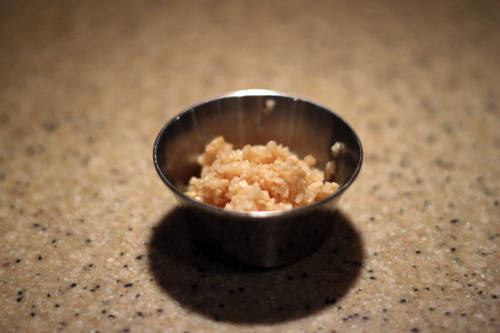
So here we go, the ingredients.

And in list format:

  • 2 tablespoons olive oil
  • 2 medium onions, diced
  • 1 medium red bell pepper, cored, seeded, and finely diced
  • 1 medium green bell pepper, cored, seeded, and finely diced
  • 6 garlic cloves, minced or pressed through a garlic press
  • 3 tablespoons chili powder
  • 1 tablespoon ground cumin
  • 1½ teaspoons ground coriander
  • ¾ teaspoon red pepper flakes
  • 1 teaspoon dried oregano
  • ? teaspoon cayenne pepper
  • 1 (28-ounce) can diced tomatoes, undrained
  • 2 (15-ounce) cans kidney beans, drained and rinsed
  • 1 (15-ounce) can black beans, drained and rinsed
  • ½ teaspoon salt
  • 1 tablespoon soy sauce
  • 1 tablespoon butter (optional)
  • Some garnishes: cheddar cheese, sour cream, green onions, cilantro, etc.

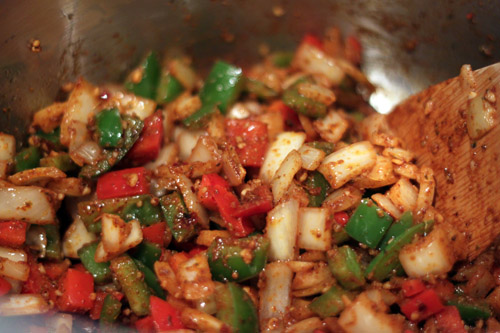
First up, you’re going to combine the oil, peppers, onions, garlic and dry spices together in a large pot.  Saute this mixture on medium heat for a good 10-15 minutes.  We typically like our peppers a bit on the firm side, so I usually stay around the 10 minute mark.

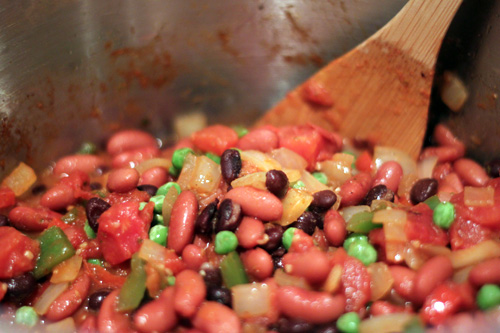
Eventually this mixture will be somewhat brown from the cooking, the onions sweating and the spices.  Once brown, throw in the rest of your ingredients with the exception of the butter — tomatoes, beans and soy sauce.

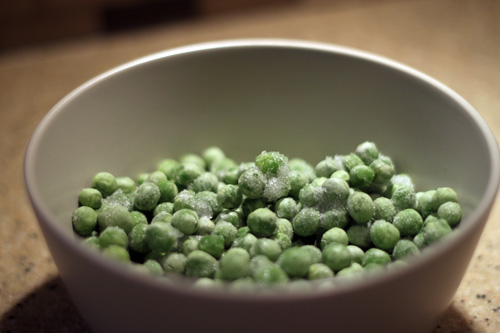
We had some leftover peas in the freezer so I decided to throw them in the mix.  Honestly?  They didn’t do much for the chili — didn’t make it taste better nor did it taste worse.  At times, I’ve also added frozen corn to the mix.

Once you have everything together, turn up the heat to about medium-high.  You’ll want to bring this to a boil and once there, turn down the heat to low.  Cover and cook for a solid hour; stirring occasionally.

The butter?  Throw it in the mix right before serving.  It gives it a bit more of a richness flavor.  This time around, I didn’t use the butter as I felt the chili wasn’t lacking any richness.

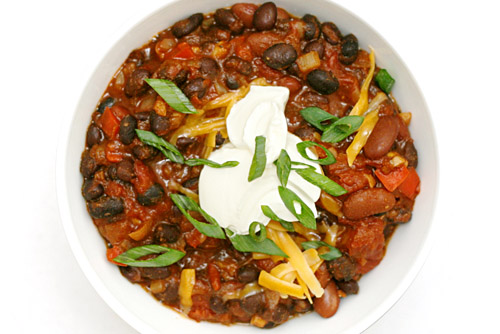
That picture above?  Yeah, not mine.  I’m guessing my memory card wasn’t sitting right in the camera as I was snapping away.  Oops.  So the final product above is courtesy of The Way the Cookie Crumbles (thanks!).

As usual, we’re linking this up to What I Ate Wednesday at Peas and Crayons!

What I Ate Wednesday – Pizza

9 Comments

Posted by Michael, February 16th, 2011

Pizza.  Yeah, I know, real original.  But hear me out.  Back in the day when I used to visit Rebecca at college, we always ended up making a quick, easy and cheap meal.  The pocketless pita pizza.  Say that a few times fast.  It was your traditional pita pocket (but without the pocket kind) with some pizza sauce, cheese and whatever toppings.  Slip em in the oven for a few minutes and time and time again, we had a great meal.

But it wasn’t that crazy good pizza pie that you sometimes crave.  And as we moved into the condo, we began making pizza more and more.  We would often pick up fresh dough from a local pizzeria, roll it out ourselves, apply toppings and bake as needed.  Even these pies, though, were missing something.  We like our pizza thin, crispy and well done; something that is incredibly hard to get using a traditional oven.  Doing some googling and what not, we came across the ever-popular pizza stone.  The stone did help our pies get a bit more crispy, but not enough. Our residential ovens just do not get hot enough like a pizzeria oven.

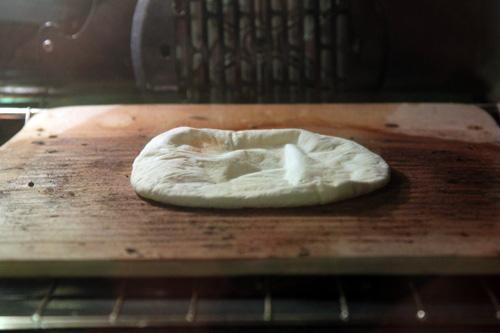
That’s when I got the idea to bake the dough by itself for a few minutes on the pizza stone.  This would allow the bottom of the dough to get nice and crispy without soaking in the moisture from the various toppings.

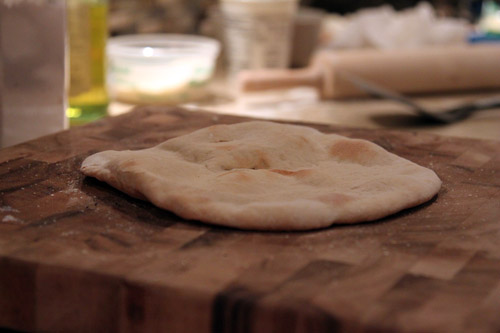
I typically bake the dough just enough so that it’s slightly turning a tannish-brown; as seen below.

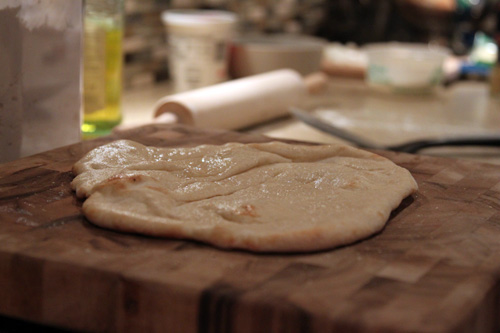
I’ll then rub a bit of olive oil around the entire surface.  This allows for the crust to get even more crispy and well done; just the way we like it.

At this point, it’s time to get creative: add whatever sauce you like, whatever cheese and whatever other toppings you can come up with.  We typically go with Don Pepino’s pizza sauce.  I know, I know, I should be making the sauce homemade.  But honestly, Pepino’s sauce is the closest sauce to an actual pizzeria sauce.

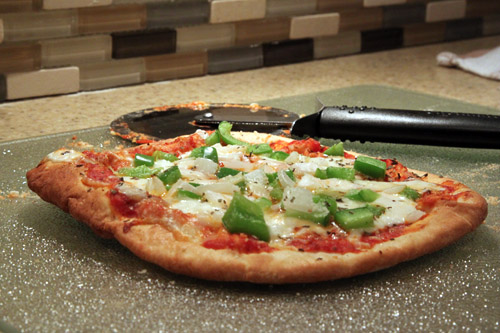
Pizza with peppers and onions has long been one of our favorites, so it’s almost always a must when we’re making pizza.  We like to dice our veggies small so they, too, get a bit more crispy.

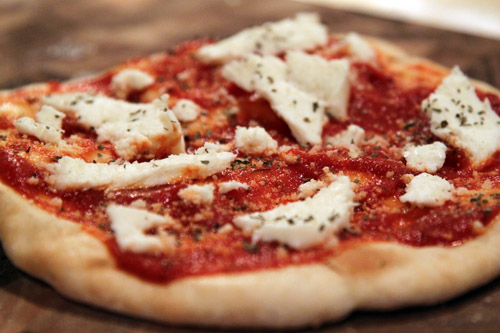
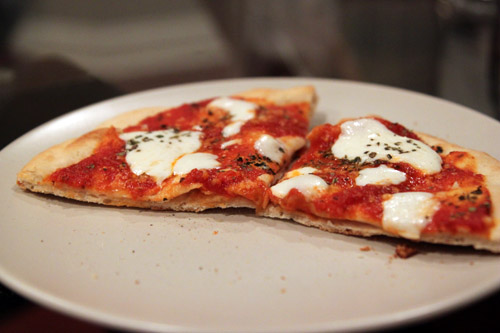
When we have fresh ingredients, we try to make margherita pizza.  Unfortunately on this day, we only had fresh mozzarella to use.  But otherwise, we would have put on some chopped tomatoes and fresh basil.  Instead, we stuck with the regular sauce and some dried basil.  Still pretty damn good.

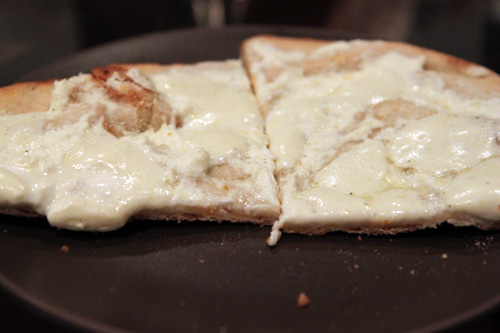
And finally, we did get a bit creative.  We decided to do a white pizza with ricotta and mozzarella cheese.  Can’t wait to make this one again!

Now I’m hungry again, but I do have hockey tonight so more pizza making will have to hold off until tomorrow night!

ps- We’re linking up to Jenn’s What I Ate Wednesday party over at Peas & Crayons, go check out the other meal ideas!

Copyright 2010 - 2011. The Lil House That Could. All rights reserved.