Posts Tagged ‘HGTV’

Basement Inspiration

7 Comments

Posted by Rebecca, April 14th, 2011

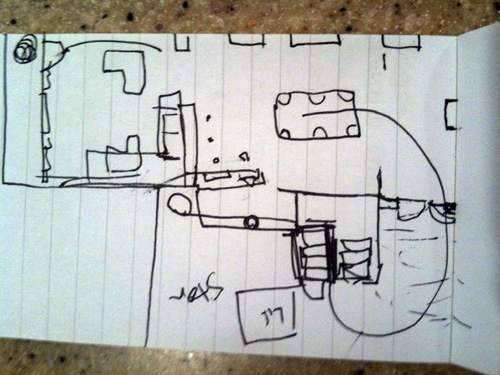
Since Mike has finally introduced the basement, I figured I’d show you a little of our plans for it. We just started to actually have a clue of what we want it to be (other than AWESOME). It started with this floorplan.

Mike doodled this one Saturday night when we were out to eat. I carry around a little pocket sized notebook to jot down blog ideas and whatnot. So when I wasn’t understanding Mike’s idea, he drew this.

I often say how I completely trust Mike’s ideas and well, his sense of style. I would seriously trust him to go to the mall and pick out an outfit for me right this second. I don’t take his suggestions lightly, in fact, I take most of his suggestions very seriously. Though when the situation is reversed, I usually have to talk him into things 🙂

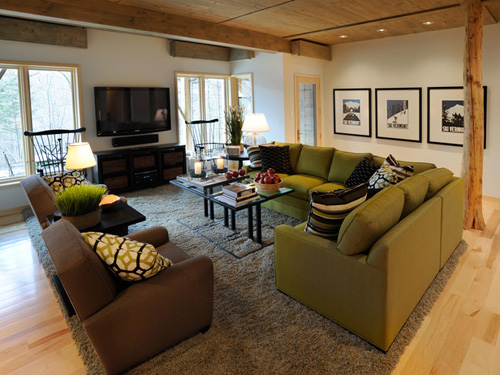
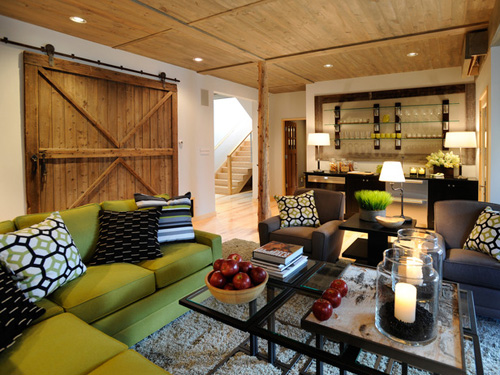
So Mike came up with this floor plan that I probably wouldn’t have thought of and now I had basement on the brain. Sometimes it just takes that one little aspect to come together to finally be able to visualize a space that you have been completely idealess about. Since most of my inspiration comes from HGTV, it’s no surprise that the Dream Home episode brought about another revelation.

Light walls and light floors. Two different concepts for me 🙂

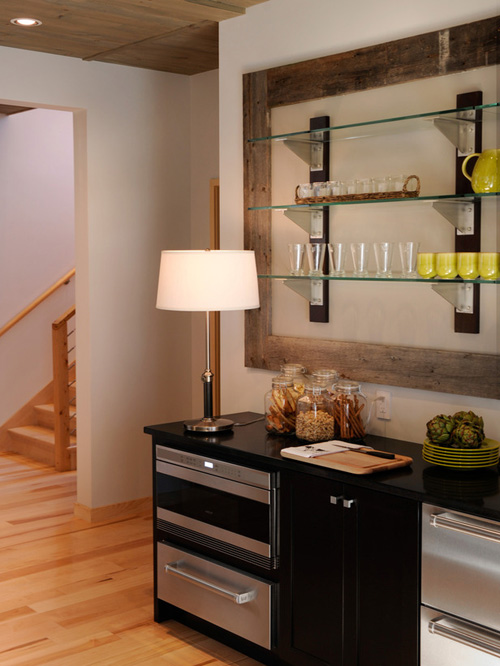
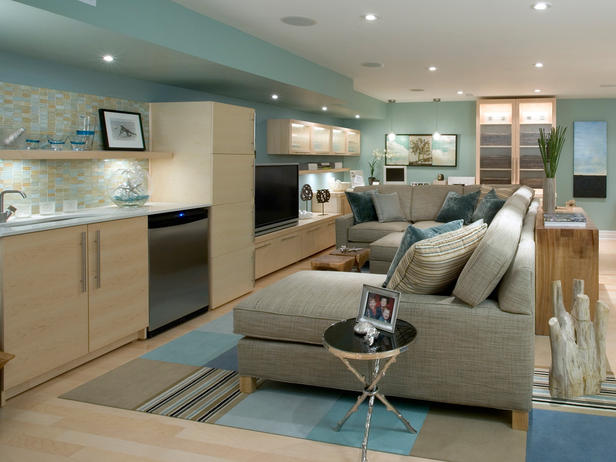
I am also in love with the open shelving in this mini-kitchen/bar area.

All Mike and I really knew about the basement, besides what we wanted to use it for, was that we didn’t want it to look like a basement. I also don’t want it to be dark (besides our theater area). We’re fortunate to have large windows and high ceilings throughout most of our basement and I don’t want to ruin that. The light floor concept came into play when we decided that we’d like to move our litter boxes down there. We use the all-natural (and wonderful!) Feline Pine litter. It is literally finely ground wood chips, which cause me to vacuum our current dark floors at least once a day. It’s very light in weight, and color, and tracks everywhere. It is still much better than that clay stuff that got dust on my floors, in my lungs and stunk horribly! ps- did you know that clay litter supposedly has carcinogens in it? No bueno.

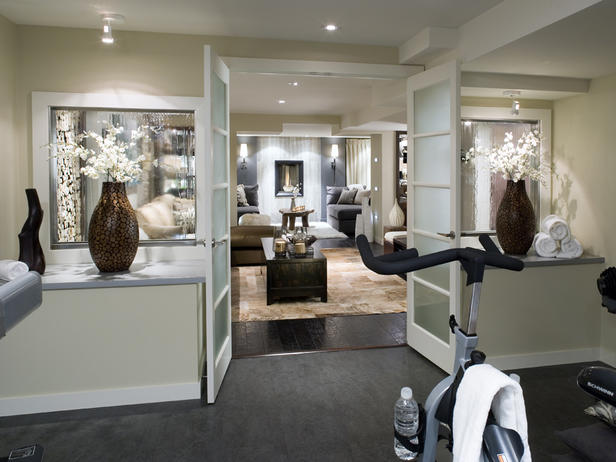
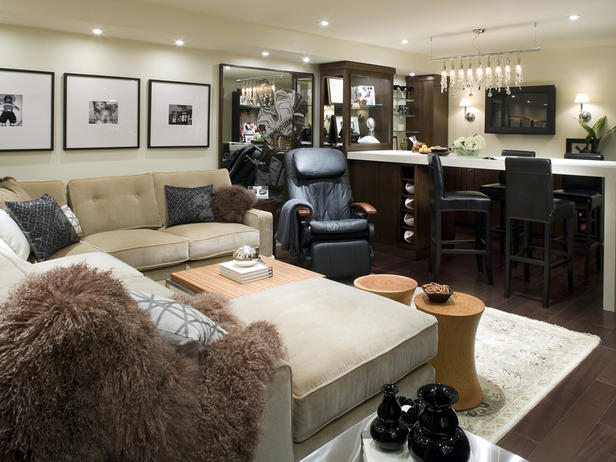
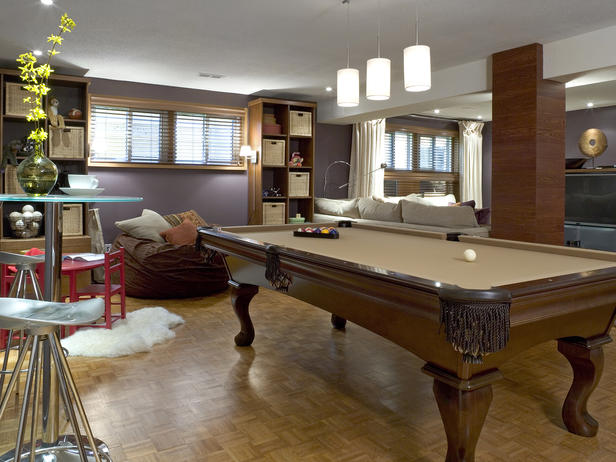
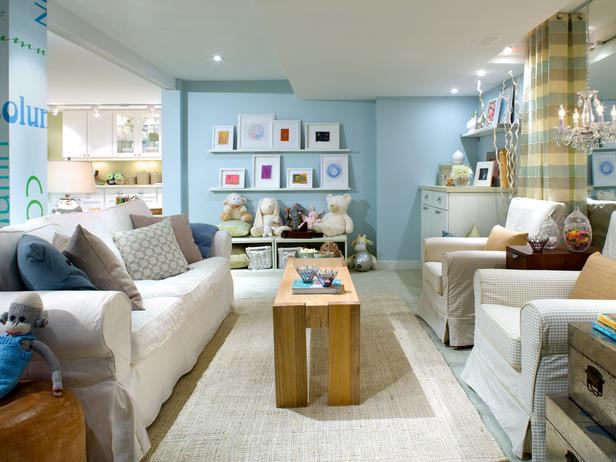
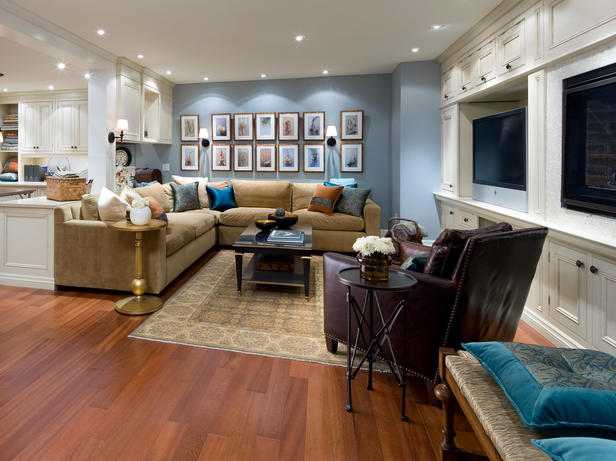
Back to the basement! This week, while we are on a basement kick, Mike sent me a link to none other than HGTV.com and a gallery of basements by Candice Olson. Can this woman ever do wrong? Every time she does a room, even if I hate the color and the furniture, it looks wonderful. Her basements are no exception, so here’s some eye candy.

They are all completely different but share that put togetherness. They all have classy elements (light fixtures, curtains, built-ins, french doors) that most people wouldn’t bother putting in a basement. We don’t have an exact plan yet, since we’re nowhere near ready to start this project, but we know that we want a similar vibe. We have dreams of french doors, bookcases, back splashes and open shelving. And once we put the pool table in place on Saturday? It was another turning point in the visualization of the basement. Finally, something that will be staying down there, that we can physically walk around and get a feel of the size of the space.

But for now, we’ll just keep dreaming up ideas.

It’s a Throwdown!

12 Comments

Posted by Michael, March 16th, 2011

No, not really, but one can wish, right?

However, we did get some great inspiration from Bobby Flay’s Vegetable Lasagna Throwdown episode for our own lasagna.  Watching the episode made the both of us drool (even if it was midnight) and we both instantly agreed to make lasagna the following day.

In the Lasagna Throwdown, Bobby at first insisted on making his lasagna with mushrooms only (ding!) — eventually he was talked into adding creamed cauliflower.  The challenger fried up some zucchini for her dish (ding!).

Those dings! are what we took from the episode and added to our lasagna: mushrooms and fried zucchini.

I first made a traditional tomato sauce which I inherited from my mother; which she inherited from her mother.  Nothing fancy, but definitely a comfort food for me.  Any tomato sauce will do in lasagna — some like jar sauce, some like a bolognese sauce.  Me?  I stick to my mom’s sauce.

To do the fried zucchini, I sliced it thin (maybe a quarter of an inch thick) longways and left the skin on,  I dipped each slice in an egg bath and then dipped it in a combination of flour+salt+pepper+garlic-powder.  I probably did 2 cups flour, 1 teaspoon salt, 1 teaspoon pepper, 1/2 teaspoon garlic powder.  But honestly, any combination will work.  After all, you are frying these bad boys.

I fried each side of the zucchini until they were golden brown; roughly 4-5 minutes on each side.  I then placed the zucchini on a cooling rack allowing the excess oil to drop down onto the paper towels.

These things came out crispy and incredibly good.  In fact, they were so good that we ended up making some fried zucchini sticks to hold us over.  So good!

The mushrooms were a combination of shiitake, portobello and cremini.  I diced them up and sauteed them with a little bit of oil, butter and garlic.  I also roasted some carrots in hopes of adding a bit of sweetness to the lasagna.

I totally forgot to take pictures of the mushrooms and carrots — sorry about that.

After the mushrooms, I prepared the ricotta mix which consisted of a large container ricotta, two eggs and some grated parmesan and romano cheese. From here, it was time to start doing the layers of the lasagna.  And please forgive me, but while I was busy eating the zucchini sticks, I totally forgot to snap pictures of the complete process.

I started with a thin layer of the tomato sauce followed by a layer of the lasagna pasta.  I placed the zucchini down next followed by the ricotta and then a layer of shredded mozzarella cheese.  On top of the mozzarella, I added some tomato sauce.

And then it was time to start my next layer by applying a layer of lasagna pasta.  This was followed by the mushrooms as well as the carrots.  The ricotta mix, mozzarella and a spread of sauce finished this layer.  I finished the lasagna with a layer of the ricotta, lasagna pasta, mozzarella and tomato sauce — in that order.

The lasagna was then baked for about an hour; just enough for the top layer to be slightly bubbly and crispy/brown in some areas.

By the way, we still have a half tray of lasagna sitting in our fridge if anyone wants to hit us up for some leftovers.

Oh and mom, I have your lasagna tray.  I stole borrowed it while you were away.  It has a great home now.

We are once again linking this up to Jenn’s What I Ate Wednesday party at Peas and Crayons. It’s her birthday, so pay her a visit 🙂

Bookcase Envy

16 Comments

Posted by Rebecca, January 11th, 2011

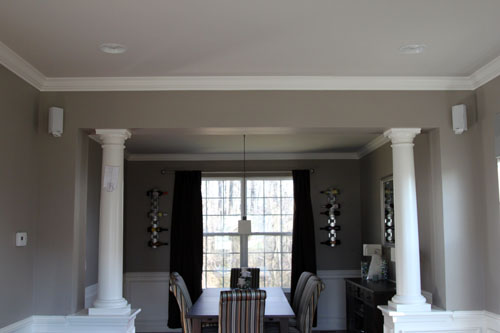
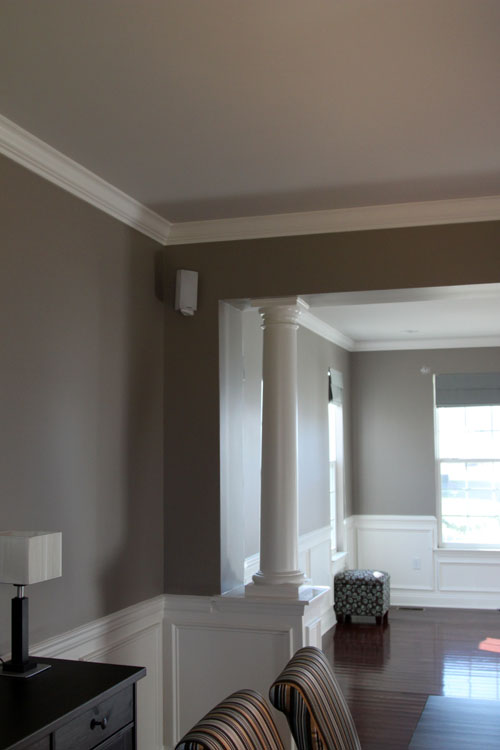
When we bought our house, included were these columns in between our dining and formal living rooms.

I stole that picture from Mike’s speaker files, since he still hasn’t posted about it and they’re nice daylight pictures. So please ignore the sloppy curtains and the speaker template taped to the column. I once asked him to take some daytime pictures of our bedroom and he took a picture that included his dirty clothes on the floor, so let’s consider this an improvement 😉

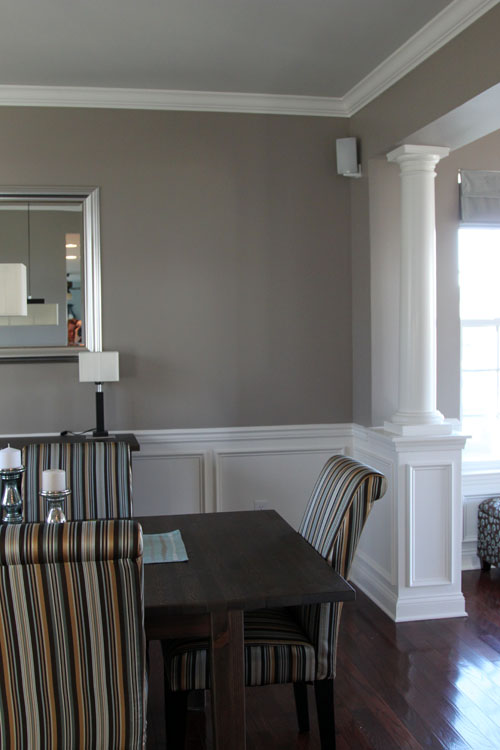
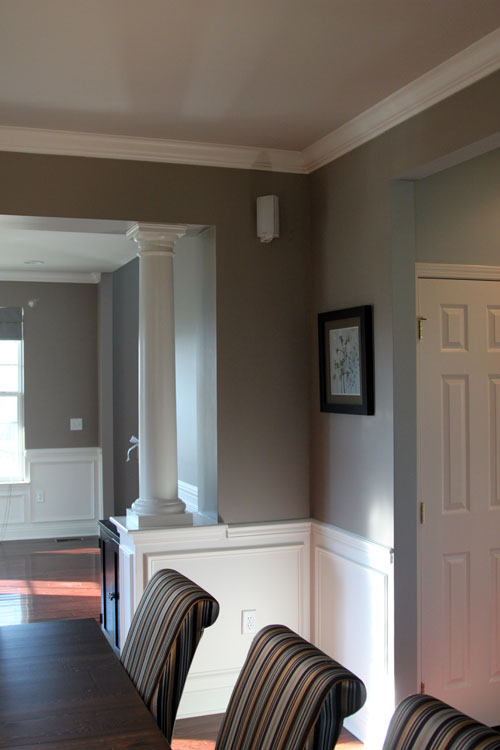
Anyway, here are a few more shots of the columns, which were technically part of the upgraded trim package we were given as a result of a crappy real estate market.

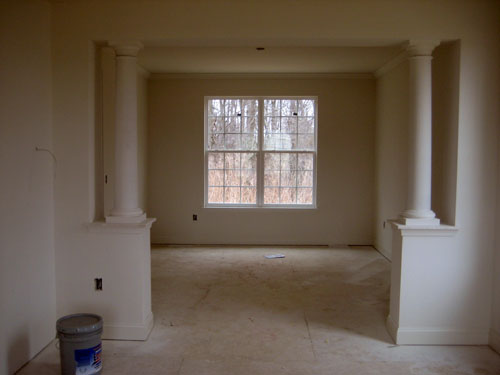
I know some of you will cringe at this statement, but we’re not crazy about them. They’re nice, but they’re just not our style. We were considering asking for a credit rather than having them put in, but we did want the extra wall piece between the rooms, so we decided to keep them around. Before we even closed on the house, we were scheming up things to do with the space. Here’s a vintage lil house pic from shortly after the columns were installed, nearly a year ago…

What a crazy difference from the first picture in this post, huh??

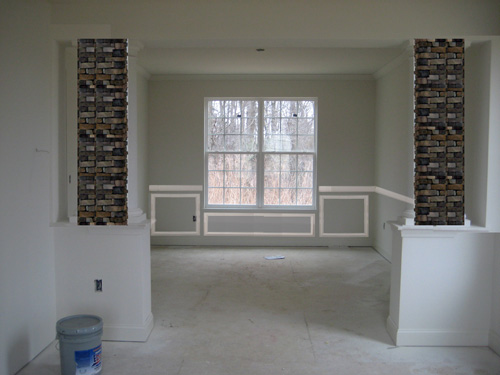
My first idea was to do some sort of a stone column, maybe a brick type or dry stack to compensate for the fact that new homes have no exposed brick. So long before we moved in, Mike photoshopped some stone columns into this picture.

He even stuck some wainscoting in there, which we had installed the day after closing 🙂 Nice to see one idea come to life! We thought we could maybe even stick some sconces on those stone columns and make them feel all warm and fuzzy.

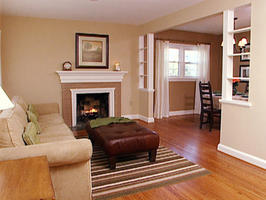
Then just Sunday, I sat on our JetBlue flight home from Disney watching HGTV. Isn’t JetBlue lovely?? You can just sit there and watch tv! Anyway, I did fall asleep due to exhaustion and woke up to a reveal of a room on Designed to Sell. I tapped Mike and pointed to my screen (he had headphones on too) and he nodded back in approval. Lucky for you guys, I found an image of what I saw on HGTV.com

It’s small and hard to see, but they built bookcases in the space between the rooms. Genius!! I am currently loving built-in bookcases after seeing Sara’s bookcases over at Russet Street Reno and Young House Love’s bold painted bookcases. Though I’m still thinking of places in our house where I can replicate Sara’s project, I’m thinking some bookcases in between our living and dining rooms could be an inexpensive, happy compromise to both issues… my bookcase envy and my column hatred.

Copyright 2010 - 2011. The Lil House That Could. All rights reserved.