This weekend, we tackled part 2 of our molding project. Mike got to write about our adventures in the hallway last Monday, so now it’s my turn 🙂
First, some before pictures. Okay, they’re partial before pictures since if you look closely, you can see that the chair rail is already installed upstairs. This started so suddenly last weekend that I didn’t think to take true before pictures.
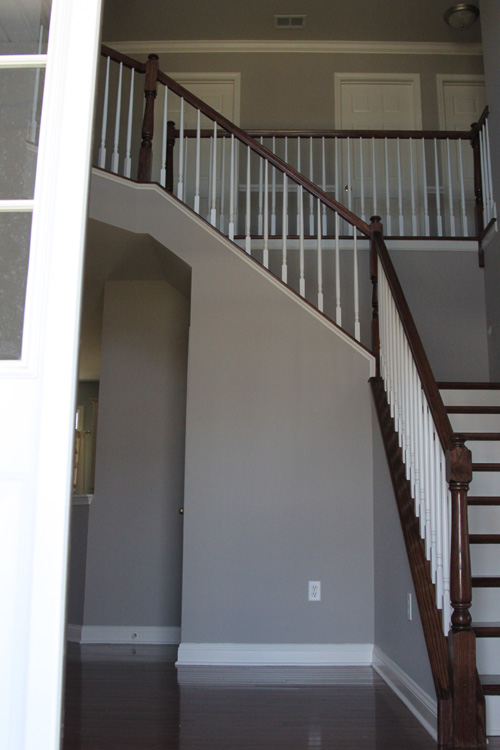
View from the front door (with it open..brr)
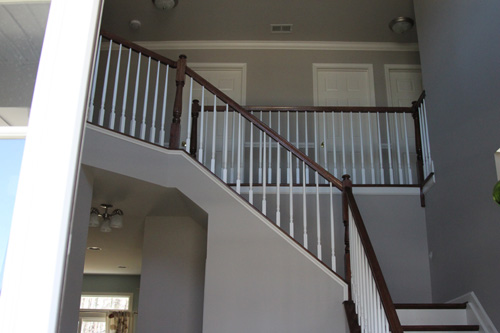
A better view of the upstairs.
And the staircase angle that drove us insane.
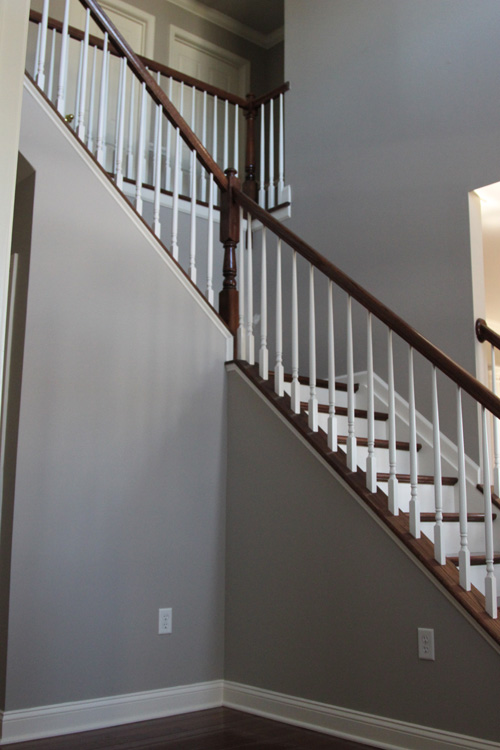
Going into this week, we already had a whole 2 hours of experience in installing chair rail. We knew downstairs included mostly 45 degree cuts, but several things made us nervous.
1) that above the staircase angle
2) this pre-existing molding that we needed to remove in order to connect the old and new chair rails
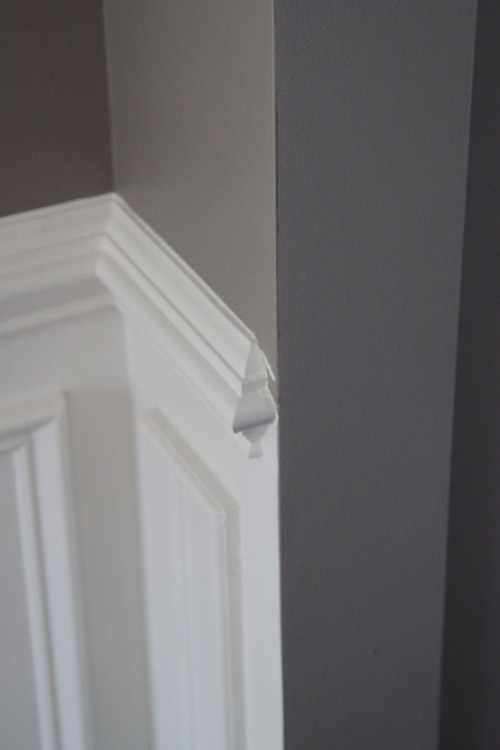
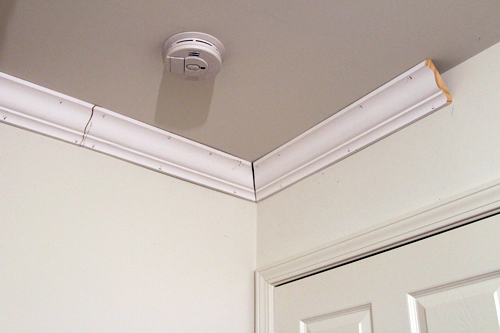
3) that fancy end piece finishing off that exposed edge of chair rail above
Originally, when we started this project last weekend, we were going to get the chair rail up in the hallway just so that we could start our gallery wall. But when we had so much fun with the saw and nail gun, we decided to finish up all of the molding.
We started by prying off that one piece of pre-existing molding. At one point, Mike suggested we just start the new moldings on the opposite side of the wall.
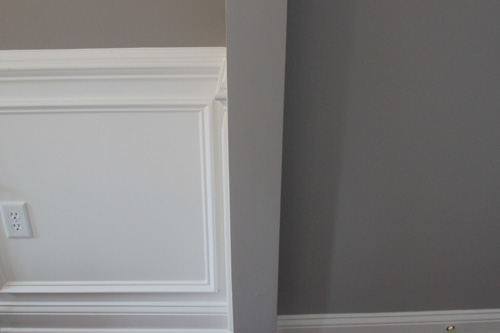
But I thought that despite the fact that we had never done this before, we should do it right and connect the pieces along that small wall. So we crossed our fingers and hoped that it would come off clean.
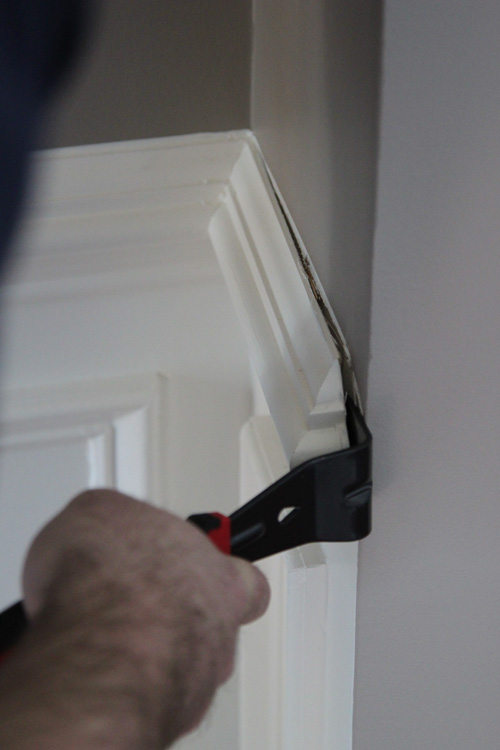
Thankfully, it did! 🙂
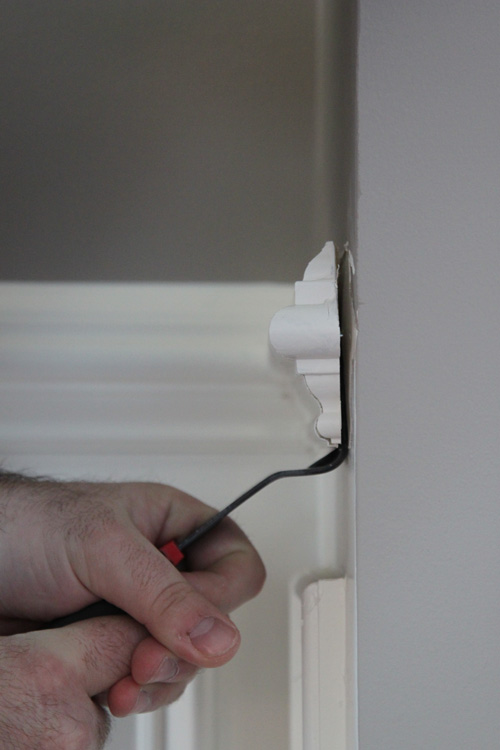
We began to install the chair rail from this point by measuring, measuring, leveling, leveling and cutting 45 degree angles. The bottom of our chair rail is 33.5 inches from the floor, so we just marked off this measurement every foot or so around the room, then lined the chair rail up on the dots and leveled it. I didn’t take many in-progress pictures because my hands were full most of the time 🙂
We used our same crappy electric nail gun, which once again didn’t shoot the nails all the way through the molding. So we used a hammer and screwdriver method to drive them fully in.
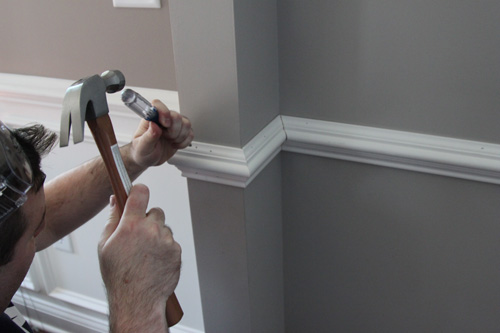
Here’s our little wall all dressed up, before caulk.
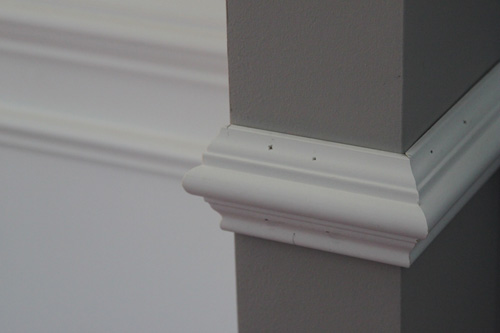
We’re so glad we decided to do that little wall. It’s my favorite part of the project now!
Our second beast was the stairway angle. Once again, I didn’t take any in-progress pictures, probably because it would have just been images of Mike and I staring at each other. But here it is once we finally got it up there.
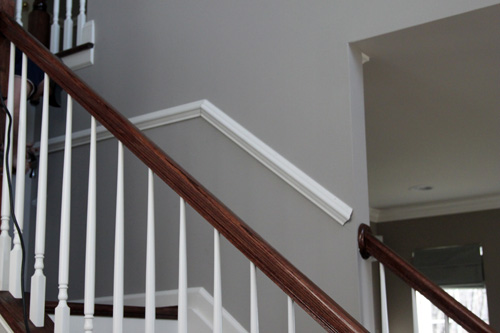
We decided to keep the height of this chair rail consistent with the other areas, which was 33.5 inches from the floor to the bottom of the rail. We debated whether to line it up with the railing, but decided to keep the measurement. It’s pretty close to being in line with the railing anyway! I measured 33.5 inches from the bottom of the baseboard, in several places, then connected them with a pencil line.
I wish I could tell you how we calculated the angle of the stairs, but it was really a lucky guess. It bothered me that we guessed by looking at the baseboard cuts, then tried it out on some scrap pieces and just so happened to have guessed correctly. In an effort to learn the proper way to do this, I found this article. According to this guy, our method was exactly right! I felt all guilty like I cheated on a geometry test or something…no, I’m not a nerd…
We disagreed about how the end of this piece angled piece should be cut. We ended up going with my suggestion of keeping the cut consistent with the other end pieces. Mike thought that this would look funny because it would not meet the railing at the same angle- there would be more open space at the bottom then there would be at the top. But I figured that once the bottom half of the wall is painted white, that part wouldn’t be noticeable. I was more considered about the funny pattern that would result from cutting this particular rail at a different angle.
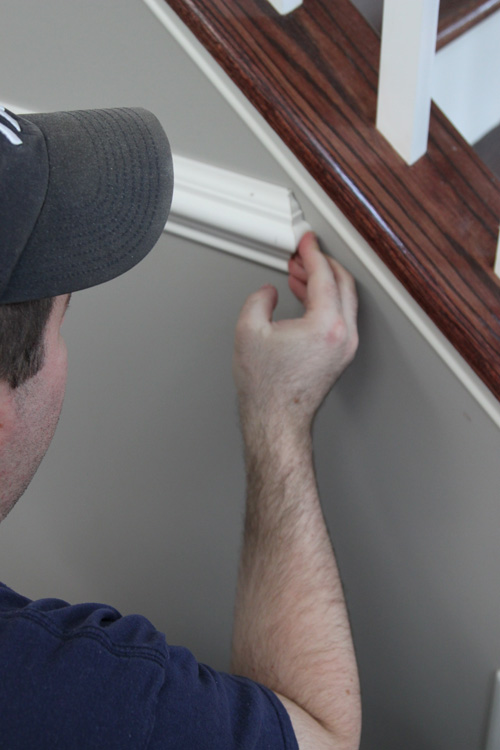
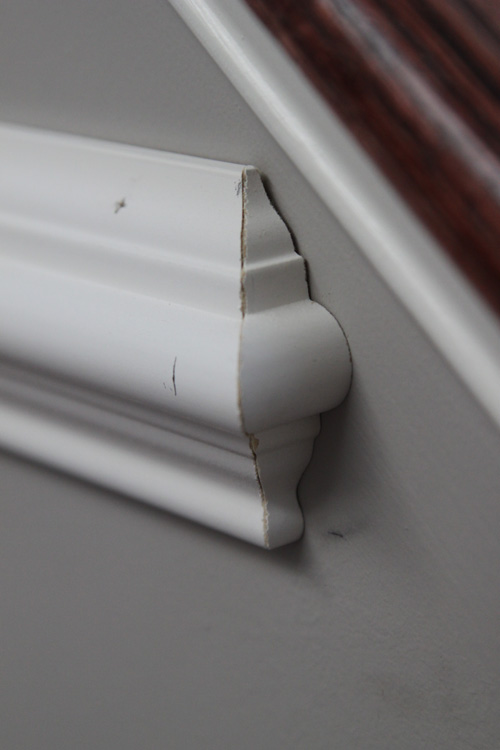
Finally, we tackled the super scary end pieces. They were the easiest thing ever. Ever. I don’t know why they scared us. In fact, we had loads of scraps around and didn’t even have to cut some of them. They just required a 45 degree cut, then the other side was a straight cut from the point where the 45 degree angle ended. Here’s a piece.
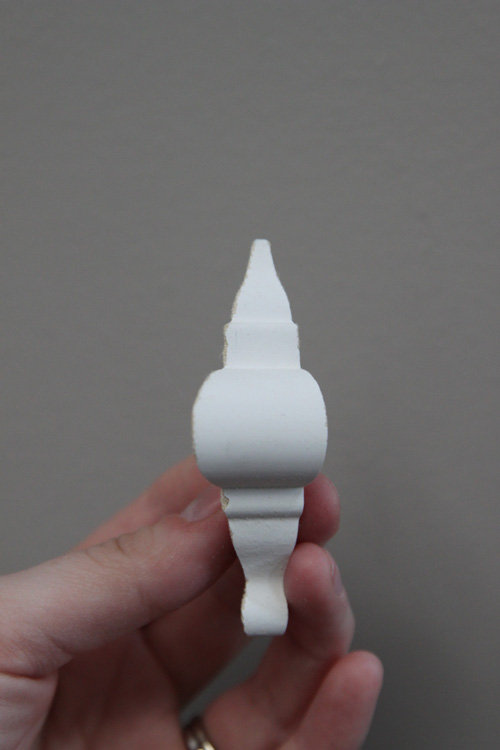
We actually attached these with Gorilla glue, since our nail gun isn’t the best and these pieces are small.
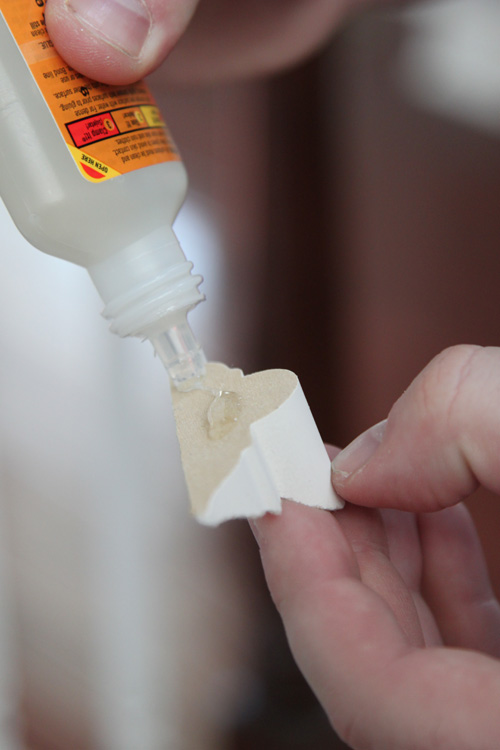
We really couldn’t believe how easy these were to install, yet they add such a pretty effect!
Finally, yesterday morning we caulked. I have never caulked before in my life, but we managed to get the entire downstairs finished. We still have some work to do upstairs, since we have to do the baseboards up there from the hardwood floors we had installed this past fall. All it took was a quick line of caulk, a wipe with my finger, then a few wipes with a wet cloth to get any excess off of the walls.
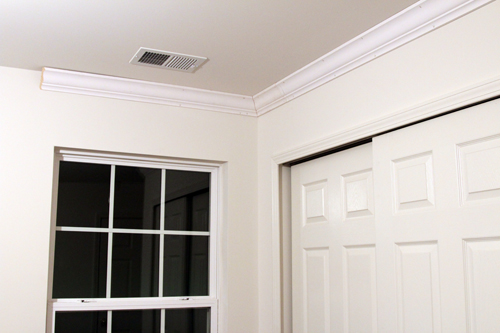
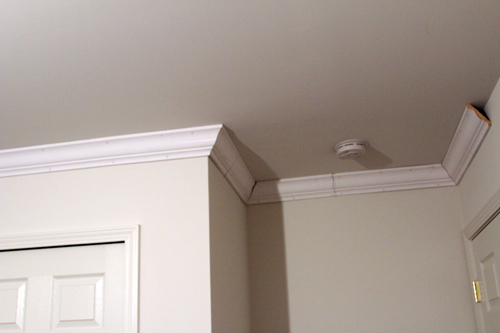
Tada! Here are some pictures of our finished (but not painted) chair rail!
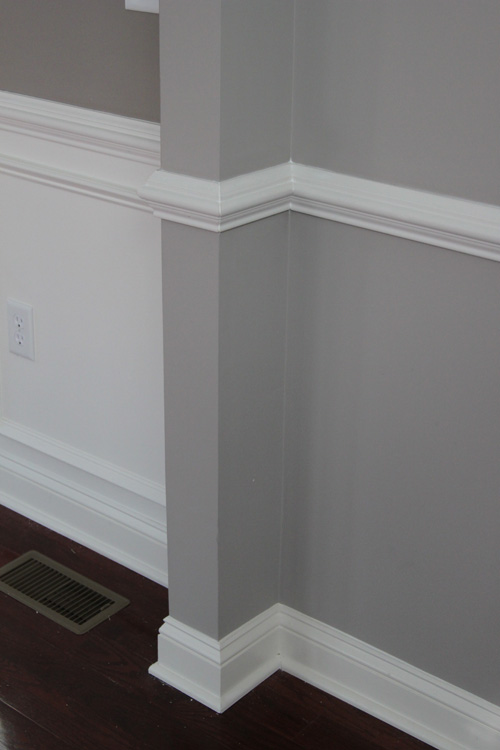
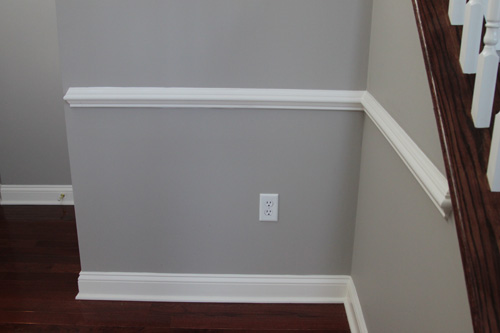
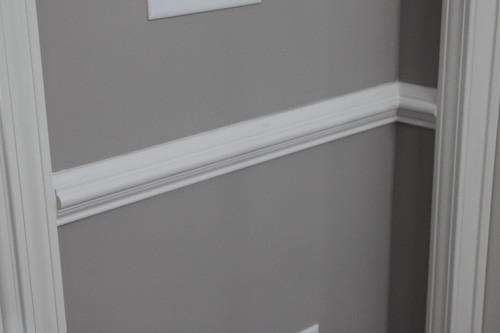
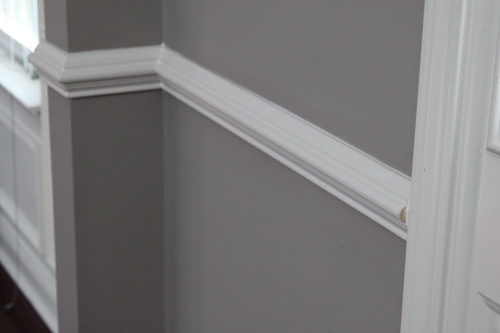
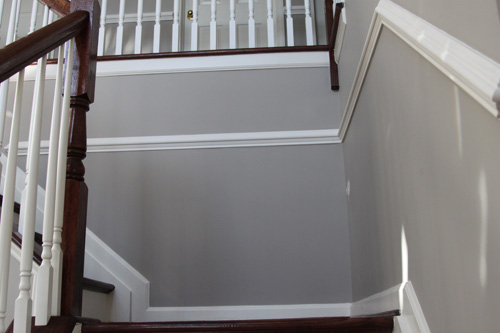
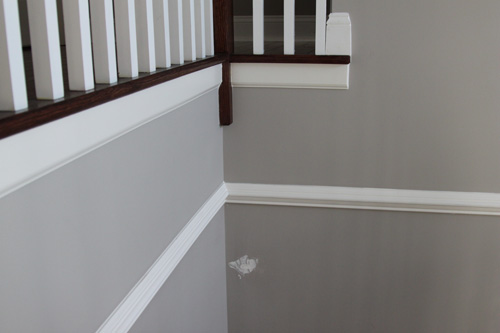


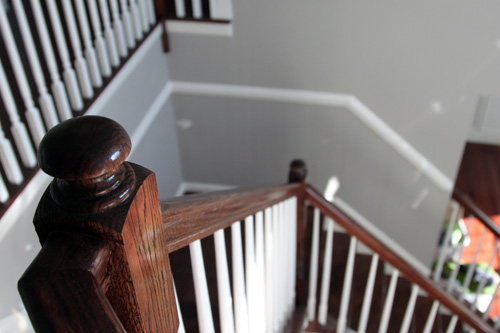
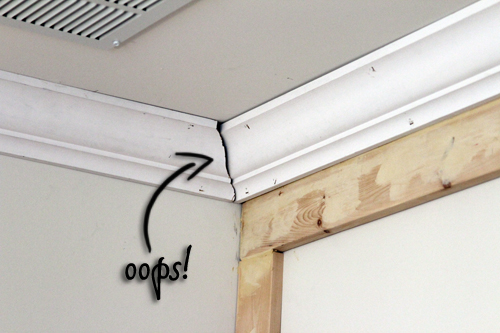
I think to say I love how this is turning out would be an understatement. I cannot wait for next Saturday to paint the trim and the lower half of the wall a glossy white, then eventually add the boxes underneath, then down the road add the gallery of pictures I’ve been dreaming of.
So, is it Saturday yet??
ps- I’m linking this post up to How To’sday at The Lettered Cottage and Thrifty Decor Chick’s Before & After Party!

![beforeAndAfterButton_thumb[1]](http://thelilhousethatcould.com/wp-content/uploads/2011/03/beforeAndAfterButton_thumb1.gif)




![beforeAndAfterButton_thumb[1]](http://thelilhousethatcould.com/wp-content/uploads/2011/03/beforeAndAfterButton_thumb1.gif)

