Posts Tagged ‘painting’

Rapid-I AM A DAMN GOOD-Roller

7 Comments

Posted by Michael, December 5th, 2011

A couple of weeks ago, Rebecca was contacted by a representative from Black & Decker who asked if we would like to try out one of their products. We decided to paint office 2.0 over the weekend using the RapidRoller they so kindly sent us. I have to be honest, when the RapidRoller arrived I wasn’t entirely excited to use it. Lets face it, painting is not fun — and painting with fancy products (especially consumer grade products) never works out for us. They’re often cheap and end up causing more work than what they were designed to do (yeah we had some bad experiences with gadgets when painting our stripes). So it’s safe to say I went into this thing just waiting for it to be an epic fail. I cannot believe I just said epic fail.

Setting up the roller consisted of maybe 3-4 easy steps. But the instructions confused me. Probably because I can’t follow directions and steps in numbered order. I’m special, I like to skip around. But when I stepped back and gave it some thought (actually read the directions in the order they suggest), I realized how truly easy it would be to set this bad boy up.

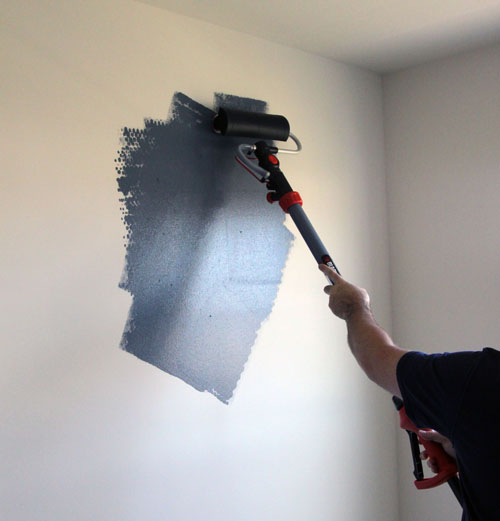
Then it came time to hook the roller up to the paint can and again, I must be honest – I was expecting for this thing to shoot paint all over me. But much to my surprise, the roller sucked a good amount of paint into its handle (see that blue stuff in there?!) and I was ready to paint.

For paint, we went with our usual choice of Olympic no-VOC paint. The color we chose was called Denim, a dark navy blue with some gray undertones.

To draw paint from the handle to the roller, you press the trigger and you’re set. As you are rolling, you’ll notice the need for more paint. My instinct at first was to put the roller down and go into the tray for more. But with this tool, you just pull the trigger and more paint gets sent to the roller. Going back to when the box arrived, I was expecting paint to be all over the place when the trigger was pulled. Once again, the tool proved me wrong. No mess and a clean Mike. Shocking considering I usually have paint all over me when doing projects like this.

The paint went on quite nice with the roller, but I’ll still have to do some touch up work since we used such a dark color. I guess I can’t get off that easy when painting! The roller does have a spatter shield, which is nothing revolutionary but I never used one before. It worked like a charm and prevented quite a few drips and splatters.

So best thing ever? This thing has a kickstand. No more worrying about rollers falling over and sending paint everywhere while you take a break (or in my case, a slice of cold pizza). Why hasn’t the kickstand thing been done before?

via One Project Closer because I forgot to take kickstand pictures.

Here is my only complaint. When the entire handle is filled with paint, it is incredibly heavy compared to a traditional roller (it sucks up about 1/4 of a gallon of paint at a time). But I get it; the RapidRoller gives you the added bonus of barely ever having to refill with paint (the paint is stored in the handle) but with a little more muscle on your part (to lift the handle filled with the paint). I don’t think the added weight is anything that will hinder your painting process, but you’ll feel it. Rebecca stuck to her usual edging process, but I don’t think she would have lasted long rolling. Then again she gets winded when walking up the stairs these days…

I can’t really comment on the pivoting head. I tried rotating the head when getting close to the ceiling, but it takes some adjustment to feel comfortable rolling horizontally. It seemed to have worked but I wanted to go the other way with it, like I was before and how I’m used to naturally rolling. And because I have the attention span of a 3 year old, I reverted back to the traditional approach almost immediately.

Clean up was alright. It’s an easy process, but you’ll be there for a solid twenty minutes. I was worried that if I didn’t clean this thing right, it wouldn’t work the next time around. So I patiently cleaned the roller. It all comes apart quite easily and it’s just a matter of soaking some things and rinsing others as the directions indicate.

In the end though, we painted the office probably an hour quicker than we normally would with traditional rollers and paint trays. But 20 of those minutes previously saved then goes to cleaning the tool after use (typically we buy disposable rollers and trays). I’d say we saved a solid 40 minutes using the tool, plus the time we would have spent cleaning up paint drips. Also, throw in the time I normally spend washing paint out of my hair and buying new t-shirts because I dripped on them. Maybe we’ll up the time saved back to an hour then! Not really a game changer when you’ve committed to painting a room, but lets face it, painting sucks and if something helps me save time when painting, I’m all for it.

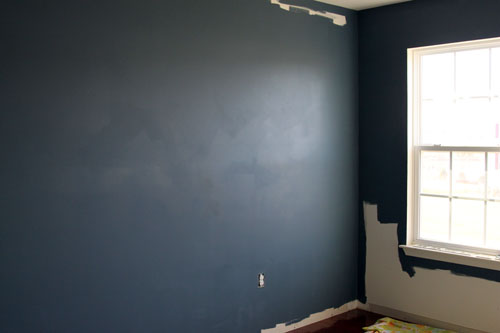
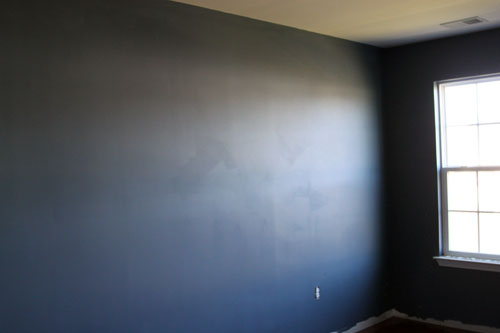
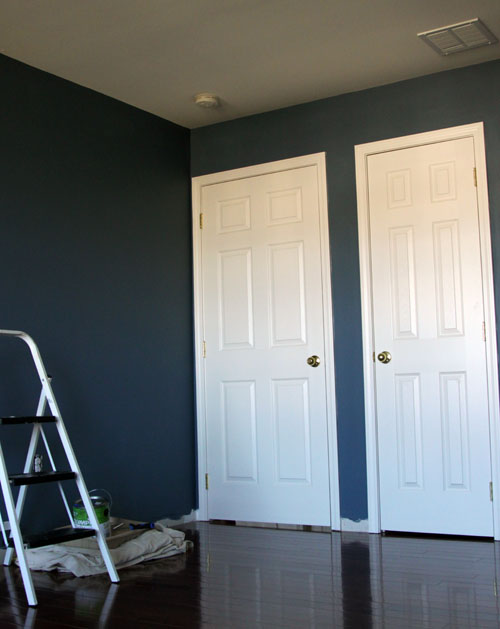
::drum roll:: Here’s our finished product, before some touch ups we have to do (some areas are a little streaky)…

We’re very happy with the color and our process was made much easier by the fact that we didn’t have to paint around baseboards! We’re planning on adding taller baseboards in here to match the rest of the house (the builder gave us tiny ones in the spare bedrooms).

We’re thankful that the people at Black & Decker sent us the RapidRoller to give us the kick in the arse we needed to paint this room. And for the gadget that made this job less time consuming when we are so pressed for time this month!

If you are pressed for time like us but want to paint a room, you’re in luck! On Wednesday (after Rebecca finishes up her final presentation tomorrow night), we will be hosting a giveaway where one lucky reader will win a RapidRoller! Be sure to come back to enter  🙂

One Year

8 Comments

Posted by Rebecca, March 29th, 2011

Tomorrow marks one year since we closed on the house! To say this snuck up on us would be an understatement, especially since I think I just realized this last week. It has been a better year than we ever could have asked for and thankfully, half of it is chronicled on this blog. The other half? Lives on my iPhone. It is amazing how much of the past 2 years of my life is documented on my phone. I have around 1,500 pictures and take nearly one a day.

So I’ve decided to show you the first few weeks of our homeownership, through the lens of my iPhone. Please excuse the poor quality as I reminisce 🙂

What the exterior looked like when we closed on Tuesday, March 30 2010

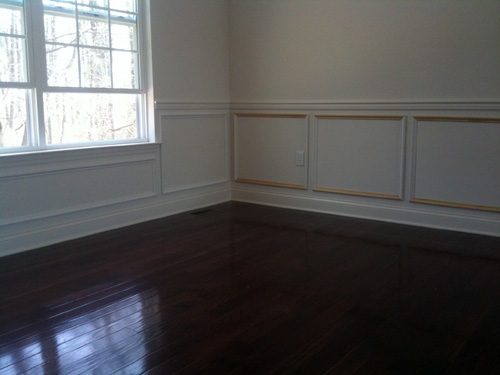
That Friday we had the wainscoting installed in our living and dining rooms

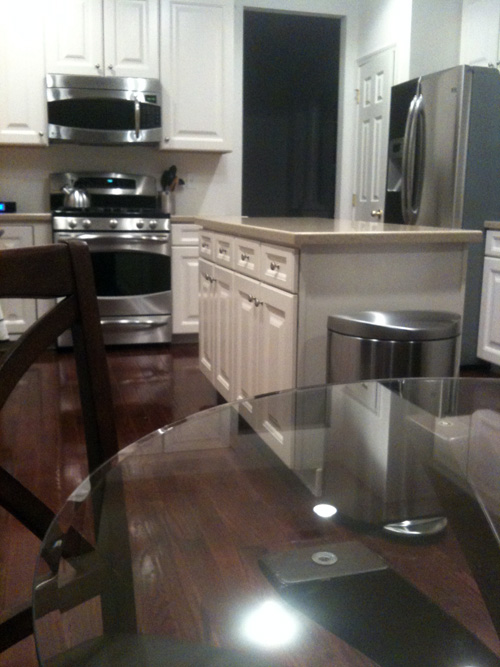
After our fridge was delivered and we managed to squeeze our table out of storage, the kitchen began to look more like home

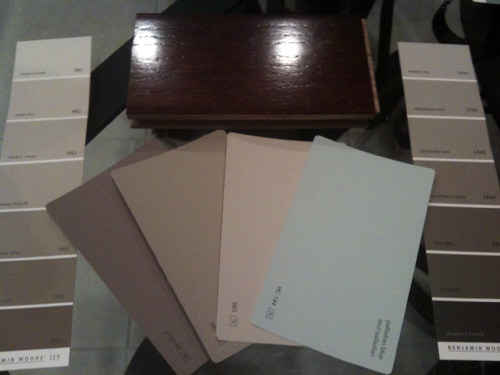
We had painters scheduled for the Monday after we closed, so we didn’t have too much time to agonize over paint colors

Some words of wisdom on the morning the painters arrived, courtesy of a Ssips juice box. This place has given me millions of mind stretching opportunities!

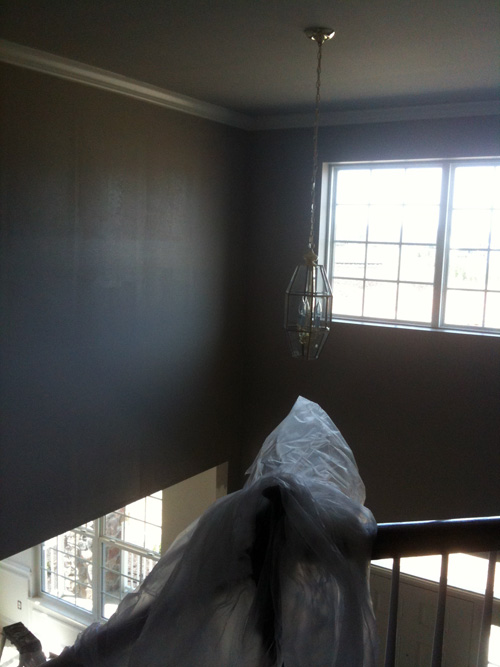
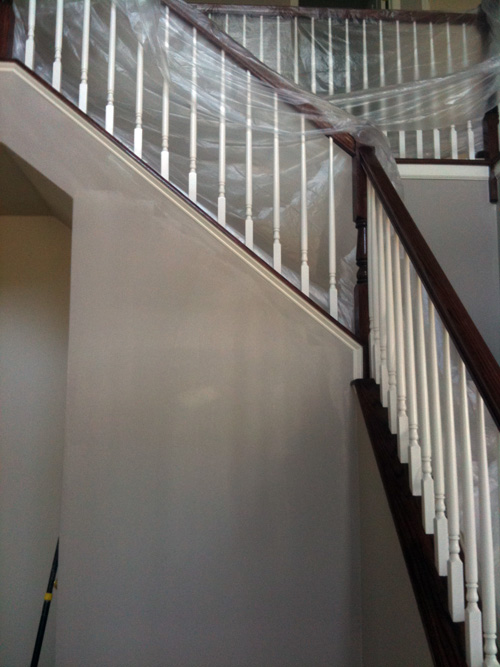
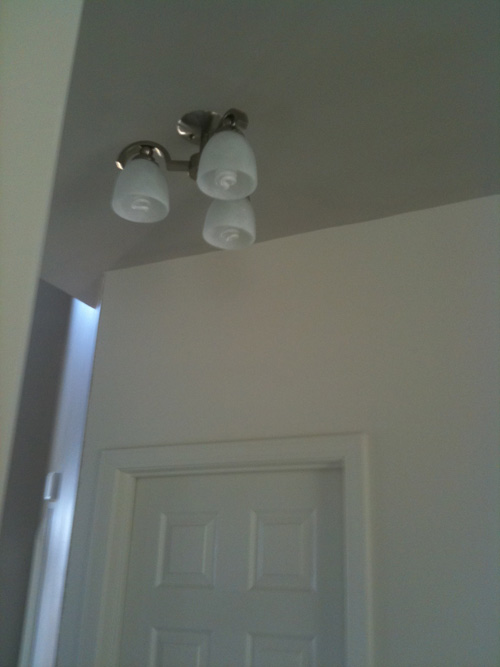
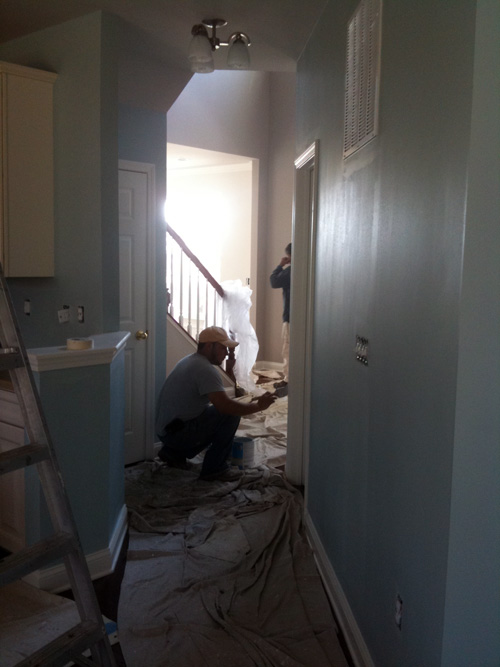
The two story entryway painting in progress, we could have never, ever done this ourselves! In fact, that ugly light is still hanging until we hire someone to change it!

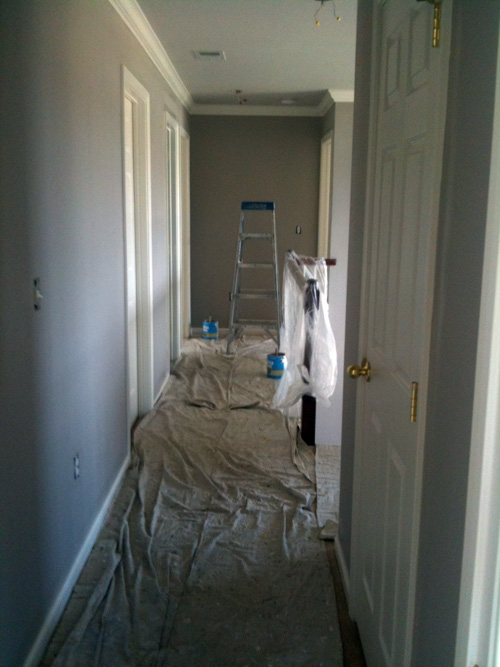
The hallway in progress

The nerve-racking process of waiting for paint to dry to see the true color

And waiting some more…

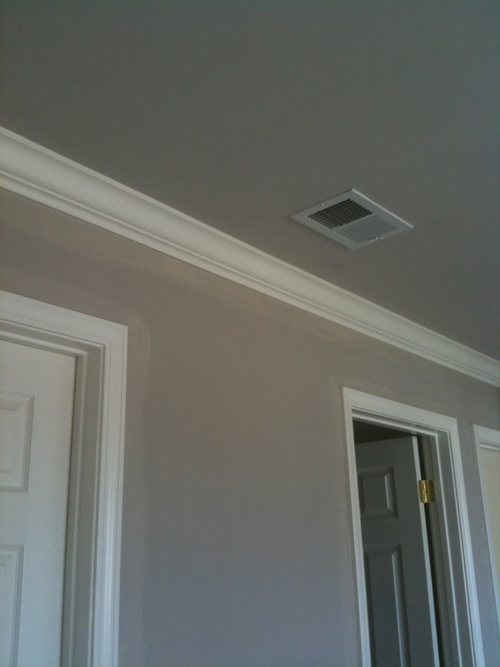
Bet you never noticed that our ceilings are painted a very light gray! This is the only picture where it’s noticeable. We just wanted to take away some of the starkness of the builder white.

The hallway between the entryway and kitchen was originally blue. After seeing it, we asked them to repaint these walls the same light taupe as the entryway.

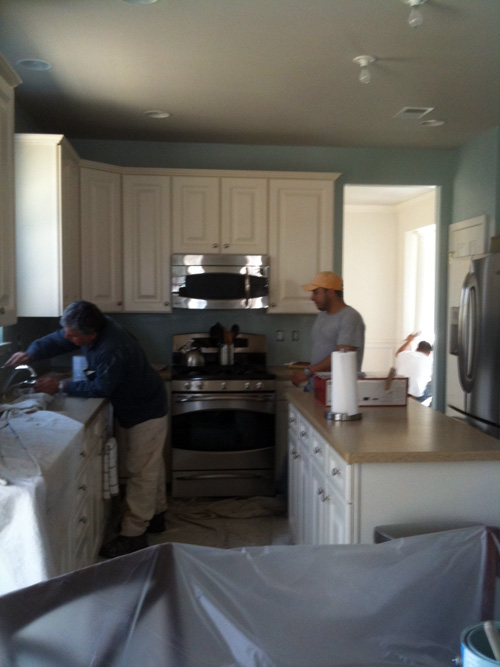
The moment the kitchen turned blue! (see that the dining room back there is still white?)

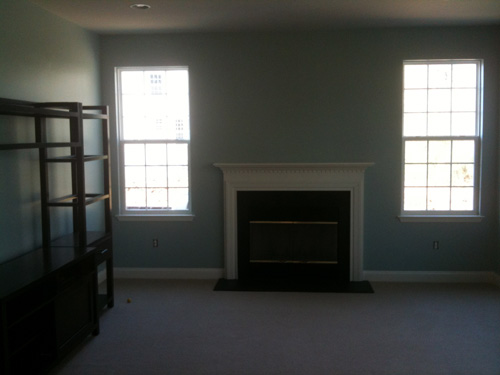
Blue family room and a newly delivered entertainment center

After the dining room was painted, we headed to Ikea later that week to purchase our Stornas table… but the color we wanted was discontinued and out of stock. This picture is from our 8pm trip to Brooklyn to get one of the last tables in the tri-state area.

But it was so worth the trip!

Maybe it was our pot of gold? This rainbow was over the entrance to our neighborhood in early April of last year.

Pretty grass! The builder laid our sod a couple of weeks after closing, when it was a little warmer.

However, we still hadn’t moved ourselves in. Our mini-family was still squeezing on a full sized bed at Mike’s parent’s place. We saved the best part of the house for last…

In mid-April, we moved the kittens in. This is Mowie about 10 seconds after we let her out of her carrier, she loved it immediately.

While Macky and Darwin snuggled behind the couch for a few hours

But pretty soon, they were enjoying the finer parts of the house

And everything seemed right in the world (and the yard!)

Happy day you become ours, little house.

Smoked Oysters

5 Comments

Posted by Rebecca, January 27th, 2011

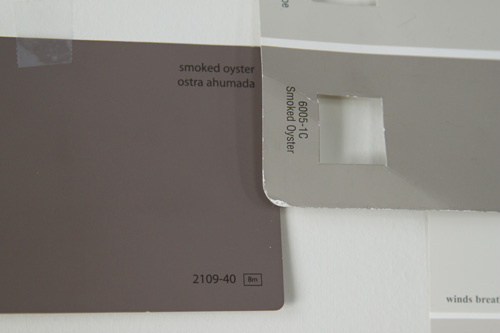
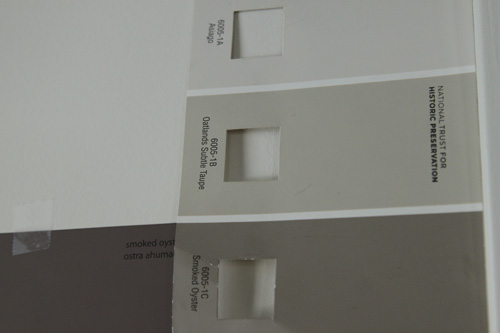
Remember that funny paint swatch we put on the wall a few weeks back? Well we’re working on finding a light taupe color for the master bedroom. I mentioned in my walk-in closet post that I liked the color in the closet, but I didn’t remember what color it was. Well I was looking in my drawer full ‘o swatches for some ideas when I figured out why I thought I no longer had that closet swatch…

On the left is Benjamin Moore’s Smoked Oyster. We used this color in our condo bathroom and loved it, so we’re planning to use it for our office. It’s a nice purpley/gray color. On the right is Valspar’s Smoked Oyster, it is a taupe color and we used the color one shade lighter for our walk-in. So when I looked for the closet color, I spotted this Smoked Oyster and assumed it was the old bathroom color. I even looked at it and was like wow! It looks so much more brown than purple in the new house! Then I found the other Oyster and realized. How weird is that?

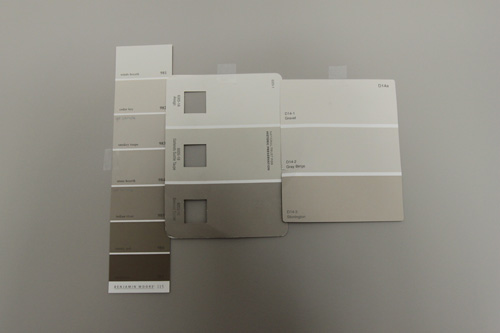
Anyway, here’s a sampling of my taupe swatches…

I am still leaning towards the closet color, which is the center swatch, center color. It is called Oatlands Subtle Taupe by Valspar.

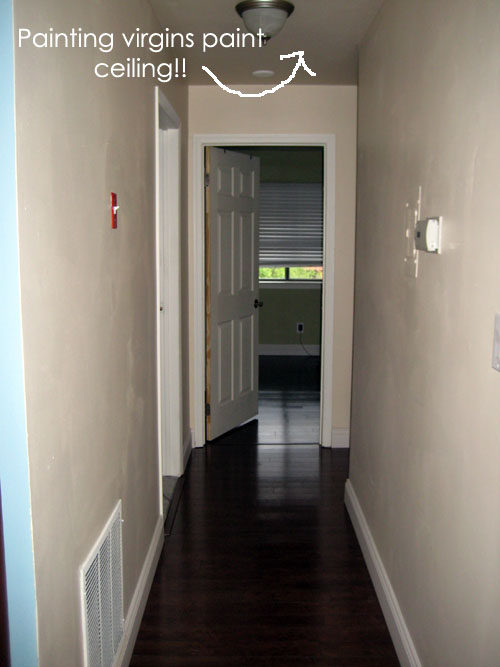
I’ve learned, mostly the hard way, that neutral beige type colors have either a pink, gold or gray undertone to them when they get light. Our first painting attempt in our condo resulted in a pinkish beige hallway. Our second painting attempt resulted in a goldish beige hallway. Then we moved here and wanted taupe and well, we ended up with a silvery hallway. Which is fine because even though it’s not what I imagined, I like it anyway. And gray is like the new brown right now!

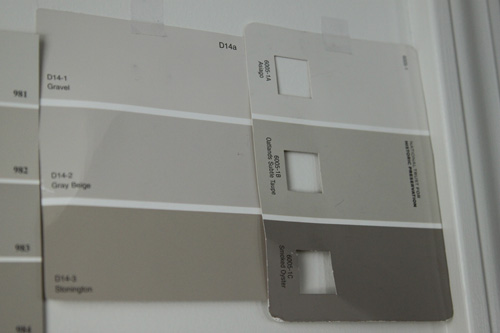
Not following me? Here are some more pictures and how I narrowed the colors down…

My other potential front runner was Gray Beige, the middle color in that middle swatch there. But looking at the colors surrounding it, the Gravel and the Stonington, it’s reading a little peachy to me. I still want to stay in the taupe family.

Here are some more Benjamin Moore colors which were actually contenders for the living/dining room and entryway. I even wrote “get sample” on two colors way back when.  I’d probably go with the second one down for the bedroom, the Cedar Key, and it’s just not rubbing me the right way.

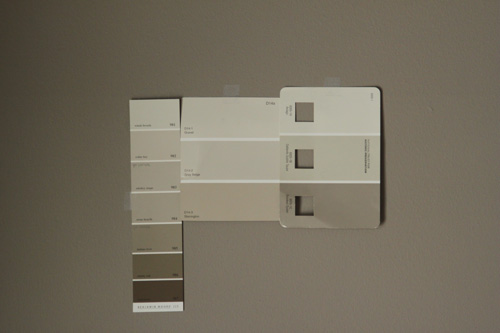
For a little perspective and to make sure these colors were more of a taupe than our hallway turned out, I taped them against one of those walls. The wall color is Benjamin Moore’s Himalayan Trek…

Sorry about that shadow, that’s my noggin in the way. But now are you seeing the peachyness of the swatches on the far left and far right? (Sorry I wasn’t consistent with my arrangments!) Once again, my first choice is on the center swatch (the one with the little squares cut out) and the center color.

And just for good measure, I hung these on the dining room wall. I love this taupe color and wanted to see how these colors measured up. It is Benjamin Moore’s Waynesboro Taupe…

I moved my favorite one again! But its on the right (with the little cut out squares still). This definitely reassures me that the Oatlands Subtle Taupe is the way to go. I’m thinking of doing our little sitting room area a darker more dramatic shade, so I think the ooother Smoked Oyster may just be it!

Painting projects

12 Comments

Posted by Rebecca, January 12th, 2011

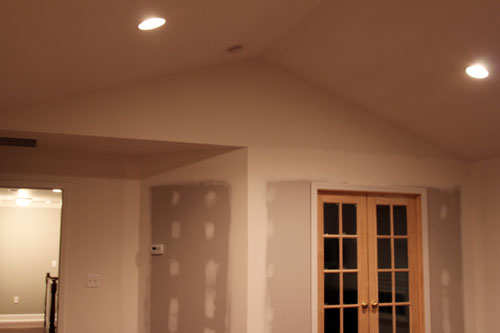
Lately I’ve been dying to paint something. I’ve been thinking of the powder room or office, but mostly I would love love love to paint our master.

The problem with this is with the new trim, wall and french doors we had installed when we added hardwood floors upstairs, this is no simple project. We can’t just throw some paint on the walls, we have to….

1. Caulk the trim

2. Prime the new wall and doors

3. Paint the many walls

4. Paint all of the trim

5. Stencil wall behind bed

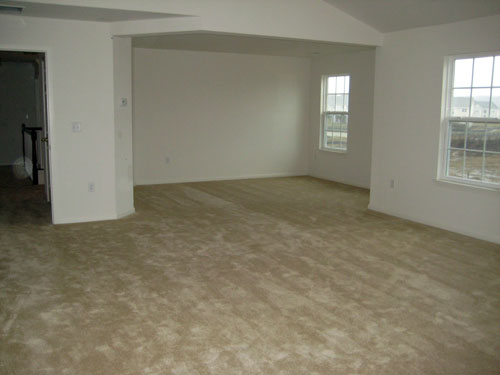
Now, our master is not your simple 4 walls type of room. It has cathedral ceilings…

A sitting room, which I’d like to paint a different color than the rest of the room…

This one is obviously a ‘before’ picture- when we still had carpeting and no wall, but it is the best view I have of the sitting room size since there is no light fixture in there and the new wall makes it extremely dark. It’s on the to-do list 🙂 But anywho, it’s a large room in itself. Our main bedroom part is about 17’x19′ and the sitting room is about 14’x12′ I believe. So that’s approximately 491 square feet to paint! Oy!
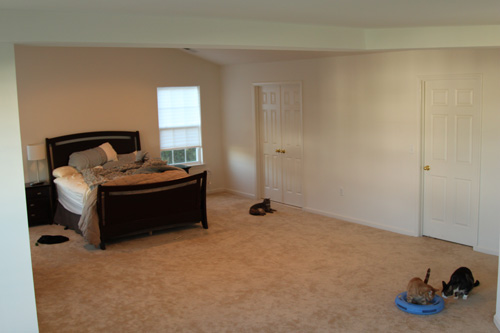
Since I referenced this picture in yesterday’s post and it’s a good view of our bed area, I figured I’d share. The messy bed, clothes on the floor and cat conference going on just add to it’s charm…

Once again it’s a pre-hardwoods, pre-wall picture, but it’s entertaining and it shows the size of the room pretty well. This one was taken from the sitting room, looking into the main bedroom part.

What you see in that picture is the only furniture/stuff we have in our bedroom. Paper blinds, no paint, no pictures…NOTHING. It is like a blinding sea of white in the morning. We know we’ve put the office on the back burner, but because of my inability to sleep well and my need for a little sanctuary, I think this will be tiptoeing its way up on the list.

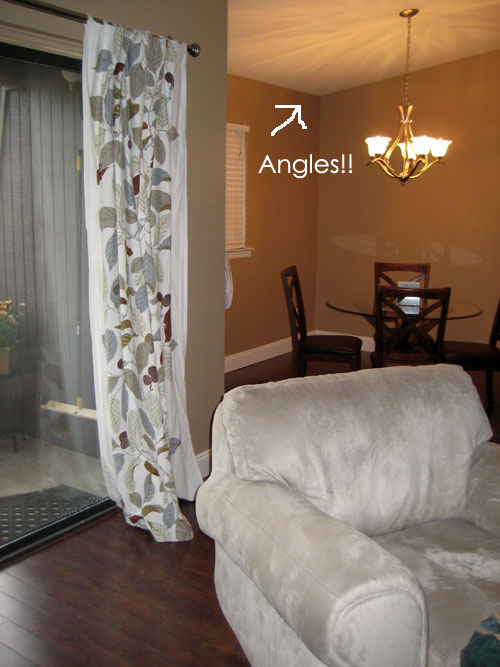
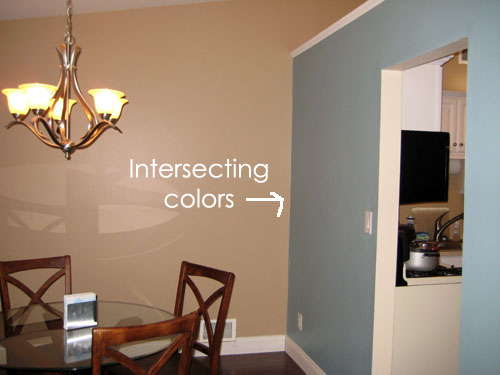
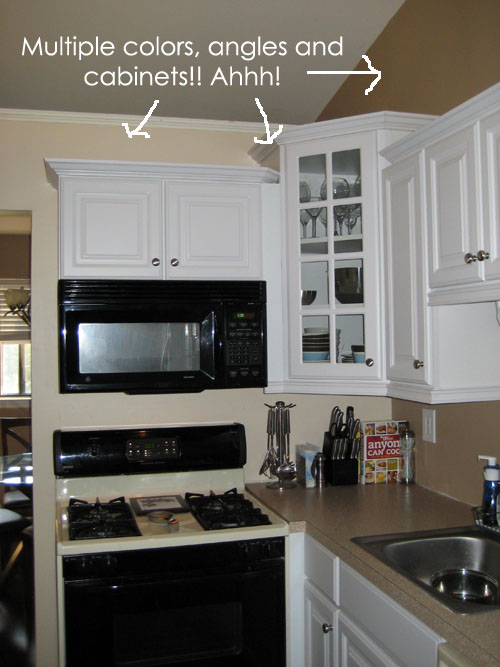
This wouldn’t be the largest and most complicated paint job we’ve undertaken. When we had our condo, we painted our connecting kitchen, dining and living rooms, 3 different colors, with angled ceilings at a maximum height of 12 feet. Oh did I mention that this was the first time either of us had ever painted a room? And that we didn’t have a proper ladder, or really any money for paint and supplies?? Oh and we accomplished it in one weekend? Here are some pictures of the hard work we accomplished in 2 days…

We actually repainted all of these walls about 2 years later because we didn’t like the colors we choose. Another lesson learned, looking at your old pictures will make you cringe. But when we toned down the colors a little (and went more beige than peach), we had it professionally done. This experience was traumatic for us, plus Mike put a huge hole in the drywall that needed to be patched beyond his skills, so a professional painter was key.

Long story short, as much as I’d love to tackle my major painting plans this upcoming 3 day weekend, I’m traumatized by past experiences. I’m thinking this will be a project we’ll tackle piece by piece, over many weekends. Lesson learned 🙂

ps- you know you love the arrows I drew up there! 🙂

New Year, New Projects

4 Comments

Posted by Rebecca, January 2nd, 2011

First off a little year-end blurb 🙂

I’d like to thank all of you who have visited my little side project and sent me words of encouragement- whether through email, snail mail (thank you Laura :)) or in person. I really lacked the confidence to get this thing going in the beginning (if you look at the archives, I half started this in February!), but because of the kind words from people I haven’t talked to in years, people I’ve never met, or people who want me to help them with their homes, I feel so loved and encouraged to continue this. I LOVE doing this and it’s so rewarding to hear that so many of you enjoy it too. So thank you all, from the bottom of my heart, for helping me to keep this bloggy up. On to a new year of blogging!

Though we still have many, many unfinished projects hanging around from 2010, we’ve already begun planning some new projects for 2011. We often say that we have house A.D.H.D., we bounce from room to room, never really finishing things. Oh you’ve noticed? Well this is sort of intentional because it keeps us interested, gives us time to think and re-think of things we’d like to do and be really proud of our finished product.

So what’s new around here? Well first off, we received the Delta Pilar Touch 2O Single Handle Pull-Down Kitchen Faucet we were eyeing on our Dear Santa list!

It was a generous gift from Mike’s parents and we are very excited to put the final piece of our kitchen puzzle together! I am planning on recreating the commercial once it’s installed….

While we’re on the topic of Christmas gifts, my parents bought us a Cutting Edge Stencil. I had been eyeing up the Casablanca Allover Stencil for months and decided it would be a good gift to ask for. Since I love meticulous, detailed jobs, I am going to do something like this in our master bedroom…

Okay, I am beyond excited to do this. Though Mike has already warned me that though he is fully confident in my abilities, this project is outside of his skill set. He always manages to roll paint in his hair, never mind successfully applying a stencil….

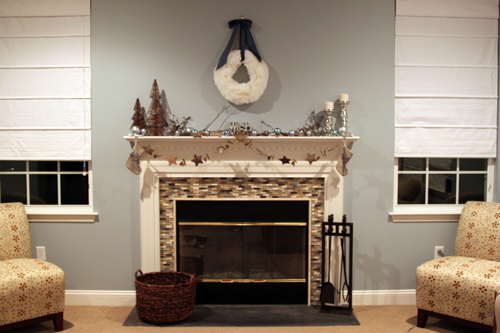
Yesterday, we hit up Ikea and found another missing puzzle piece- extra long teal-ish curtain panels. These are something I’ve been thinking of for our family room for quite some time. Once we added our white roman shades, we knew we needed a little something extra there. Cue the Merete dark blue panels!

They are nearly identical to the color of my coffee filter wreath ribbon and they will add just the right amount of boldness and fun that we’ve wanted in the family room since we moved in.

Soon I will have the Hawaii inspired color scheme I’ve been dreaming of in the family room.

As excited as I am to do all of these things ASAP, we’re laying low this week, putting away some Christmas decorations, oh and HEADING TO DISNEY ON WEDNESDAY! Woooo 🙂

Anyone else scheming up 2011 projects already?

Copyright 2010 - 2011. The Lil House That Could. All rights reserved.