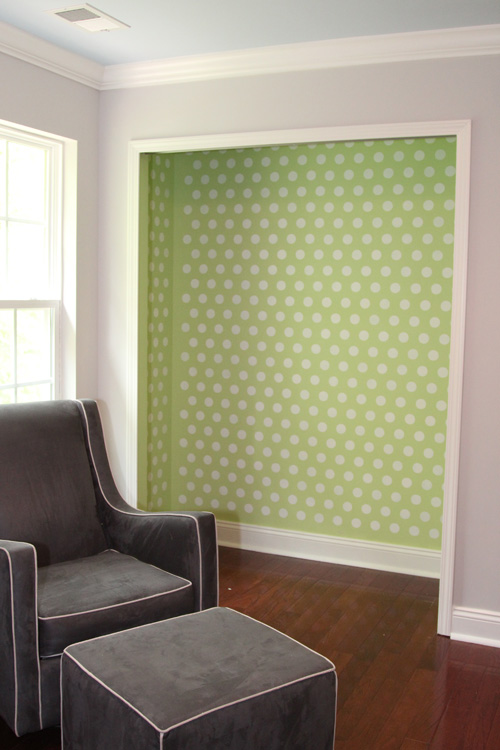
A Stenciled Closet
Posted by Rebecca, May 4th, 2012
Around the holidays, Cutting Edge Stencils contacted me and asked if I would be interested in reviewing one of their stencils. Since I was already a fan and own one of their stencils, of course I said yes! Problem was that we hadn’t yet started the nursery and I wanted to stencil the ceiling. Thankfully, they told me I could hold off on my review until I was ready and I chose their Polka Dot Allover Stencil in the small scale size.
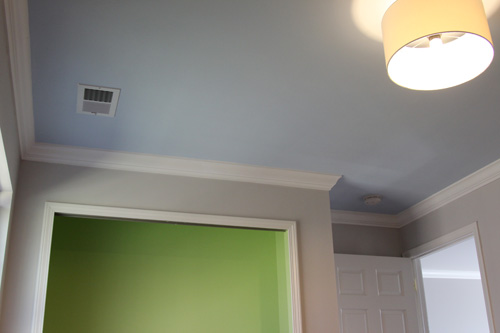
Fast forward like, 5 months. We ended up taking much longer than expected on the nursery and after painting the ceiling a dreamy blue, I decided that I didn’t want to stencil it. I focused my stencil attention on the green closet instead.
It took us a while after we painted to get to the closet, but this week I was finally able to spend some time on stenciling. Cutting Edge Stencils sent me everything I could possibly need to tackle this…. the stencil, a foam roller, a brush and a level.
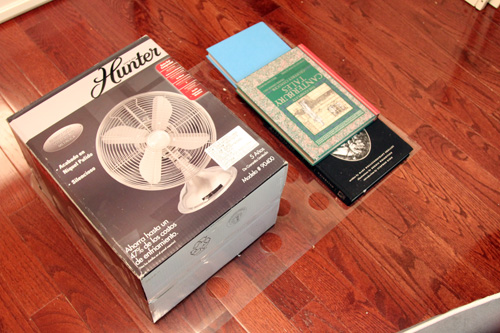
The stencil also came with detailed directions, which is how I realized that I was supposed to remove the stencil from the shipping tube immediately and store it flat. Whoops. But, like I said the other day, I flattened it with some books for a day or two and it was fine.
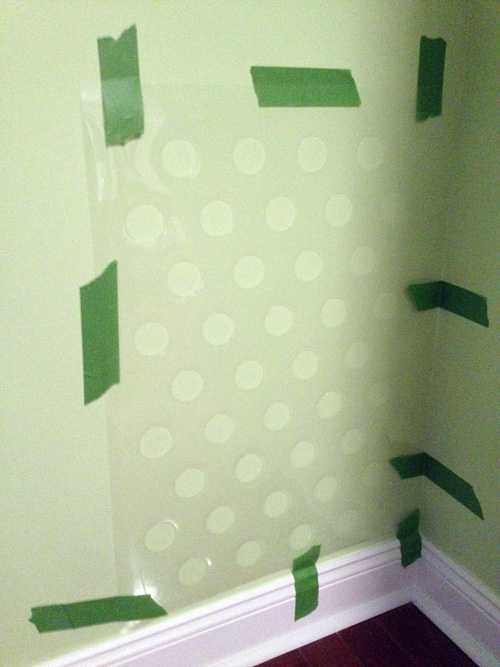
The directions stated that you could use spray adhesive to stick the stencil to the wall. Since I started this at night and didn’t really have an open space to spray it, I decided to just use Frog Tape to stick my stencil to the wall. Please excuse the mixture of night time, day time and iPhone pictures for these in-progress shots. I had to work on this over 3 days in small increments because you know, I’m kinda really pregnant at this point 🙂
Yeah I taped the heck out of that first stencil. Since I started in the bottom corner of the closet, I decided not to use the level. It snapped on easily and worked well, but I quickly learned that the closet is not at all level! The baseboards are uneven, the side of the wall gets more narrow at the top and the level showed that it was slightly off. So I just started by lining the stencil up with the baseboard, as close to the corner as I could get and then just aligned the rest of my stencils based off of this first one.
For my method, I first started with the brush. I just personally prefer holding a brush rather than a roller so I dabbed some paint on the first two rows of dots. It was looking a little sponge painted, so I decided to try the roller on the next rows. Here is the difference between the two finishes.
I decided to go with the rolling for a more consistent paint application. You can also see from the above picture that my stencil is not completely touching the wall. I was worried this would be a problem with bleed through and that I would need the spray adhesive but it did not cause any problems! Once I rolled over a dot, the pressure applied pushed the plastic stencil flush to the wall for a clean line.
The absolute key to this process? Don’t overload your roller. I did two very thin coats of paint on each dot– too much paint at once will cause bleed through.
Once it was time for the next stencil, I just overlapped the top row of the stencil I just did with the bottom row of the one I was about to start.
I also gave it about 5-10 minutes between moving the stencil so that the outside was not soaking wet with paint when I peeled it off the wall. Mostly to protect my shirt, since my belly protrudes and pulling the stencil off made it smack into my body. It also gave me a break in between rolling. I even had Mike do most of the repositioning and taping so that I got a good 15 mins between each rolling session. I had no issues whatsoever with paint being on the back of the stencil, so I didn’t have to worry about it being completely dry when I moved it.
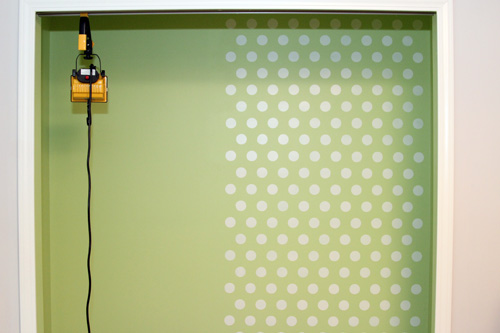
The halfway point (6 sheets of stencil)…
I repeated sheets like this until I got to the point where I could no longer fit a whole sheet. Then, I just overlapped the amount of dots I needed to get as close to the corners as I could.
Once I got to the top, I only needed an extra row of dots to hit the ceiling.
So I aligned my stencil with the existing dots and only had to paint the top row.
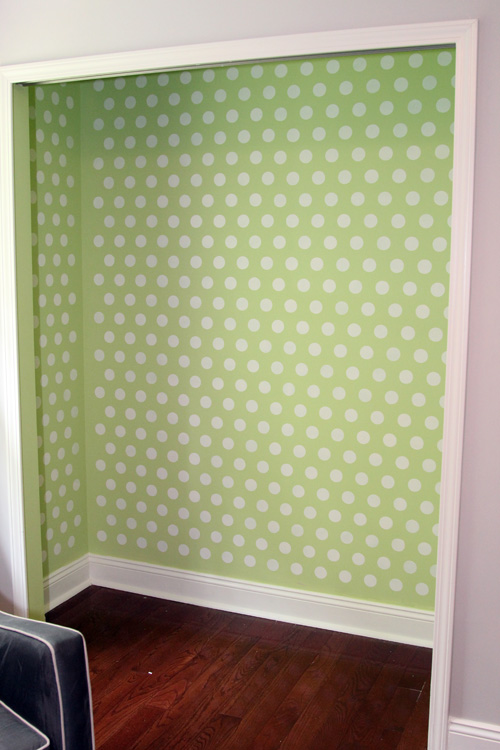
Then, I was all done!
Before…
After!
The stencil was really pretty much fool proof to use. My dots came out clean with minimal effort. This particular stencil was extremely forgiving when it came to aligning and overlapping areas.
The dot color is the same paint as our trim in the room– Olympic’s Crumb Cookie in a semi-gloss finish.
I’m so happy that I decided to stencil the closet and I can’t wait to see it with the closet organization system all in. Hopefully that piece that we’re missing arrives soon so we can get this all settled and packed with clothes!
Special thanks to Cutting Edge Stencils for sending me the stencil, roller, brush, level and inspiration. I would definitely recommend their stencils to anyone interested, the options they have are seriously endless and droolworthy.
Repetitive disclosure: I received the supplies necessary for this project in exchange for a product review. All opinions expressed are 100% mine.


