No Sew Crib Skirt
Posted by Rebecca, June 13th, 2012
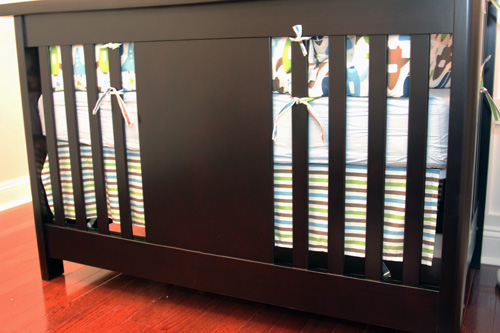
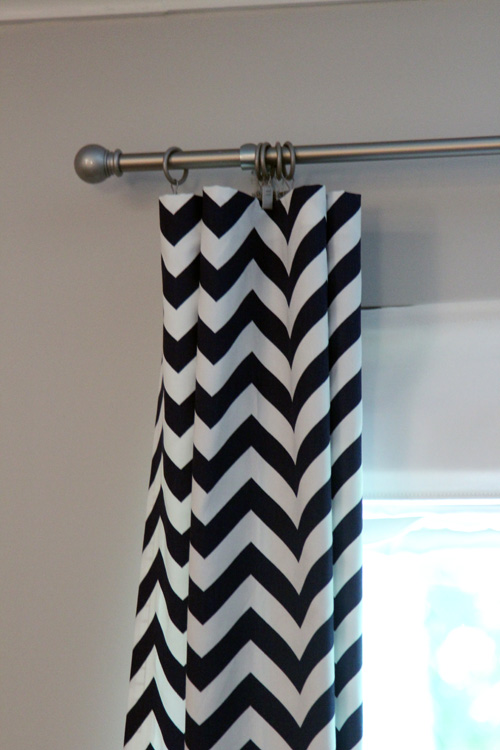
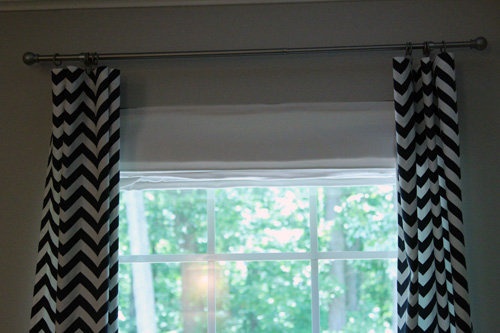
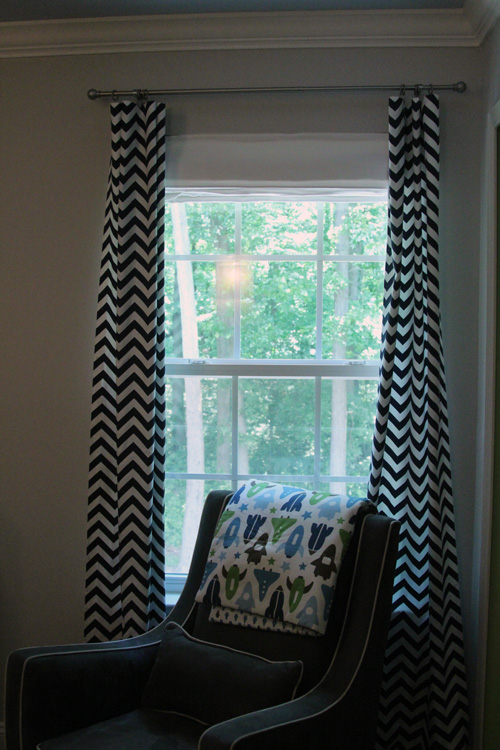
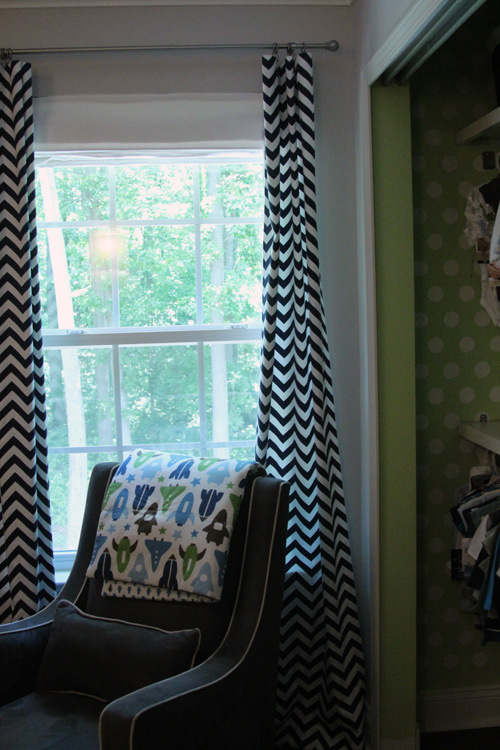
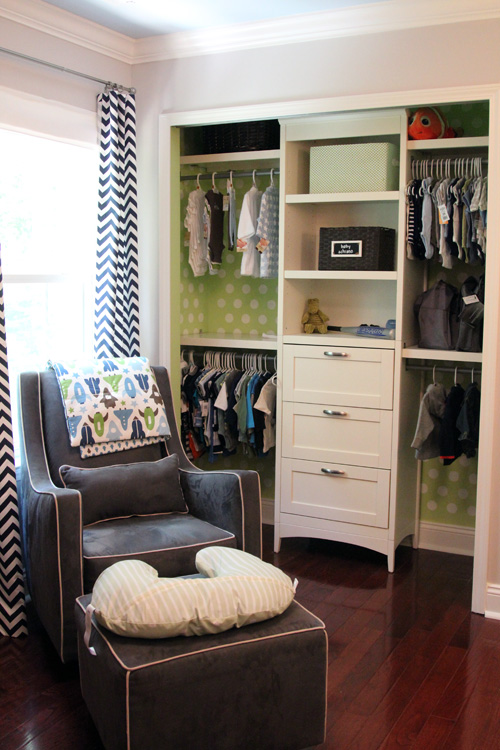
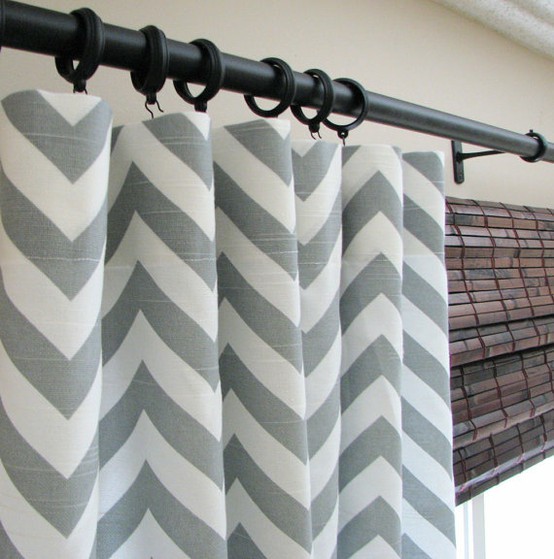
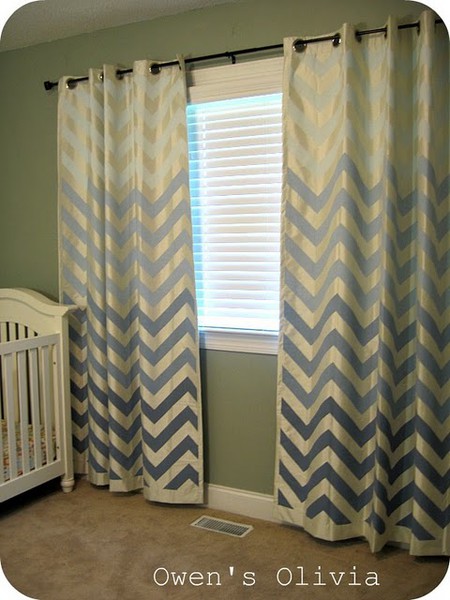
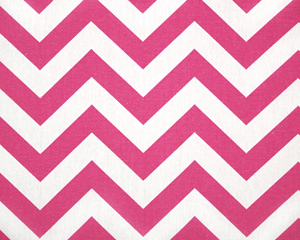
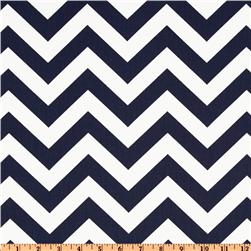
Earlier this week, I shared how I made the no sew chevron curtains in Easton’s nursery using Premier Prints Zig Zag Blue Twill fabric. I had a bunch of fabric leftover and I wasn’t too happy with the crib skirt that came with our DwellStudio for Target bedding…
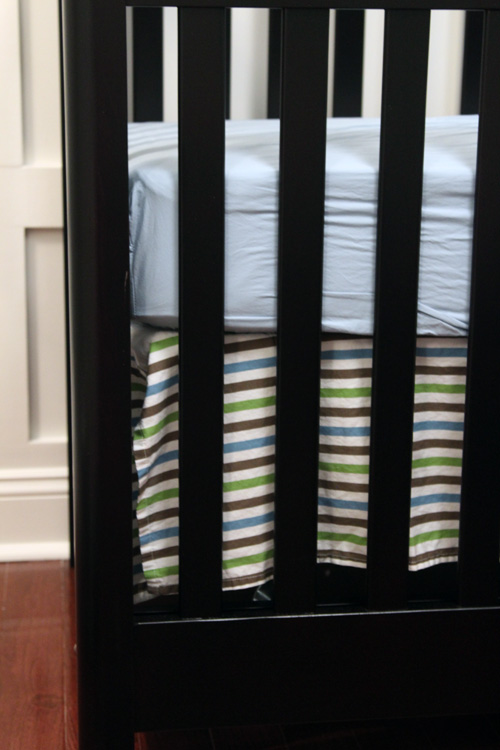
Not only was I not really feeling the stripes, but the skirt looked sloppy and was impossible to keep straight.
I remembered seeing a tutorial for a no sew crib skirt over at Young House Love, so I decided to make one. Easton was overdue and it was one of those completely random, on a whim projects. Thankfully it only took a couple of hours one afternoon.
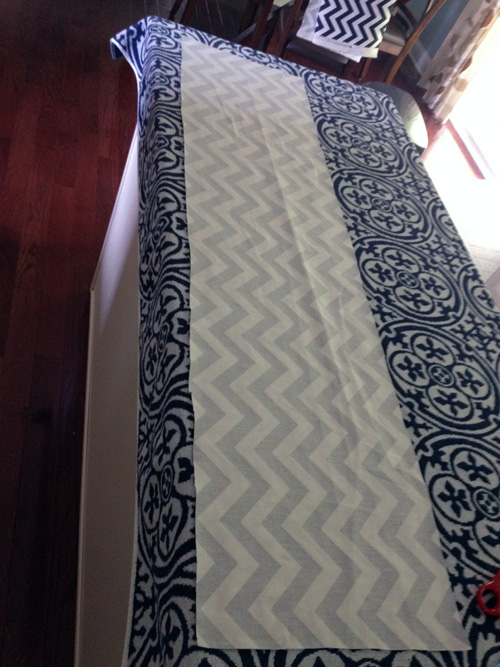
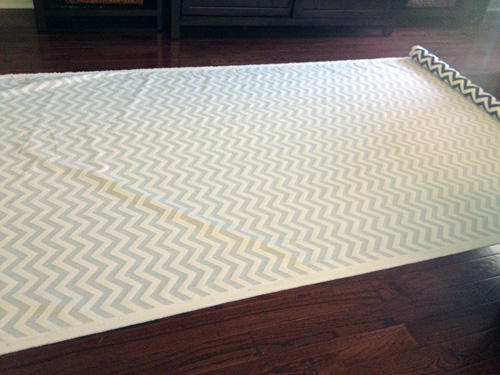
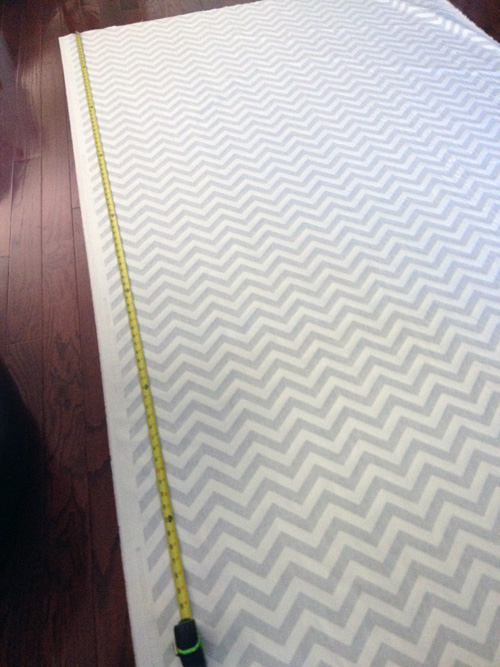
I pretty much made up my own rules with this one. I decided to make 3 separate panels for the skirt– one on each side and one across the front. I figured since you’ll never see the back, there was no point in making that panel. To keep things simple, I used the measurements from the crib skirt I already had and determined that I needed two 25″ x 10″ panels and one 51″ x 10″ panel. I added about two inches to those measurements and cut some panels.
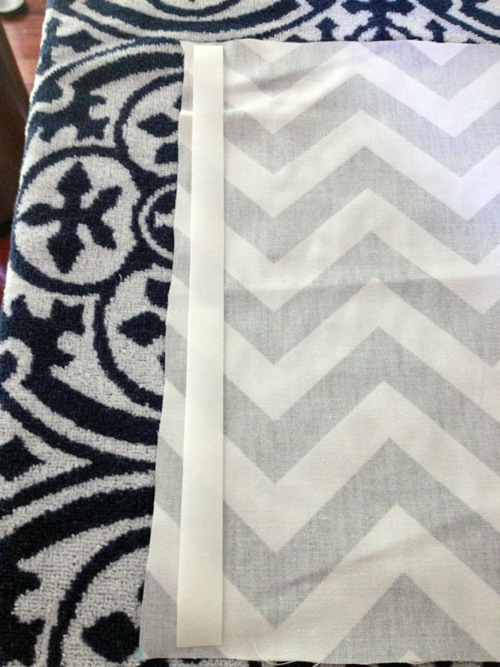
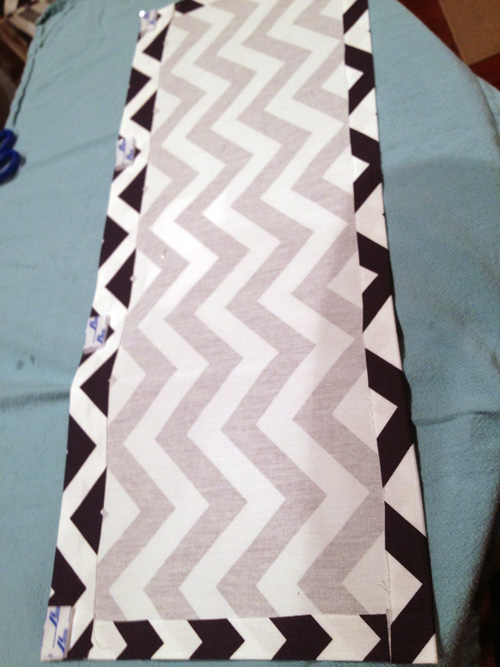
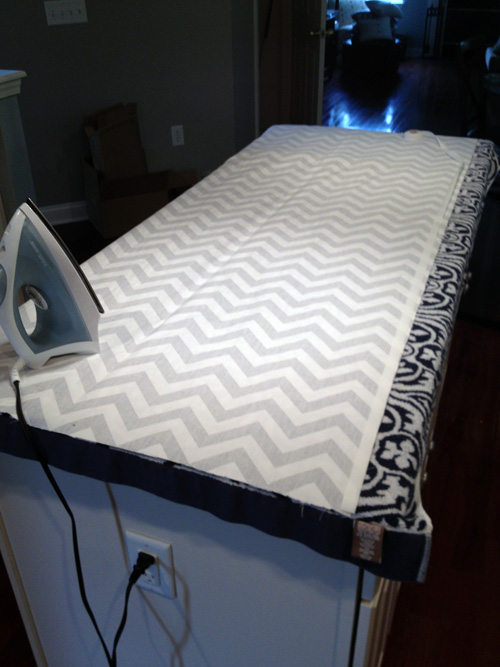
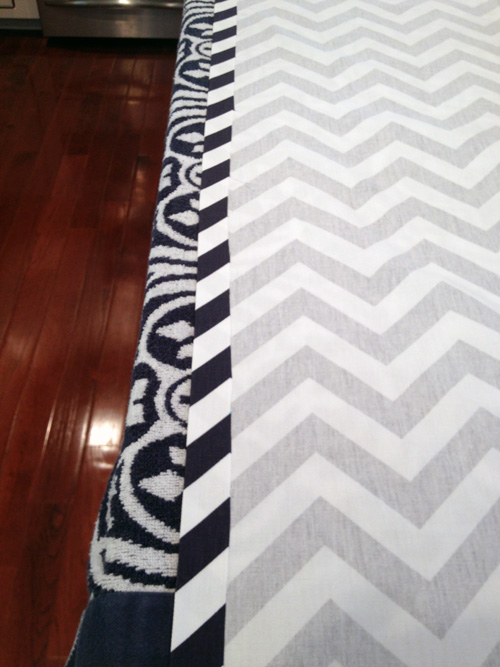
Then, like the curtains, I just ironed on some no sew hem tape for each edge.
Once again, you can see my wonderful cutting skills. I cannot cut straight for the life of me, but as long as the hem fold is straight, it’s okay.
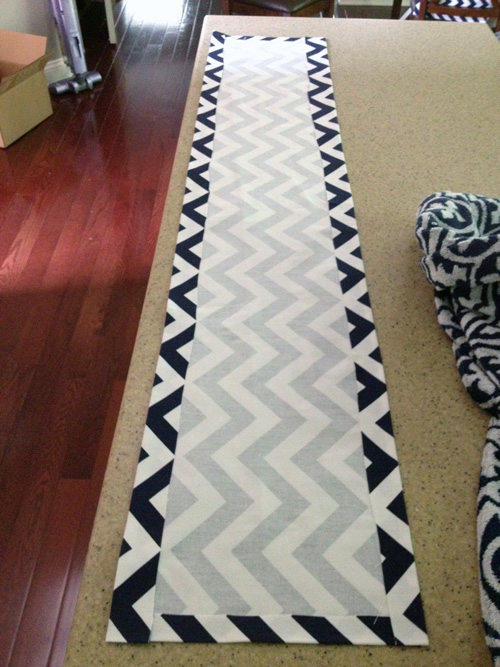
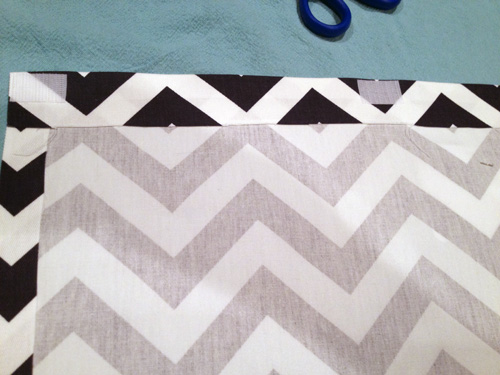
Once I hemmed all 4 sides, I was left with this.
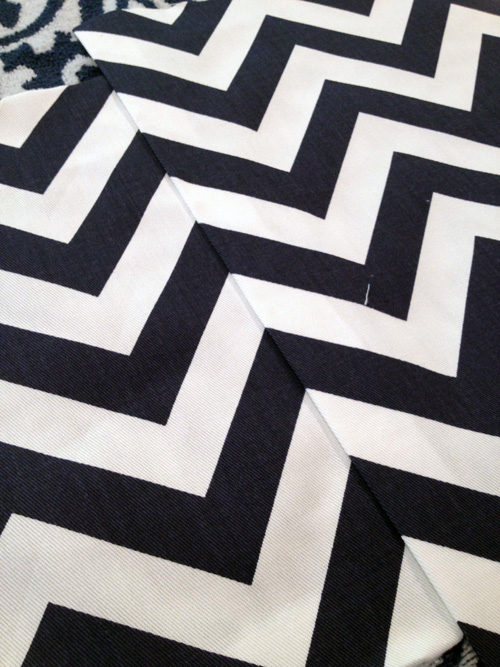
When I started the side panels, I made sure that my zig zags were going to line up.
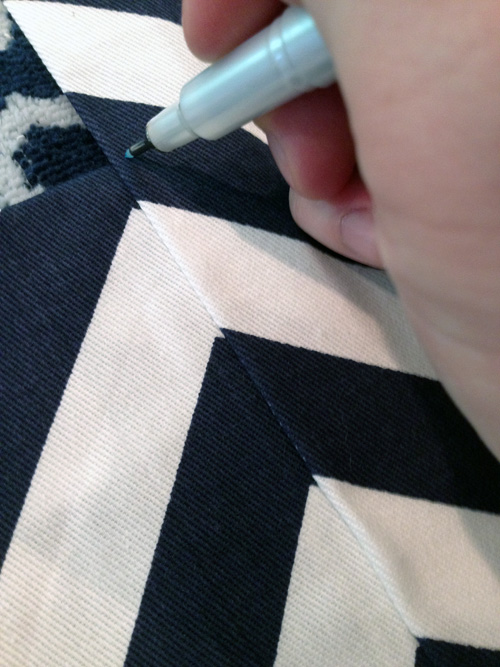
I just marked the top and the bottom with a disappearing marker and pinned them before ironing and hemming.
I realized after the fact that this step was unnecessary. Because the crib has fairly thick, solid legs on each corner, you don’t see where the fabric meets. Plus I kept my 3 panels completely separate, so they never touch and are never seen.
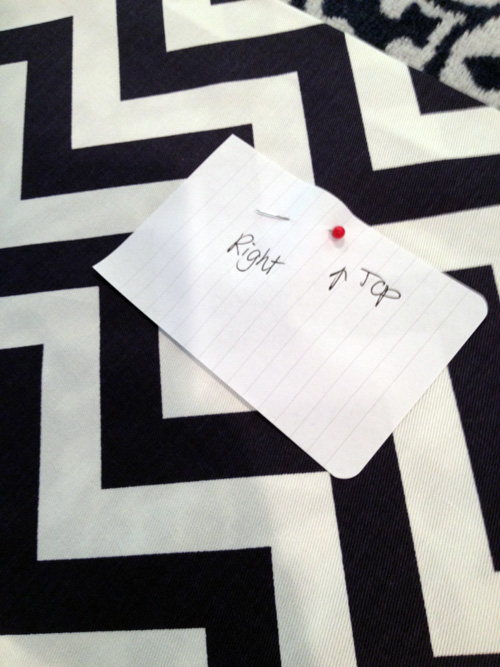
I now had 3 separate hemmed panels. I marked each one so that all of my hard work was not in vain (though it sort of was, see above line).
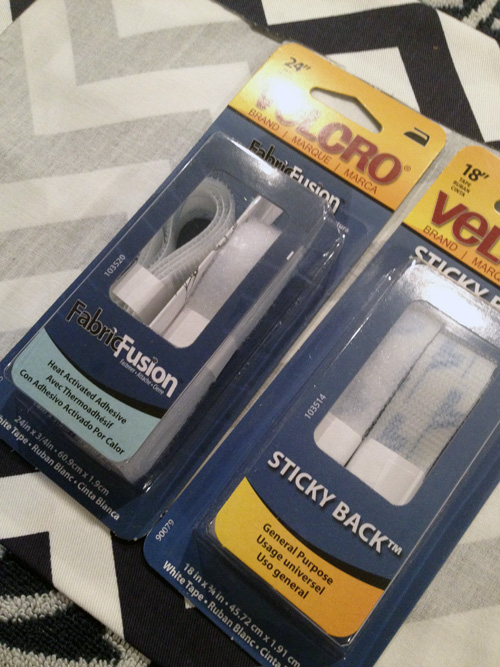
Then I had to figure out how to get these on the crib. After browsing the velcro aisle at Michael’s, I came home with these two packs of velcro.
I got one pack of Fabric Fusion velcro to adhere to the panels I just made. Then I got one pack of Sticky Back velcro to adhere to the actual bed frame. I cut small pieces of the Fabric Fusion velcro loop side and ironed it across the top of each panel, placing a piece every 8 inches or so.
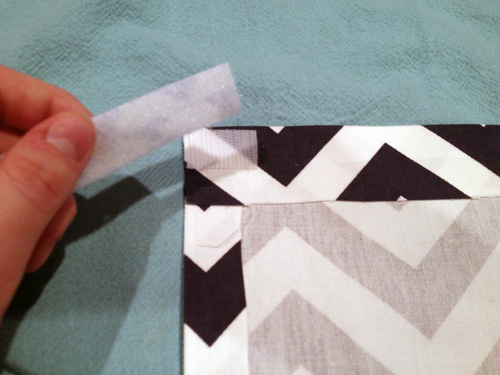
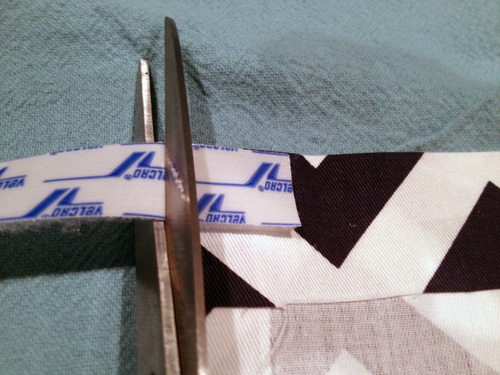
Then I cut the opposide side of velcro, the fuzzy side, from the Sticky Back velcro.
To make sure it was the same size as the pieces I ironed on, I stuck the pieces together first then trimmed them.
Then I had panels with velcro at the top that just needed to be adhered to the crib.
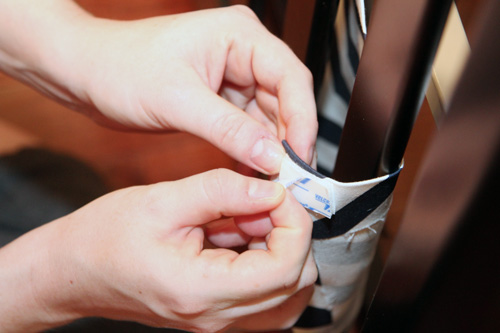
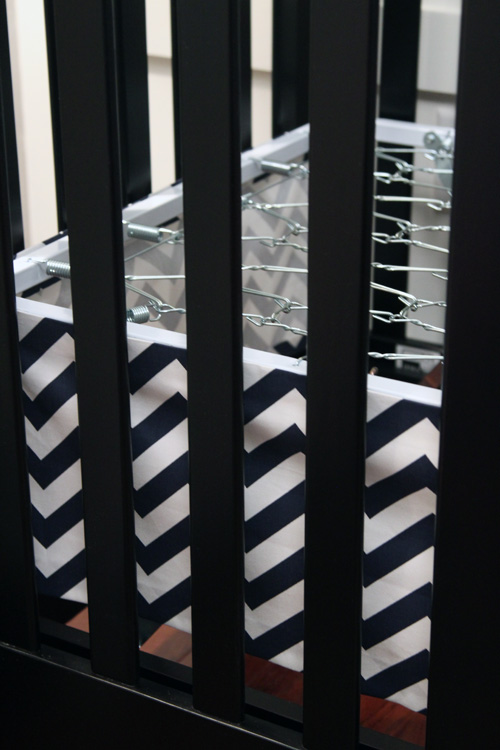
I peeled the paper off of the Sticky Back side and stuck it onto the metal frame of the crib.
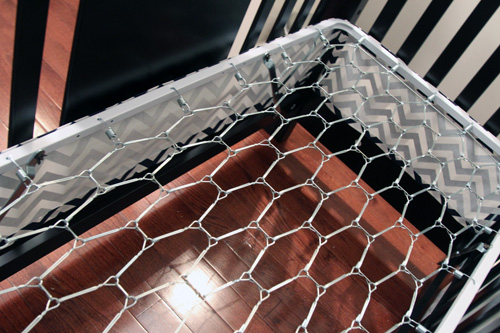
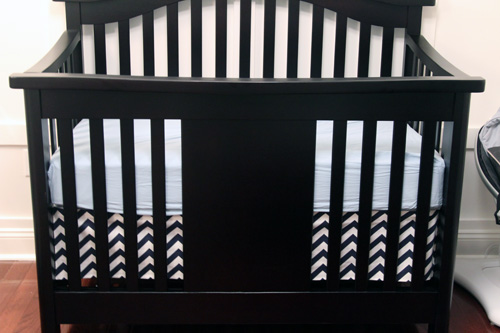
After all 3 sides were adhered, the crib looked like this…
The great thing about velcroed panels is that they are easy to remove to adjust or wash. There’s no need to remove an entire mattress just to fight with the skirt.
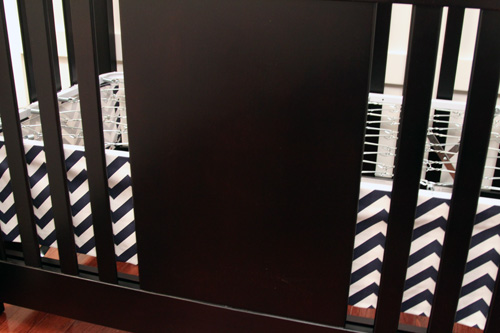
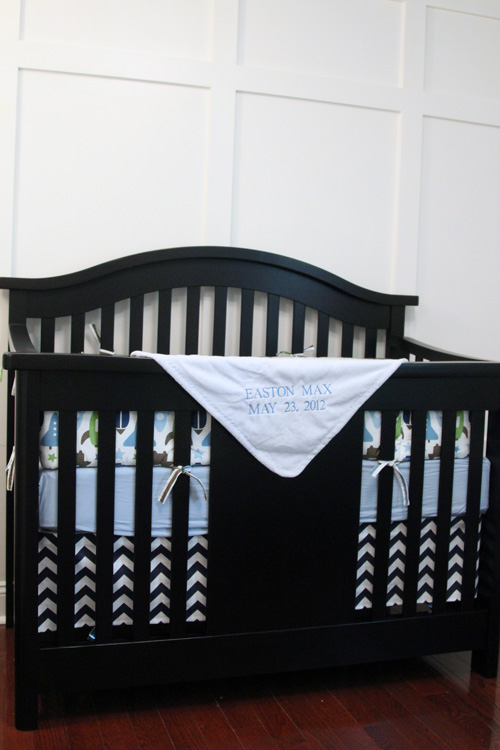
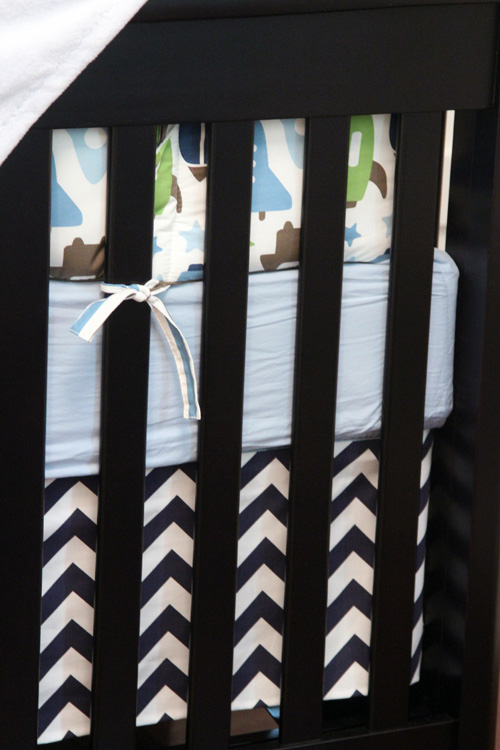
Once the crib was all made, I loved this new skirt so much more than the cookie cutter one that came with the bedding.
It adds such a cleaner, more modern look to the room that incorporates the curtain fabric from the other side of the room. The skirt also looks great without the bumper so it will only grow with Easton. That was our goal in creating this nursery from the beginning, giving Easton a space that he can grow into 🙂
Update! February 13th, 2013
I’m entering this project I did while super pregnant and too tired to adjust my camera settings into East Coast Creative’s Creating with the stars competition. Worth a shot, right? 🙂


