Rapid-I AM A DAMN GOOD-Roller
Posted by Michael, December 5th, 2011
A couple of weeks ago, Rebecca was contacted by a representative from Black & Decker who asked if we would like to try out one of their products. We decided to paint office 2.0 over the weekend using the RapidRoller they so kindly sent us. I have to be honest, when the RapidRoller arrived I wasn’t entirely excited to use it. Lets face it, painting is not fun — and painting with fancy products (especially consumer grade products) never works out for us. They’re often cheap and end up causing more work than what they were designed to do (yeah we had some bad experiences with gadgets when painting our stripes). So it’s safe to say I went into this thing just waiting for it to be an epic fail. I cannot believe I just said epic fail.
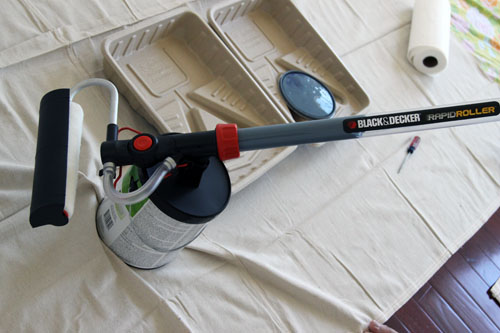
Setting up the roller consisted of maybe 3-4 easy steps. But the instructions confused me. Probably because I can’t follow directions and steps in numbered order. I’m special, I like to skip around. But when I stepped back and gave it some thought (actually read the directions in the order they suggest), I realized how truly easy it would be to set this bad boy up.
Then it came time to hook the roller up to the paint can and again, I must be honest – I was expecting for this thing to shoot paint all over me. But much to my surprise, the roller sucked a good amount of paint into its handle (see that blue stuff in there?!) and I was ready to paint.
For paint, we went with our usual choice of Olympic no-VOC paint. The color we chose was called Denim, a dark navy blue with some gray undertones.
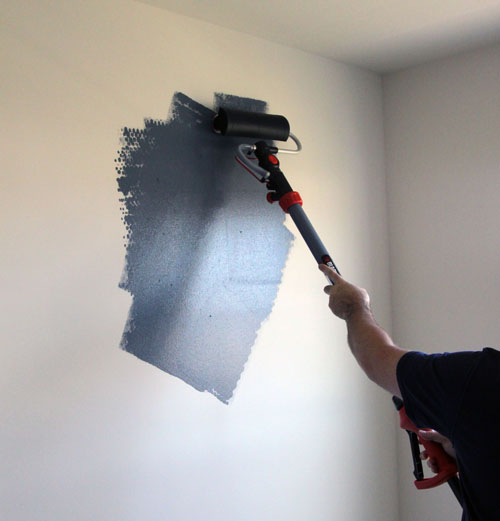
To draw paint from the handle to the roller, you press the trigger and you’re set. As you are rolling, you’ll notice the need for more paint. My instinct at first was to put the roller down and go into the tray for more. But with this tool, you just pull the trigger and more paint gets sent to the roller. Going back to when the box arrived, I was expecting paint to be all over the place when the trigger was pulled. Once again, the tool proved me wrong. No mess and a clean Mike. Shocking considering I usually have paint all over me when doing projects like this.
The paint went on quite nice with the roller, but I’ll still have to do some touch up work since we used such a dark color. I guess I can’t get off that easy when painting! The roller does have a spatter shield, which is nothing revolutionary but I never used one before. It worked like a charm and prevented quite a few drips and splatters.
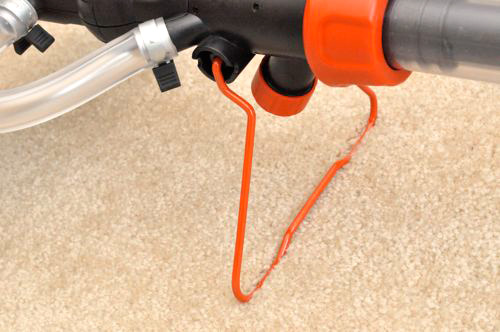
So best thing ever? This thing has a kickstand. No more worrying about rollers falling over and sending paint everywhere while you take a break (or in my case, a slice of cold pizza). Why hasn’t the kickstand thing been done before?
via One Project Closer because I forgot to take kickstand pictures.
Here is my only complaint. When the entire handle is filled with paint, it is incredibly heavy compared to a traditional roller (it sucks up about 1/4 of a gallon of paint at a time). But I get it; the RapidRoller gives you the added bonus of barely ever having to refill with paint (the paint is stored in the handle) but with a little more muscle on your part (to lift the handle filled with the paint). I don’t think the added weight is anything that will hinder your painting process, but you’ll feel it. Rebecca stuck to her usual edging process, but I don’t think she would have lasted long rolling. Then again she gets winded when walking up the stairs these days…
I can’t really comment on the pivoting head. I tried rotating the head when getting close to the ceiling, but it takes some adjustment to feel comfortable rolling horizontally. It seemed to have worked but I wanted to go the other way with it, like I was before and how I’m used to naturally rolling. And because I have the attention span of a 3 year old, I reverted back to the traditional approach almost immediately.
Clean up was alright. It’s an easy process, but you’ll be there for a solid twenty minutes. I was worried that if I didn’t clean this thing right, it wouldn’t work the next time around. So I patiently cleaned the roller. It all comes apart quite easily and it’s just a matter of soaking some things and rinsing others as the directions indicate.
In the end though, we painted the office probably an hour quicker than we normally would with traditional rollers and paint trays. But 20 of those minutes previously saved then goes to cleaning the tool after use (typically we buy disposable rollers and trays). I’d say we saved a solid 40 minutes using the tool, plus the time we would have spent cleaning up paint drips. Also, throw in the time I normally spend washing paint out of my hair and buying new t-shirts because I dripped on them. Maybe we’ll up the time saved back to an hour then! Not really a game changer when you’ve committed to painting a room, but lets face it, painting sucks and if something helps me save time when painting, I’m all for it.
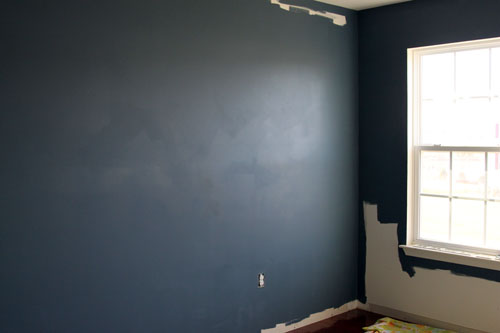
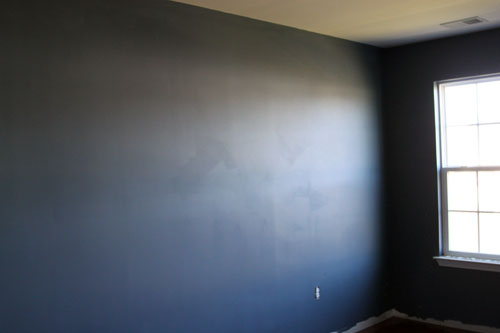
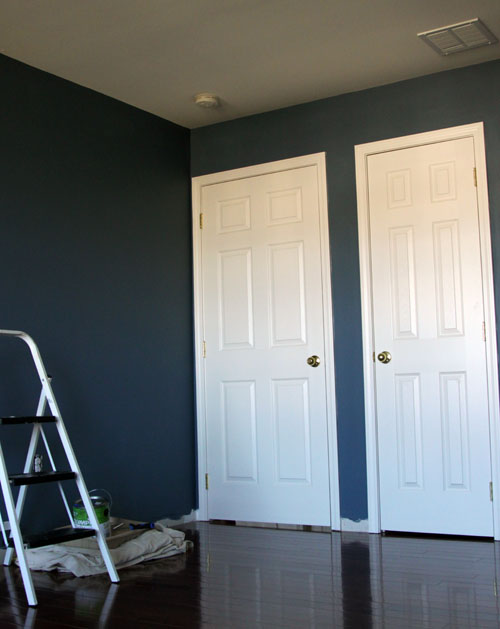
::drum roll:: Here’s our finished product, before some touch ups we have to do (some areas are a little streaky)…
We’re very happy with the color and our process was made much easier by the fact that we didn’t have to paint around baseboards! We’re planning on adding taller baseboards in here to match the rest of the house (the builder gave us tiny ones in the spare bedrooms).
We’re thankful that the people at Black & Decker sent us the RapidRoller to give us the kick in the arse we needed to paint this room. And for the gadget that made this job less time consuming when we are so pressed for time this month!
If you are pressed for time like us but want to paint a room, you’re in luck! On Wednesday (after Rebecca finishes up her final presentation tomorrow night), we will be hosting a giveaway where one lucky reader will win a RapidRoller! Be sure to come back to enter 🙂


