Posts Tagged ‘spray paint’

The Nursery Gallery Wall

26 Comments

Posted by Rebecca, January 10th, 2013

This post has been a long time coming. As in, Easton is now 7.5 months old and I’ve been waiting to do something with this wall in his room since I was pregnant. It has been a thorn in my side– that project that always seems to have some issue that makes you delay it another week… then another… then another. But then finally, it’s done.
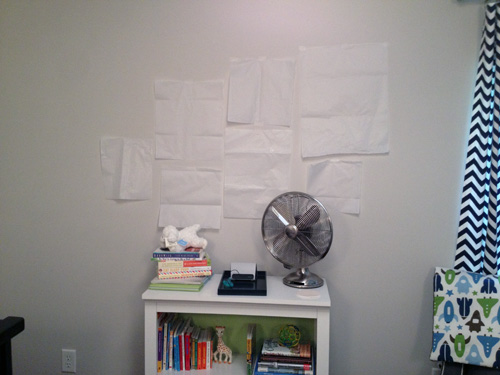
Wait, where did I last leave you? Oh yes, with a Corn Flakes box and some tissue paper.
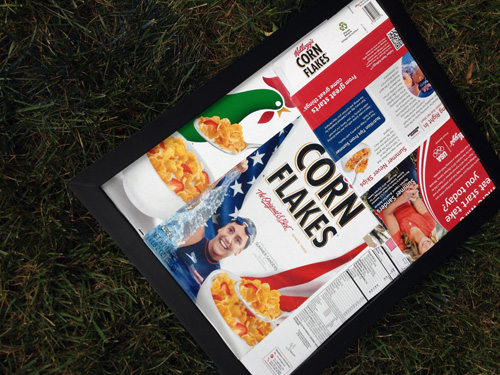
I bought a black shadowbox and planned to paint it white. The Corn Flakes box and spray paint run was a major fail. The spray leaked through the glass and the paint didn’t adhere to the frame. Next I decided to just hand paint the whole thing. I bought some paint and primer in one, gave it a decent sanding then sat on the garage floor one night painting away. Have you ever painted a shadowbox? Yeah, don’t. There are way too many little ledges inside and out. I painted everything I could with the door of the thing open, then left it to dry before doing the next parts. When I saw that one coat of paint wouldn’t be enough to cover the black, I decided to try a new(er) approach.

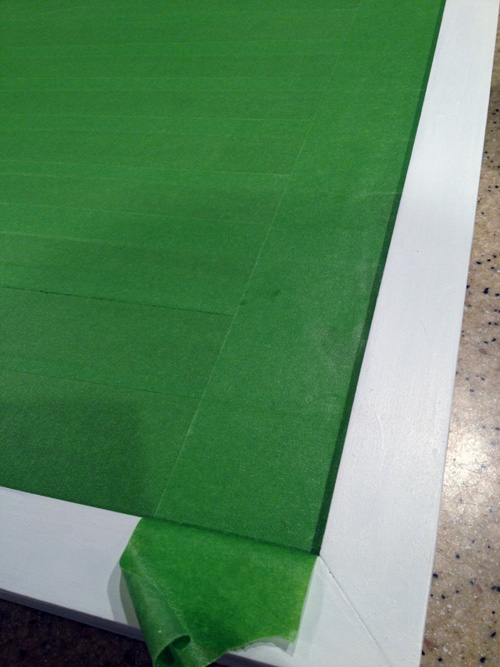
I returned to spray paint, but this time I went with my usual Rustoleum Universal spray paint and I decided to Frog Tape the entire glass portion of the shadowbox, front and back. Why I didn’t think of this sooner, the world will never know.

First I had to do a lot of cleaning and scraping of the previous overspray.
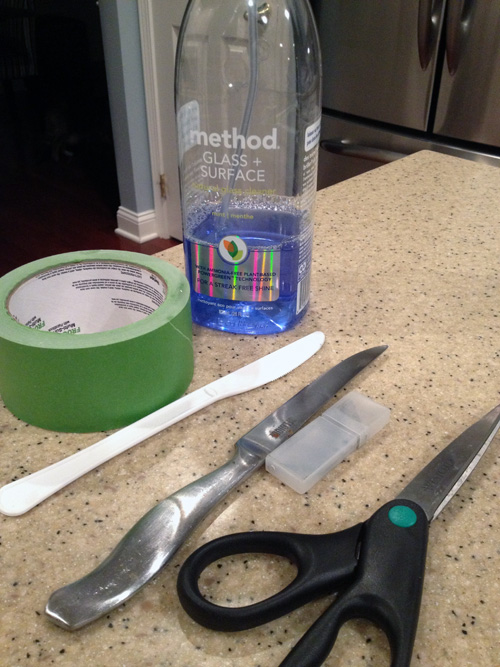
FYI- the plastic knife worked the best since it didn’t scratch the glass 🙂

I used the razor to trim the tape perfectly so I didn’t have to scrape anymore paint off the glass.
Then it was back to the yard for the shadowbox and two smaller frames that I had sprayed with the previous spray paint. I could have lived with them, but they were chipping so easily that I figured I’d give them a good coat so I could stop handling them like they were a dozen eggs.
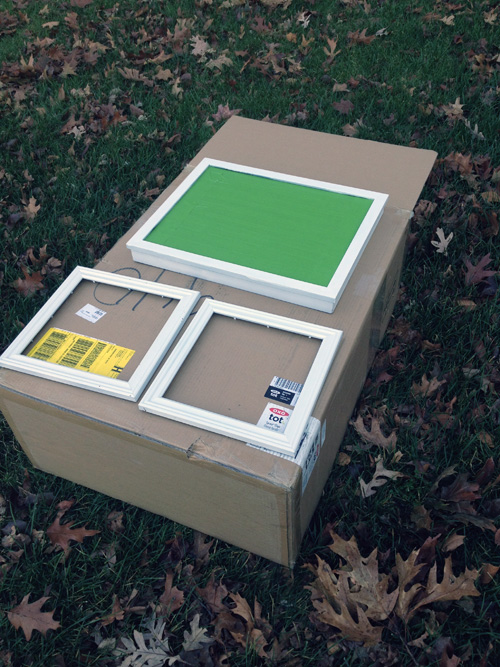
Once everything dried and sat in the garage for a few days, we were FINALLY ready to hang everything!

The gallery wall recipient so proudly watched from his crib.
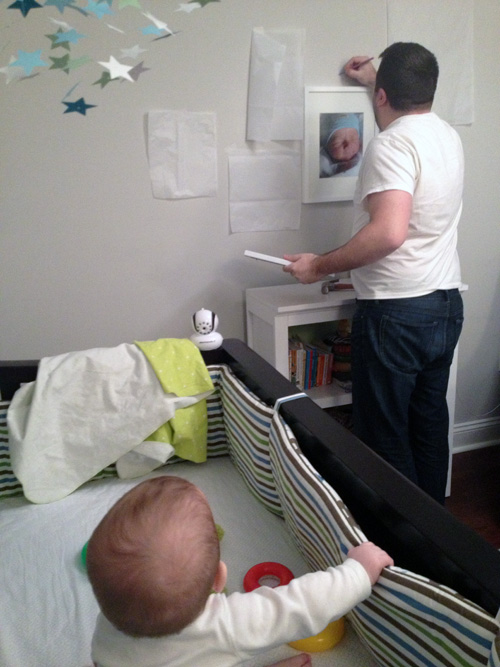
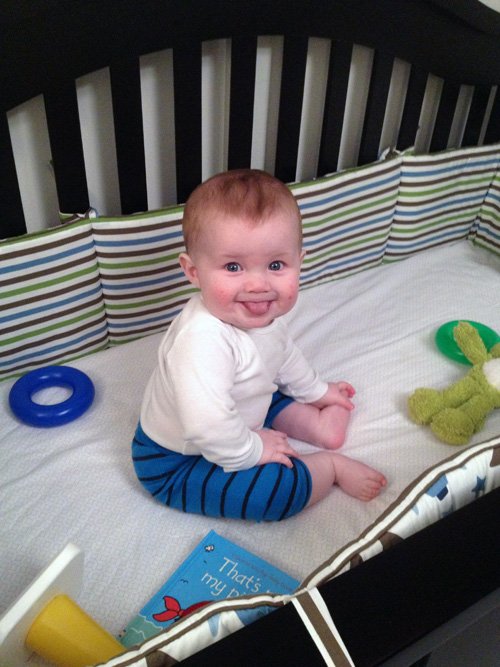
He loved it before it was even done.
To hang everything, we had the awful tissue paper up, but I knew the real frames were likely to be off from that. So we didn’t nail into the templates or anything, but we just started with the most centered frame. From the tissue paper, I knew I wanted everything about 2 inches higher so we just eyeballed it. Once the first frame was up, we did the one above it– spacing it rather close to the first frame.
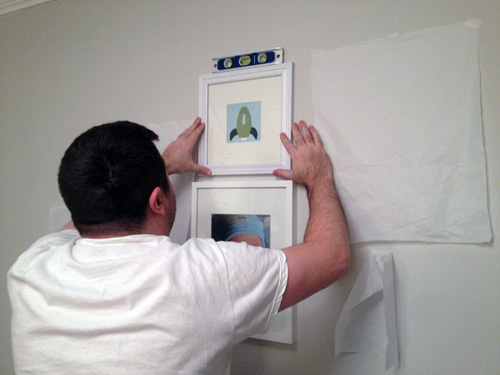
This part is personal preference, but I like gallery walls that have a tight arrangement. We then moved to either side, keeping everything spaced tight, until it looked like this.
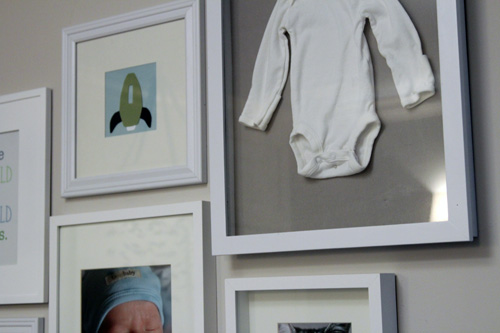
Hanging everything took no time at all. After all of these months, we finally have a completed nursery.
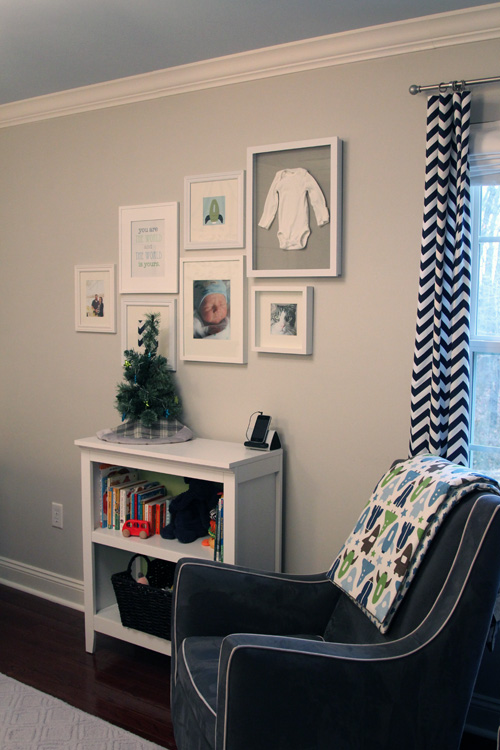
Scatter brained sidenote:  I forgot to tell you guys that Easton had a little Christmas tree…
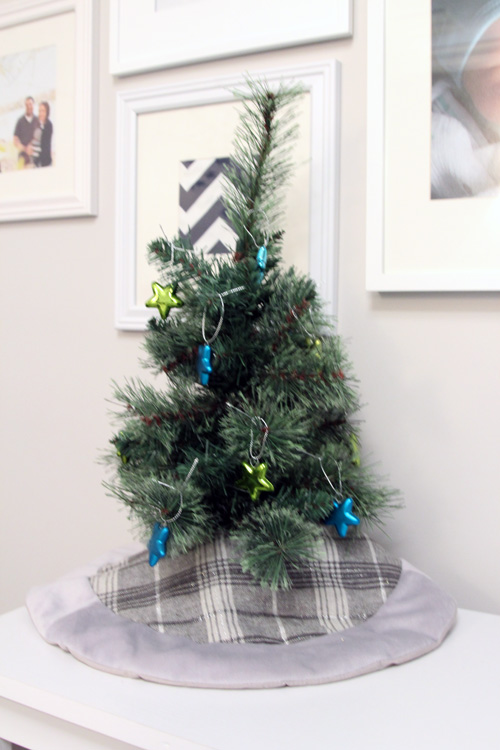
I took the tree away for the rest of the finished pictures so that it wouldn’t distract from the gallery wall.

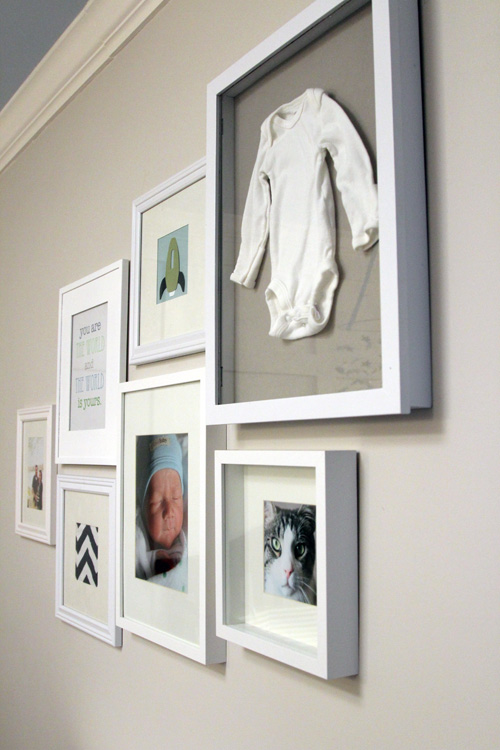
I already mentioned in my planning post how easy it was to actually decide what to put in the frames and where they would go.

On the far left is a photo from our maternity shoot. I wanted to remember what Easton looked like on the inside.
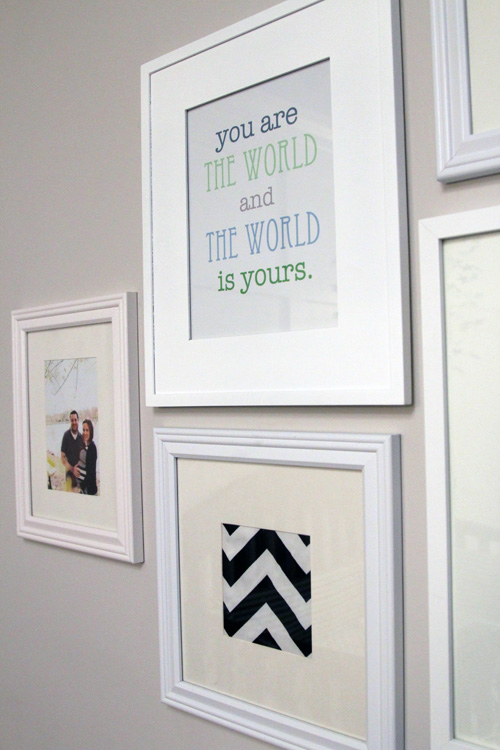
To the right of that, on top, is a print I made that says “You are the world and the world is yours”. It’s from a Jason Mraz song and since we went to two concerts when I was pregnant, plus I listened to his album while in labor and when Easton was a newborn, it will forever remind me of Easton. Thirty years from now I will hear some of those songs and remember walking my newborn around our neighborhood, with my iPhone in the stroller cup holder playing music.

Underneath that is just a spare piece of chevron fabric from the curtains and crib skirt I made.
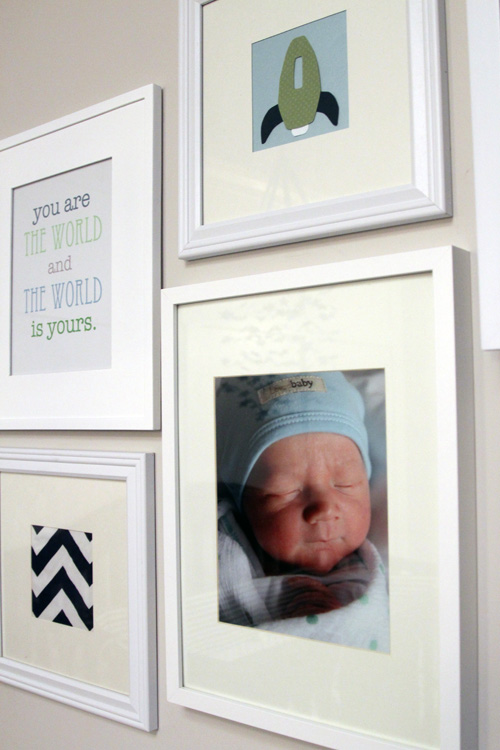
Next to those, on the top, is a rocket I made out of scrapbook paper. I originally painted a rocket in muted blues and grays, but it was lacking the fun, vibrant color that I wanted to include in the nursery. I felt like there were enough sophisticated parts to this room, let the rocket be fun Rebecca. So I remade it.

Below that is one of Easton’s hospital pictures. It’s inclusion is self-explanatory.
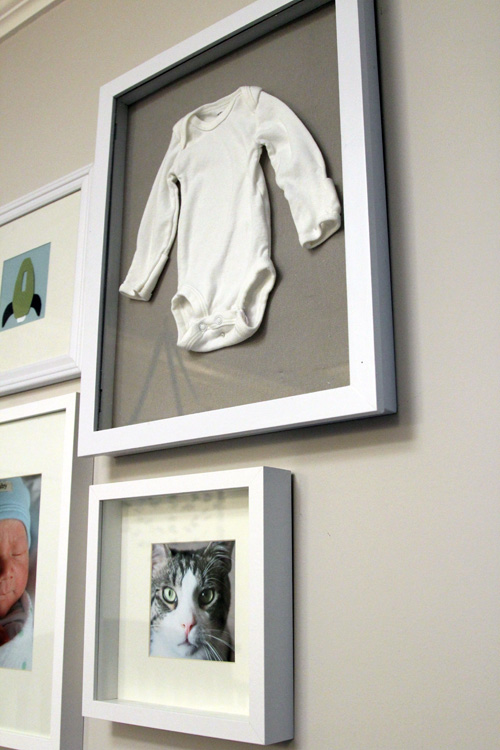
On the end is a photo of Macky that we always refer to as Macky’s mugshot. It’s a few years old but we love it. When I was planning this wall, I wanted it to sort of be a “things we love” lesson to Easton. The cats are a huge part of our family and I wanted them to be included in his room. We used Macky has the ambassador because of this particular picture, but it turns out that Easton adores all of the cats, but especially loves (or is obsessed with), Macky. A dream come true for all of us.

And finally, up top is of course that effing shadowbox that has caused me so much work. But in the end, it was totally worth it. Just look at this little newborn sized onesie.
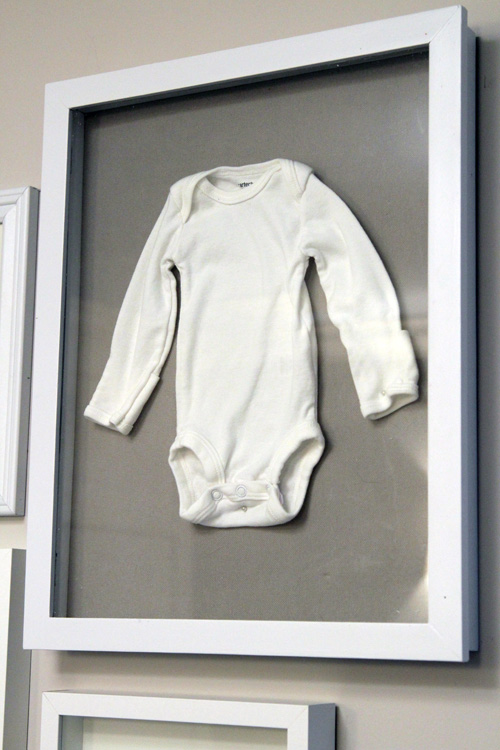
I originally planned to iron the onesie, but once it was in there I decided I liked the not perfectly pressed and flat look. The 3D appearance looks better to me.

I couldn’t be happier with how this wall (finally) turned out. Whenever I open Easton’s door, it makes me so happy to see his tiny little onesie and newborn picture up there. I cannot believe he’s almost 8 months old.
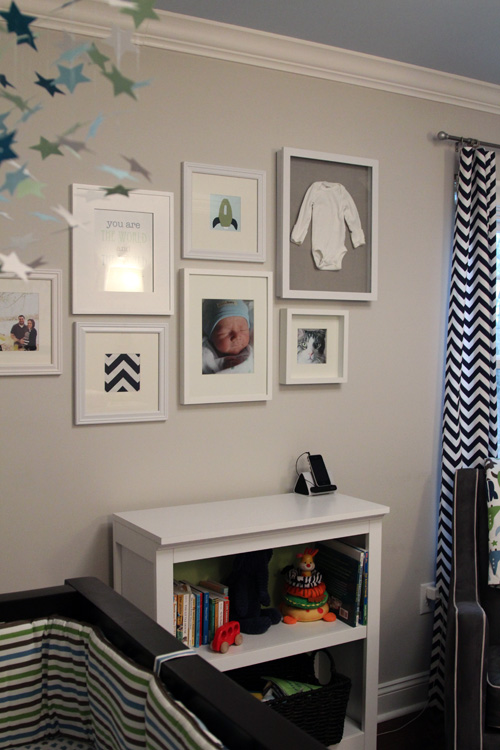
And with this wall, the nursery is officially complete! Final room reveal coming right up! I couldn’t snap anymore pictures, my assistant was demanding me.
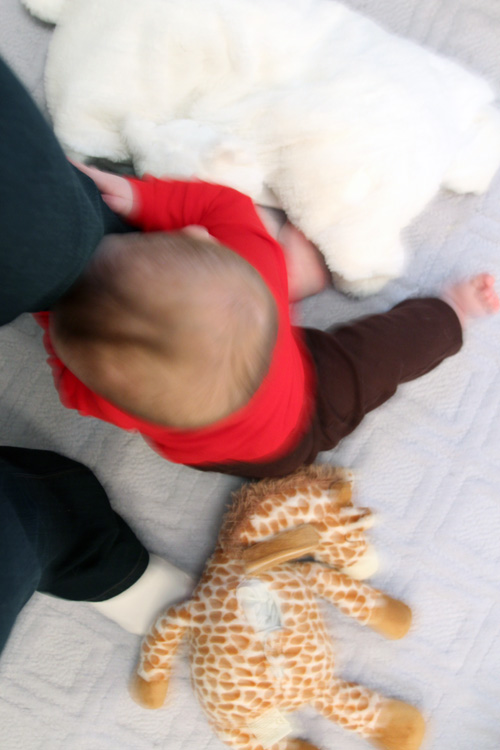
Wait, he’s my boss.

Oh Deer

5 Comments

Posted by Rebecca, August 30th, 2011

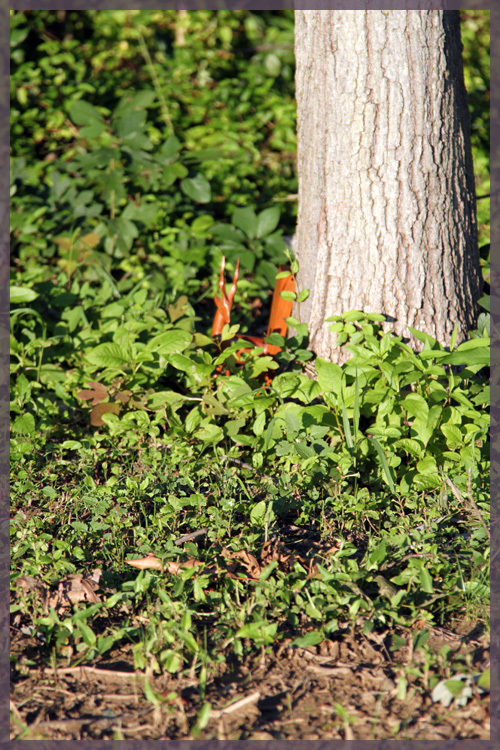
Yesterday, Mike spotted this in our backyard…

I love our random deer sightings. It’s amazing how well they camouflage themselves and I’m sure they’re out there more than we realize. Mike and I grew up in a more congested area (we’re from the same town) and deer sightings were rare and always exciting. I love having furry, speckled butt neighbors 🙂

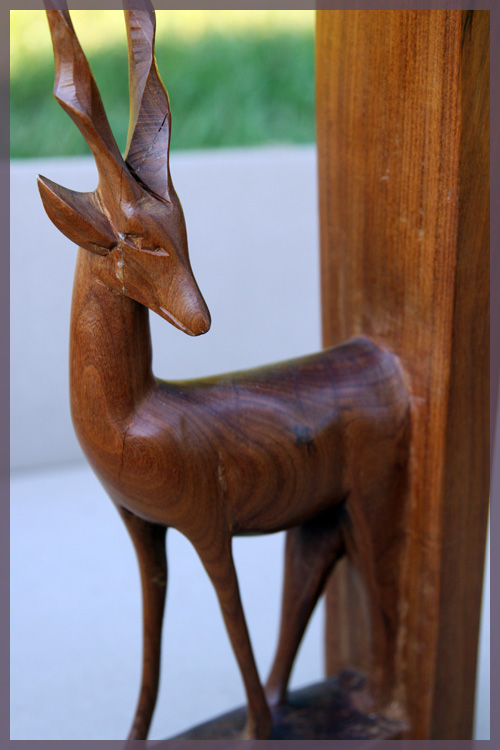
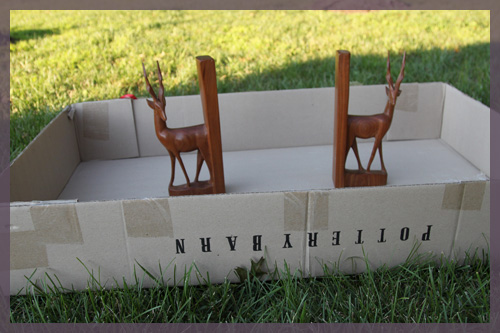
I love them so much that when my mother in law was getting rid of these bookends, I decided to take them.

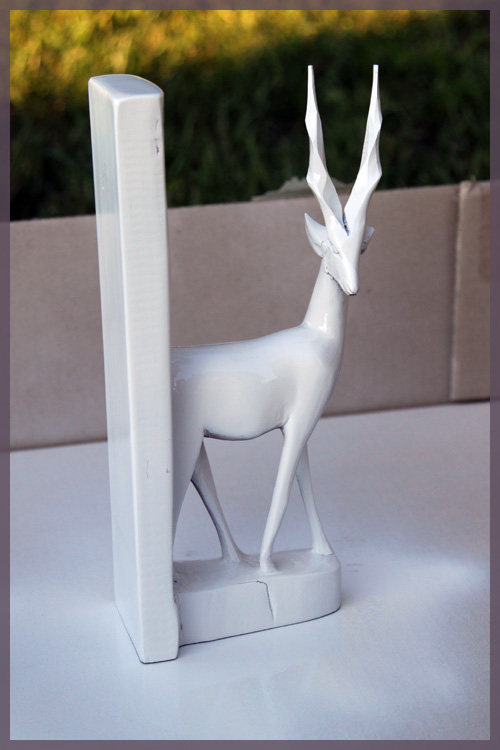
They belonged to Mike’s grandmother and are apparently decades old. But you know what? The oldies are coming back. I figured with a little white, high gloss spray paint these would look like they came straight out of West Elm.

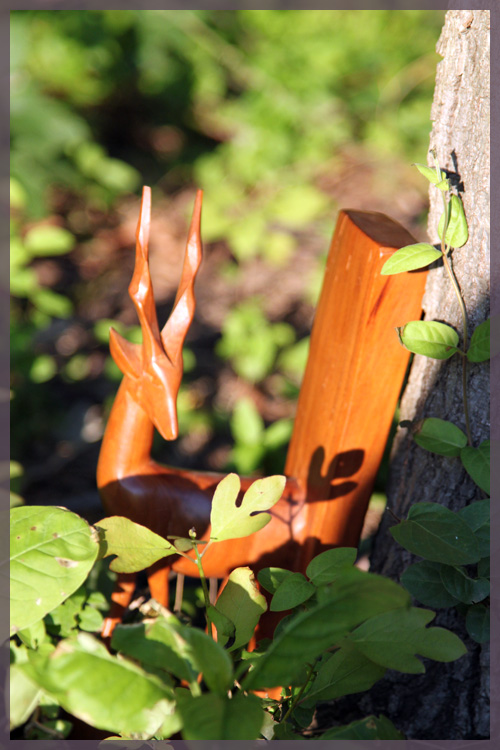
But first, I couldn’t resist doing this.

Yes, I tried to recreate the live deer scene. However, the bookend version was way smaller than I anticipated. But maybe Deer can be our version of the Travelocity gnome and just pop up in random places?

If my neighbors didn’t already know about this blog (yes, secret’s out… hey guys!), then I would have felt weird. But I obviously have no shame and put inanimate objects in my weeds for entertainment purposes.

After I was done gnoming, it was time to get down to business.

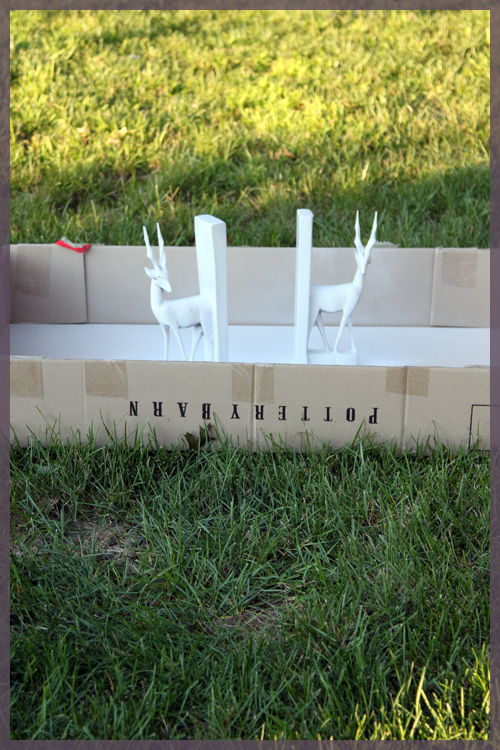
I often spray paint in the garage, but all of our outdoor furniture (including a table, 6 chairs, a bench, 2 umbrellas and a fire pit) are still taking hurricane shelter in there. So I decided to use this old Pottery Barn box and spray them in the grass.

I used the short and quick spray method. I confess that I am normally rather impatient and just hold the trigger down, 3 inches away from the object (12 is the recommended) and generally succeed. I didn’t want to mess these up, so I was more cautious.

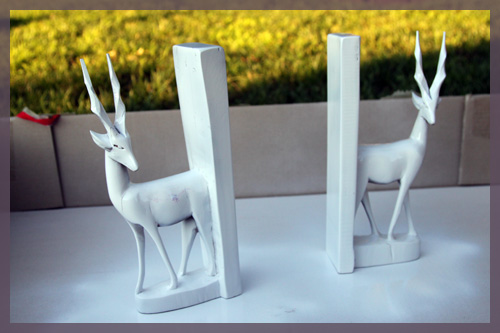
They look a little more worn when spray painted (they have some cracks) but it doesn’t bother me. Here are the two of them after a first coat.

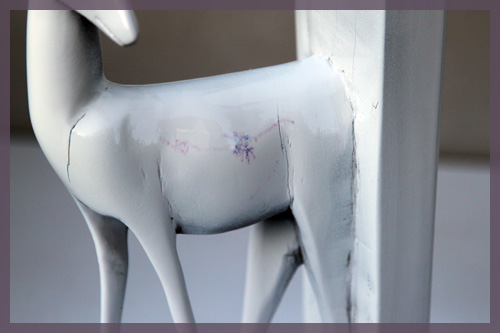
I went back outside a half hour or so later for a second coat. Even after that, this strange mark keeps popping back up. Chemical reaction or something?

I eventually lost my patience and just sprayed the hell out of it, but it kept reappearing after a minute. Weird.

I have no pictures of my second coat because after the first one, I noticed that this happened…

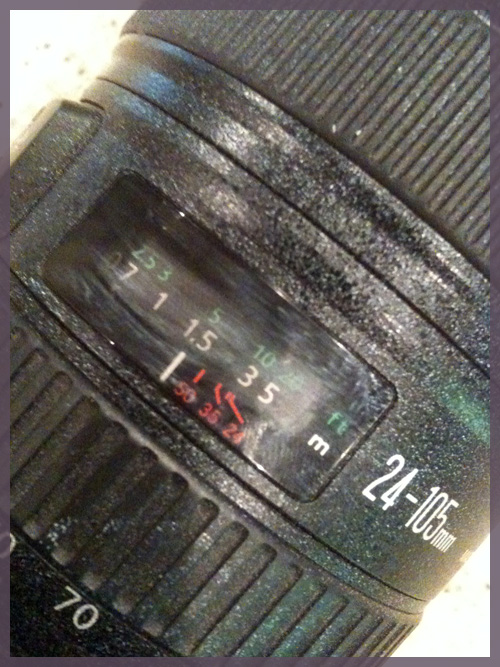
That is my camera. With a light dusting of spray paint. Ugh. Thankfully, the lens was spared and it just looks stupid. The wind was blowing lightly and I didn’t realize that my camera was laying in the grass, in the line of fire. Therefore, it stayed inside for the rest of the night.

However, my bookends will not be staying inside tonight. I went to pick up the Pottery Barn box to move it inside and the bookends fell over. While soaked. Then I had to use my hands to stand them back up, which not only got me messy but required touch up work. I’m hoping the tacky surface that was left isn’t noticeable, considering I just sprayed right over it. So I ended up leaving the entire box outside for the night. Don’t worry, it’s not supposed to rain. I’m actually more concered with bugs getting stuck to them…

The one time I try to spray paint properly. The one time! ::shakes fist in air:: Hopefully I’ll have true after pictures later this week…


ps- The Office wedding episode was just on and that dance scene gets me every time! Couldn’t help but stop to watch 🙂

A Touch of White

7 Comments

Posted by Rebecca, March 14th, 2011

Waaaay back in January, we visited the Crate & Barrel outlet and finally purchased something(s) I’ve wanted for about a year. We scored these bookends for 30% off the original price.

I have always loved the wooden chunkiness of these guys. I love the ampersand and I actually handwrite it often. The “@” symbol has become a little part of me since I started this blog. I comment on other blogs and use it as part of my name multiple times per day. Throw in the discounted price and I felt like we could finally take the plunge…the only problem was where to put them.

I’ve shared our original office plans before, which included built-in cabinets in a dark stain. We have since obviously decided to go with a black/gray/white/green color scheme that the bookends did not fit in with. I thought maybe we could put these in our bedroom or on our dark wood entertainment center in the family room, but at the end of the day they felt much more office appropriate.

The solution? Spray paint them white.

I know, it hurts. I love the wood grain in these possibly more than anyone. My rustic loving self is still shaking this one off. But at the end of the day, the symbols were the right fit for the office. I’d rather have white symbols than no symbols. So yesterday, despite 20 mph winds, I managed to get outside to do some spray painting. Scratch that, I decided to spray paint in the garage. No worries, I left the doors open of course, I just needed some barrier from the wind.

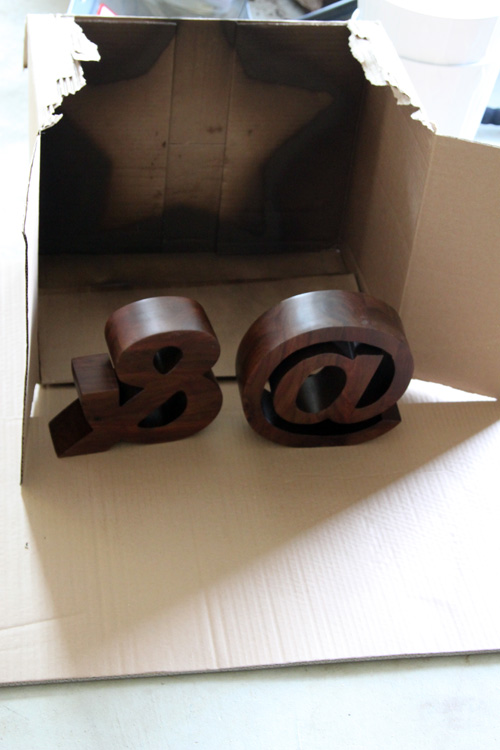
I used the same box that I used to spray paint my Pier 1 star basket at Christmastime, how is that for thrifty? 🙂

After a quick coat, I was feeling much better about my decision.

It was a little tricky to get in all of the nooks and cranies of these things, but all it took was one coat and a round of touch ups and we were good to go!

They are definitely different than they were before, but I love the crisp modern vibe that the white gives off.

I love the contrast between the shelves and the symbols and how they add that pop of white we’ve wanted to have in this room. Once we add the other white items we have planned, as well as some actual books to the shelves, I know they are going to look great!

ps- I did use my green spray paint this weekend, but the verdict of that project is still pending…

A Little Logical Thinking

3 Comments

Posted by Rebecca, March 10th, 2011

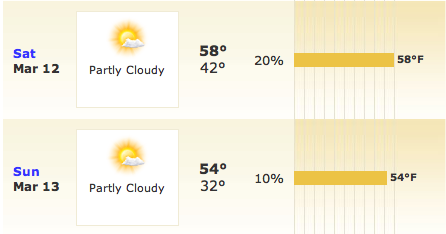
Since the weather this weekend is supposed to be this…

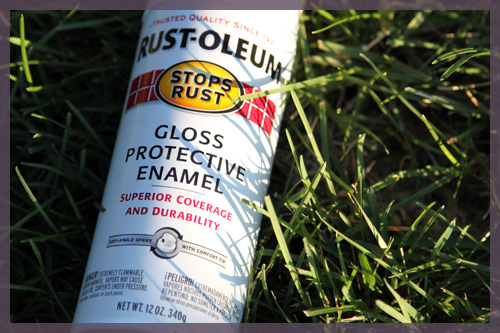
I’m hoping to finally get outside to play with this…

And even some of this…


I bought this spray paint a while ago, but because of cold, rain and being busy, I haven’t had a chance to use it. I’m hoping to spray some office accessories this weekend, as long as the weather cooperates. I would tell you what I’m spraying, but I am slightly nervous to take my beautifully traditional things and make them funky with glossy green spray paint. It is either going to be a brilliant idea or a complete disaster.

Good thing I have this blog to publicly humiliate myself if this doesn’t work out, but I have a feeling I’ll be just fine 🙂

Copyright 2010 - 2011. The Lil House That Could. All rights reserved.