Outdoor Kitchen Plans
Posted by Rebecca, May 19th, 2011
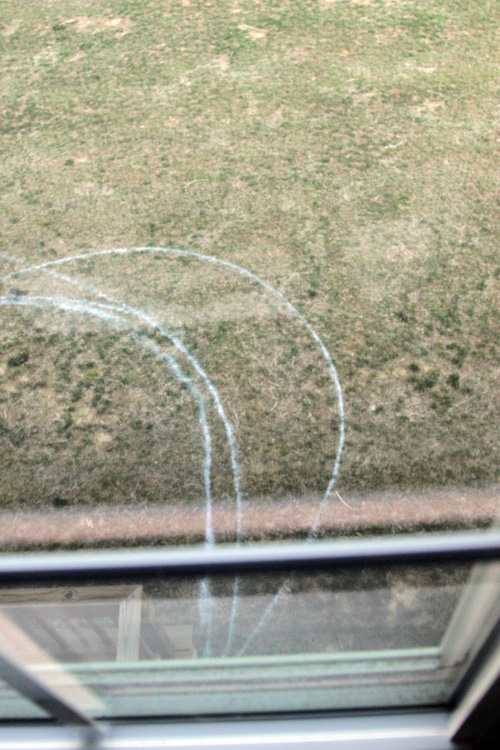
We’ve mentioned on here a few times about how we are planning to do an outdoor kitchen. We knew we’d like one someday, but we didn’t really think too much about it until we had our patio first drawn out and I saw this curved area.
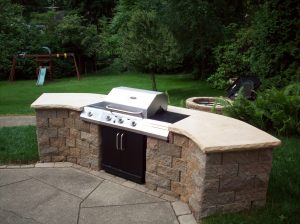
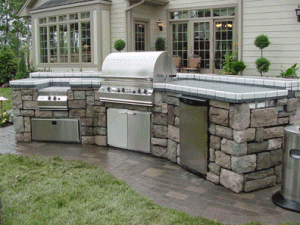
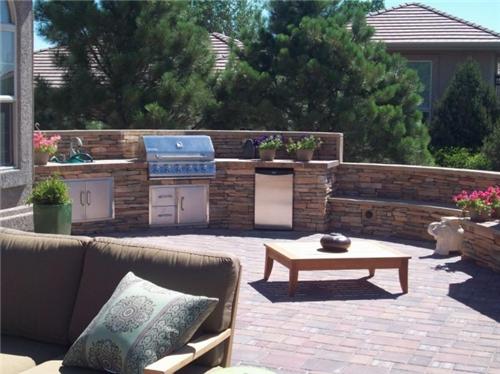
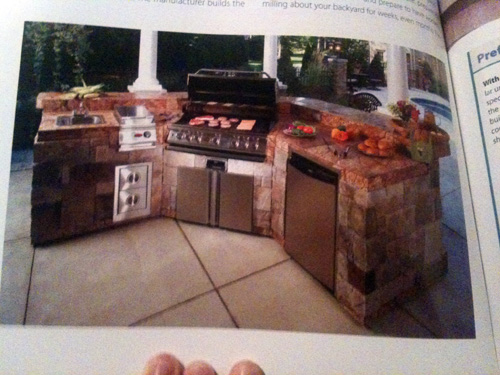
Immediately I envisioned a caddy cornered grill here. Mike and I started looking around and found some ideas of what we were thinking of doing.
(via)
(via)
(via)
Oh and here’s another thing I forgot to mention.. we want to build this ourselves. My brother and my sister-in-law built their own U shaped outdoor kitchen, so we have their help if we need it. I know it seems ambitious, but we’re up for the challenge. We’re not insistent DIYers or anything, but if it’s something we’d think would be fun to do, we do it. If we have no interest in doing it, we hire someone. Simple as that! This house stuff is supposed to be fun, right? So we try not to torture ourselves if we don’t want to do something.
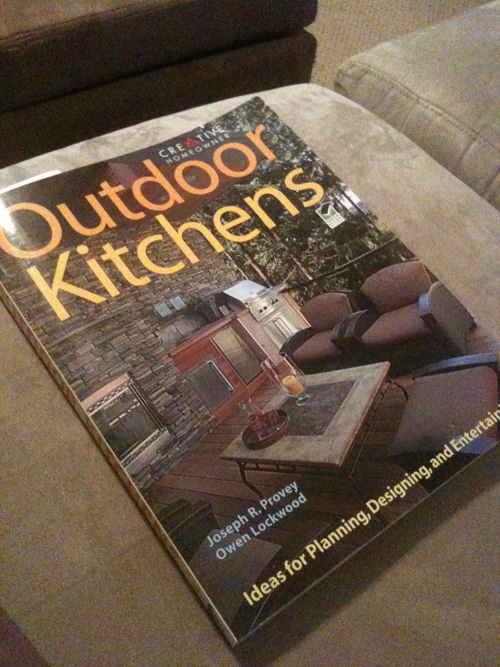
We couldn’t find anything exactly like we had in mind through Google, so we picked up this book at Lowe’s.
I love these books, we have a basement one as well. It has TONS of information about appliance types, finishes and even some general patio advice. It also has great pictures that were different from our Google searches.
(please excuse the iPhone pictures)
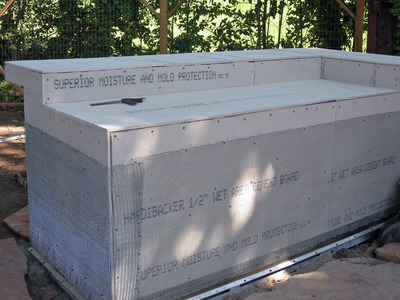
We don’t want anything crazy, we’re not about to appear on an episode of cribs or anything. We want a grill, mini-fridge, some storage and Mike would like a burner. I talked to my sister-in-law and found out where they ordered their kit. A kit is basically a pre-sized steel frame that you assemble, add concrete board to, stone and insert appliances. This DIY Network page has the basic instructions, but the kit also comes with instructions and a DVD I believe.
My sister-in-law told me that they ordered their kit from a slightly shady looking website called BBQ Coach Outdoor Kitchen Supplies. I immediately spotted the New Yorker island and it looked just right!
Yes, they only have that tiny image. But! They also give the measurements.
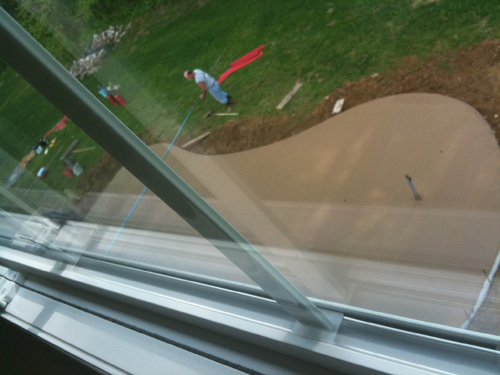
This was wonderful because we could plan out the size of the curved portion of our patio. It was already spray painted, but when they came to pour the concrete 2 weeks ago, we had these measurements in hand and had already marked on our own about how much larger we wanted it. We ended up extending that curved area out an additional 3 feet or so, incase we ever want to put bar stools back there. Here’s an aerial, in-progress picture of the larger area.
You can also see where Mike put the conduit he blogged about under the patio to eventually run some electric to our island.
The kits allow you to choose how many appliance openings you want and also allows for some variation in the plan. They recommend that if you’re using a concrete or granite countertop to provide additional support. I think I’d like poured concrete, but we’ll have to cross that bridge when we get there. We know we definitely want to cover our grill in stone similar to the stone on the front of our house, with grays and browns to blend well with our yard, patio and new furniture. It will still be pretty pricey, since the kit is around $900, but it’s still a fraction of the price it would be to hire someone to install one. Our concrete guy even told us it would be better for us to do something like this than to have him do it. Not that we asked, but he offered and when we showed him our plans and what we wanted to do, he realized we had it pretty figured out.
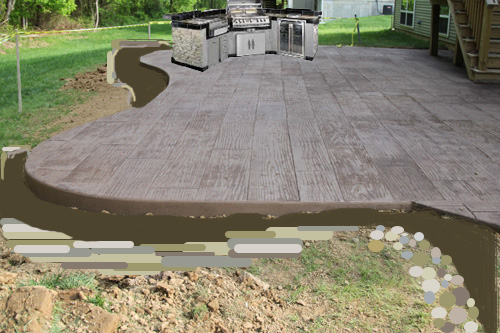
To give you (and me) an idea of what it would look like on our patio, I worked a little Photoshop magic.
Pretty cool huh? And since it took me all of 2 seconds to insert just the grill and I enjoy torturing myself, I decided to add some “mulch” and some of the stone we hope to add to our landscaping. Along the walkway is river rock and where the patio becomes elevated (because of the 8 inches our yard slopes from the house to the end of the patio), we think we are going to add a few inches of retaining stone to make everything look a little more level. We started to investigate all of this on Saturday, more details to come when we figure it all out.
We hope to start our grill project this summer, but who knows when it will be! After our Pottery Barn purchase, we know we’re going to take a little break and focus on doing some landscaping on our own the next few weeks (weather dependent, ugh.)


