Learning to Cope
Posted by Rebecca, February 27th, 2012
No, this isn’t a sappy post about how I’m juggling priorities or the upper body pain I’ve been suffering from. Though I could use one of those….the further my body gets away from my keyboard at work the more the more my neck, shoulders and arms hurt. You hear about the lower back and hip pain during pregnancy (which knock on wood, I’ve been perfectly fine with) but no one warns you about the ergonomic difficulties you will face. Like how this week suddenly when I walk out of doors in our house I hit my belly… those few extra centimeters each week make a difference! Longer arms are the solution….
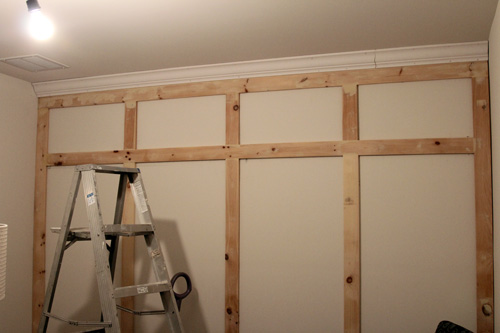
Anyway, this post is about the last two pieces of crown molding that we put up this weekend using the good old coping method. Last we left you with one straight piece running along our paneled wall, which needed two coped angled pieces to make the corners.
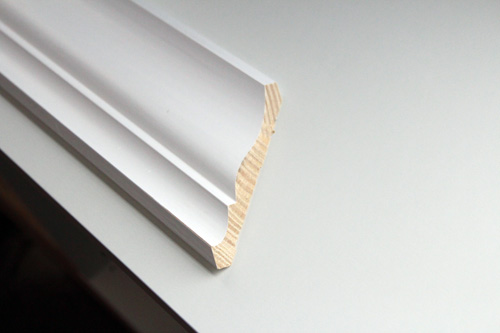
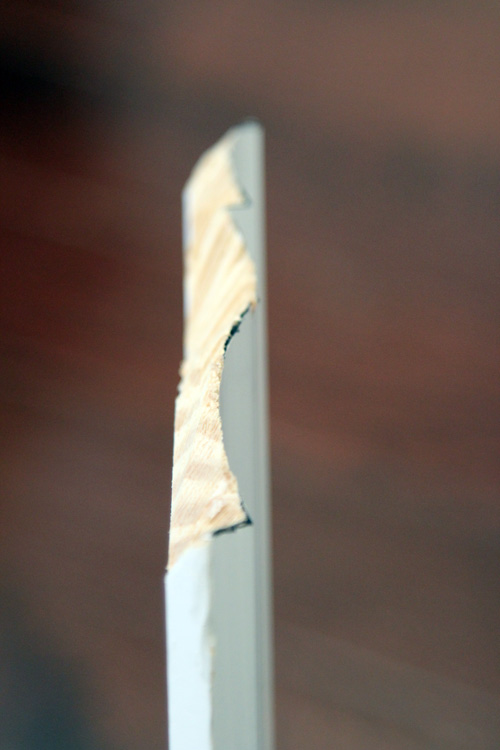
We started by cutting end of a piece at the 33.85 bevel and 31.65 miter that we explained in this post. Which left us with this (this is for the left side of the paneled wall when you’re looking at it, so a left inside corner)….
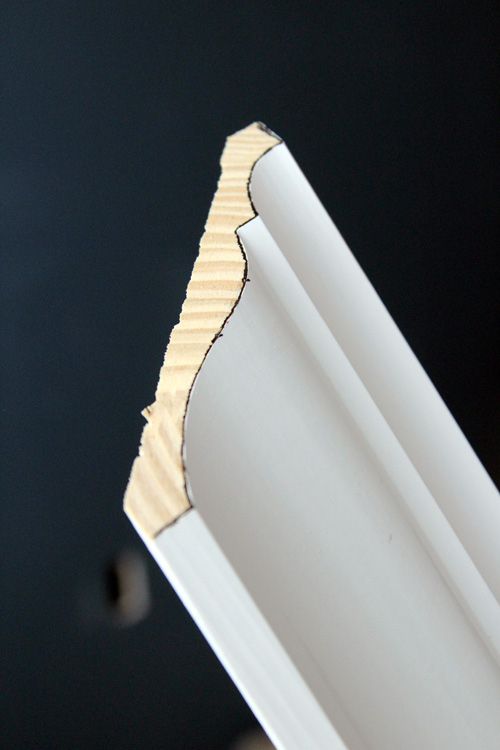
Then, as most tutorials tell you to do, we traced the line of the molding so we knew where to cope, like so….
Then Mike took off the back chunk of wood at this sort of angle (you just want the front face of the molding to show, if that makes sense)…
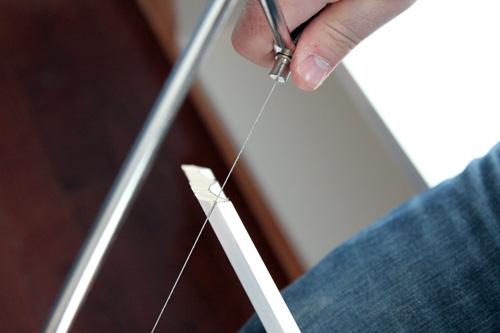
I was supposed to be the coper, as I like doing tedious things by hand, but after the first piece I realized that it was going to take way more strength than I could muster so I passed the torch to Mike. I had the very important job of sitting on the piece of molding while it was on the bench to act as a human clamp. I excelled at this.
After that’s all chopped off, it looks something like this…
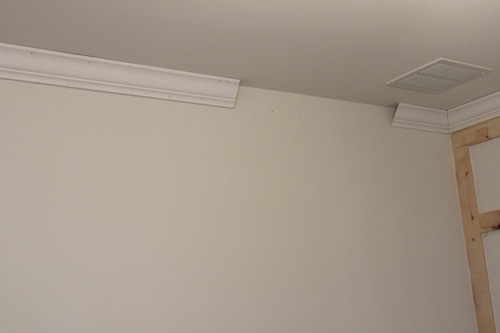
Then we put it up and it was all done! Almost. First time we put this piece up we realized it was a smidge too short. Which actually worked out well because the ceiling was very uneven and the corner piece was not meeting up with the 8 foot piece next to it. So we decided to cut the corner piece down to a smaller piece to be able to gradually adjust for the crooked ceiling…
Then we cut the next piece and worked some nail gun magic to get everything lined up.
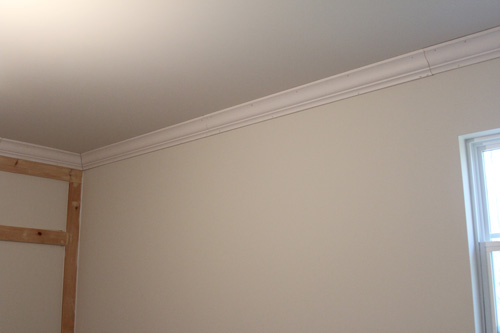
We did most of the room like this where it was necessary. There may be more seams, but it’s less caulk magic to work and less of a risk of having a bulging piece screaming for help in the end. We did the same thing on the other side after we coped that piece (though the ceiling wasn’t crooked over there)…
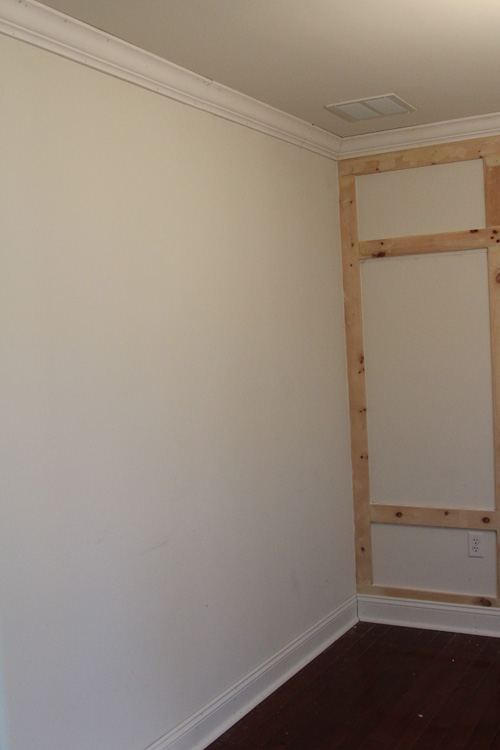
Then we were officially done! Though coping wasn’t extremely difficult, after using both coping and non-coping methods, it’s way more convenient to just cut both sides of a corner at an angle and avoid coping. Next time we tackle a room we will do all of our corners the non-coping way.
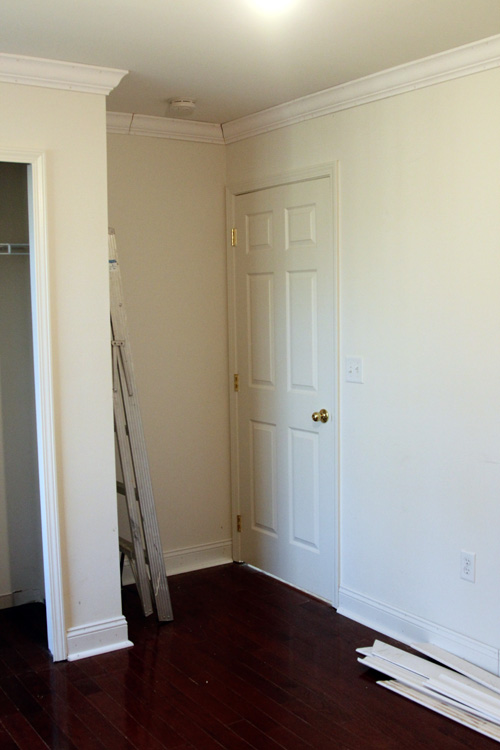
It’s nearly impossible to get a full room shot in this small room, but I did clean out all of the extra stuff in there to make it easier 🙂
We also added the quarter round molding to the baseboards this weekend, which took no time but makes such a difference…
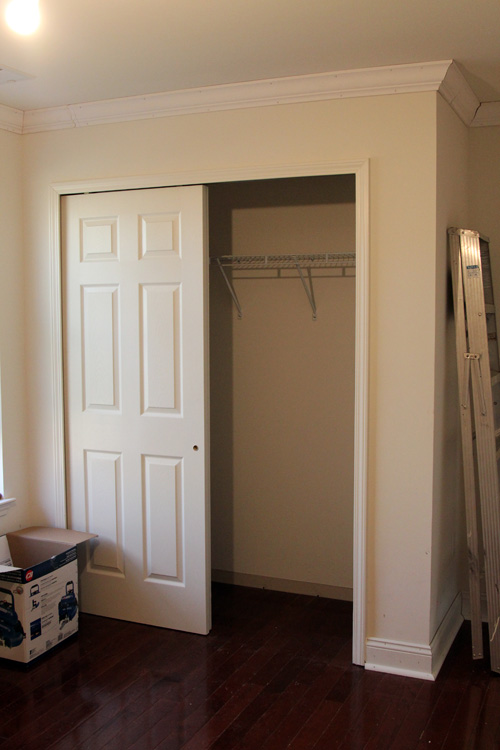
I also completely emptied out the baby’s closet in anticipation of painting it an accent color and adding an organization system like we mentioned here.
We have also decided to remove the doors and go with… curtains! We toyed with double doors that open outwards, french doors or curtains and decided that some chevron curtains would look best (though I can’t reveal what color we decided to go with!) Hopefully we can get the wire rack removed, closet walls spackled and everything caulked/filled this week so we can paint the this upcoming weekend!


