


making wall letters for kids, part 2!
Posted by Rebecca, September 21st, 2010
Okay, round 2! If you need to start at the beginning of this post, click here.
When I chose the paint colors, I decided to use two shades of pink and two shades of brown to compliment the bedding. I figured this was the best way to make sure the letters went well with the color scheme of the room. Had I used only one shade of each, they may not have meshed as well, especially since I didn’t have anything with me to compare pinks and browns.
I started off with 4 paint brushes, one for each color…

…but ended up using many more

I tackled the middle letter, the one of a kind ‘e’ first. I am very thankful I decided to use this pattern only once, because it was very, very challenging. But I secretly enjoy an artistic challenge. I first drew lines with a pencil and ruler…

From this point, I thought I could just freehand a pink line over the pencil line. WRONG. Not only is it ridiculously hard to paint a line thaaat straight, but the pencil line could be seen through the paint. I had to resort to taping on either side of my pencil line, basically eyeing the width of the resulting line. The 2 lines at the very top, the shaky crooked ones, were freehanded. The rest is being done with scotch tape…

And completed with first set of lines (the darker pink)…

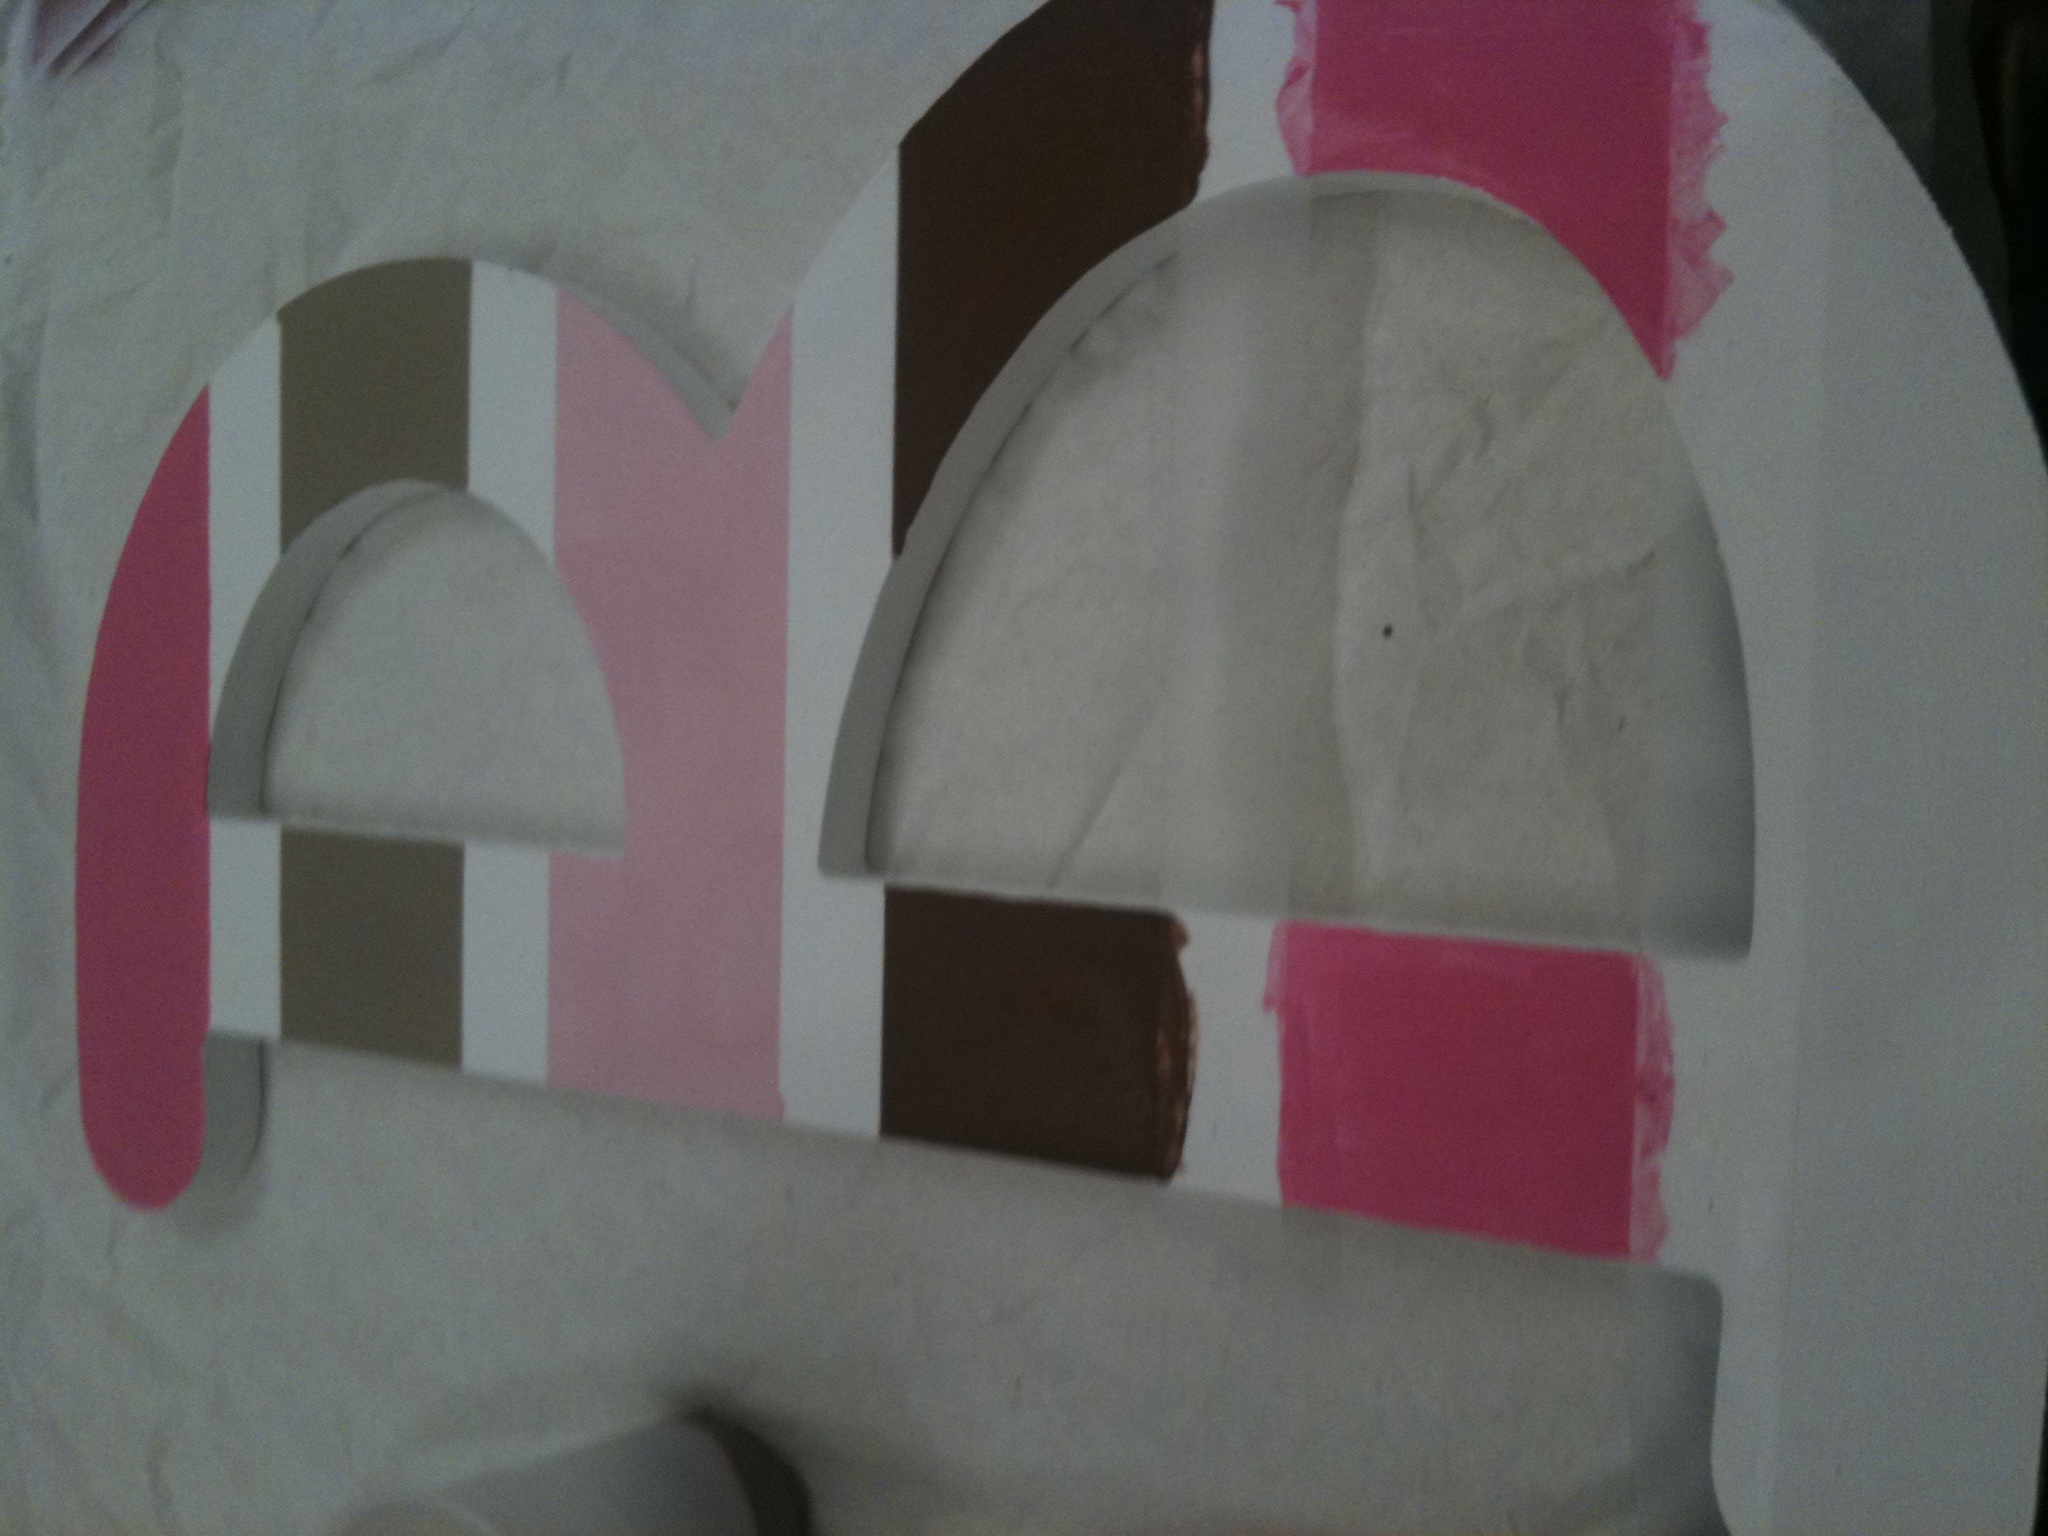
It’s not perfect, I know. And believe me, looking at it now is bothering me. But you live and you learn, so I set it aside to dry before I crossed those lines with the lighter pink lines. I then moved on to the simpler patterns. My favorite, the block of colors, separated with a white line (using scotch tape)….

Then the large dots, which were done freehand…

And the lines of random widths…

But wait! I could only fit 3 colors on that little i! So I decided to line each thick line with a thinner line in a contrasting color…

Then I went back to that dreaded ‘e’ and crossed the dark pink lines with the lighter pink lines, using the tape-over-pencil-marks method I used earlier. I then free handed the pin dots in alternating dark and light brown with a very small, round paint brush…

And that that is how I did my 4 main patterns. The end? Oh no, it was not that simple and pretty. Most of the letters that were taped (all but the large polka dot patterned ones) had some form of bleed through such as this…

To touch this up, I used the smallest brush in the history of the world, pictured here with my ring finger for perspective.

I then removed all of this tape…

…and touched up as needed. Note, this is the part that requires a very steady hand and a LOT of patience. First I fixed up the brown lines… (may be shaky due to the fact that I was painting with 1 hand, holding iPhone with the other)
Then I fixed up the pink…
And finally I touched up areas that needed to be covered in white for the final product!

As a whole…


And here is the picture my sister in law sent me, after they hung the letters up in baby Brielle’s room.

Though this is a great way to save money, it is not without it’s downfalls. Each letter takes me about 2 hours from start to finish, over several days. Maybe it’s because I have OCD and wanted to make sure they looked professional, but I wanted to put that warning out there to anyone to attempts to make their own. But in the end, I couldn’t be more proud of how they turned out. Not just how they turned out, but that they came from the absolute bottom of my heart, and that Brielle will have something special, made just for her, to hold on to for the rest of her life. Or at least until she’s a teenager and decides she hates them…. but that will be okay 🙂


[…] Part Two This shows the techniques and videos. […]