A Crown Update
Posted by Michael, February 20th, 2012
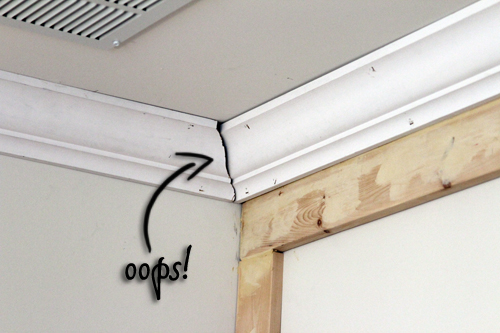
After we finished the framing of the built-in cabinets in the new office, Rebecca and I realized we better get moving on the baby’s room which included doing a paneled accent wall as well as crown molding. This weekend was all about the crown molding and we wasted no time diving in the project. After getting a few corners and long strips of molding in place, Rebecca and I realized we were in over our heads.
There were gaps everywhere and it felt like we were resorting to the “yeah, we can caulk that, right?” line over and over again. Heck, I joked with my brother today there there would actually be more caulk on the walls than actual molding.
It was that bad.
You see, I was never one to really read manuals or the fine print. So when I was reading the manual on how to cut certain angles, I overlooked the section on HOW TO PROPERLY CUT CROWN MOLDING CORNERS. Good thing Rebecca is the brains around here, but bad for me since I’m essentially becoming my mother more and more these days.
After doing a celebration dance, Rebecca made ANOTHER discovery of my stupidity. Not only does the manual tell you how to make the cuts, but the necessary angles needed are marked on the miter saw. I knew this, but I didn’t realize that where the numbers are wasn’t exactly where the saw needed to be — instead the saw needed to be on the tick-mark that represents the numbers. Numbers were off to the side of the tick-marks; an additional 3% of space. Silly me. At one point Rebecca asked me how I graduated high school. Then she realized I copied off of her my senior year of math class.
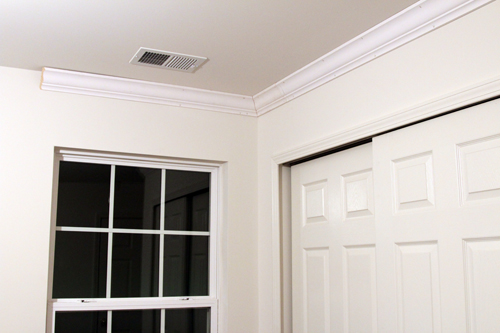
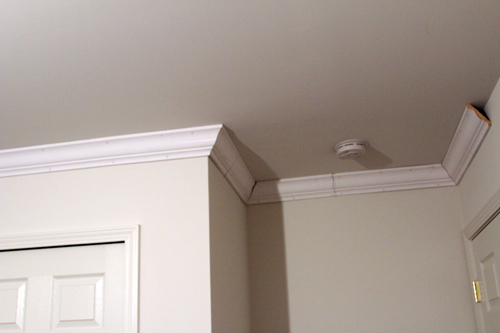
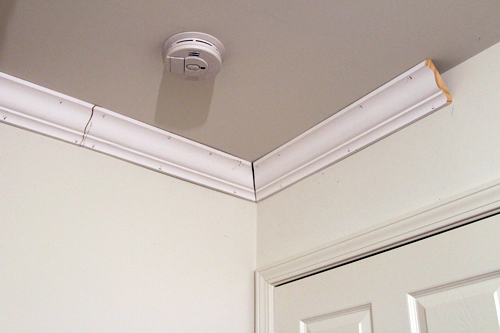
SO ANYWAYS. We ripped down the round 1 of molding (including that horrible example of a corner above) and decided to start over with our new found knowledge (thanks to Rebecca). We decided to start on the opposite side of the room and sure enough, our first corner with the proper cuts was absolutely perfect.
We worked around the room and finished about half of it. There are some spots where caulk is needed, but these areas are the result of the ceilings not being totally straight. I can say that confidently now.
I’m off to buy some more molding tomorrow to finish the room (yeah, we wasted way too much crown with attempt #1). Then we’ll do some caulking and give you another update.
Tags: corners, crown corners, crown molding, cuts, miter, saw


OMG…I absolutely hate to caulk. HATE. If there is a worse word to use than HATE insert it here. I ____ Caulking!
We are in the process of finishing our living room and I can say we probably DO actually have more caulk on the walls than molding.
Good luck on the finished project. Can wait to see it complete.
I just convinced my husband that we need to GET ON THIS. Materials have been sitting in our garage for months… and thanks to your tip, we will dutifully read ALL manuals and labels. Now that you see at least half of it up.. worth it, yes? 😀
It’s looking really lovely! I can’t wait to see the molding all finished (and the paneling & walls painted!).
It’s worth the aggrivation. It’s coming along fine. Swearing and giving up hope are part of the dying/crown molding installation process.
We dont have any crown in our house and I’m not sure if we’d add it, but it looks like a pain!