Our DIY Christmas Cards
Posted by Rebecca, January 8th, 2013
Well, nothing like a Christmas post in January! I planned to post this before Christmas, but we wanted to wait until our family/friends received their actual cards and by then we were caught up in actual getting ready for Christmas. So even though you saw the finished product on Christmas day and no one is thinking Christmas right now, it’s pretty applicable to any card/occasion.
I started with an exact idea in my head of how I wanted the finished product to look. I kept telling Mike that “I had a vision!!!” By the end of this he probably wanted to be like, F your vision.
I knew I wanted Easton to wear a red hat and a green onesie. I had to order a solid green onesie from a tshirt supplier because I couldn’t find one anywhere. The red hat was an easy find at Baby Gap.
The next thing I needed was patterned wrapping paper that contained… red and green to match the baby. I knew Target always has a healthy supply of paper, so I headed there with Easton strapped to my chest. The options were endless and adorable. My only criteria were the red and green, plus nothing shiny or sparkly that would photograph poorly. I sent Mike these contenders.
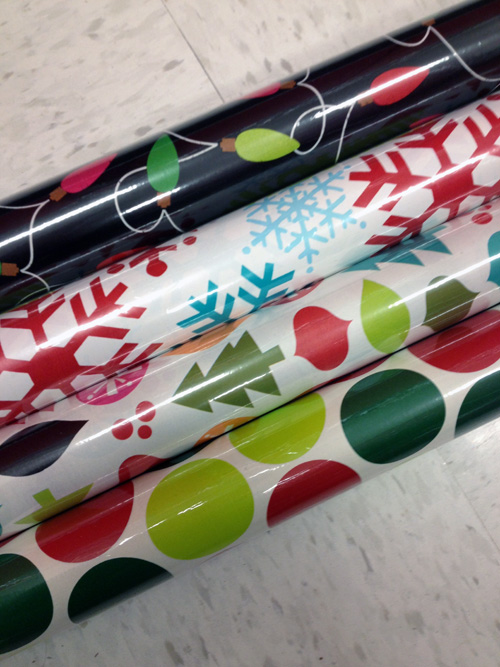
I loved the Christmas lights one but I knew the black background would be too dark. My favorite was the one with the mix of tree shapes and ornaments. Mike agreed without me telling him which one I liked. I liked the fun, whimsy of it for a first Christmas card.
The weekend after Thanksgiving we decided to hold our photoshoot. We shot the pictures in our bedroom, which is when we removed all of our paper blinds for once and for all! We set up everything while Easton napped so that we could get him right at his best when he woke up.
I taped a piece of wrapping paper up. I also added some foam mats underneath just incase Easton decided to faceplant on our hardwood floors. He didn’t, but saftey first!
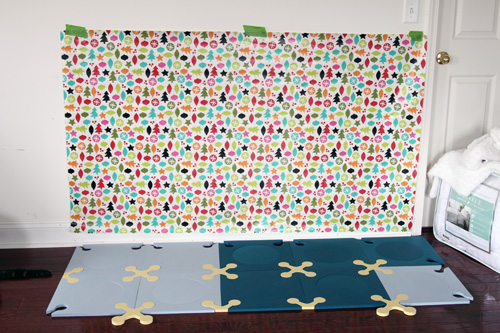
On top I added our white king sized comforter (which you can see hanging out off to the side in the above picture. I wanted the floor in the photo to look like a fluffy winter scene, so the comforter was perfect.
Once that was done, we had this. This picture actually shows a white, furry baby blanket over the comforter. We decided to scratch it because it was too small and Easton would have been yanking at it the whole time since that’s his usual blanky.

We tested everything out just like that before Easton woke up. We even threw in a model.
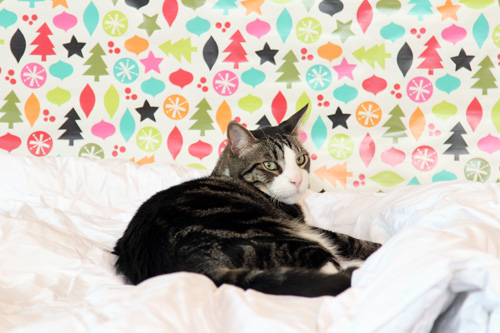
Once the human model woke up, we added him to the scene.
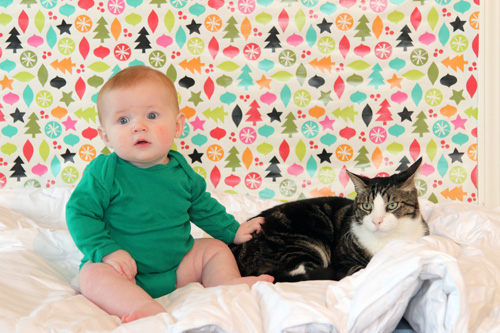
Which made for quite possibly my favorite picture of all time. If only they weren’t so serious and didn’t resemble the couple from that American Gothic painting.
Mike and I each had a camera and we snapped away. Easton was in a really good mood since we had waited until right after he woke up (with a feeding thrown in, which only made him happier). In the end, we took, no lie, over 1,000 photos in about an hour.
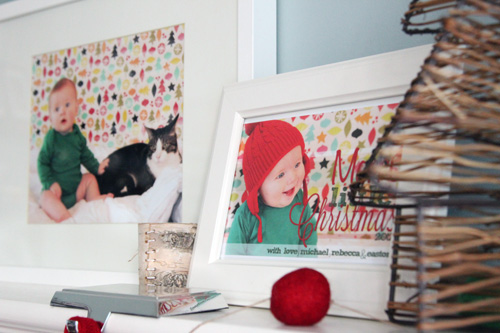
Here are some of our favorite shots that didn’t make the Christmas card cut, but you may have seen on our Christmas mantel…
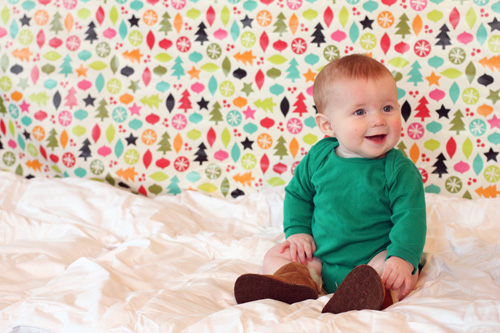
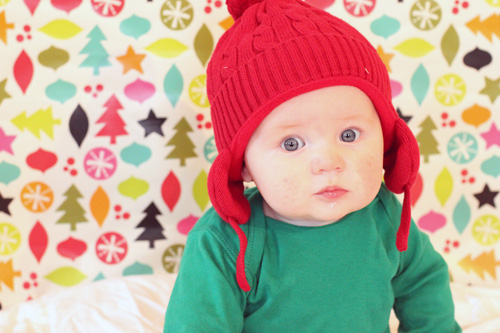
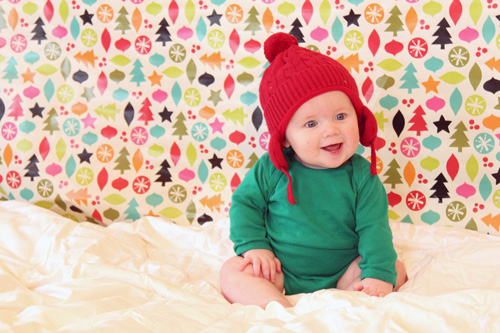
Once we chose a picture (which took forever becuase there were so many great ones), Mike Photoshopped the text on. Part of my “vision” was to have several fonts spell out “Merry Little Christmas”. Mike fiddled a little, sent me some files for suggestions/approval and we settled on the final product you saw.
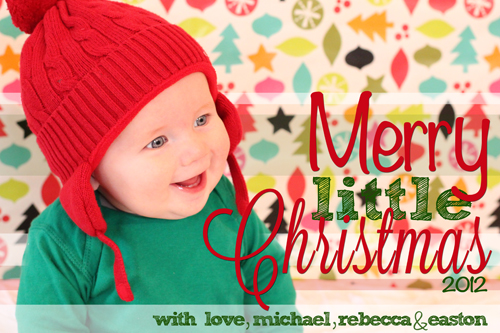
Next we had to decide how to print these things. I was sad to find out that services like Shutterfly (we were just going to get 5×7 prints) were about $1 each. We knew we could get a premade card where we just uploaded an image for the same price, so we were a bit discouraged. We needed about 75 of these things and really didn’t want to spend $100 on Christmas cards. The cheapest option I found was to do cardstock on Vistaprint.com and spend about 60 cents/card.
Then I received a Groupon for Vista Print, as if someone knew we needed it. It was for $75 worth of merchandise for $17! There were no restrictions for what we wanted to do, so we ordered them. Turns out, the custom holiday cards we ordered also came with envelopes. Yeeeees!
So that is how we got 100 Christmas cards for $17. Or 17 cents each. Vision achieved.
Now I just need to come up with a vision for first birthday invites 🙂
Tags: cardstock, christmas card, DIY, photoshoot, vistaprint


Where’d you get the green onesie? I’ve been searching for one!
http://www.rockbottomt-shirts.com !
Love it! These pictures are just too freakin’ cute! 🙂
He’s a cute kid! Beautiful photos.
I’d love to know how you were able to get those partially opaque boxes on the card yet have Easton look like he was in front of them. Teach me your Photoshop ways!
It’s really a number of things that I do and hard to really explain. The magic wand tool is your buddy and should do most of the work. If the magic wand is grabbing too much or too little, play with the tolerance (should see a tolerance field pop up in your toolbar). I also play with the lasso tools if the magic wand isn’t capturing everything I want/need. Make sure you hold down shift while you do this as it allows your new selection to be joined with any previous selections.
Phew. Don’t know if any of that made sense.
Ok, once I had Easton selected, I copied the selection and pasted it to a new later. Ta-da! Easton is now on top of the background!
Switch over to either the background layer (or a new layer under the new layer you just created) and do whatever you need to be done “behind” Easton. I did some simple boxes, filled them in and set the transparency.
Then take a look at what you have. You might need to erase/blur where the new layer Easton meets the background layers. It’s really all a bunch of trial and error.
My God! You are genius card creator. You have shown to us your exceptional talent and countless hours to think of something beautiful and meaningful like these. Thank you for sharing.
Our DIY Christmas cards are the perfect way to show your loved ones how much you care! From personalized cards with festive designs to Thank You cards, we have something for everyone.
Dental Veneers Willoughby