A DIY Play Tent
Posted by Rebecca, February 27th, 2013
I mentioned a couple of weeks ago that we wanted a play tent for Easton and that we were hoping to DIY one. Well, with the Young House Love, Bower Power, Decor and the Dog and The Remodeled Life Pinterest Challenge tomorrow, I figured it was the perfect opportunity to make one. I love a deadline and I need pressure to motivate me, which is why I always look forward to these challenges. You know that saying…if it wasn’t for the last minute, nothing would get done? My life.
I started searching for some ideas a few weeks back. My goal was to make something as simple as possible. No sewing, minimal cuts if any, and I really didn’t want to paint or stain (spoiler alert: I ate every one of these words). My original inspiration was this tent from Cakies…
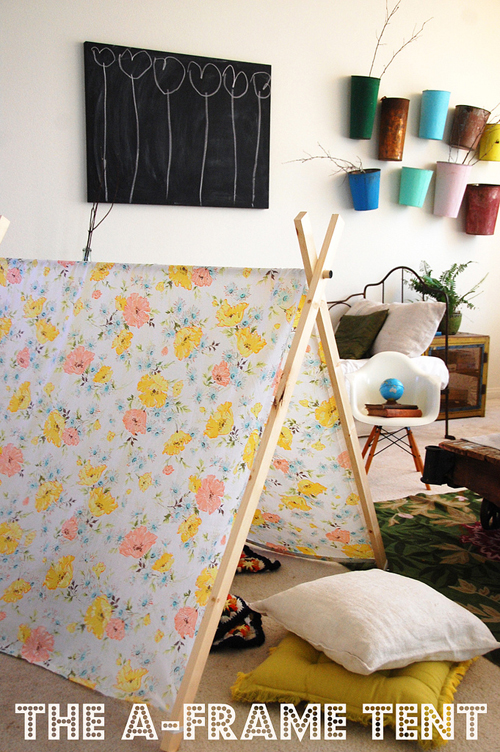
But as we actually planned to make our own, I decided to look around for some other inspiration. I found this one from The Feminist Housewife…

(from The Feminist Housewife via Pinterest)
And this one from Under the Table and Dreaming…
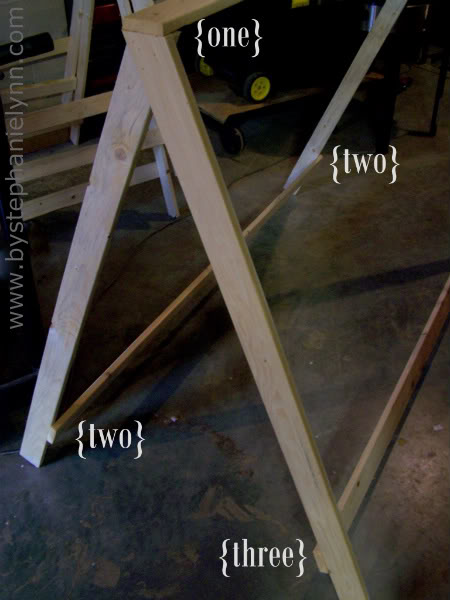
(from Under the Table and Dreaming via Pinterest)
I liked that the first two could be taken apart to be stored, but I liked that the last one used a $3 Walmart sheet. We decided to do a combination of the last two.
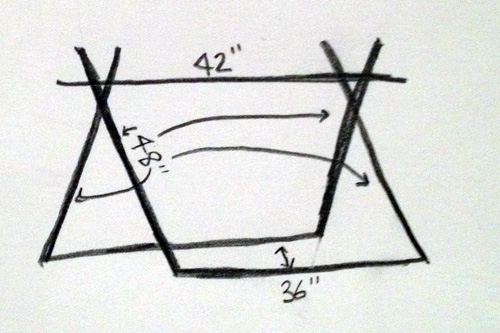
First we planned out the size of our tent. We wanted it to be small, since Easton is well, small, and so is the room. After looking at all of the other tents, we settled on some 1x3x8s cut in half (for the 2 “A” frames”. Once we measured out the sides, we realized that 48″ was too long for us, so we made the side bars 36″. Then we decided to make the top piece 6″ longer to have 3″ of overhang on each side. Confused? I doodled it for you.
We also cut the legs that will be sitting on the floor at a 22.5 degree angle, as per the inspiration plans.
Once we made our cuts, I gave everything a good sanding. Oh and we bought pine rather than cheaper wood so that it would be a little smoother and would cut cleanly. I sanded down the harsh edges to make sure everything was safe for Easton. Then Mike clamped the wood to our island. No work table? Just use the kitchen (though we made cuts and sanded in the freezing garage).
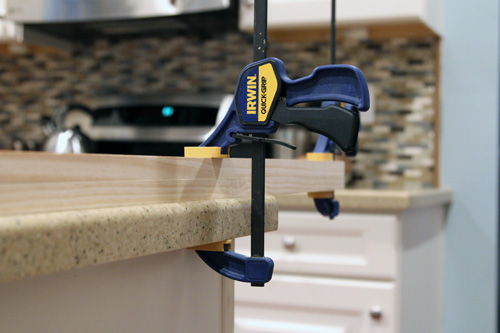
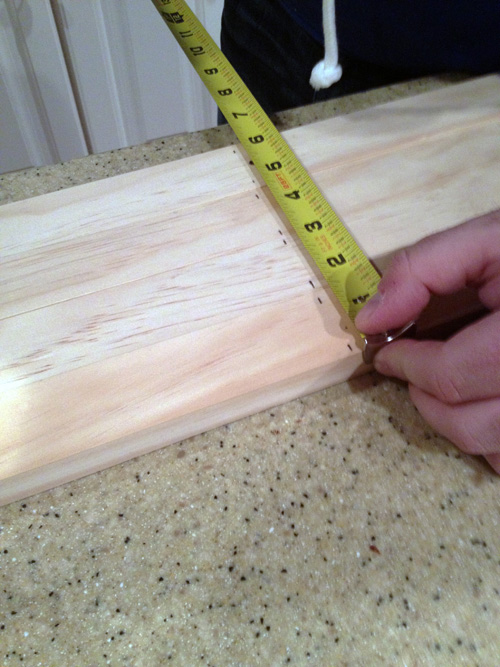
He measured down about 7 inches to drill.
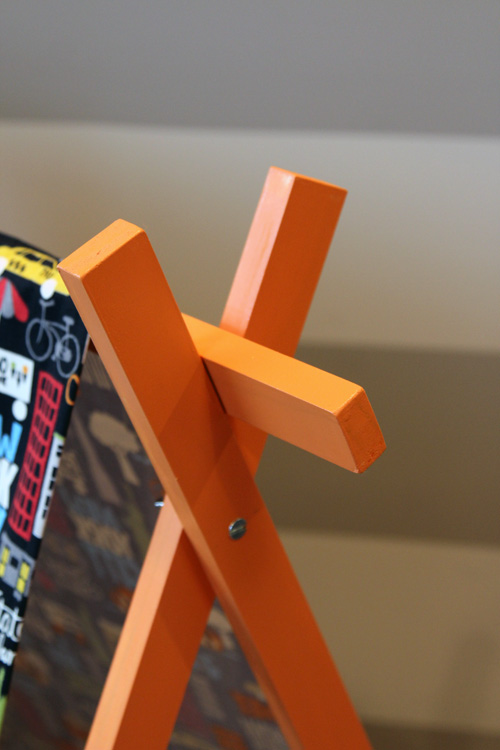
Then used these bolts and wing nuts to attach two of the pieces together.
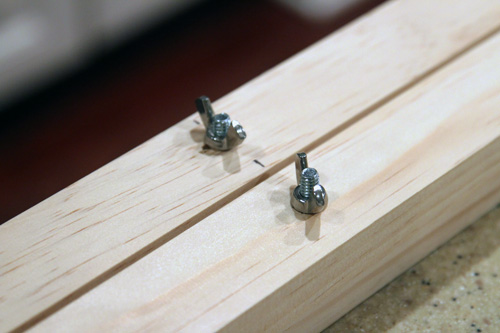
We spread them out and tada! The ends of our tent.
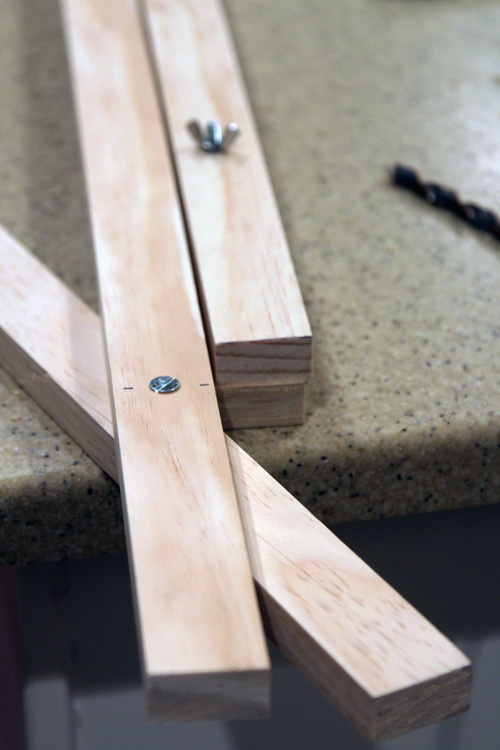
We then took everything apart because we decided to paint the frame.
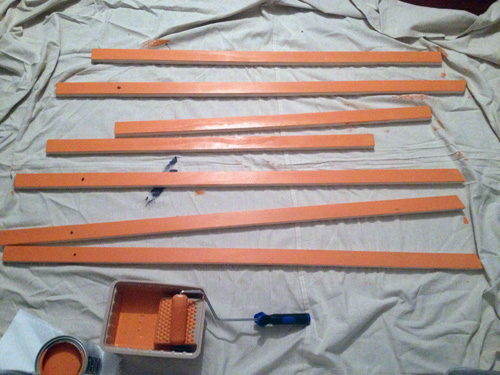
I went with Olympic One Paint + Primer in one semi-gloss in Orange Poppy and rolled it out to eliminate brush strokes.
Somewhere in the midst of this process, we realized that since we shortened the sides of the tent from the plans that I pinned, we could no longer use a twin bed sheet. I painted the frame orange because I figured I’d have to get a solid color sheet and I wanted some interest, and now the sheet won’t even fit?? I debated whether to still get a sheet and hem tape it up, but I figured if I was doing that, I might as well just pick out some fabric.
So we headed to Joann fabric and picked out fabric. We were both immediately drawn to this fun New York themed print that matched the grays in the striped walls, and somehow also matched the orange frame we had already painted the night before. We bought 3 yards at $5.99/yard. More than that $3 Walmart sheet, but totally worth it.

Long story short, we picked a fabric that ran in one direction and would have driven me crazy if I kept it in one long piece. I figured I needed two panels to change the direction of the fabric to be right side up on both sides of the tent. Then I had to face a reality…
I should probably sew all of this.
Yes, you read that right. I have had a brand new sewing machine sitting in the garage for 3 years because it was intimidating. The last time I sewed was 7th grade and I had no clue how to thread a machine these days. I set aside Sunday night (before the Walking Dead, of course), to set up the machine and thread it. And you know what? It was easy. I got it threaded and running in no time.
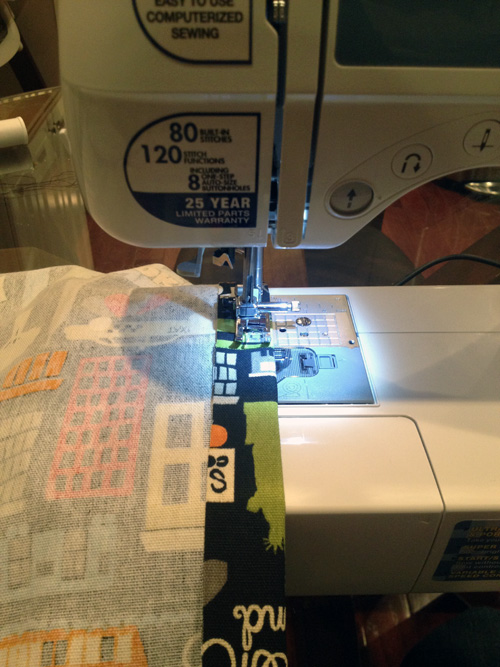
I hemmed all of the edges of the two panels and then sewed them together for the peak of the tent. It honestly took more time to pin everything. Why didn’t I open that sewing machine sooner?
We didn’t take pictures of this part, but we screwed the bottom pieces of wood into the frame and also secured it with wood glue. To attach the fabric to the frame, but make it removable to change up and wash, I decided to use 3 velcro strips on each side that were about 6 inches long.
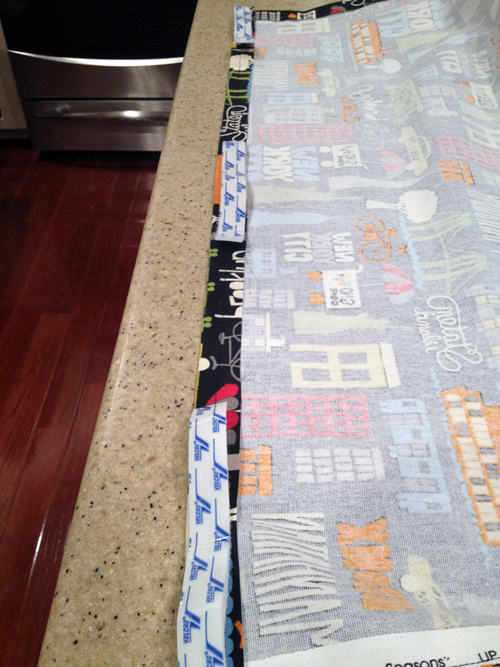
I attached them the same way I did for our no sew crib skirt. I used iron on fabric velcro on the fabric and then sticky back velcro to attach to the tent. I kept the two pieces of velcro together on the fabric, peeled the sticky paper, and then stuck it to the frame.
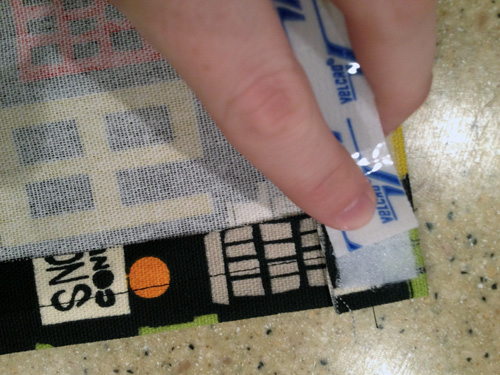
It made it much easier to make sure everything lined up nice, rather than sticking the velcro to the frame and hoping it lined up with the fabric well!
Once the fabric was all attached to the frame, we were done!
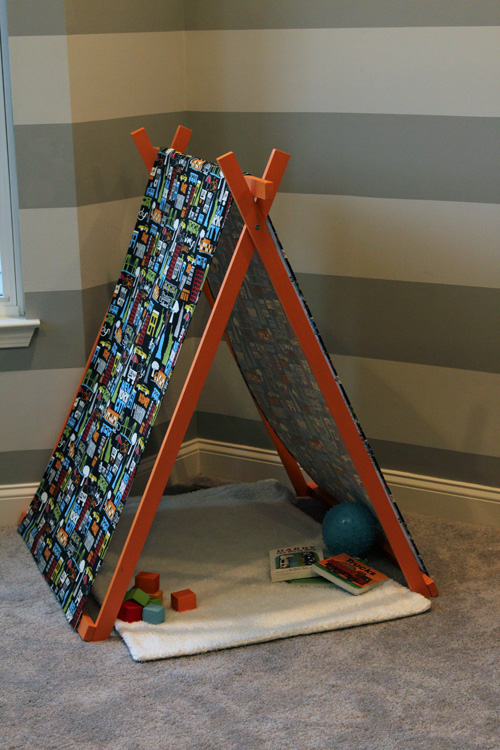
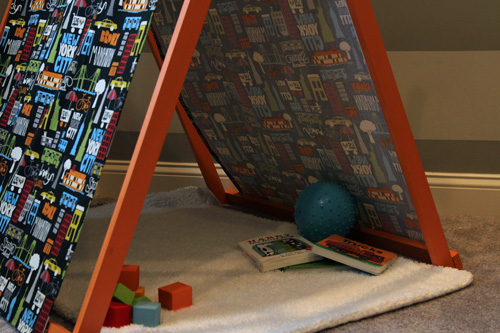
I love how it turned out, granted I could have made the fabric slightly wider so that there was less of a gap between it and the wood, but I guess I measured that wrong. Measure twice, cut once… I definitely did not. But it’s only an inch or so, no biggie.
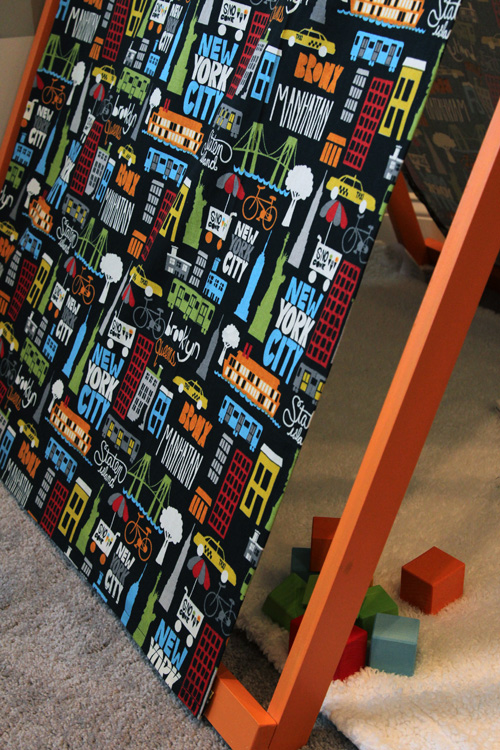
One thing we definitely will be adding are some additional supports. The way it is is NOT sturdy enough for a 9 month old. The other plans didn’t emphasize this much and one mentioned anchoring it to the wall. We will be adding additional support along the back and possibly anchoring it to the wall as well.
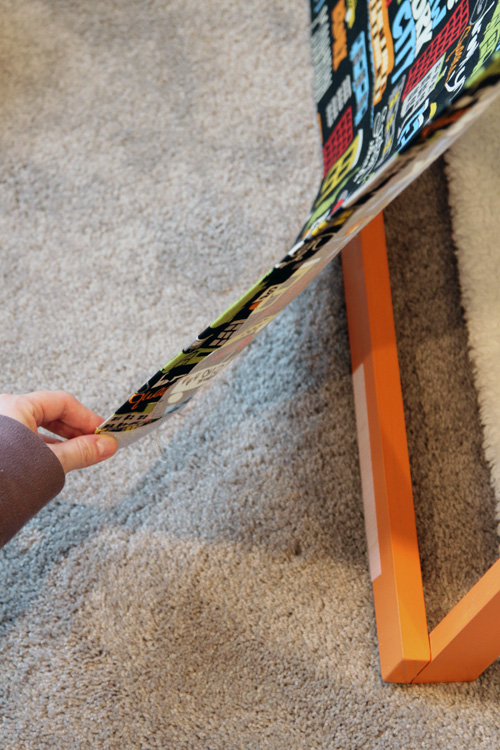
The velcro worked out well and attaches/reattaches really easily without getting the fabric bunchy or anything.
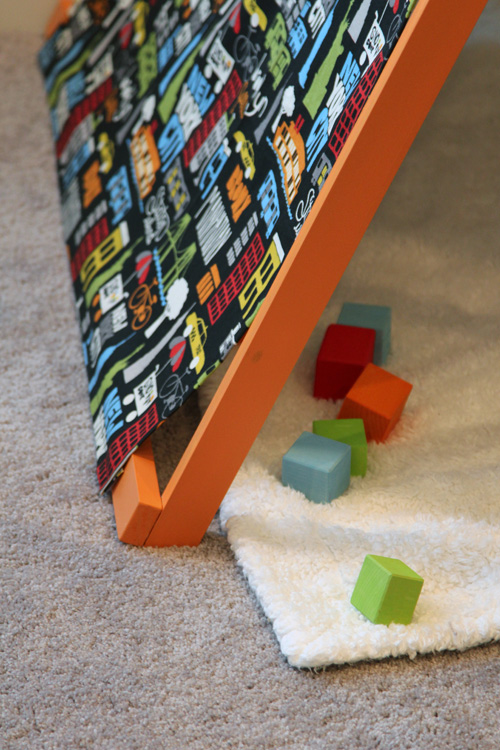
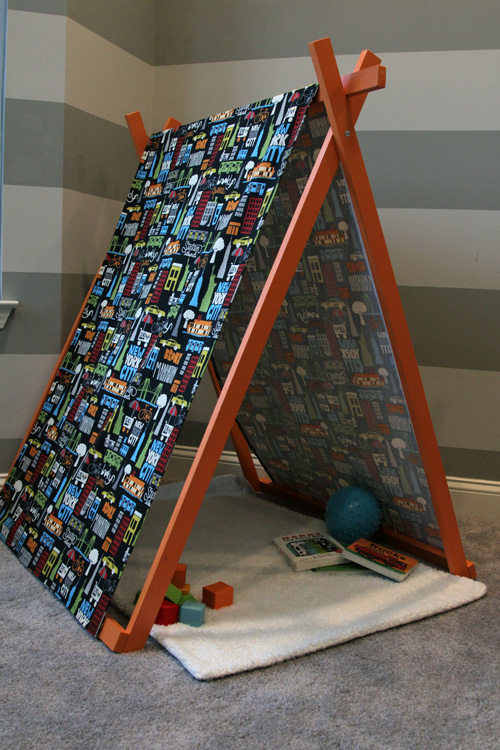
The extra 6 inches we added to the center support measurement worked out perfectly. It just rests along the top.
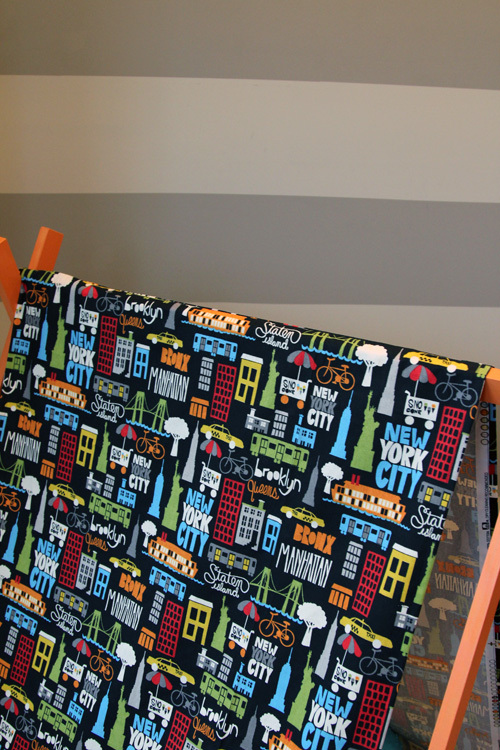
The fabric ties into the stripes well and brings in the fun element we’ve been missing in this room. It seemed as though everything we’ve wanted to add has come across as mature. The colors in the fabric are so perfect that they seem to match all of Easton’s toys. I literally picked the blocks, books and balls up off the floor and moved them over a foot into the tent, and they just coordinated. It’s a really easy fabric to work with!
So the verdict? The little guy was overtired when we finally showed him his tent, but he still checked it out on his own.
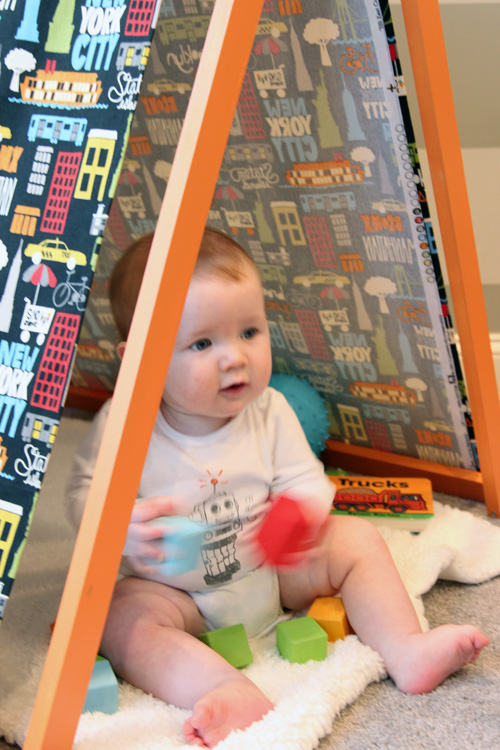
Of course, Macky loved it even more.
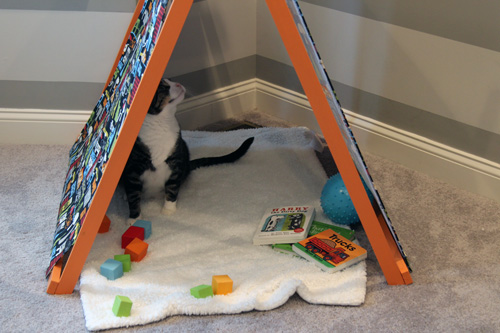
But Easton loves Macky so he wanted in on the tent too.
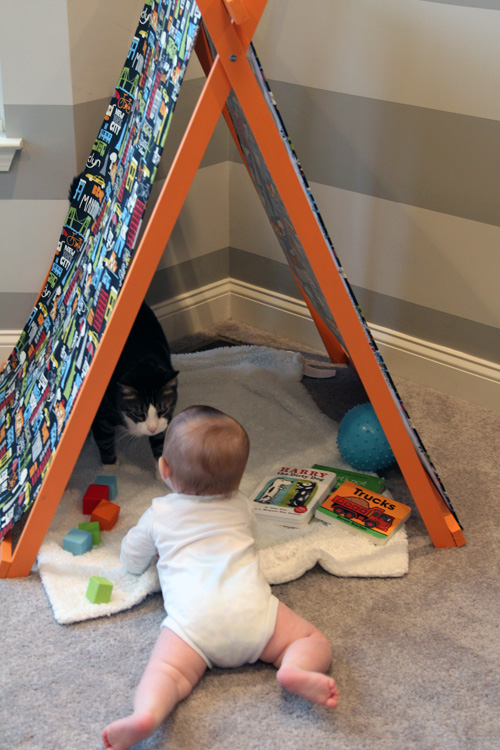
In the end, we all love our tent. I can see Easton laying in here with his books like he currently does under his jumperoo.
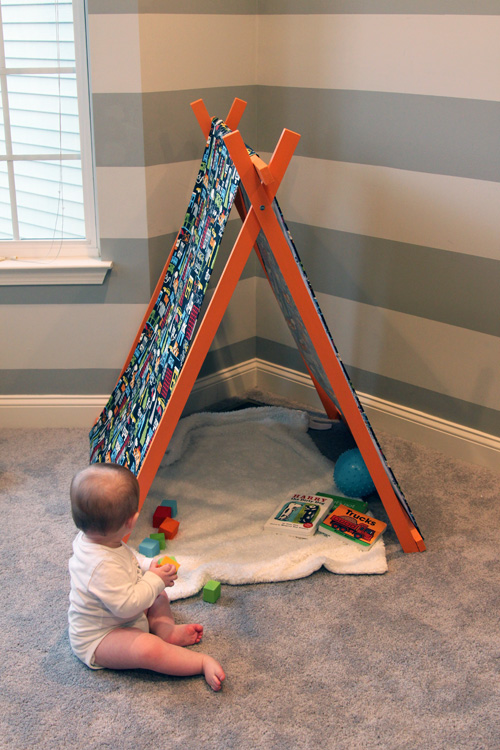
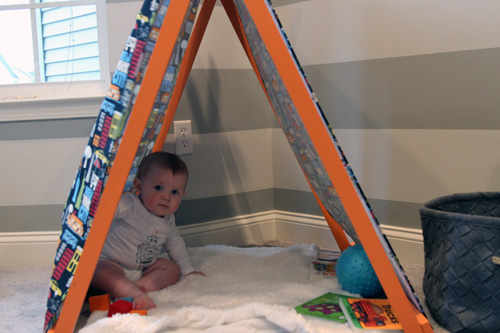
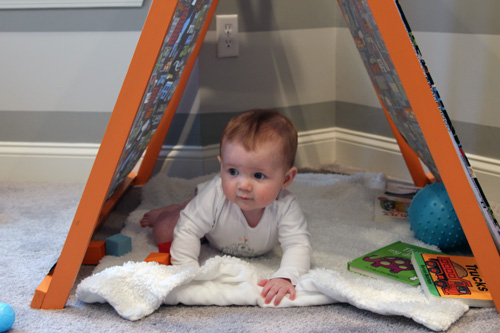
It makes the corner of the room feel so cozy and it’s the perfect miniature size.
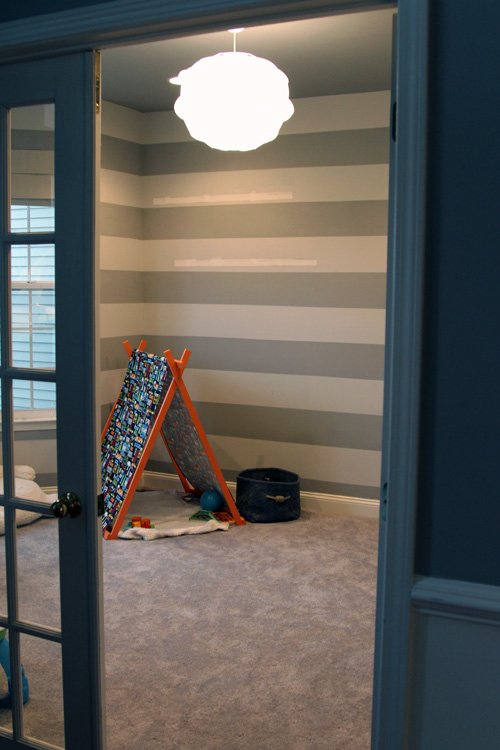
Yes, we still need to touch up the paint from where we removed the previous shelves last week, but guys, I sewed and I survived. I’m going to take a day or two to enjoy that sweet victory.
ps- Here are the supplies we used in list form as a quick reference…
2- 1x2x8 boards, cut in half
2- 1x2x6 boards, one was cut in half, one was cut to 42 inches
2- bolts with wing nuts
4- long wood screws
Wood glue
3 yards of fabric
Velcro (both iron on for fabric and adhesive for wood)
Paint (if you want to paint the frame)
Two nights of a few hours of work… cutting and painting of the frame one night and the fabric the next
And please, if this is for a very young child, consider adding some additional support and/or anchoring it to the wall, we will update you when we do.
Tags: pinterest challenge, play tent, sewing


Love how this turned out! The fabric is awesome. I’m going to add “build a tent” to the pros column on my list for having children. I, clearly, should jump on the baby making. 😉
Thanks! Ike would benefit from one too! As demonstrated by my cat…
Ohhhh I love this! So fun and bright. I’d love to make my son one someday- totally pinning this (and keeping in mind that it needs extra support)
This is adorable! I love the fabric you chose (a lot of that has to do with the Staten Island shout out so I’m definitely going to go on a hunt for it next time I go to Joann’s)!
Staten Island! What up!
So cute! I love it and I especially love the fabric you picked! It’s amazing!
This is sooo cute! And hooray for facing sewing fears! The first seam is the hardest 🙂
So stinkin’ adorable…I love how your tent turned out!!
LOVE THIS! Cannot wait to make it for my little man when he is a little bigger!
Oh I Love this! How fun. And the velcro is so smart!
Sarah
That could be the cheapest New York real estate I’ve ever seen! 🙂
It looks absolutely incredible! I’m sure it will be loved for years to come!
Adorable! Love that fabric too!
This is sostinkingcool. It’s officially on my list for Henry. Your version is my better than the inspiration. And, I’m a bit jealous that E actually likes books. Henry mostly eats them.
So much cute!! And those thighs. Nom nom nom. But seriously, very clever. Love it.
Such a cute tent! I love the idea of using velcro so it can be removed/washed.
Looks great! Fun little space for your little guy!
Hi! I feel like I am going through the same process as you did. Looking at a million tent designs and trying to come up with the best one for us! I have been reading that some of these A-frame tents fall down- the legs slip outward. Do the wingnuts hold them in place securely enough? I was also thinking about maybe putting a hook and eye latch at the top…..