Archive for the ‘living room’ Category

The “New” Floors Are Done!

8 Comments

Posted by Michael, February 3rd, 2011

It’s deja vu all over again.

Ok, it was a bit more funny when Yogi said it (Go Yanks!).  It seems like just yesterday we walked into a brand new house with brand new hardwood floors.  Wide planks, dark cherry color — we were in heaven.  But unfortunately, things took a turn for the worst.  Boards started to chip, some started to “creak,” “crack,” and “pop,” and some just decided to no longer stay flush against the subfloor.  Fortunately for us, the builder was willing to rip everything up and install new flooring.

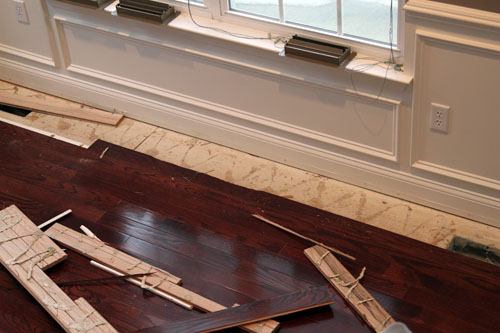
They started on the area that used to push up and against the wall.  If this incline had some more time, it’d be a skateboard ramp for Macky.

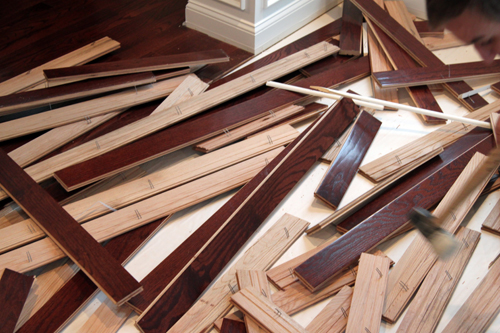
And before we knew it, the wood just started to pile up.

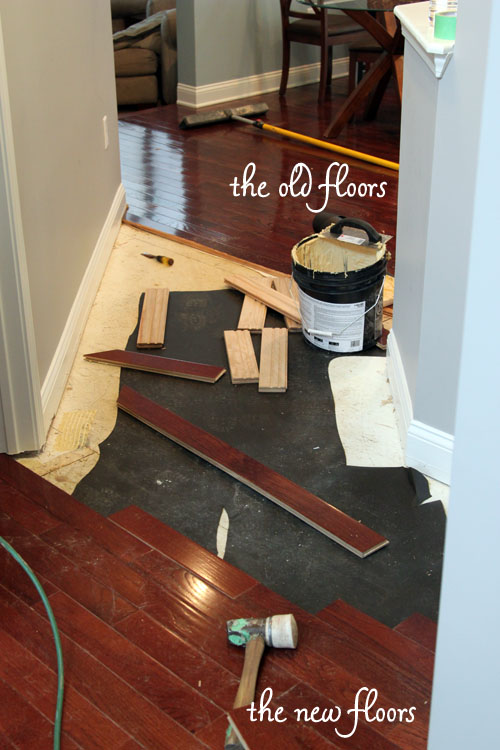
After some hours coding away in the office, I came out to discover a good portion of the new floors were already installed!

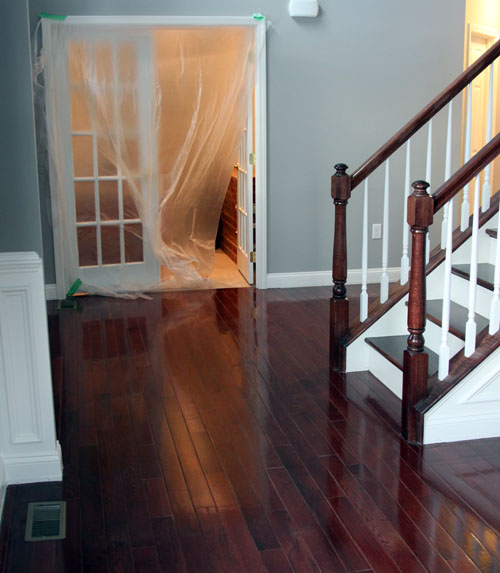
Here is a good shot from the formal living room looking into the entry way.  Please ignore the the room covered in plastic — that is my office and you can’t see it until the master reveal!  I’m kidding, there was dust flying everywhere, the contractors felt bad for me while I was working.

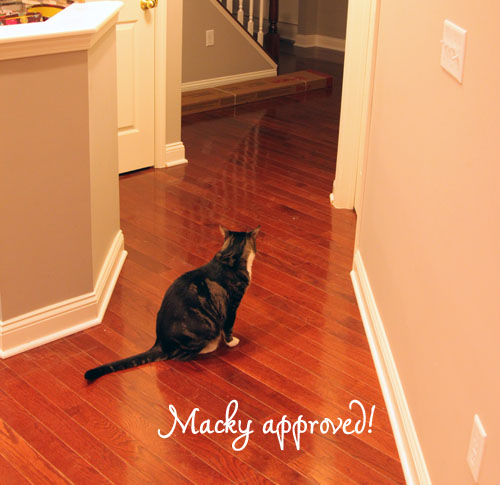
Not quite kid tested, but…

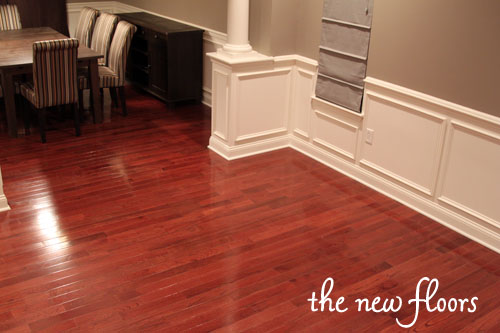
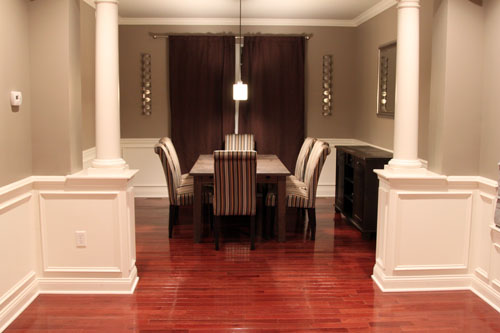
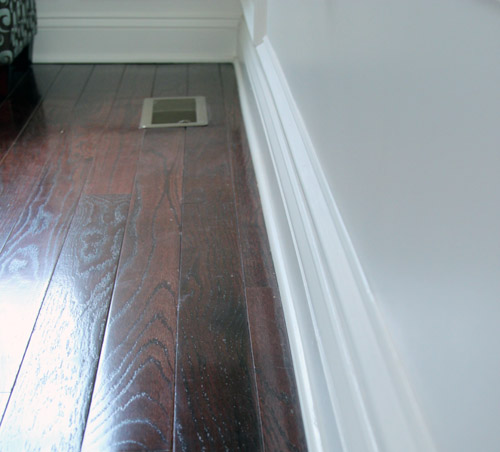
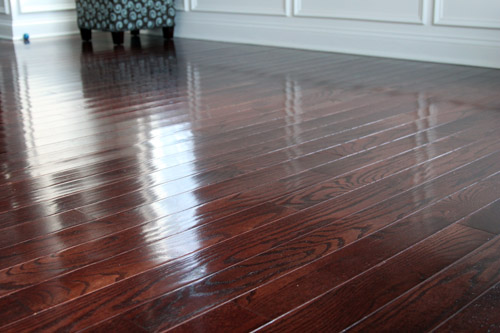
And finally, some shots of the completed floors.  Almost as if nothing ever occured these last few days.

The install wasn’t too bad.  A bit of dust here and there and some scuff marks on some of our molding.  The builder is sending in a cleaning crew tomorrow to, well, clean and also a painter to touch up some of the molding.  Good stuff.  I’m hoping everything works out with these floors; they already feel and look better compared to the previous floors.  I am, however, a bit concerned about the previous floors.  Where will they go?  Will they sit in a landfill for the next X hundred years or can they be used/recycled?  I’m hoping to get some of these answers tomorrow morning when the builder stops over.

hello there, “project”

12 Comments

Posted by Michael, January 24th, 2011

We are about to embark on a rather large “project.”  And by “project” and we, I really mean they (the builders) are ripping up our existing hardwood floors and laying down new wood.

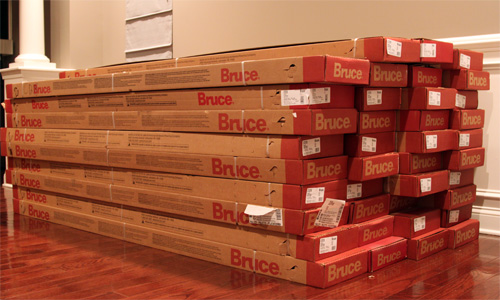
Earlier today, the builder dropped off several large boxes of wood flooring and it is currently sitting in our living room.  It’s enough hardwood to replace our entire downstairs.  I know, I know, we just moved into a new house with new floors, how could this be?  Well, pick your jaw up off the floor and I’ll tell you.

During the first few weeks of living here, we noticed some areas of the wood floors “popped” and “cracked” while we were walking.  We shrugged it off thinking it was just the wood settling into place.  Several weeks went by and it started getting worse.  A lot worse.  And then we noticed the floor was slightly raised towards the front of our living room.  You can slightly see the wood slanting and pushing towards the wall in the photo below.  This rise in the floor also exists in our dining room.

On top of the bulging up at the walls, the floors also didn’t lay complete flat.  As time went on, they began to bulge and “ripple” throughout in various locations.  You can kind of see a “ripple” in the photo below.


Oh but it gets worse.  Every which way, little cracks and chips started to appear.  Before we knew it, we had several of these guys.


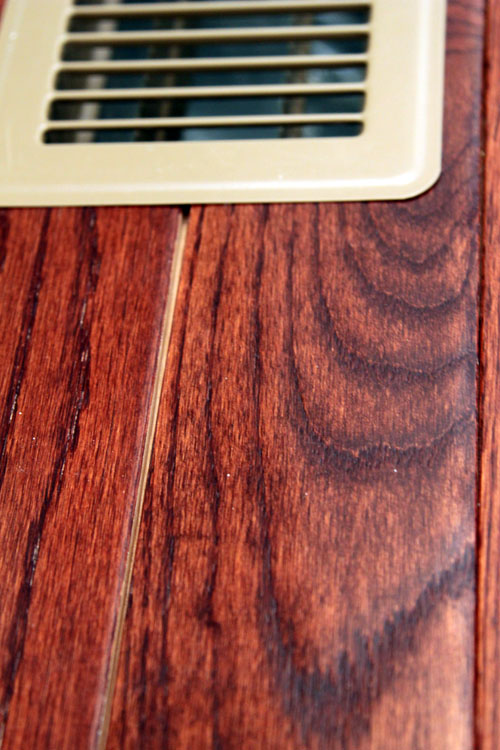
And finally, planks started to pull apart from one another.  We have quite a few of these “gaps” downstairs.  I understand hardwood can swell, contract and what not, but these are now permanent.  These gaps aren’t a result of humidity or anything like that.

Growing tired of our new floors acting as if they’re hundreds of years old, we filed a complaint with our builder.  They came out to check everything out and confirmed everything we were experiencing.  A few days later, a floor company was sent out to further inspect.

As we met with the floor company, they explained the humidity was a bit high in our house and the builder should have installed a dehumidifier in our basement or at least told us to do so.  To them, our issues were a direct result of the humidity.  They explained they could fix our bulging floors and our popping wood planks by driving some hundred tiny nails in various locations.  They proceeded to do so and for a few days, all was well with our floors.  We also immediately purchased a dehumidifier and proceeded to run that puppy 24/7.

And then they started to pop.  And then bulge.  And our issue was alive again.  We filed another complaint with the builder and they asked if they could put an industrial sized dehumidifier in our basement to see if that would resolve anything.  We said sure and for three weeks, we heard an annoying humming noise coming from the basement.  And you know what happened after three weeks?  Absolutely nothing.  Looking back, we had a much larger issue than just the humidity.  This was a bad install job with bad flooring.

At this point, I’m ready to start war.  In my head, I’m drafting letters and going over what I’m going to say to the builder.  When the builder came to pick up the industrial sized dehumidifier, my heart was pounding and I was incredibly nervous over how the “I want new floors” conversation would work out.

Much to my surprise, the builder informed us that they’ll be working everything out to have new floors delivered and installed for us completely under warranty.

Later next week, we’ll have a company ripping up our floors and installing new hardwood.  While we’re happy these issues will be completely resolved (cross your fingers), we’re not exactly looking forward to the mess this will create nor the stress it will cause our precious Macky (we’re pretty sure he suffers from stress induced seizures).

Bookcase Envy

16 Comments

Posted by Rebecca, January 11th, 2011

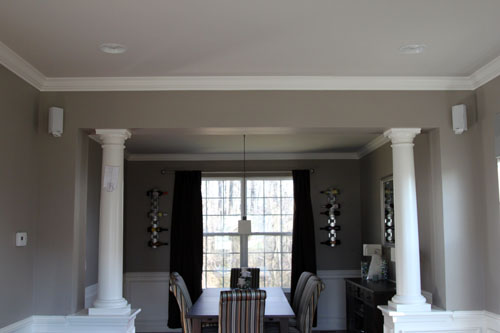
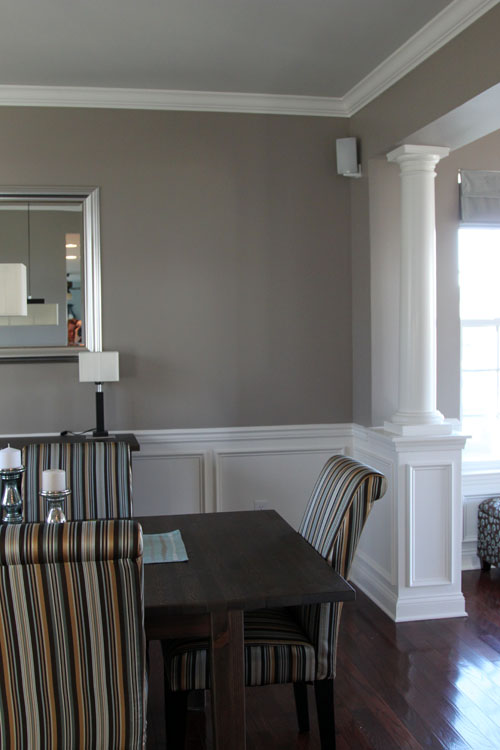
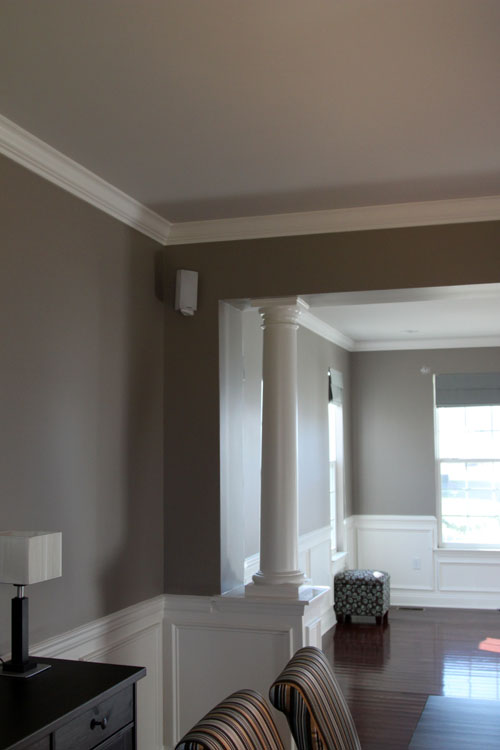
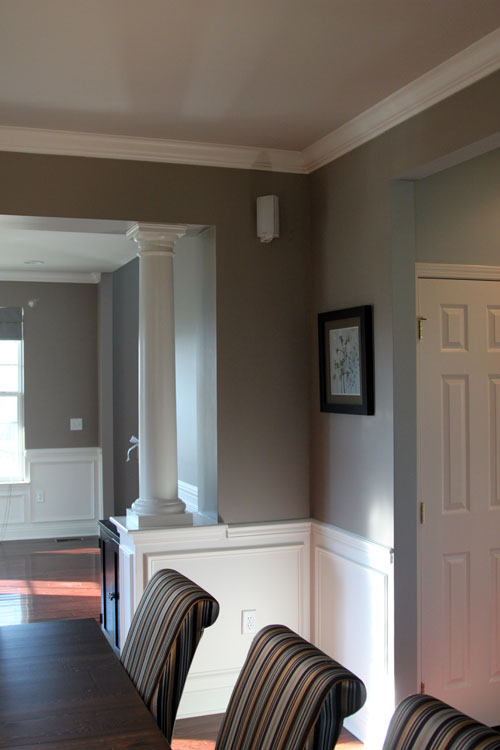
When we bought our house, included were these columns in between our dining and formal living rooms.

I stole that picture from Mike’s speaker files, since he still hasn’t posted about it and they’re nice daylight pictures. So please ignore the sloppy curtains and the speaker template taped to the column. I once asked him to take some daytime pictures of our bedroom and he took a picture that included his dirty clothes on the floor, so let’s consider this an improvement 😉

Anyway, here are a few more shots of the columns, which were technically part of the upgraded trim package we were given as a result of a crappy real estate market.

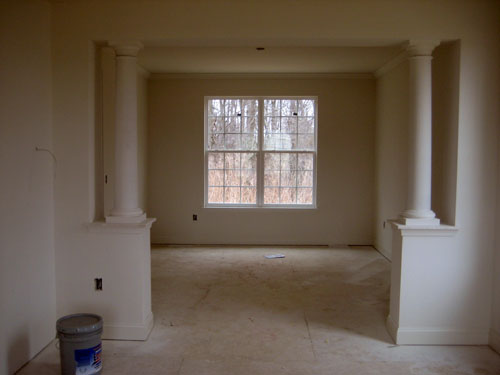
I know some of you will cringe at this statement, but we’re not crazy about them. They’re nice, but they’re just not our style. We were considering asking for a credit rather than having them put in, but we did want the extra wall piece between the rooms, so we decided to keep them around. Before we even closed on the house, we were scheming up things to do with the space. Here’s a vintage lil house pic from shortly after the columns were installed, nearly a year ago…

What a crazy difference from the first picture in this post, huh??

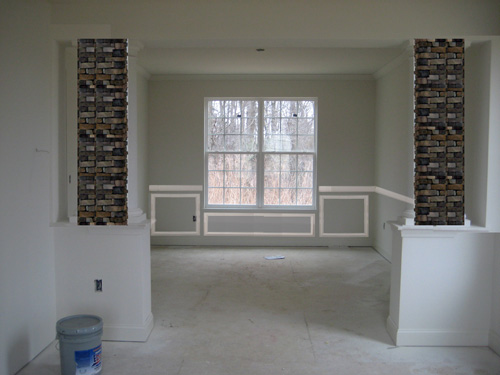
My first idea was to do some sort of a stone column, maybe a brick type or dry stack to compensate for the fact that new homes have no exposed brick. So long before we moved in, Mike photoshopped some stone columns into this picture.

He even stuck some wainscoting in there, which we had installed the day after closing 🙂 Nice to see one idea come to life! We thought we could maybe even stick some sconces on those stone columns and make them feel all warm and fuzzy.

Then just Sunday, I sat on our JetBlue flight home from Disney watching HGTV. Isn’t JetBlue lovely?? You can just sit there and watch tv! Anyway, I did fall asleep due to exhaustion and woke up to a reveal of a room on Designed to Sell. I tapped Mike and pointed to my screen (he had headphones on too) and he nodded back in approval. Lucky for you guys, I found an image of what I saw on HGTV.com

It’s small and hard to see, but they built bookcases in the space between the rooms. Genius!! I am currently loving built-in bookcases after seeing Sara’s bookcases over at Russet Street Reno and Young House Love’s bold painted bookcases. Though I’m still thinking of places in our house where I can replicate Sara’s project, I’m thinking some bookcases in between our living and dining rooms could be an inexpensive, happy compromise to both issues… my bookcase envy and my column hatred.

De-Christmasing and Neutralizing

14 Comments

Posted by Rebecca, January 4th, 2011

One of my goals before we leave for vacation tomorrow morning was to take down our Christmas decorations. I know this wasn’t a priority, but we’re not coming home until Sunday night, then the next weekend is my last precious weekend before I start up grad school again. So I’d really like to do something other than focus on taking down a tree… plus it will be mid-January by then, oy!

So today, I left work early and mission was accomplished…for the most part. I was hesitant to pack everything away because I didn’t know where to start. We have way more stuff this year than we’ve ever had and I wasn’t sure what type of storage we’d need. Plus I wanted to put it away as organized as possible, rather than hastily thrown in boxes. Then I saw what Megan from Honey We’re Home did with her ornaments yesterday…

(via Megan’s Christmas Organizing post)

She organized her ornaments by color. Back in our condo, we had tree ornaments and a couple of vase fillers and that was it. But this year I bought so many ornaments for our large tree and other projects that I was just overwhelmed. So I decided to use Megan’s method as a starting point and started collecting my non-tree ornaments.
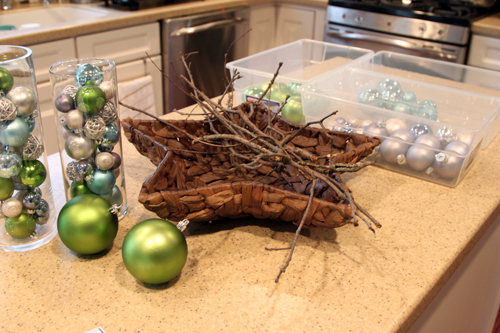
I picked up 3 large Christmas storage bins at Target, since we only had 2 before. I, like Megan, like the Christmas colored ones because when they’re buried underneath things, you know exactly what they are! I also picked up some smaller containers for my small ornaments then packed them up by color.

I took away all of the other Christmas items on the mantle and in the dining room and just like that, the house was neutralized.
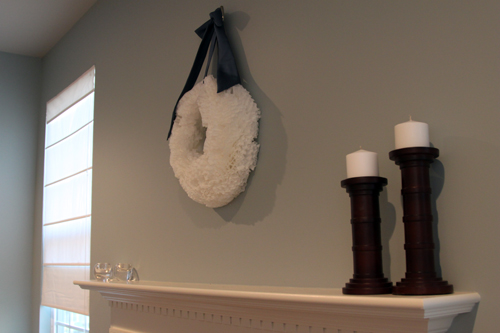
I still need to find a safe place for my coffee filter wreath and tree, so until I get back, it will remain hanging in the family room. I kept the wood pillar holders, as well as the metallic pillar holders I picked up at Target out because they’re not holiday themed.
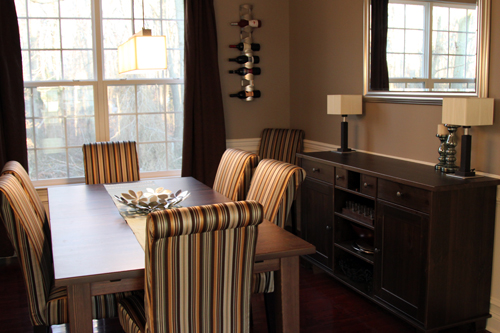
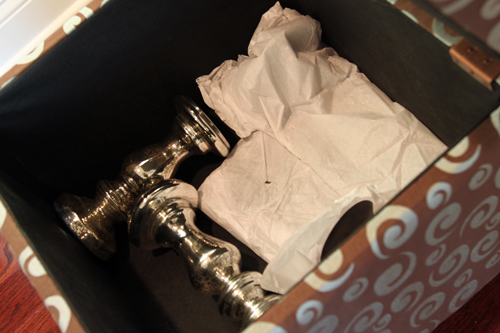
For all of these extra things I accumulated this season, I decided to put my living room storage ottomans to good use (nicely furnished room, huh? This is why you never see the living room :))
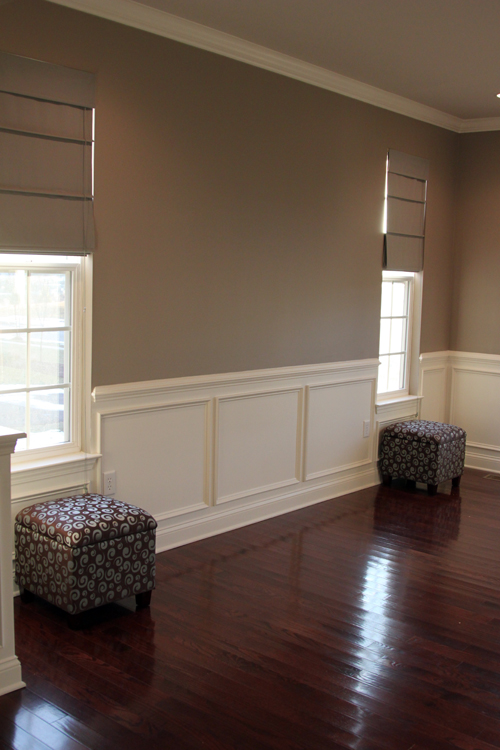
Most of my candles are in the entertainment center, but I store some larger pieces here, including the silver pillar holders.
Oh and we haven’t seen our Ikea Stornas table without an extension in it since Thanksgiving, it looks so tiny with only 6 chairs!
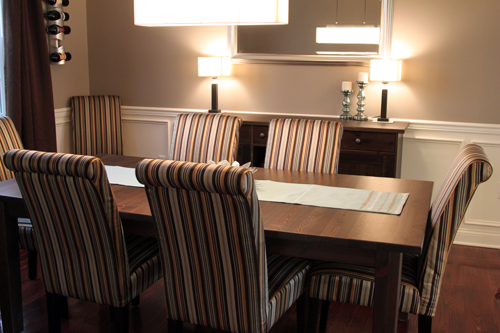
As you can tell I put the majority of our things away, even accessories that were out before Christmas. I just wanted a clean slate for when I get back from Disney. On to the tree!

I decided to keep tree ornaments separate from vase filler type ornaments, since I strung those ribbon things on all of the tree ornaments and I’m not doing it again next year! I had one ornament box from Target a few years ago, which I decided to start to fill even though I knew I had way too many ornaments on this thing.
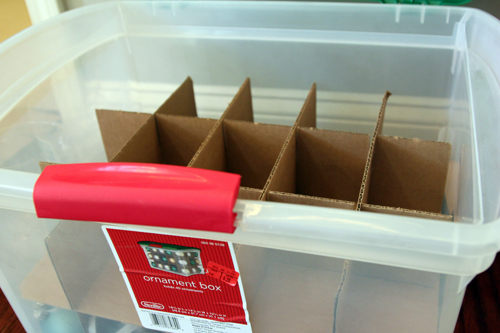
This particular box is a little tight for my biggest ornaments, which is why I almost didn’t use it. So I only put large ornaments in every other opening.

Then I filled the remaining openings with 2 or 3 of the smaller balls.

I was surprised that a good majority of my tree ornaments fit in this one box! I put the remaining ones in one of the leftover boxes that some of the large ones came in. I actually had all of the boxes from all of my ornaments (even the ones that are 4 years old). I decided to chuck them all this year because they take up way too much space.

I packed my vase filler boxes, as well as my remaining tree boxes into a larger storage box and it was near perfect, until I remembered I had an unopened box of large green ornaments.

See that box of green ornaments messing with my plan? Whaaamp whaaamp. Of course it would have been too perfect to fit all of the ornaments in two neat boxes. The solution?
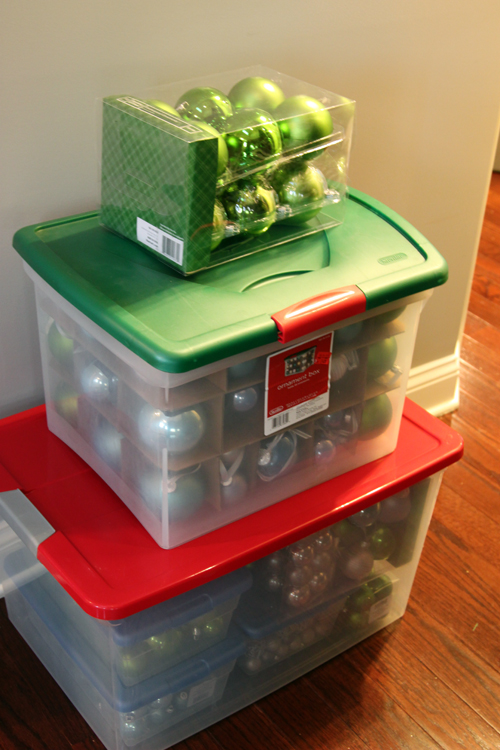
Um yeah, there was no solution. It’s called, I’m going to Disney tomorrow and I could care less if my ornaments are perfectly packed this year. I’m just happy I got it done 🙂 I ended up sticking that last box in a storage tote with some mantel things. The tree is naked, but still standing. We’ll probably take that apart as well as bring all of this stuff down to the basement when we get back.

Despite the fact that my flight leaves at 7am tomorrow, I’m not planning on taking a blogging break. I will be bringing my laptop and hope to tell you about my favorites in the new West Elm catalog I received yesterday, as well as about my first time ever at Disney. Cinderella’s castle is considered a house right? 🙂

On to my packing!

lasagna and paint

11 Comments

Posted by Rebecca, December 29th, 2010

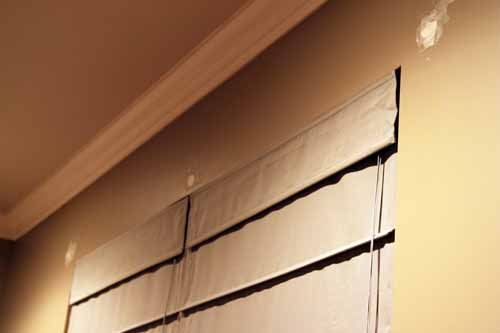
On Christmas Eve, we painted some random spots we had that needed touching up. I mentioned the holes from our curtain rod in my Christmas To-Do List post.

When Mike installed our new speakers (which he still needs to post about!), we got a new drill hole in our dining room wall. So we decided to finally break out the can of Benjamin Moore’s Waynesboro Taupe.

What a difference with some daylight, huh? 🙂

Then into the dining room…

Thankfully, the touch up spots were flawless.

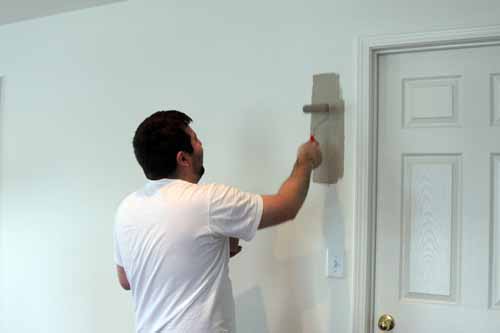
Since I love this paint color and it’s one of the few true taupe colors I’ve found, I decided to try a swatch for our bedroom. While Mike had roller in hand, I asked him to put a tiny bit on one of our bedroom walls. Then he did this…

He is laughing hysterically at me in this picture because after he rolled past the 2 inch mark I was like Wooooah! Hey! What the heck are you doing?!? I said a swatch!!! Apparently he has no clue what that means. Sort of like how I’ve been telling him since we moved to bend at the knees (we ended up in the emergency room with a pulled out back earlier this year) and just a few weeks ago he told me he had no clue what that meant. Oy!
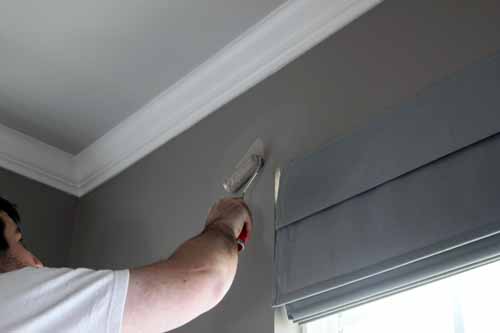
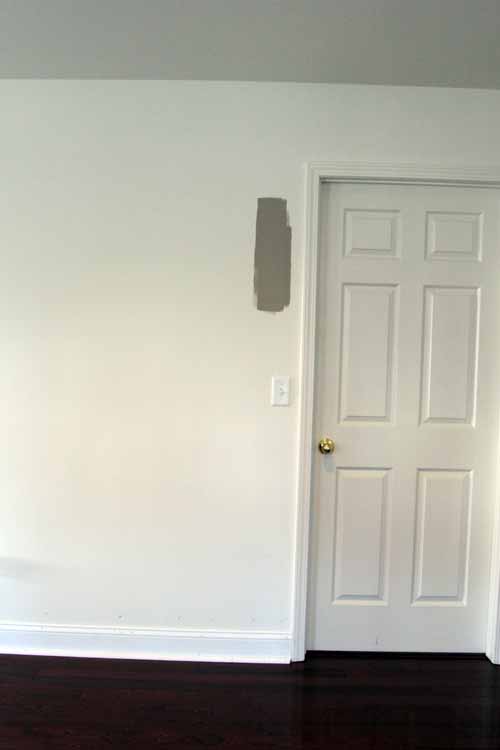
So I currently have this on my wall…

And it’s definitely too dark. We actually have the lighter, neighboring shade from the color swatch (Himalayan Trek) in our entry way and upstairs hallway and it is way more gray than taupe. Anyone know a good light taupe color that’s not too gray and not too beige? We have a possible contender just beyond that door in the walk-in closet, which I am planning on finally sharing with you tomorrow!

Oh and this title? We painted and then made lasagna. True story. We’re trying to diversify our skills 🙂

Copyright 2010 - 2011. The Lil House That Could. All rights reserved.