Archive for the ‘paint’ Category

Making Spirits Bright

6 Comments

Posted by Rebecca, December 18th, 2012

I think we have all had heavy hearts lately, saddened that the world can be such a cruel place for those who are so innocent. After watching/reading the news all day on Friday, I decided to doodle on something I made the weekend before. Doodles always make me smile, maybe they do the same for you.

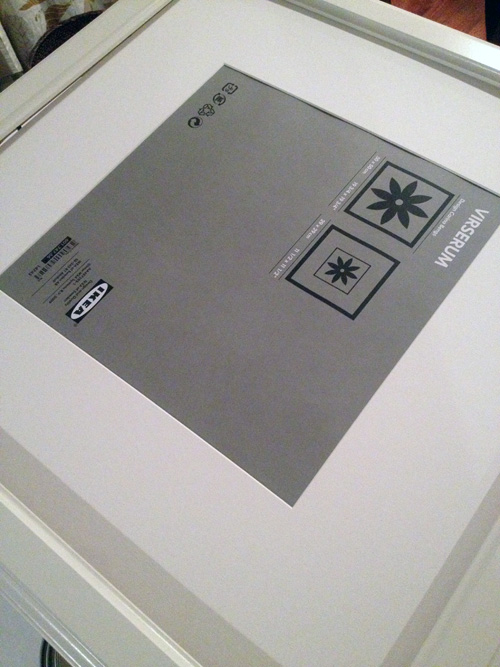
I started with an Ikea frame we already had.

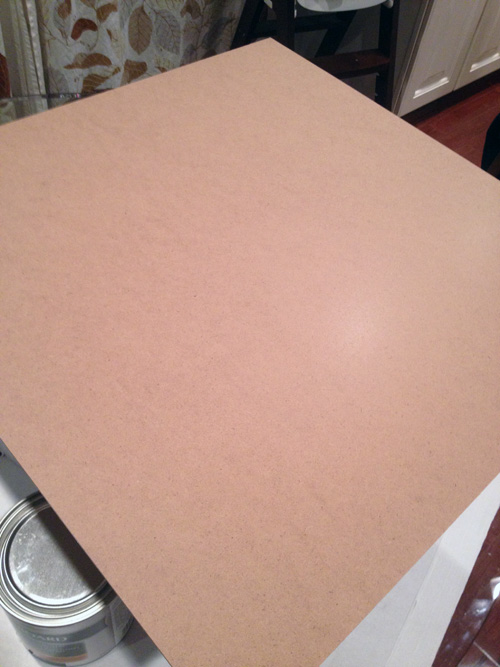
I checked to see what the backing to the frame looked like. Turns out, it was a nice smooth board. Perfect for some chalkboard paint 🙂

As a kid, I always loved playing school and writing on the blue chalkboard I had in my room. I was always the first to volunteer to write on the board at school and I loved trying different types of handwriting (my middle school speciality was that I could write on a chalkboard just as well with my left hand as my right). With the chalkboard trend making the rounds, I have wanted one for over a year. We’re planning on making one wall of the office a chalkboard wall, but I got impatient. Need. Doodles.

While I was taking an initial look at the frame, I broke the glass. It was a total accident that actually worked out for me because I felt bad wasting it. Now the only part I wasn’t using was the mat, which I ended up placing behind the board to keep everything fitting tight. Whew?

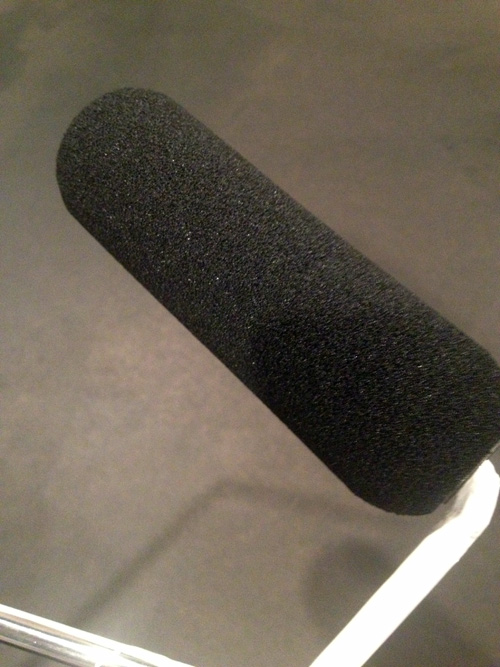
I used Valspar’s chalkboard paint in black and rolled it on with a foam roller we had hanging around.

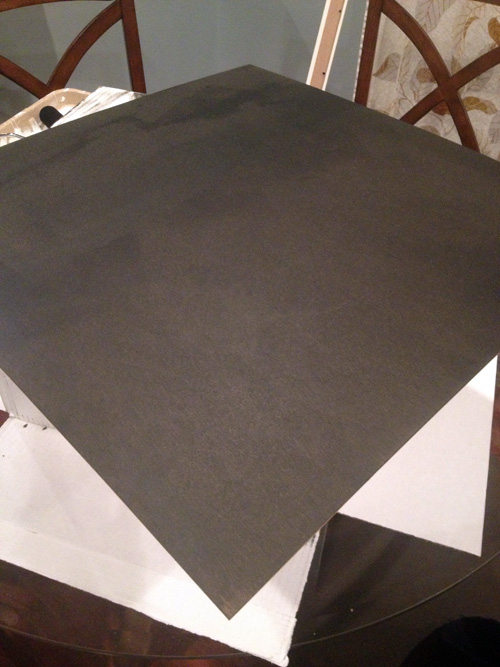
Each coat took me about… 1 minute. I waited maybe 10 minutes between each coat and ended up doing 3 coats.

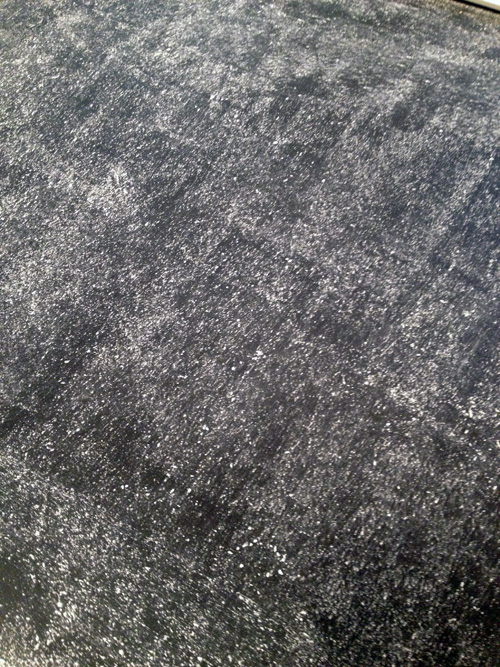
I let it completely cure overnight, then I rubbed some chalk over the entire surface. The Valspar can said nothing about doing this, but I had seen it all over other blogs. Better safe than sorry.

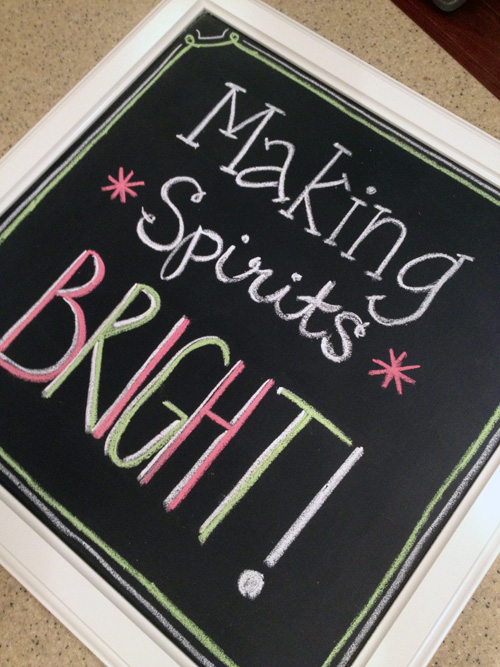
Once it was all done, I got to writing. In the past, I’ve watched some YouTube videos of professional chalkboard writers and took some hints. One of these days, I’ll try something elaborate with proper spacing and planning but for now, this is what I did in a total of 10 minutes.

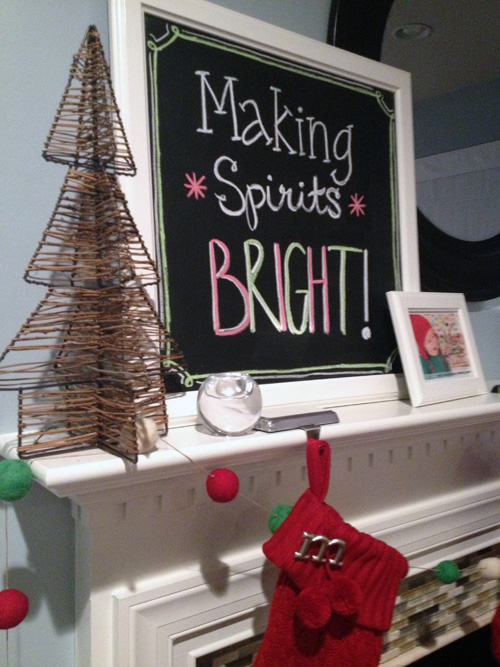
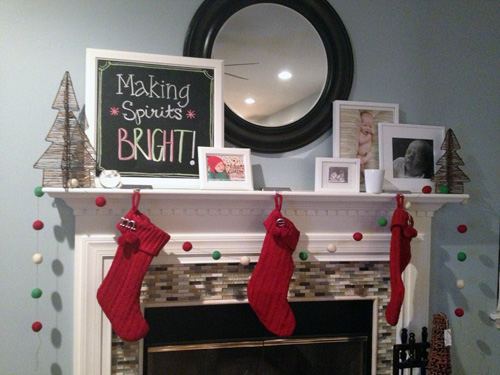
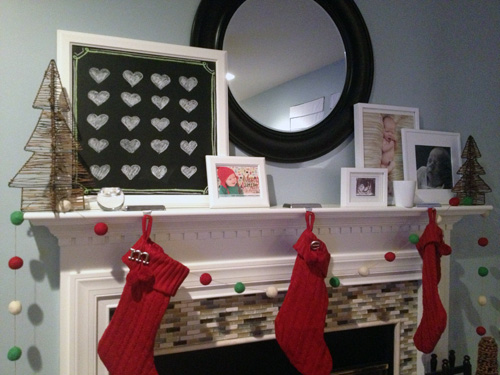
Needs work, but not bad for a first attempt at chalkboard art. I then stuck it on the mantel, which is still a work in progress.

We’re waiting for some Christmas prints of Easton to arrive to fill a frame or two, then I might add some wrapping paper to the remaining ones. Once that happens I can take some decent daylight pictures of our Christmas mantel.

I planned this post out in my head and then jumped in the shower. It didn’t feel right to me to not fully address what happened in Connecticut, though I really don’t feel like I have the right words to say. “Making Spirits Bright”, while positive, still felt like I was being cold.

So I just ran downstairs, erased my chalkboard, and changed it to this.

Twenty little hearts, for twenty little hearts.

Because a picture is worth more words than I could string together.

Planning The Nursery Gallery Wall

4 Comments

Posted by Rebecca, October 25th, 2012

Oh hey, remember when I was working on that nursery? Yeah I still haven’t finished it. Why haven’t I finished it, you ask? Because the gallery wall I’ve planned has been a major pain.

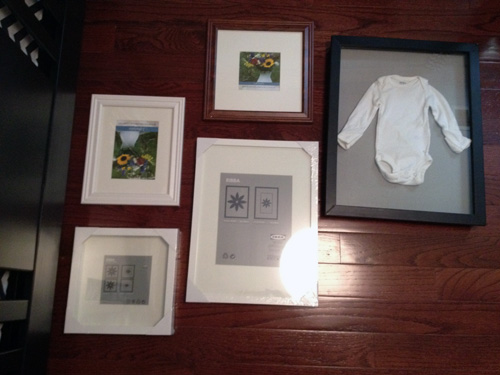
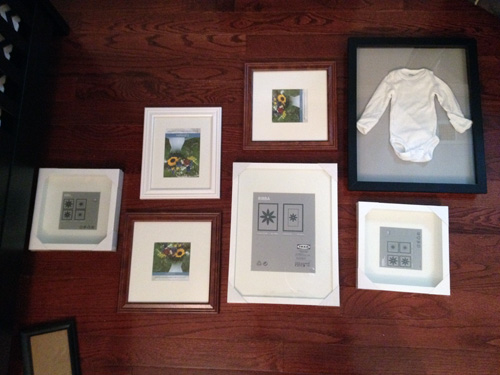
I didn’t plan the gallery wall before Easton was born because I really didn’t know what to do with it. Then I decided to pick up a shadowbox from Michael’s to house one of Easton’s super tiny newborn onesies.

They didn’t have white frames, so I went with black with an awesome gray fabric and decided to paint it white. I used this as a starting point for the rest of the wall and just started playing with frames we already had. Note: this all initially happened back in like, July and all pictures were taken with my iPhone.

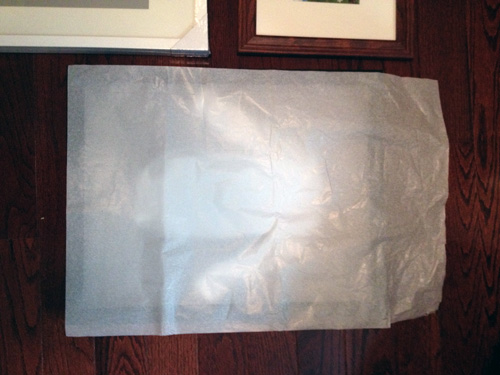
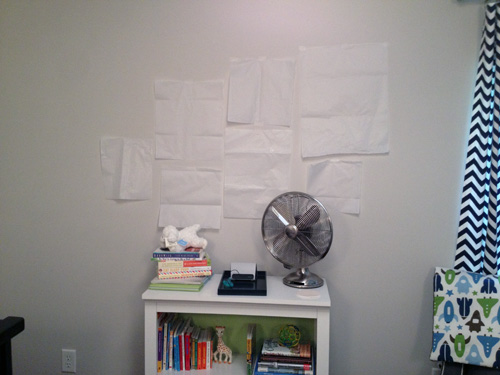
This was the first configuration I came up with and I thought it looked good. I then just had to figure out how it would look on the wall. I decided to use tissue paper as a template because a) the sheets were large enough and 2) I literally paid $1 for a whole huge pack of it. It was more flimsy than using say, cardboard, but it was cheap and easy. I just traced over each frame and cut the tissue paper to size.

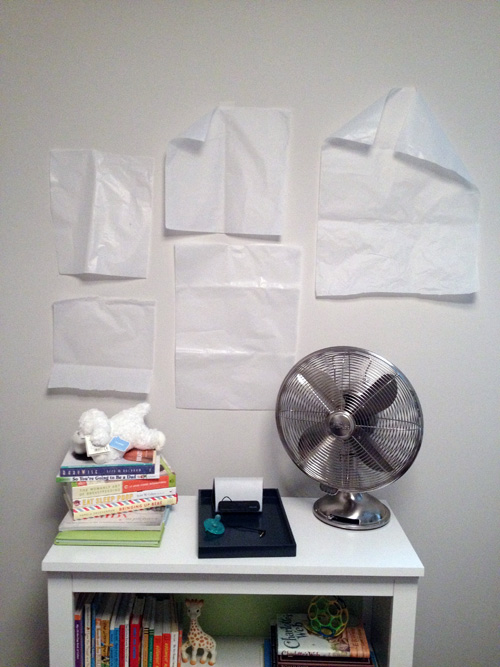
Once on the wall, I wasn’t all that happy and felt like I needed just one more frame to the left (and some tape on the corners of that tissue paper, which I added after the fact)

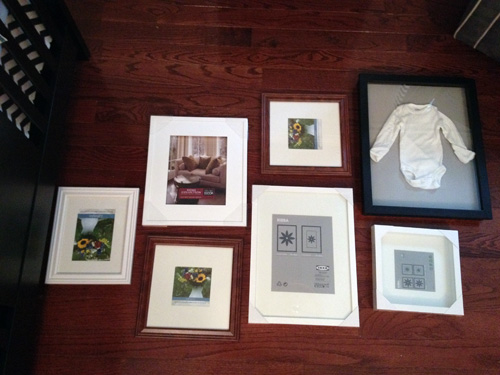
So I started to play around once again. First there was this…

Yep, I actually added two more frames to the mix. I swapped out a few of the smaller frames and ended up with this…

Once the tissue templates were on the wall, it passed the test for me.

The only thing that I wanted to change was to hang them all slightly higher, which I figured could be done when they were really hung. No sense in messing around with tissue paper more than necessary.

Now all I had to do was make all of the frames white and plan what I wanted to go in them. Easy, right? RIGHT?!? No.

First, the simple frame spray painting. Instead of using what I’ve used in the past, Rustoleum Universal spray paint, I went with a basic Valspar one that chipped a million times. I sprayed the frames literally about 3 times because I kept chipping them by moving them or placing them in the garage.

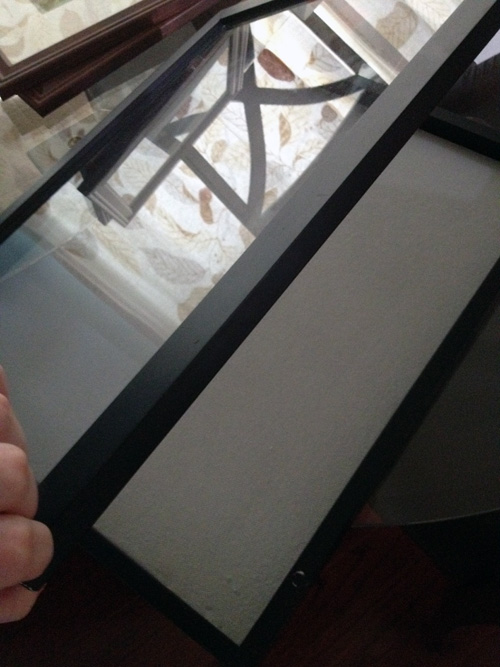
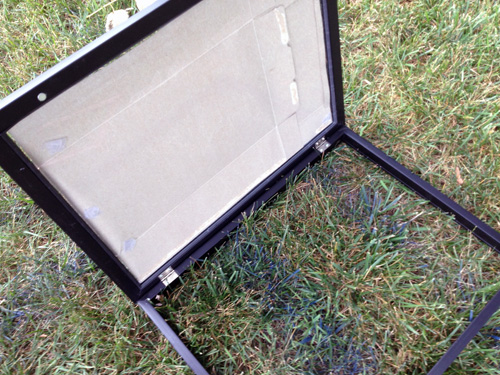
Second, that shadowbox. It may be the death of me. I didn’t realize that the glass doesn’t come out. The fabric? Yes, totally removable.

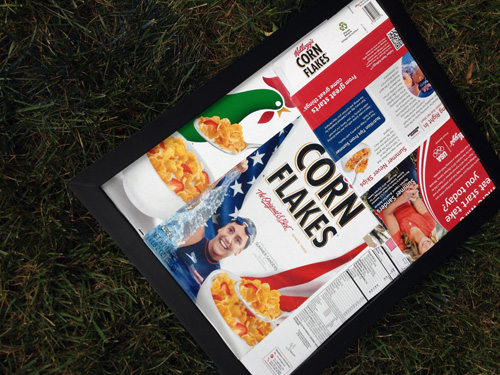
Then I had the genius idea to tape off the glass and spray paint it (with shoddy spray paint mentioned above). I spent way too much time on this Corn Flakes box turned shadowbox drop cloth.

The spray paint not only ended up chipping like the frames above, but the coverage on the black was awful and it oversprayed onto the glass. I decided I wanted to hand paint this bad boy.

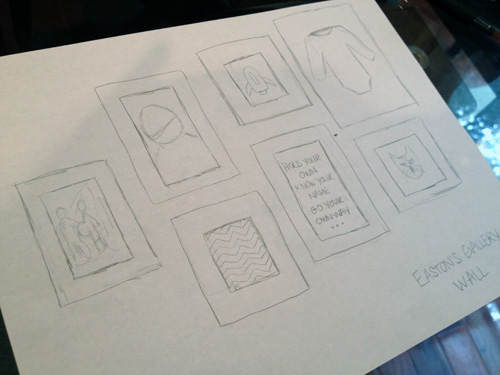
The strangely easy part of all of this gallery planning? Deciding what to put in the frames. I made a little sketch of the frame arrangement I went with and then doodled what I wanted to put in each to make sure I liked it.

Included are some photographs, fabric, some word art and a little painting that I made. Those all took no time. But painting frames??

Take several coats of spray paint that failed + returning to work and you have me, 3 months later with tissue paper still on my wall.

There is hope though, I recently picked up a can of the good spray paint and hand painted a coat of paint and primer in one on the shadowbox (plus I did a little sanding). Hopefully this neverending project ends soon or I may lose my mind. I am dyiiiing for a final nursery reveal.

Projecting

3 Comments

Posted by Rebecca, September 6th, 2012

Projecting or project-ing? I guess either one works. Projecting the projects? Yes, that’s what I’m doing.

At the end of my desk I have this little pile going. It looks like this…

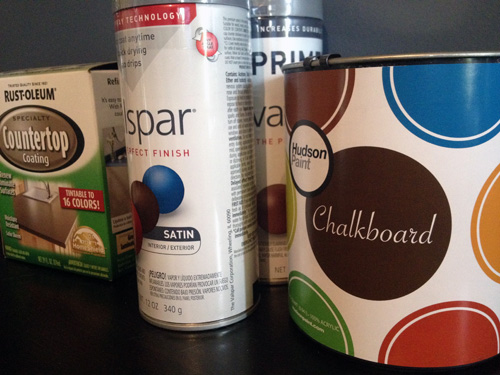
There’s some countertop paint, white spray paint, spray primer and a can of chalkboard paint. Each one is for a different project.

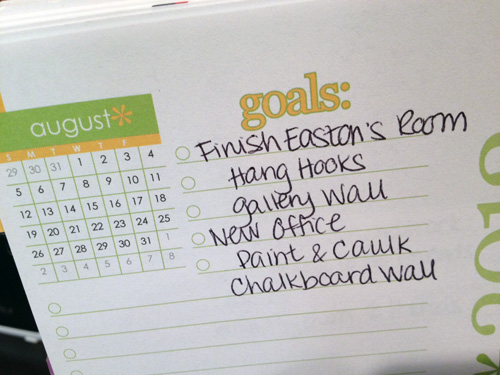
I always keep track of my to-do list and goals in my glorious Erin Condren life planner. None of the items on the to-do list and goals for August got done. Not a single one.

So, I naturally transferred them all over to September. That is where all of those random paint supplies come in!

Before I went back to work, we were in such a nice groove with Easton sleeping that I felt like I had some nice time to myself to do fun things. Then I went back to work and the concept of free time disappeared. We started so many projects that we haven’t even touched in weeks. I am determined to make some time (ie- give up sleep) to tackle that little list. So here’s the (September) goal list in a little more detail…

1. Finish Easton’s room.

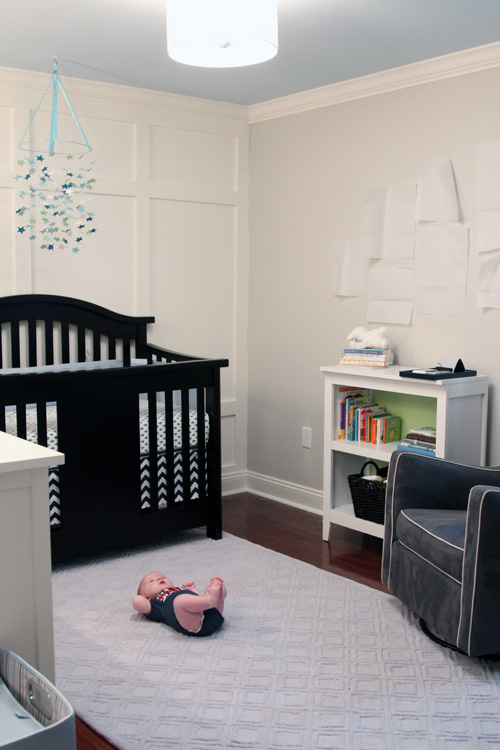
This “project” is like a major thorn in my side. It’s so close to being done but I just can’t get there. Ever have those dreams where you’re trying to get somewhere but you never actually make it? Am I the only person with those dreams? Anyway, this is what the nursery feels like. I wanted to have it done by now but I keep hitting road blocks. Spray paint frames? Can clogs and need a new one. One week later get new can? The paint chips as you’re carrying frames into the house from outside. Make print to put in frame? Shutterfly cuts off part of your text. So that explains why the gallery wall still hasn’t been hung since I started it two months ago. The spray paint and spray primer belong to this action item.

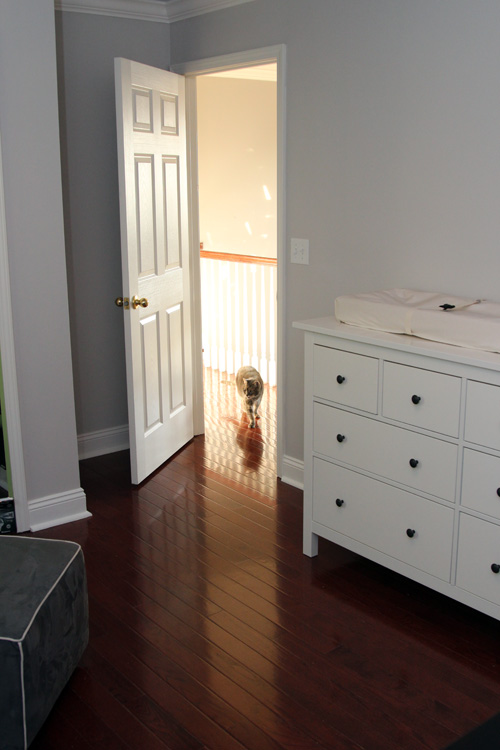
We plan to hang some hooks in the little area behind the door of Easton’s room, which is a small project, but one we can’t do when he’s asleep.

That corner behind the door is the one I’m talking about. The picture is not the most recent, but you get the idea.

2. Work on new office

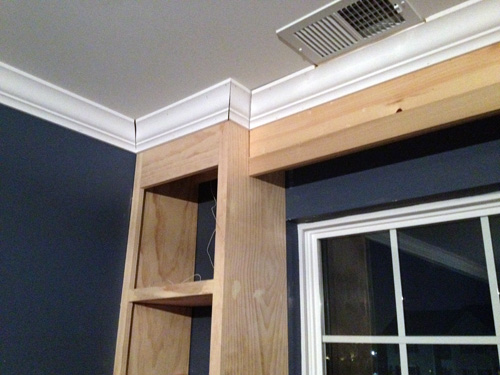
The goals here are to caulk and paint trim and paint a chalkboard wall. For weeks, the new built-ins have been sporting the raw wood look.

It’s one of those things we finished only about a week before I went back and I’ve been itchiiiing to get some paint on these things! But first it needs caulk, which isn’t as fun. I’m hoping to get some time after Easton is asleep this weekend to pretty it up.

We decided a few weeks ago to paint one wall in the office with some chalkboard paint. It’s this little wall…

We bought Hudson Paint chalkboard paint in So Stone, which is a darkish gray color. The other walls need another coat of paint, so if the gray doesn’t look that great with the blue, we can always change things up. I’m so excited and anxious to get this one done! But first comes the caulk, primer and paint for the rest. Boooo

Okay, so maybe the list only had 2 main items with additional bullets, but I like to think that means it’s manageable. I’m setting realistic goals, even if they have to be pushed back again. Let’s face it, I can barely keep my eyes open long enough to type this (I’ve dozed while sitting up twice now!), so I think a few small paint projects is enough.

Oh wait, what’s that can of countertop paint for? You shall see 🙂

Front Door Dreaming

16 Comments

Posted by Rebecca, July 6th, 2012

About a year ago, I pinned this picture on Pinterest…

(from Tar Paper Crane via Pinterest)

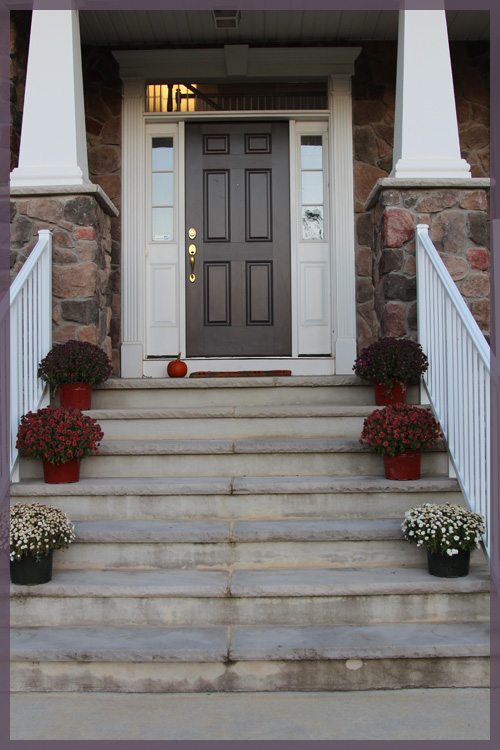
It got me thinking about painting our front door, which is currently the same brown color as our shutters (this is an old picture from the fall).

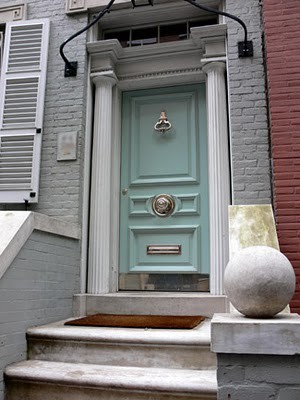
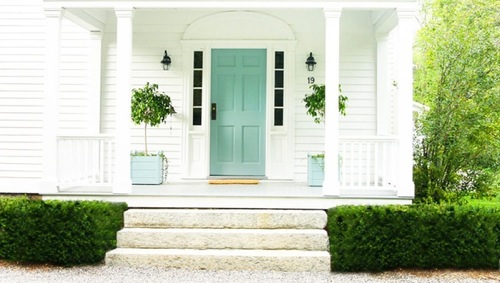
Then I saw this picture on Pinterest and I loved the blue door with the blue hydrangeas.

 (from House of Turquoise via Pinterest)

So I started thinking that color could work because we also have blue hydrangeas. I love them, so why not make them stand out a little more? Btw, look at how big they are now after just 2 years!

After teaching Mike what robin’s egg blue was, I did a little Pinterest search to find some more inspiration. Why not share, eh? Since I don’t have much time for projects, I spend a lot more time brainstorming and googling for ideas these days 🙂

#1. Love this blue gray color, so classy

(from Pink Wallpaper via Pinterest)

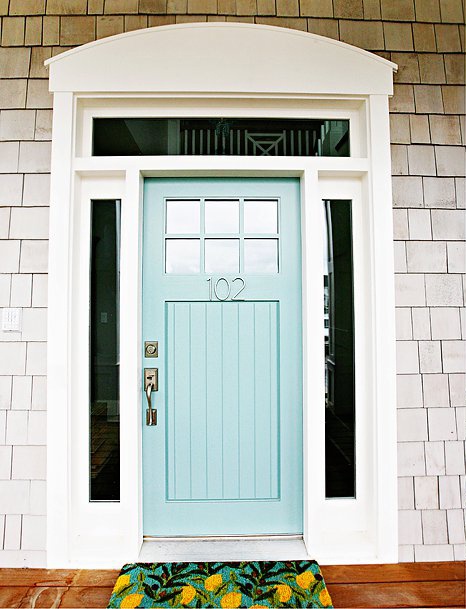
#2. We’ve even talked about putting some numbers on the door itself, sort of like this (I also love the door itself but buying a new door is not in the plans…)

(from House of Turquoise via Pinterest)

#3. This looks nothing like our house, but fabulous none the less

(from Katy Elliot via Pinterest)

#4. Nice and clean, and looking more like our door

(from Desire to Inspire via Pinterest)

I’ve been itching to spruce up our front porch (replace the lights, get a bench, do some cleaning). Why not add another goal to the list? We just started giving Easton bottles, so maybe once this heat wave ends I can spend some quality time out there. I mean, it’s been almost a year since I pulled a weed myself 🙂

Alphabet Art for the Nursery

33 Comments

Posted by Rebecca, June 22nd, 2012

Before Easton was born, I posted about my plans to make some sort of an alphabet print for his room. My original inspiration image hailed from Pinterest…
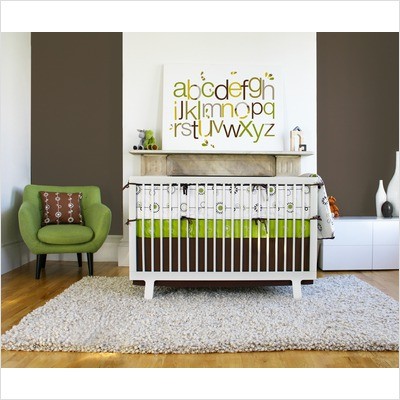
(from Free Home Decorating Ideas via Pinterest)

My previous post covers how I went from planning this out using paint and canvas, to printing on canvas, to finally just making it a print using Photoshop.

I’ve said this before, but I am no Photoshop expert. In fact, I have no clue of what I’m doing 99% of the time. When I posted about deciding to make the art using Photoshop, I figured Mike would make it because I was lacking the skils. Well, throw in a late baby, a husband who is busy with his own work and me spending hours in bed and guess what? I did it all by myself 🙂

I camped out in bed the last days before Easton came and one of the things I did was whip up a little art on my laptop. I started as just playing around to give Mike an idea of what I wanted, so that he could then do it better. As I played around, I realized I could do it on my own if I just kept tweaking it. It ended up being far easier than I thought!

I started with a rough draft… all I did was type some letters in Photoshop and change the font, color, size and location of each individual letter until I liked the way it looked. I was surprised at how easy this part was since each letter was it’s own layer and I could go back and tweak whichever letter I didn’t like.

My first attempt looked like this…

I liked it for the most part, but there was a lot of dead space. I had to figure out how the letters would look in the frame and make sure there wasn’t too much white space at the top and the bottom of the letters. We had picked up a large Virserum frame from Ikea before even starting this project, so that we were sure that we could size the print properly to fit the inexpensive frame. You may remember seeing the frame hanging around in some pictures…
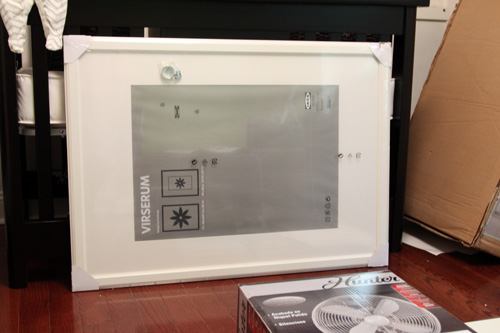
The frame is 30 ¾” x 41 ½” and the mat opening is about 27 ½” x 19 ½”. I mentioned in my previous post that I saw on Shutterfly that I could order a print as large as 30″ x 20″, which was perfect. I would just have to make sure that my text was centered around the  27 ½” x 19 ½” size of the opening and that I made the image large enough pixel wise to print clearly.

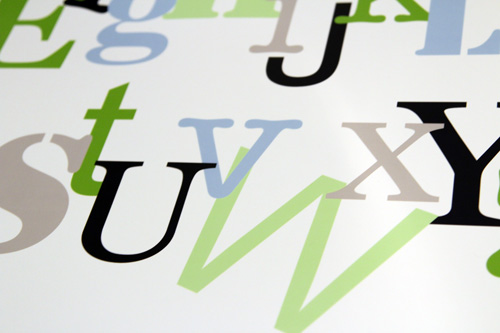
So I set my Photoshop canvas to the size of the print (30″ x 20″) and began to tweak my first draft. A little bit of making fonts bigger, a little bit of overlapping letters and just playing around, then my final product looked like this…

I ordered it and it cost me a whopping $15 to print through Shutterfly. It was supposed to take over a week to come, but it ended up arriving in a few days and coming the day before Easton was born. If you remember from my birth story, I was already in labor at this point so Mike ran it upstairs to show me how great it printed. He put it in the frame just so I could see how it looked, but I didn’t snap a picture of it.
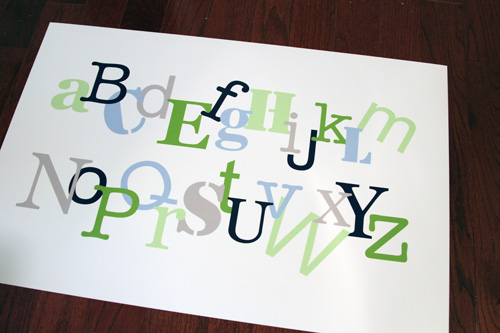
The large canvas size I chose worked because the letters were not at all blurry.
We planned to put it on the wall in between the giraffe sconces.
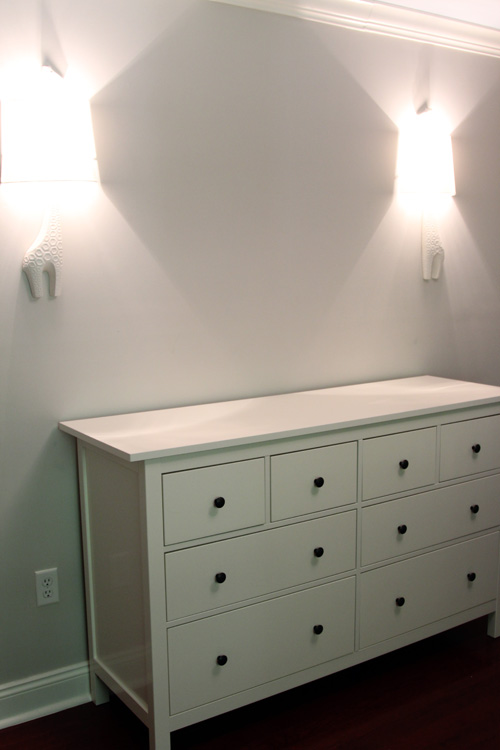
Since the sconces are white, the dresser is white, the frame is white and the mat is white, I thought it was too much white. It would look nice and clean, but I was just looking for a little more fun and contrast on this wall. So I decided to spray paint the mat navy blue.

I picked up this can of paint while I was in labor. I figured walking around Lowe’s would help, though I was in such pain that I could hardly walk and I had to stop and sit on a pile of wood. Whoops.
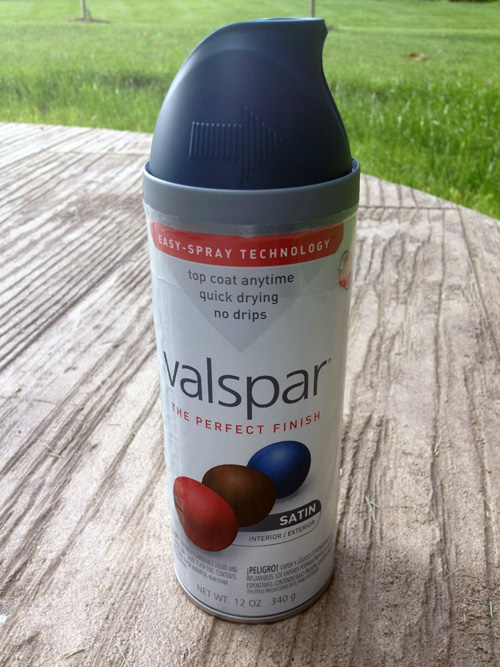
Finally this week, I decided to take the hour I had in between feeding, burping and cuddling to run outside and spray the mat. Hello backyard, I haven’t seen you in a while.
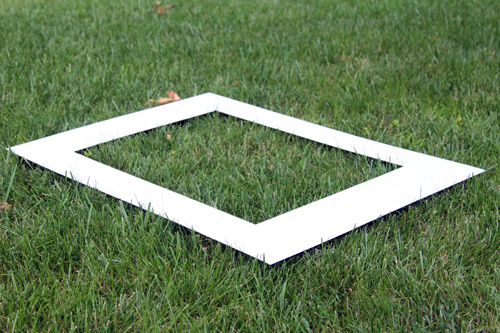
I just laid the mat on the grass because Mike was due to cut it anyway. The blue will be gone with one pass of the John Deere 🙂
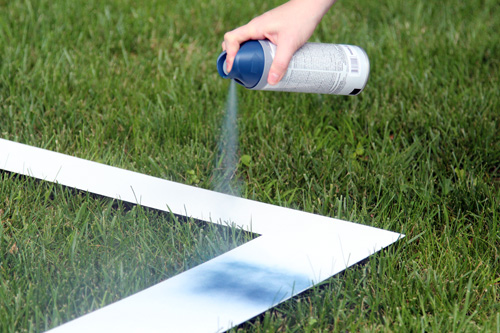
It took several coats to make sure there were no white spots. My hand started cramping since the Valspar trigger was really hard to push down, so Mike took over.
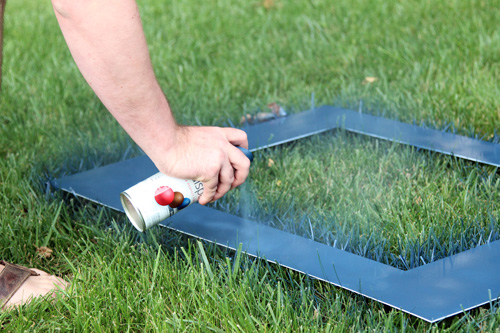
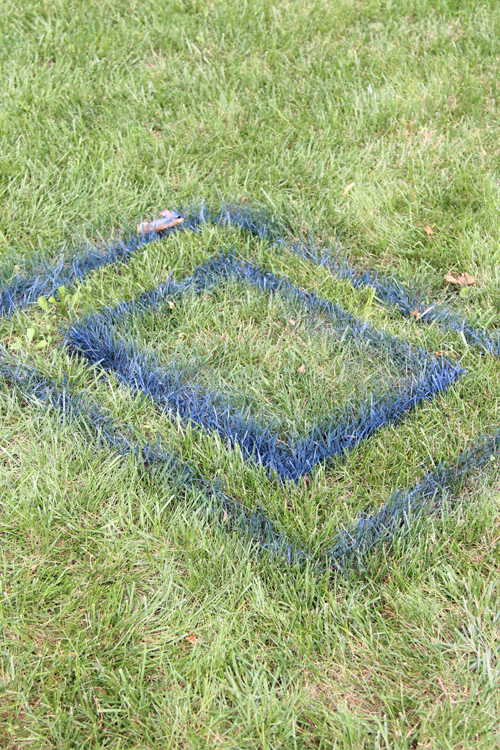
Once we were done, the grass looked like this (which was actually really cool looking)…
But the mat looked like this!
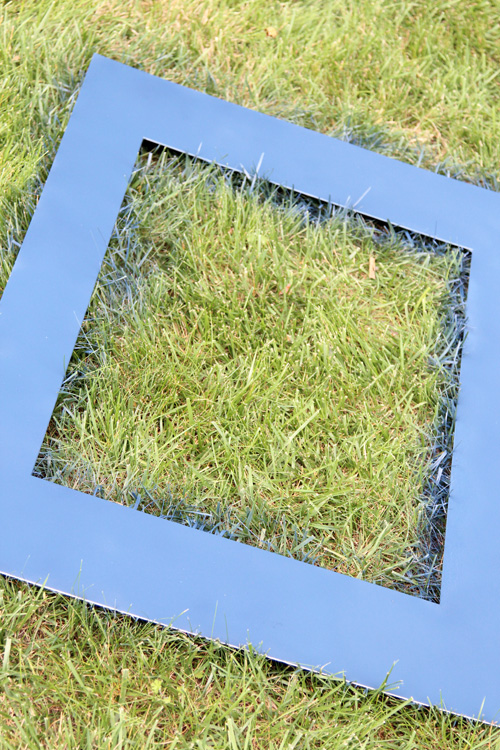
Fast forward a few days after it completely dried and I had another baby nap to put the mat in the actual frame. Sidenote: Mike’s been spending most of his spare time working on the built-ins in the new office that we abandoned to work on the nursery. So I’m usually on baby duty and can’t work on projects, but I can’t complain because the built-ins are looking awesome 🙂

First I wanted to make sure the blues looked good together. The lid of the spray paint can looked more bluish than navy, but it was the most navy one I could find. Thankfully, it dried much darker!
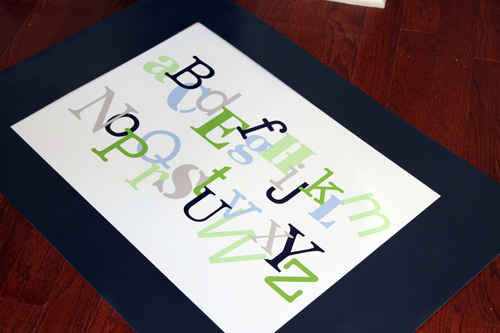
I put it in the frame and I was surprised that he “glass” in the frame is plastic. No wonder why Ikea can sell such a large frame, with a mat for just $29.99!

We couldn’t find the hardware that came with the frame, so I just leaned it up against the wall to see how it would look.
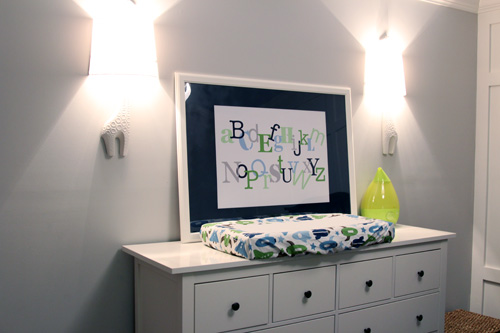
And I love it. I’m shocked at how well the colors match the color scheme of the room. I really just tried to incorporate the blues of the bedding/curtains/ceiling, the greens of the bedding/closet/bookcase and the gray of the walls. This artwork was meant to be the glue that brought everything together, and I think it does.
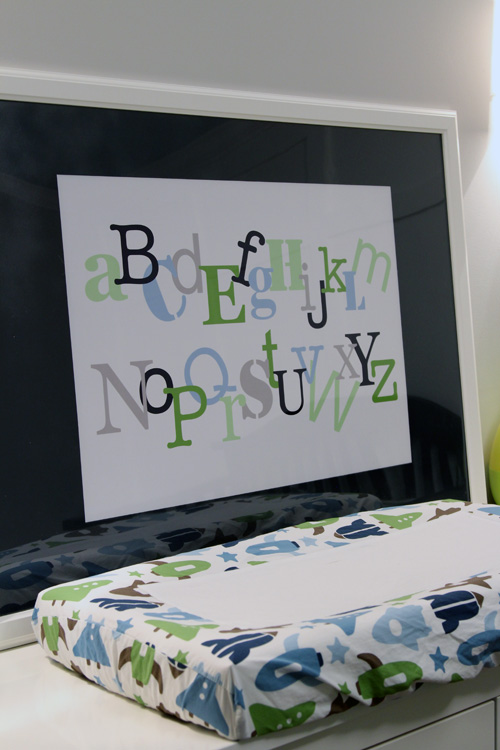
The plastic “glass” of the frame made for some awful glare, so it was hard to capture pictures. I may actually just remove it when we mount the frame, at least to take better pictures for you guys 🙂
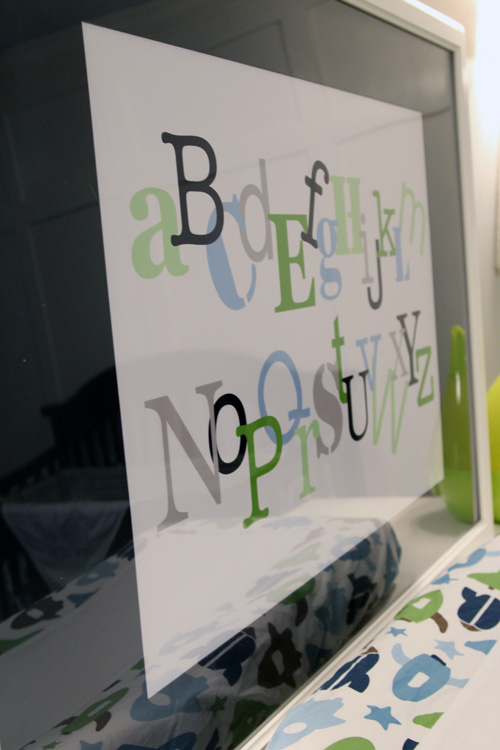
Though the glare does allow you to see the other elements in the room with the art, like how you can see the chevron curtains hanging out in this picture…
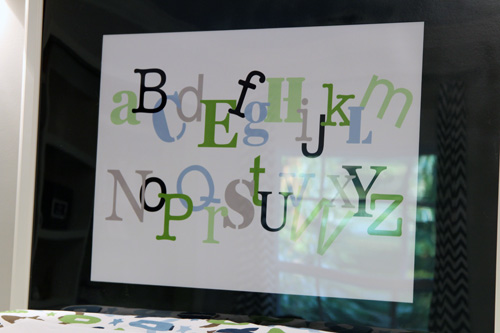
One more picture from the other side of the room!
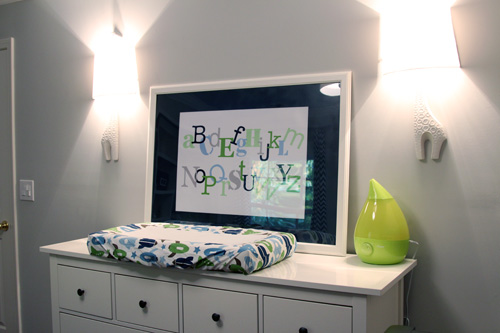
Not to shabby for $15 for a DIY print + $29.99 for a large frame and mat. Oh and a couple of bucks for spray paint!

Since this post took me 3 sessions to write, Mike is actually at Lowe’s at the moment picking up some stuff for the office and some hardware to hang this bad boy. Hopefully this weekend we can both have time, at the same time, to hang it since it’s a two person job. Then we’re one step closer to actually being ready to give you a full nursery reveal and tour. I’m so excited 🙂

Update! Since I just completed this and I didn’t have time to tackle a new project, I decided to use this as project as my summer Pinterest Challenge entry, hosted by Young House Love, Bower Power, Centsational Girl and Ten June, all of which are some of my favorite blogs. 3 out of 4 of my Pinterest Challenge projects have been some form of wall art, guess you can tell what I like to do for fun…

Oh and we did get around to hanging this print on the wall, which I posted about here.

Tada! 🙂

Copyright 2010 - 2011. The Lil House That Could. All rights reserved.