Archive for the ‘paint’ Category

A Stenciled Closet

65 Comments

Posted by Rebecca, May 4th, 2012

Around the holidays, Cutting Edge Stencils contacted me and asked if I would be interested in reviewing one of their stencils. Since I was already a fan and own one of their stencils, of course I said yes! Problem was that we hadn’t yet started the nursery and I wanted to stencil the ceiling. Thankfully, they told me I could hold off on my review until I was ready and I chose their Polka Dot Allover Stencil in the small scale size.

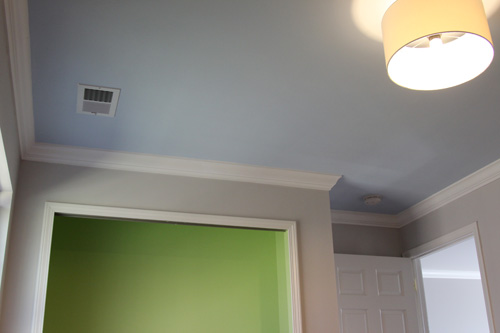
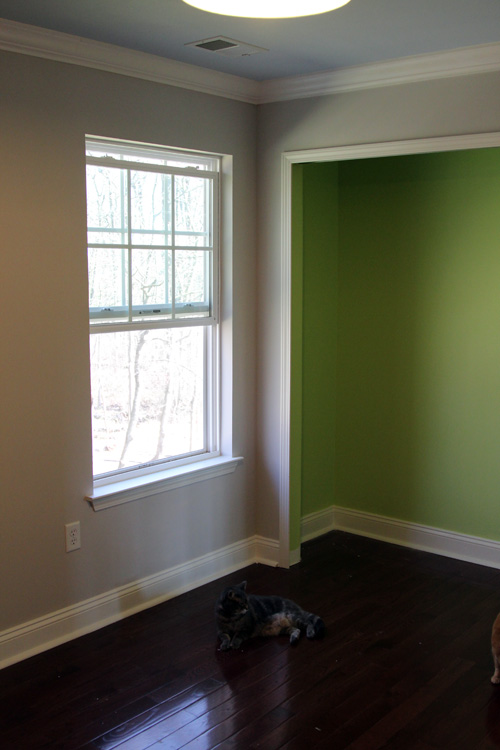
Fast forward like, 5 months. We ended up taking much longer than expected on the nursery and after painting the ceiling a dreamy blue, I decided that I didn’t want to stencil it. I focused my stencil attention on the green closet instead.

It took us a while after we painted to get to the closet, but this week I was finally able to spend some time on stenciling. Cutting Edge Stencils sent me everything I could possibly need to tackle this…. the stencil, a foam roller, a brush and a level.

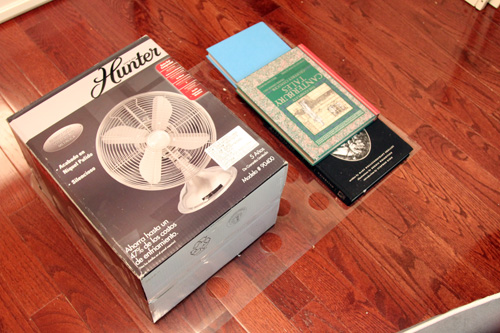
The stencil also came with detailed directions, which is how I realized that I was supposed to remove the stencil from the shipping tube immediately and store it flat. Whoops. But, like I said the other day, I flattened it with some books for a day or two and it was fine.

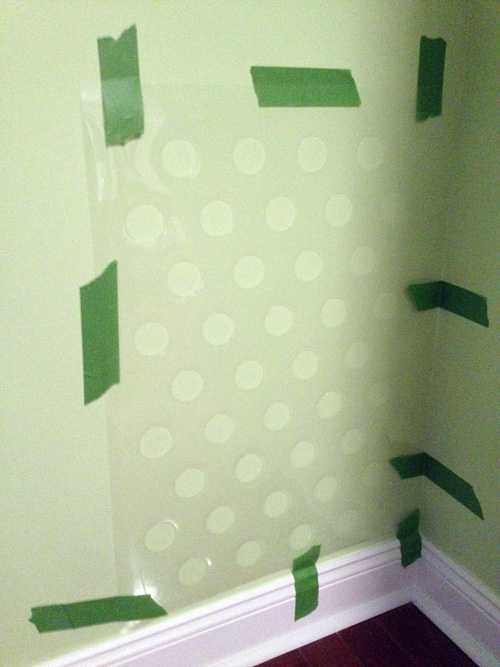
The directions stated that you could use spray adhesive to stick the stencil to the wall. Since I started this at night and didn’t really have an open space to spray it, I decided to just use Frog Tape to stick my stencil to the wall. Please excuse the mixture of night time, day time and iPhone pictures for these in-progress shots. I had to work on this over 3 days in small increments because you know, I’m kinda really pregnant at this point ๐Ÿ™‚

Yeah I taped the heck out of that first stencil. Since I started in the bottom corner of the closet, I decided not to use the level. It snapped on easily and worked well, but I quickly learned that the closet is not at all level! The baseboards are uneven, the side of the wall gets more narrow at the top and the level showed that it was slightly off. So I just started by lining the stencil up with the baseboard, as close to the corner as I could get and then just aligned the rest of my stencils based off of this first one.

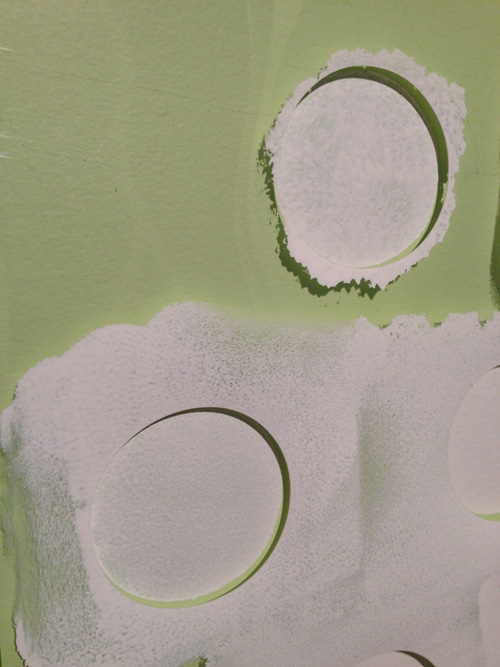
For my method, I first started with the brush. I just personally prefer holding a brush rather than a roller so I dabbed some paint on the first two rows of dots. It was looking a little sponge painted, so I decided to try the roller on the next rows. Here is the difference between the two finishes.

I decided to go with the rolling for a more consistent paint application. You can also see from the above picture that my stencil is not completely touching the wall. I was worried this would be a problem with bleed through and that I would need the spray adhesive but it did not cause any problems! Once I rolled over a dot, the pressure applied pushed the plastic stencil flush to the wall for a clean line.

The absolute key to this process? Don’t overload your roller. I did two very thin coats of paint on each dot– too much paint at once will cause bleed through.

Once it was time for the next stencil, I just overlapped the top row of the stencil I just did with the bottom row of the one I was about to start.

I also gave it about 5-10 minutes between moving the stencil so that the outside was not soaking wet with paint when I peeled it off the wall. Mostly to protect my shirt, since my belly protrudes and pulling the stencil off made it smack into my body. It also gave me a break in between rolling. I even had Mike do most of the repositioning and taping so that I got a good 15 mins between each rolling session. I had no issues whatsoever with paint being on the back of the stencil, so I didn’t have to worry about it being completely dry when I moved it.

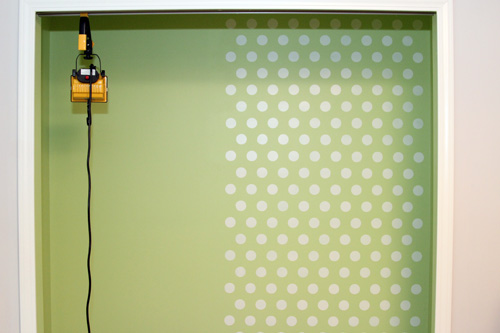
The halfway point (6 sheets of stencil)…

I repeated sheets like this until I got to the point where I could no longer fit a whole sheet.ย Then, I just overlapped the amount of dots I needed to get as close to the corners as I could.

Once I got to the top, I only needed an extra row of dots to hit the ceiling.

So I aligned my stencil with the existing dots and only had to paint the top row.

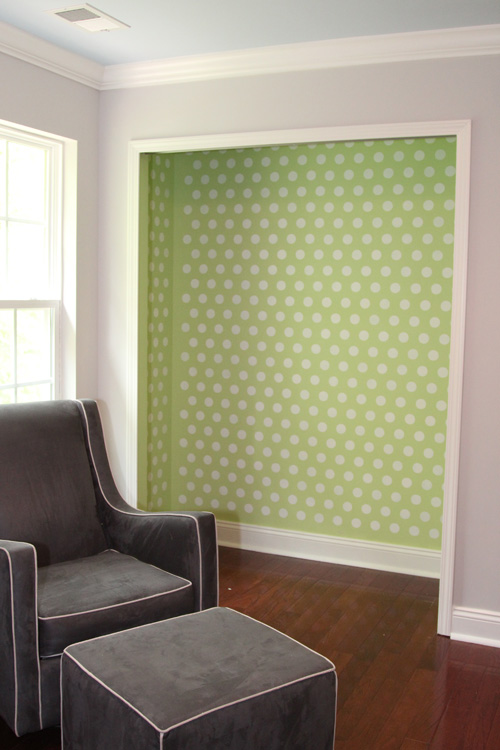
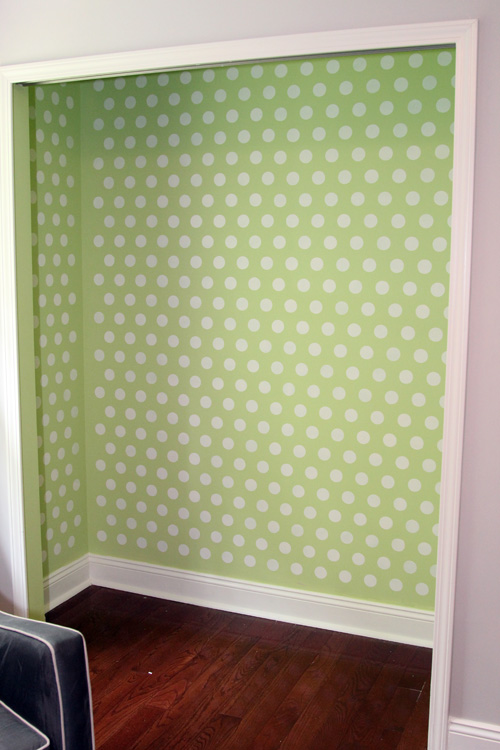
Then, I was all done!

Before…

After!

The stencil was really pretty much fool proof to use. My dots came out clean with minimal effort. This particular stencil was extremely forgiving when it came to aligning and overlapping areas.

The dot color is the same paint as our trim in the room– Olympic’s Crumb Cookie in a semi-gloss finish.

I’m so happy that I decided to stencil the closet and I can’t wait to see it with the closet organization system all in. Hopefully that piece that we’re missing arrives soon so we can get this all settled and packed with clothes!

Special thanks to Cutting Edge Stencils for sending me the stencil, roller, brush, level and inspiration. I would definitely recommend their stencils to anyone interested, the options they have are seriously endless and droolworthy.

Repetitive disclosure: I received the supplies necessary for this project in exchange for a product review. All opinions expressed are 100% mine.

Sorry, I’m Seeing Dots

5 Comments

Posted by Rebecca, May 2nd, 2012

Please excuse my absence today, I’ve been working on finishing this up…

I’ve discovered that my threshold is 6 full sheets of stencil a day, which is 270 dots, which is what you see above. After that I lose steam and need to stop, even with Mike doing the aligning, taping and removal for me. This giant thing makes it hard for me to move in a small closet…

Tonight I even poured a tray of paint in my lap, while sitting on the floor, without even realizing it. So I did what any helpless person would do and screamed for my husband, who supplied me with paper towels, helped get me off the floor and washed my paint covered pants for me. Oh and I got paint all over my feet in the same incident and proceeded to walk around the nursery. It was wonderful.

So this is taking me a little longer than expected, but I am determined to finish it. I’m going to have to do a little less typing, a little more painting and hopefully I can finish it tomorrow. Stay tuned for more pictures and details!

Wining

7 Comments

Posted by Rebecca, March 20th, 2012

Nope not winning or whining, but wine-ing. But not me…

Remember the baby shower that my mom, mother-in-law and sister-in-law threw for me last week? Well, I wanted to give them something to thank them. They all like wine, so I knew I wanted to do something wine related. My friend Laura came up with the idea of giving them each a bottle of wine with a note that said “Grandma’s Bottle”. I loved the idea and decided to take it one step further…

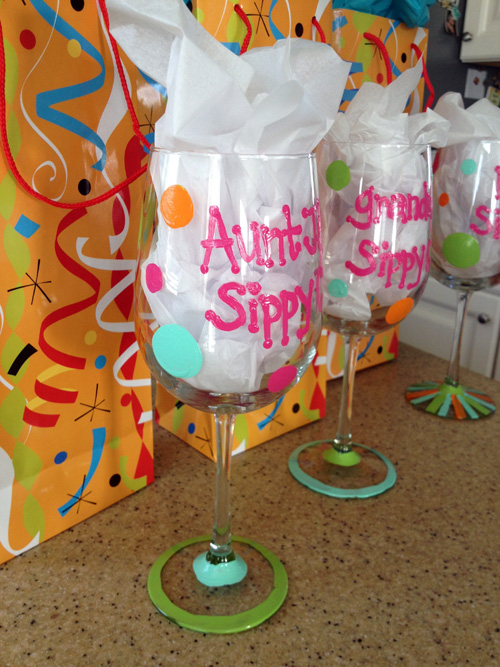
I decided I wanted to give them each a fancy painted wine glass (sippy cup) to go with their bottle. I know those fancy painted wine glasses exist, but I figured the chances of finding one that said “Aunt Jen’s Sippy Cup” were slim to none. I headed to Michael’s to weigh my options and see if I could find some glass paint to whip up a design. Once I finally found the glass paint, I saw it came with a warning that said “CONTAINS A CHEMICAL THAT HAS BEEN PROVEN TO CAUSE BIRTH DEFECTS AND/OR FERTILITY ISSUES”. Um… pregnant person here, creating a baby themed gift, to give as a thank you for throwing a baby shower. I decided using the traditional, bake in the oven, glass paints were not a good idea.
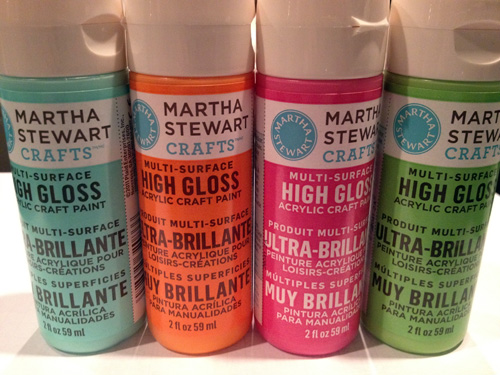
As I was leaving Michael’s, I walked by a display for Martha Stewart non-toxic craft paint that was good to use on glass. The label said that it was microwave and dishwasher safe after curing for 21 days. Jackpot!! I picked up 4 different colors… aqua, orange, hot pink and lime green in high gloss. They had several different finishes and a bunch of colors available.
I also found some clearance wine glasses at Bed, Bath & Beyond. They were marked as part of a set that was opened, so they were less than $2 each. Jackpot again!
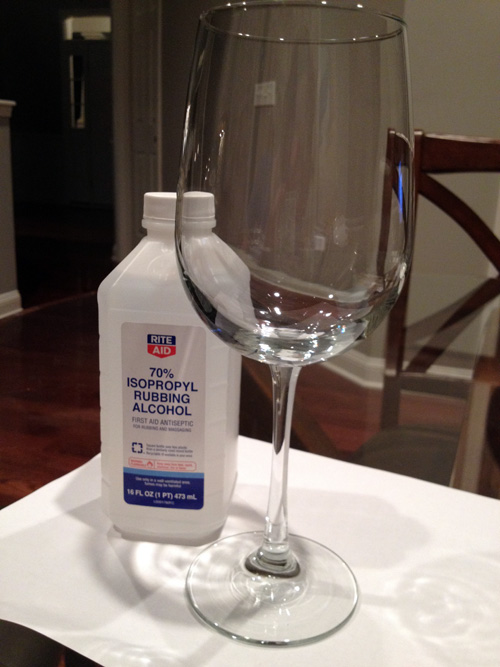
I followed the directions on the paint bottle and cleaned the glass with rubbing alcohol before painting.

Then I wrote out what I wanted each glass to say on a post-it.

Then I taped each post-it inside of the wine glass as best I could so that I could trace the letters.

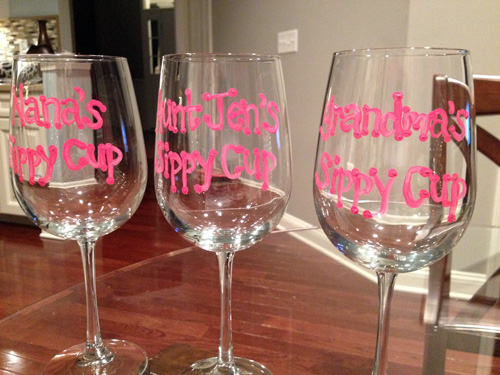
It only took me a few minutes to trace the lettering with a thin paint brush on each glass.

I added some random polka dots and doodled on each stem a little.ย Here they are after the first coat of paint.

The bottle recommends leaving an hour of drying time between each coat, but I gave it a day.

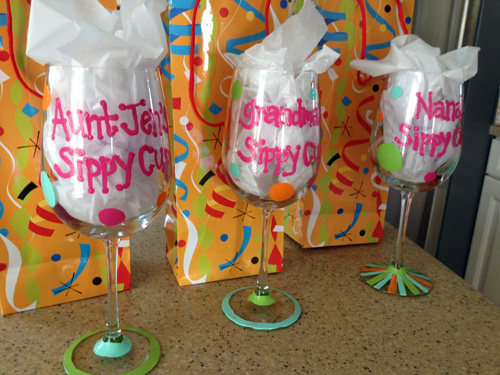
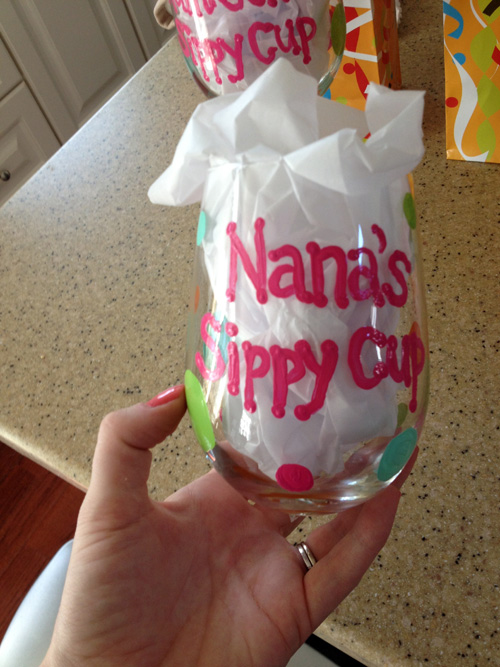
Ta-da! All done!

I paired each wine glass with a bottle of wine with a little tag on it.

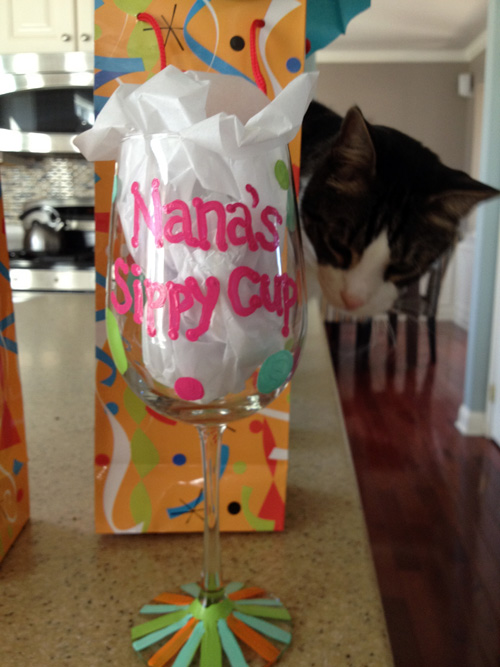
But then something happened. I took these quick after pictures right before I left for my shower. I even took what I thought was a cute picture of Macky admiring my work…

Do you see where this is going? Macky liked Nana’s wine glass a little too much and it ended up on the floor as I foolishly trusted him. I don’t have a picture of the shattered glass since I was worried about little paws, but by some miracle, the painted part stayed intact…

So Nana was given just a top of a wine glass to open. Thankfully, my mom has 5 cats and understood (especially since I had photo evidence), but it was still so frustrating that my hard work ended up on the floor. I have to make her a replacement thanks to my dear son, though I even apologized to him after the incident. He actually was being quite sweet that morning and just wanted to do the kitten facemark on my wine glass and yell “MINE!” He totally didn’t mean to knock it off the counter, he was just being my biggest fan ๐Ÿ™‚

Nursery All Painted!

20 Comments

Posted by Rebecca, March 19th, 2012

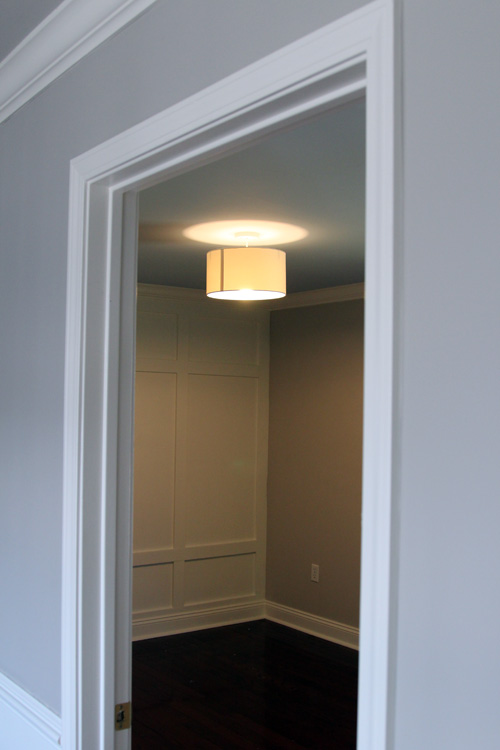
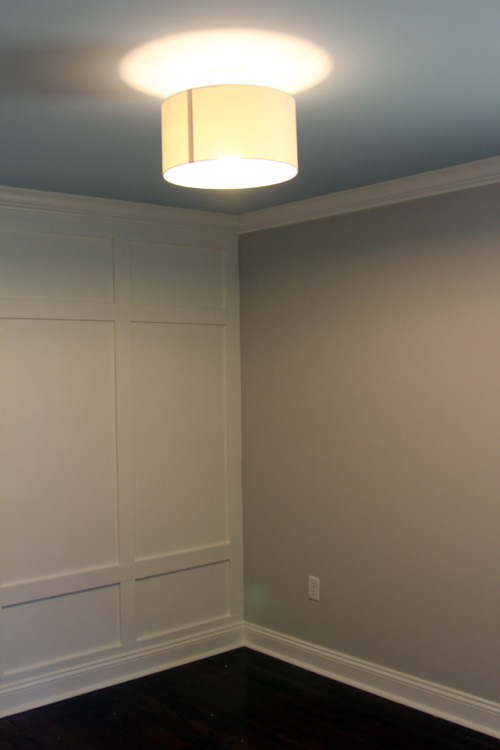
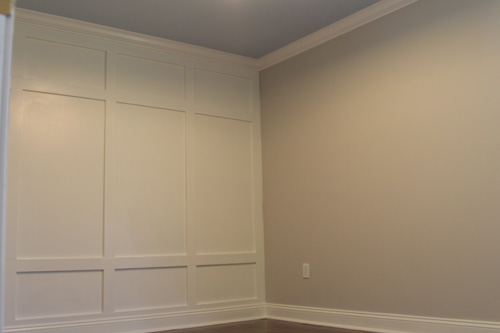
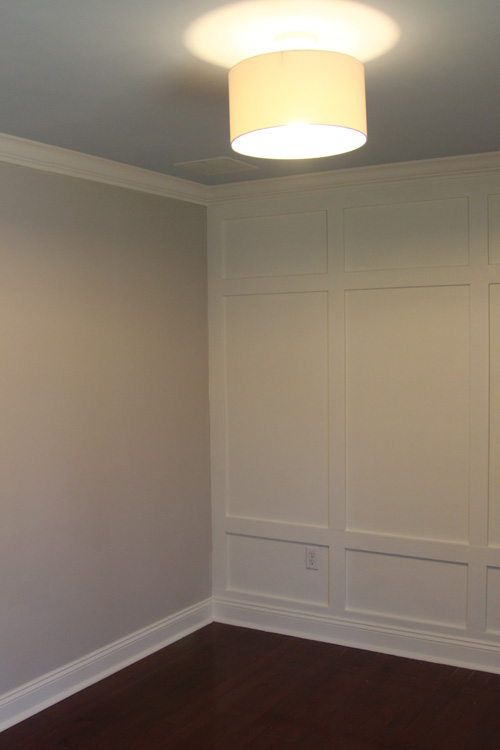
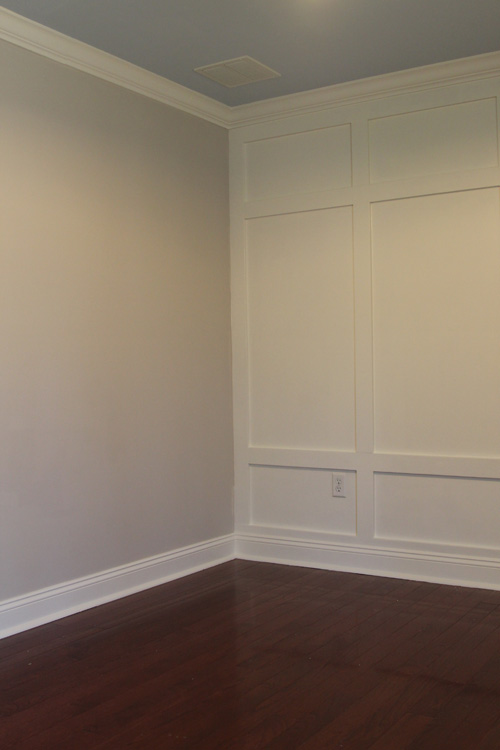
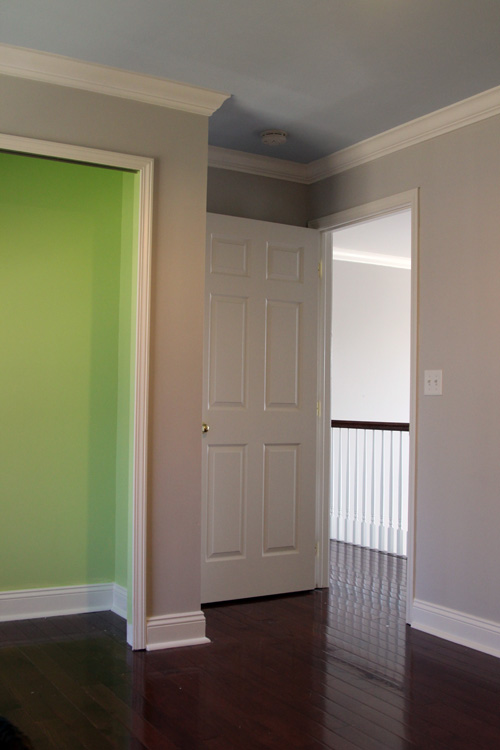
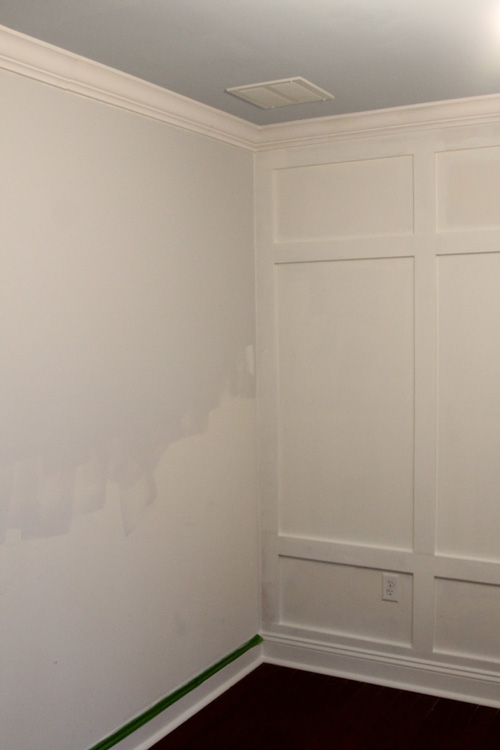
Finally! Finally this weekend Mike and I finished painting the nursery. By finished painting, I mean we literally painted the walls, paneled accent wall, crown molding, baseboards and closet in a matter of a day. So I guess you can consider this post a paint reveal, a finished accent wall reveal and a completed crown molding reveal. Weeeee!

I guess I’ll let the pictures do the talking?

Wait, quick interruption already. We ordered a silver tipped light bulb to see if that reduces the glare of our diffuser-less light fixture. When we switch the bulbs out, we’ll be sure to rotate the shade so that the seam is not smack in your face when you walk in the door. Okay back to the pictures!

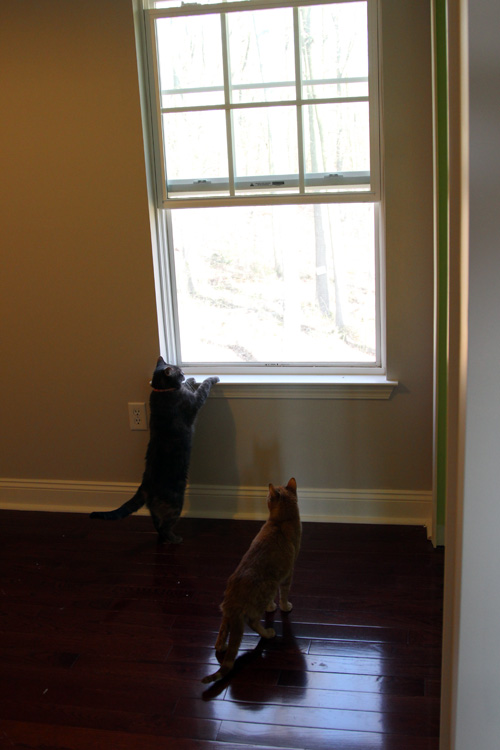
No post is complete without a photobombing cat. That’s Mowie, you don’t see her often and she thinks she’s finally getting a room away from her two brothers. Oh another note, the floors still need to be cleaned from all of the construction in here…

You probably noticed that we took the closet doors off. We’re planning on hanging curtains and installing a closet organization system.

Kitten tested, kitten approved! They’re loving the 75 degree weather we had today ๐Ÿ™‚

Here’s a quick recap for anyone interested…

Paint Colors (all Olympic paints):

Ceiling- Comes the Dawn D52-2

Walls- Gray Ghost D17-2

Closet- Lettuce Alone B68-3

Trim- Crumb Cookie C20-1

How-To:

Paneled Wall

Crown Molding

Overall, we are very happy with how everything turned out. It took us a little longer than usual to settle on the perfect gray for the walls, but we’re very happy with our final choice (which is one of the colors from our office stripes!) Mike loves the green closet and I’m still adjusting to the bold color, but I know once it has a white wood closet system on top of it and some curtains it will be less of a solid green mass. Plus I am likely going to stencil it, once I do a trial run to confirm. Now it’s on to buying furniture and adding details! Fingers are crossed for smooth sailing from here on out… ๐Ÿ™‚

A Beard, A Goose And A Ghost

1 Comment

Posted by Rebecca, March 8th, 2012

No that’s not the beginning of a bad joke, that’s how our adventures in finding the perfect shade of gray for the nursery could be described. If you remember, we started off with Olympic’s Gray Beard…

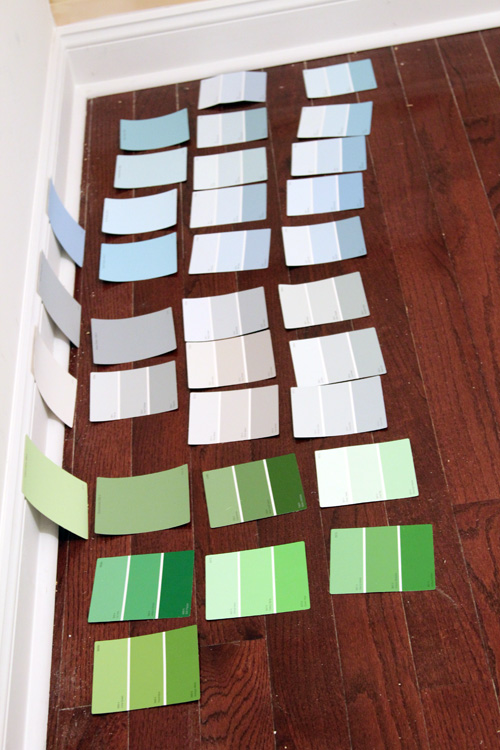
Which was way too light and way too blue for our taste. We rummaged through some of the 8 million swatches we picked up once again and chose another gray.

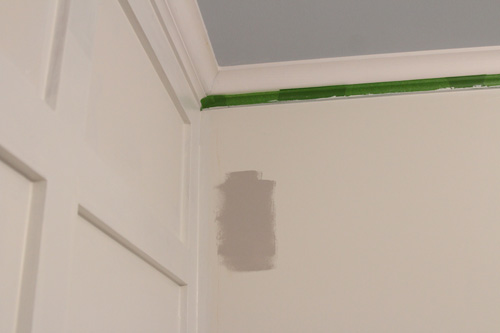
We pulled out Gray Goose and decided to (wisely) get a tester this time. But we put the color on the walls and it wasn’t what we expected…

It was too brown and had some funky purpley/pink undertones in the room. I scratched my head for a bit trying to think of what color we actually wanted. Gray was too gray, taupe was too brown… was I losing my mind? But then I started to feel like I’ve been down this road before in the search for a perfect neutral. I mean, most of our house is painted in varying shades of gray…

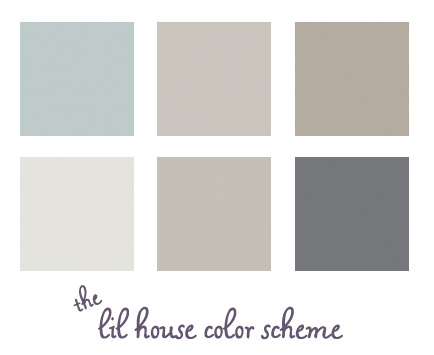
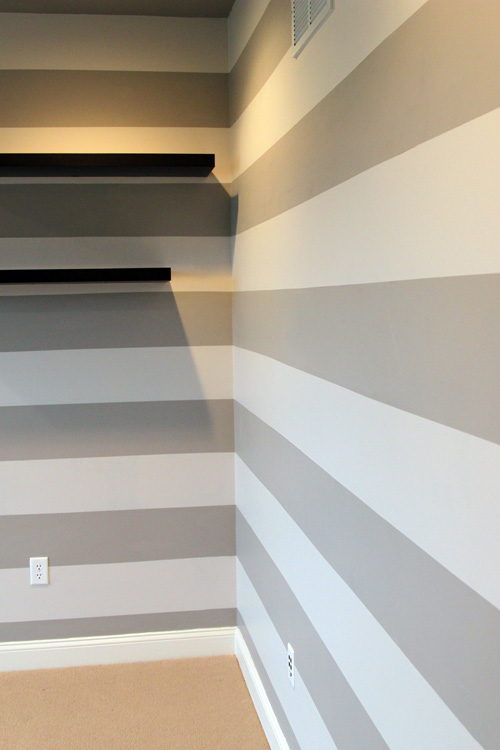
I had all of these shades of gray to look at right on our own walls. I thought our entryway color, the middle color in the top row, might give off the too brown/pinkish tinge in the nursery though it looks normal in the entryway. Then I thought that the first gray in the second row might be perfect. It’s Olympic’s Gray Ghost and we used it for the lighter stripe in our office…

By some sort of miracle, I stumbled upon the swatch while I was getting dressed in our closet on Tuesday morning. I apparently stash swatches everywhere and it was one of the neutrals we considered for our bedroom (which has yet to be painted). I immediately brought it into the nursery and held it up to the wall to see how it worked. I also held it up against the bedding, curtain fabric and my dark gray leggings which represented the glider we’re planning to buy. Everything looked promising, but since we’ve been there, done that (twice!), we wanted to try some paint on the walls. I figured we had to have some left over from the last time we painted but even better, we still had the tester we used a year ago (already!)

Mike put some of it on the wall and sent me pictures while I was at work (since I never make it home before dark)…

There is is on the bottom of the corner, with the Gray Goose above it and the Gray Beard in the background. It’s definitely much better than the other two!

You can see here that it doesn’t have that purpley/pink thing going on that the Gray Goose did.

Nor is it blue, which you can see from this picture where the Gray Ghost is on top of the Gray Beard. The testers only come in satin, hence the sheen in this picture.

After a journey through what felt like any color that Olympic started with the word “gray”, I think we have a winner! We don’t have enough paint leftover from the office to cover the entire nursery, so we have to pick up another can this weekend. Hopefully then the painting will be completed because this little set back has cost us a week of time!

Maybe rather than a bad joke, Beard, Goose and Ghost can make some childhood game. Like duck, duck, goose or rock paper scissors? I want to be a paint color namer when I grow up…

Copyright 2010 - 2011. The Lil House That Could. All rights reserved.