Blinded By The Light

10 Comments

Posted by Michael, March 28th, 2012

Sing it, you know you want to!  I am.  Blinddddeeddd by the liiigggghhtt. Bli-bli-bllllliiinndddddeedd.

YouTube Preview Image

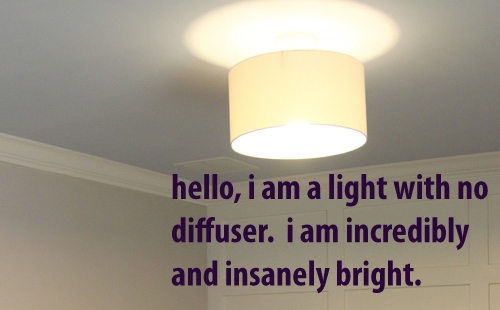
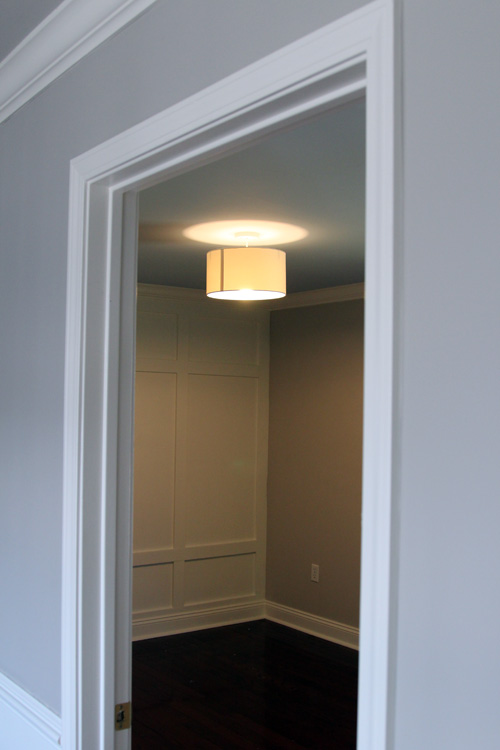
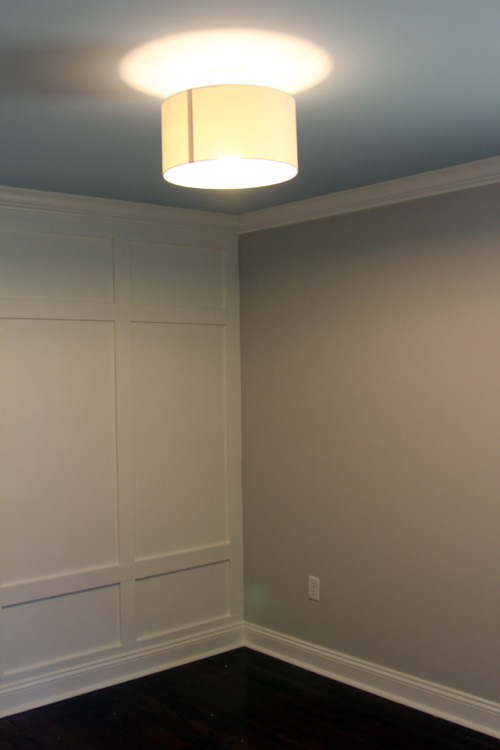
We had a problem when we installed our diffuser-less light fixture the other day, just after we finished painting the nursery.  The bulb was insanely bright, like sun-spots bright.  I think Rebecca realized this when she caught me staring into the bulb  for a solid 15 seconds.  Her line of thinking was probably, “well if Mike stares into this thing for 15 seconds at a time, then baby will do it for 30 seconds.”  Not good.

I proposed putting the light on a dimmer.  At least with a dimmer, we’d be able to control the brightness.  But then we both realized that when this baby is crying at 4am, neither one of us will think, “oh hey, this light is on a dimmer, let me decrease the brightness before I pick up this crying baby.”  Yes, out went the dimmer solution.

The bulb dips just where the shade ends, so even if we wanted to make/buy/steal a diffuser, we wouldn’t be able to use one.  The bulb would literally sit on the diffuser and eventually we would have a nice fire in our house.  Great.

We begin thinking, I joked about putting in a black light far too often and then we thought, “restaurants often use silver tipped bulbs!”   Oh, if you were paying close enough attention, you saw our solution already in Rebecca’s last post.  But enough about Rebecca.  We headed off to our local Lowes.  No silver tipped bulbs.  We then headed to the Home Depot across the street.  After having the lady search for a solid ten minutes, no silver tipped bulbs either.  We gave up and decided the internet wins again.

We got home, pulled up Amazon and a couple seconds later we bought a 100W half chrome bulb.

Now these things aren’t cheap at almost $7 a pop, but they get the job done.  They fill the room with plenty of light and allow you to look at the bulb if your eyes should cross it’s path.  Boring, if you’re me, but safe if you’re a baby.  Baby 1, Mike 0.

And here is the bulb in all it’s glory.  The chrome actually looks a bit stylish.

  • StumbleUpon
  • del.icio.us
  • Twitter
  • Facebook
  • Google Bookmarks

Welcome To My Crib

12 Comments

Posted by Rebecca, March 26th, 2012

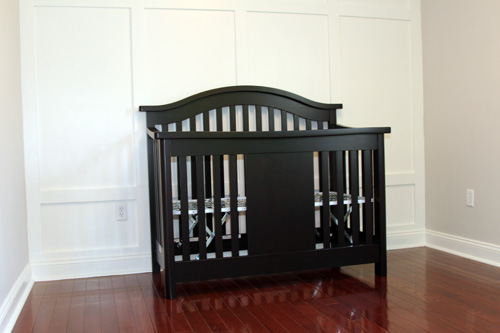
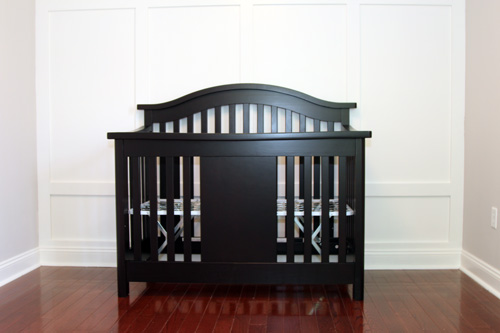
At my baby shower two weeks ago, we learned that Mike’s brother and his wife secretly bought our crib for us, yay! Last weekend, they dropped it off and this weekend we finally had a chance to put it all together. In case you forgot, we chose the Stratford crib by Baby Appleseed for it’s solid wood, formaldehyde-free construction.

When I looked at the box, I was a little surprised to see this sticker on the outside.

First I was a little taken back. I had specifically emailed Baby Appleseed to ask if the crib was a) solid wood and b) formaldehyde free. They assured me that both were true. At first glance, this sticker makes it seem as though there are some non-solid wood parts and that the crib does contain formaldehyde (though it meets California’s strict emissions standards). I emailed them again (they must hate me by now) and asked about the sticker. I was assured that what they told me was indeed true and that the sticker is required by law and put on all furniture pieces. Now I can sleep a little deeper at night and be sure that I’m not lying to my blog readers about my solid wood, formaldehyde-free crib.

Anyway, back to the crib all assembled!

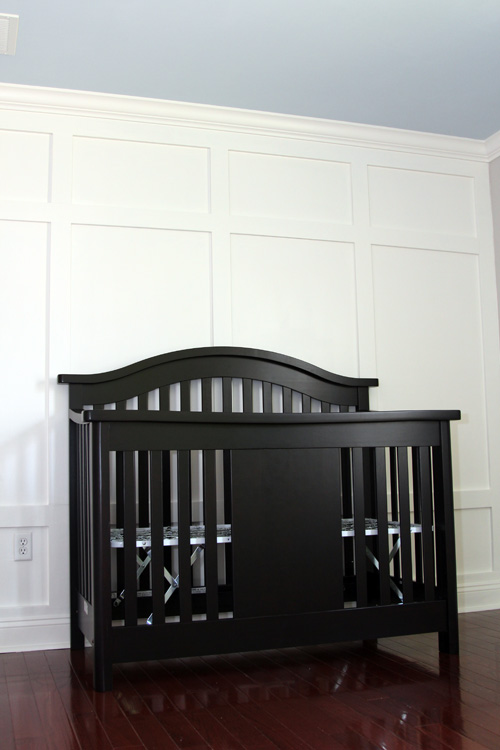
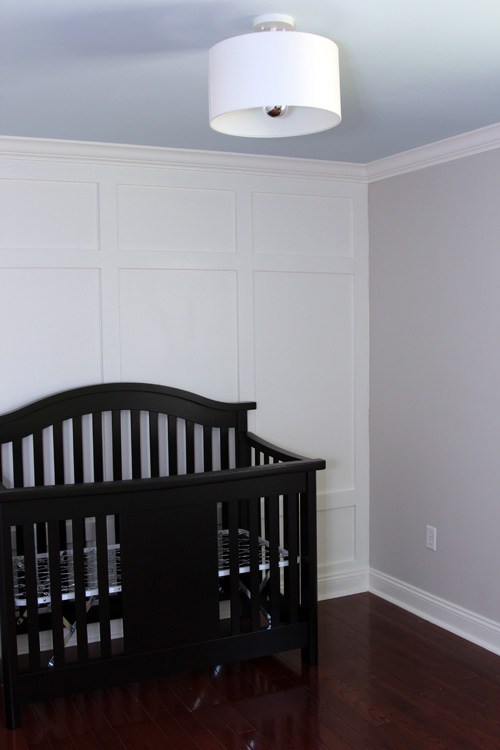
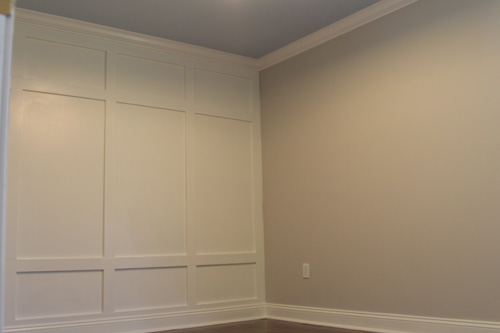
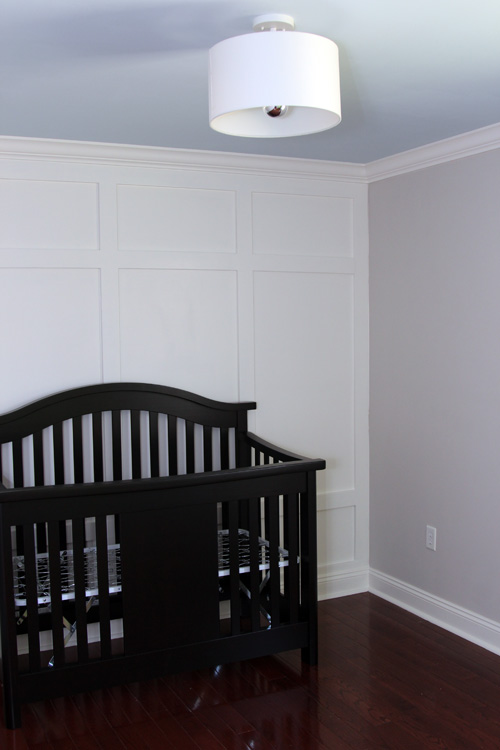
We love the way it looks against the paneled wall with the dark/white contrast going on.

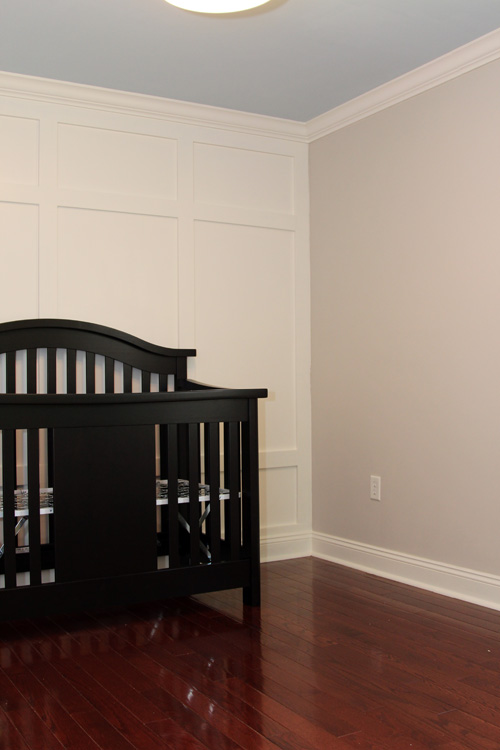
And with the blue ceiling.

And the gray walls, which was a major concern when we were choosing a paint color. We’re so happy that everything is coming together the way we envisioned it.

The crib will probably end up pushed to the left so that we can fit a glider on the same wall. If that glider ever goes back on sale at Babies R Us. I’ve been stalking it daily and it hasn’t been on sale since we first spotted it! Anyone know when big sales are at Babies R Us? Best coupon times? Anything?? It was $450 for both pieces when I first saw it and now it’s $600.

Besides the glider, everything seems to be falling into place. I placed the bedding in the crib to see how it looked with the paint and everything and it looked great. I was nervous because it has brown in it, but the walls are grayish and I wanted to be able to mix the two neutrals well. Also, we bought a dresser this weekend and I’ll have to fill you in on that later this week. We are also debating our nursery light fixture since we found another one we like, but that discussion is still in the air.

On top of all of that, we’re still in the midst of our mower and mulch search and we came to a bit of a sad realization regarding our family room carpet this weekend. Let me just say that life with a cat who is recovering from kidney cancer is not fun nor easy, though he’s doing unbelievably well. I’ll fill you in on all of that once we know a little bit more.

In conclusion, things are not slowing down around here anytime soon!

ps- Anyone hiring cats? It’s about time these guys pull their weight around here…

  • StumbleUpon
  • del.icio.us
  • Twitter
  • Facebook
  • Google Bookmarks

Out Like A Lamb

4 Comments

Posted by Rebecca, March 23rd, 2012

Anyone who lives in the Northeast knows that it has been unseasonably warm the past two weeks. Like, it was 82 degrees when I got in my car this afternoon. 82 in March is slightly ridiculous. Though we should be welcoming this weather since 1) I love spring and 2) my winter coat was going to stop fitting me any day now, the warm weather has brought about a series of unexpected issues.

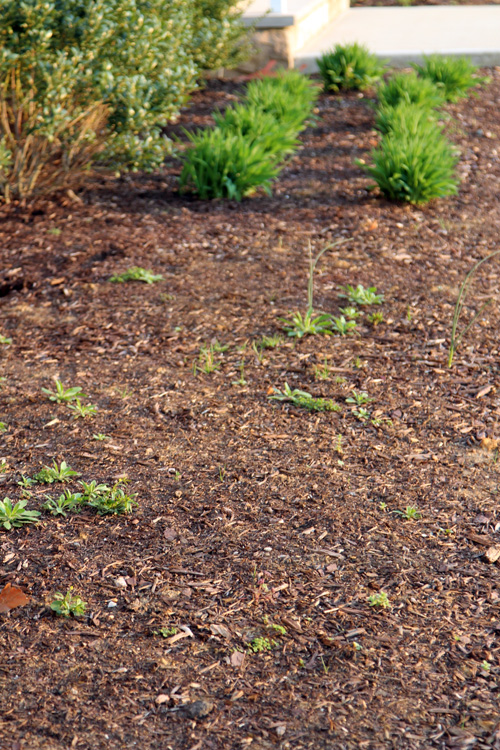
Things are blooming! Which is beautiful and all with our daylilies sprouting up…

They look great now, but if you look closely, you’ll see that we barely have any mulch. We haven’t put mulch down since July 2010.
Which we thought would be fine until after the baby comes. But it’s only March and we have weeds…

Being 8 months pregnant, there is no way I can pull those. I struggled in the fall when I had hardly any belly. This time it’s up to Mike 🙂

Here’s the other side of our front yard, where we planted some new daylilies last year that are also screaming for mulch.

With all of the work we need to finish in the nursery and all of the things we need to buy before the baby comes, this early spring is more of a pain. I remember how awful putting down new mulch was when I wasn’t pregnant, so I know I can’t help Mike do it.

On top of the mulching issue, we’re dealing with a much larger issue… Our grass is turning green.

Which means it will soon be growing. Which means it will need to be mowed soon. For the first 2 summers we lived here, we had a lawn service cut our grass. The first time we cut the grass, Mike did it with our push mower and it took him 4 hours to cover our whole yard. We didn’t want to invest in a ride on at the time, so we found a landscaping company that cut our grass for $40/cut. The first year we lived here it was insanely hot and dry, so we literally got away with paying them like once a month. Last year it got expensive so we decided to cancel it. With a baby coming and Mike working from home, we figured it was a good time to cut some expenses and that Mike could dedicate more time to the yard. We thought we’d buy a ride on mower after the baby was born….but we will need one sooner.

We’ve been shopping around and the price of those things makes me want to fall over and die. I understand that we’ve already spent a lot on the lawn service, but a $1500 price tag is not something I want to swallow right now. We figured we’d do the 12 months of interest free financing that Lowe’s and Home Depot are always offering and we’d pay it off as if we were paying the landscaper. Or we can get a couple of pairs of scissors…

We might make a decision this weekend and I will keep you posted on the details, but right now we’re leaning towards a small John Deere. Anyone have any experience or recommendations? We live on a half acre of mostly grass and want something basic.

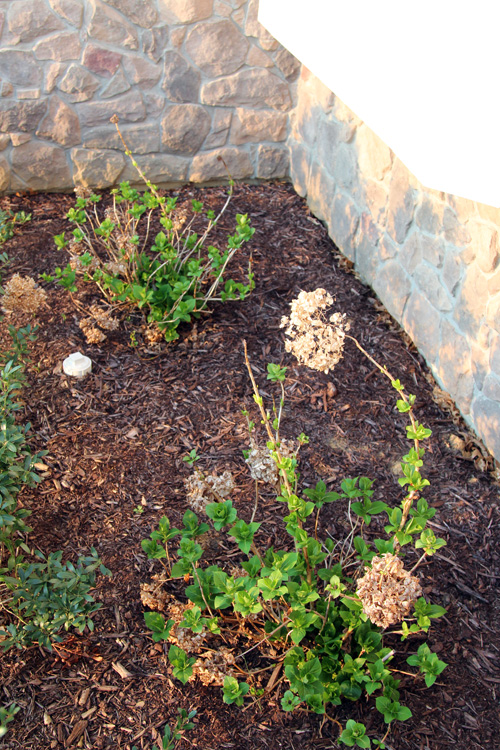
In happier news, we can officially begin hydrangea watch 2012 🙂

I can’t wait until they bloom. Wait, was I supposed to remove the dead blooms from last year? I meant to cut them when they were alive so I could enjoy them, but I didn’t…Whoops. I’m an awful gardener.

  • StumbleUpon
  • del.icio.us
  • Twitter
  • Facebook
  • Google Bookmarks

Wining

7 Comments

Posted by Rebecca, March 20th, 2012

Nope not winning or whining, but wine-ing. But not me…

Remember the baby shower that my mom, mother-in-law and sister-in-law threw for me last week? Well, I wanted to give them something to thank them. They all like wine, so I knew I wanted to do something wine related. My friend Laura came up with the idea of giving them each a bottle of wine with a note that said “Grandma’s Bottle”. I loved the idea and decided to take it one step further…

I decided I wanted to give them each a fancy painted wine glass (sippy cup) to go with their bottle. I know those fancy painted wine glasses exist, but I figured the chances of finding one that said “Aunt Jen’s Sippy Cup” were slim to none. I headed to Michael’s to weigh my options and see if I could find some glass paint to whip up a design. Once I finally found the glass paint, I saw it came with a warning that said “CONTAINS A CHEMICAL THAT HAS BEEN PROVEN TO CAUSE BIRTH DEFECTS AND/OR FERTILITY ISSUES”. Um… pregnant person here, creating a baby themed gift, to give as a thank you for throwing a baby shower. I decided using the traditional, bake in the oven, glass paints were not a good idea.

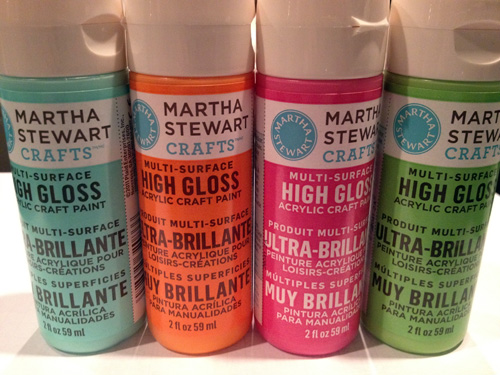
As I was leaving Michael’s, I walked by a display for Martha Stewart non-toxic craft paint that was good to use on glass. The label said that it was microwave and dishwasher safe after curing for 21 days. Jackpot!! I picked up 4 different colors… aqua, orange, hot pink and lime green in high gloss. They had several different finishes and a bunch of colors available.

I also found some clearance wine glasses at Bed, Bath & Beyond. They were marked as part of a set that was opened, so they were less than $2 each. Jackpot again!

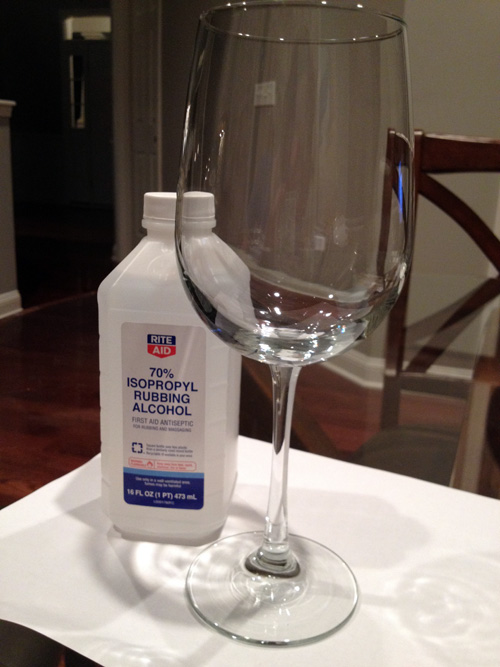
I followed the directions on the paint bottle and cleaned the glass with rubbing alcohol before painting.

Then I wrote out what I wanted each glass to say on a post-it.

Then I taped each post-it inside of the wine glass as best I could so that I could trace the letters.

It only took me a few minutes to trace the lettering with a thin paint brush on each glass.

I added some random polka dots and doodled on each stem a little. Here they are after the first coat of paint.

The bottle recommends leaving an hour of drying time between each coat, but I gave it a day.

Ta-da! All done!

I paired each wine glass with a bottle of wine with a little tag on it.

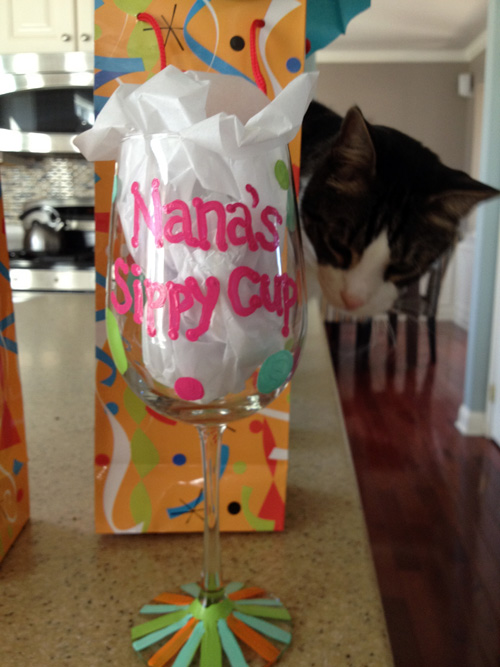
But then something happened. I took these quick after pictures right before I left for my shower. I even took what I thought was a cute picture of Macky admiring my work…

Do you see where this is going? Macky liked Nana’s wine glass a little too much and it ended up on the floor as I foolishly trusted him. I don’t have a picture of the shattered glass since I was worried about little paws, but by some miracle, the painted part stayed intact…

So Nana was given just a top of a wine glass to open. Thankfully, my mom has 5 cats and understood (especially since I had photo evidence), but it was still so frustrating that my hard work ended up on the floor. I have to make her a replacement thanks to my dear son, though I even apologized to him after the incident. He actually was being quite sweet that morning and just wanted to do the kitten facemark on my wine glass and yell “MINE!” He totally didn’t mean to knock it off the counter, he was just being my biggest fan 🙂

  • StumbleUpon
  • del.icio.us
  • Twitter
  • Facebook
  • Google Bookmarks

Nursery All Painted!

20 Comments

Posted by Rebecca, March 19th, 2012

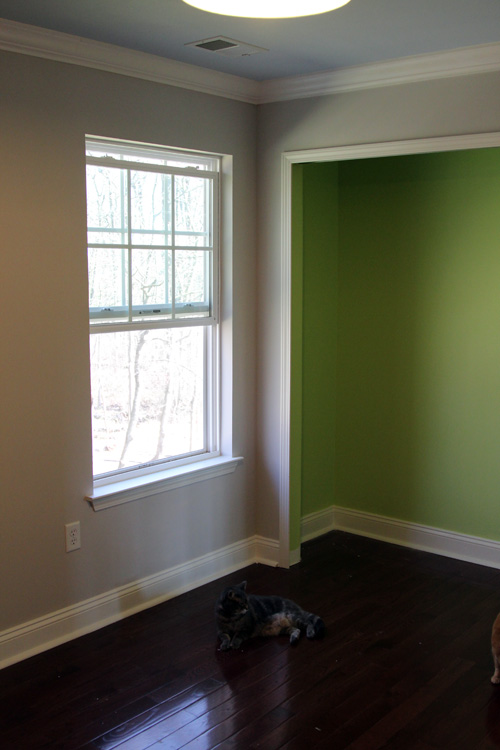
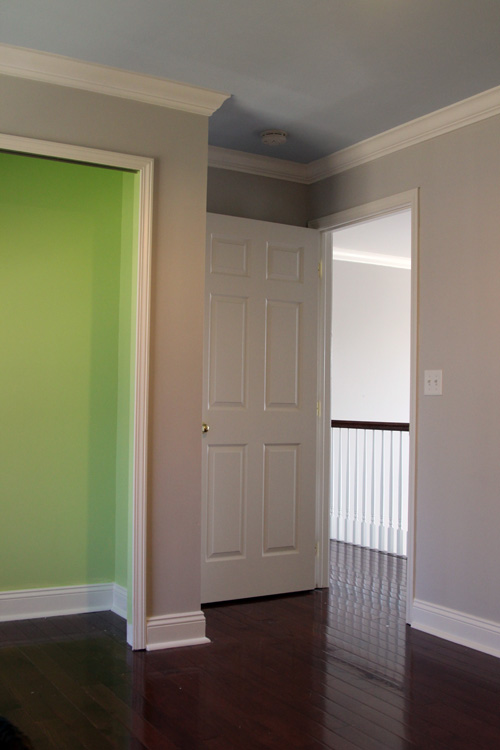
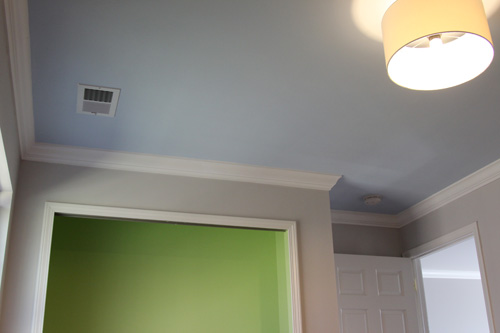
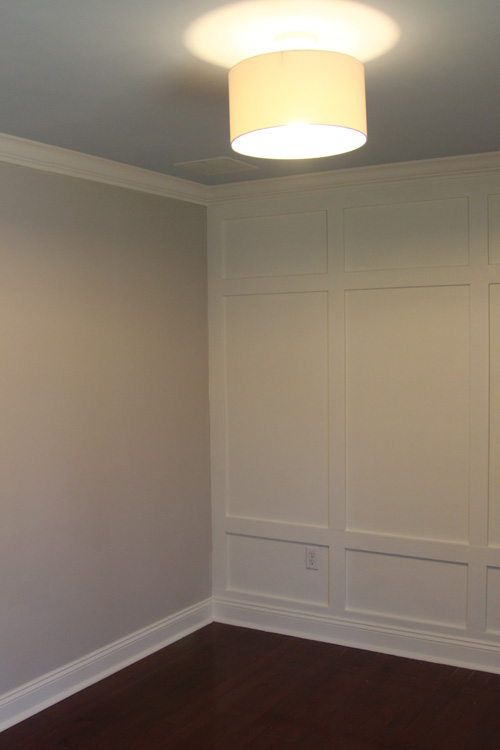
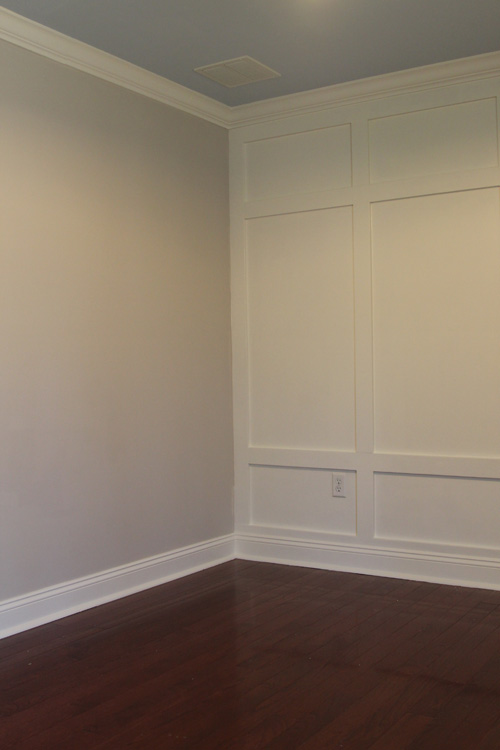
Finally! Finally this weekend Mike and I finished painting the nursery. By finished painting, I mean we literally painted the walls, paneled accent wall, crown molding, baseboards and closet in a matter of a day. So I guess you can consider this post a paint reveal, a finished accent wall reveal and a completed crown molding reveal. Weeeee!

I guess I’ll let the pictures do the talking?

Wait, quick interruption already. We ordered a silver tipped light bulb to see if that reduces the glare of our diffuser-less light fixture. When we switch the bulbs out, we’ll be sure to rotate the shade so that the seam is not smack in your face when you walk in the door. Okay back to the pictures!

No post is complete without a photobombing cat. That’s Mowie, you don’t see her often and she thinks she’s finally getting a room away from her two brothers. Oh another note, the floors still need to be cleaned from all of the construction in here…

You probably noticed that we took the closet doors off. We’re planning on hanging curtains and installing a closet organization system.

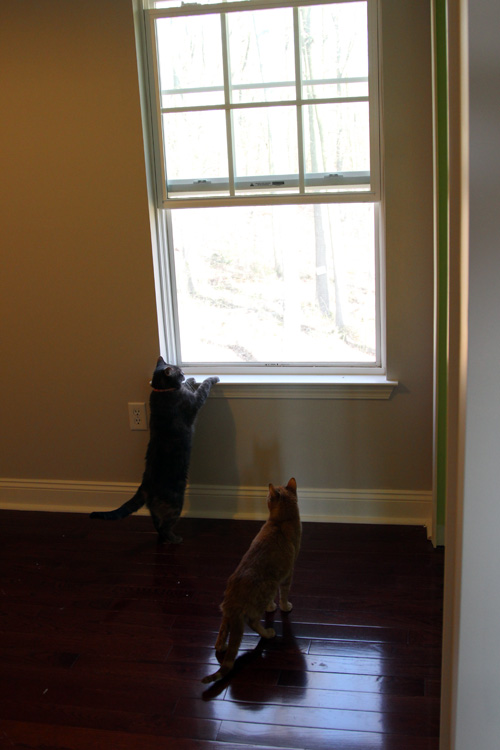
Kitten tested, kitten approved! They’re loving the 75 degree weather we had today 🙂

Here’s a quick recap for anyone interested…

Paint Colors (all Olympic paints):

Ceiling- Comes the Dawn D52-2

Walls- Gray Ghost D17-2

Closet- Lettuce Alone B68-3

Trim- Crumb Cookie C20-1

How-To:

Paneled Wall

Crown Molding

Overall, we are very happy with how everything turned out. It took us a little longer than usual to settle on the perfect gray for the walls, but we’re very happy with our final choice (which is one of the colors from our office stripes!) Mike loves the green closet and I’m still adjusting to the bold color, but I know once it has a white wood closet system on top of it and some curtains it will be less of a solid green mass. Plus I am likely going to stencil it, once I do a trial run to confirm. Now it’s on to buying furniture and adding details! Fingers are crossed for smooth sailing from here on out… 🙂

  • StumbleUpon
  • del.icio.us
  • Twitter
  • Facebook
  • Google Bookmarks
Copyright 2010 - 2011. The Lil House That Could. All rights reserved.