Posts Tagged ‘bookcases’

Previously on The Lil Office 2.0

8 Comments

Posted by Michael, June 28th, 2012

Previously on the lil office that could, we told you our plans and initial work for the new office.  Fast forward a baby and six months later, the project resumed!

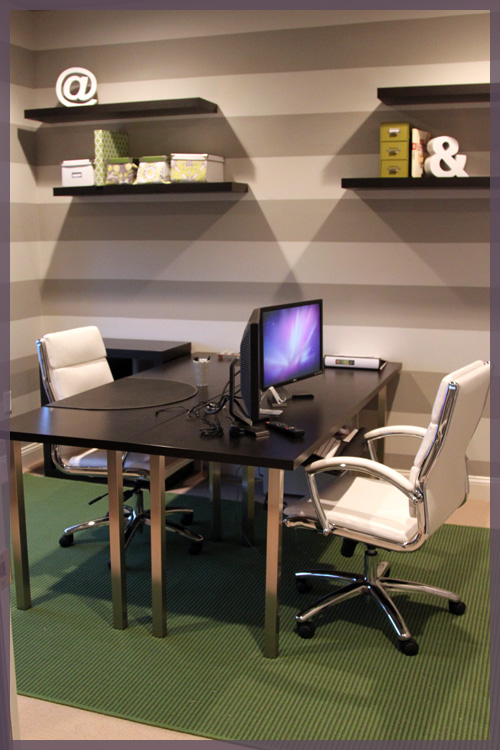
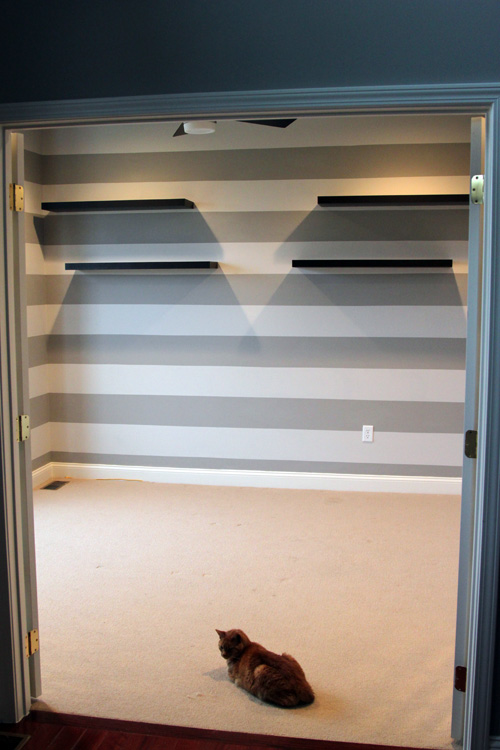
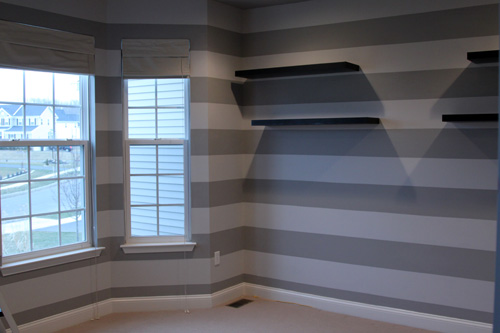
To recap, we’re moving the existing striped wall office upstairs (sans stripes).  The existing office will become a playroom and toy storage for Easton.

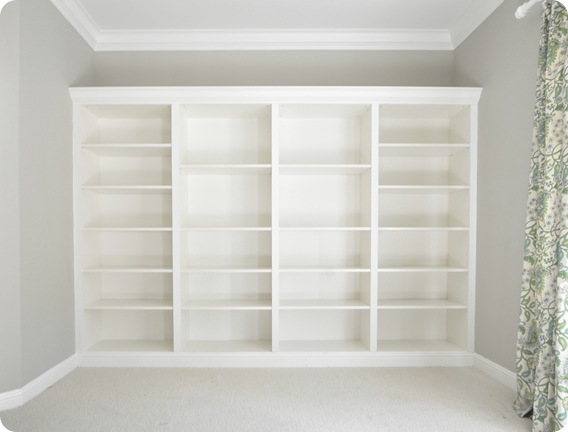
We knew the new office needed storage, so we decided to do built-ins cabinets along the wall with our windows.  Our end goal is for the new office to have built-ins much like below.
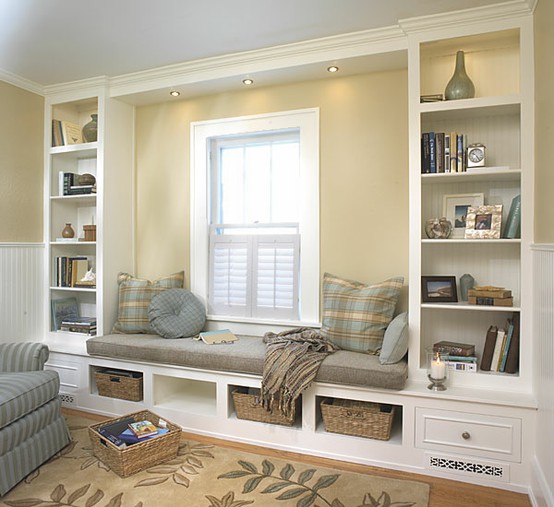
(via Plans Now)

Way easier said then done, especially when Rebecca and I lack any type of building experience. 

In late December and into early January, we thought the entire thing out.  And after several trips to Lowes to browse building materials, we decided our best option was to go with prebuilt cabinets via Ikea.
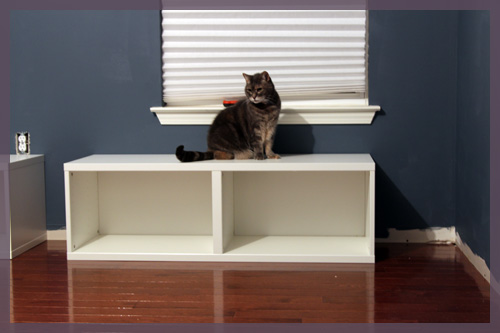
We figured having the base cabinets somewhat prebuilt would make the process a ton easier.  It did make things easier.  But looking back now, we should have just built these things from scratch.  Oh well, there’s always next time!
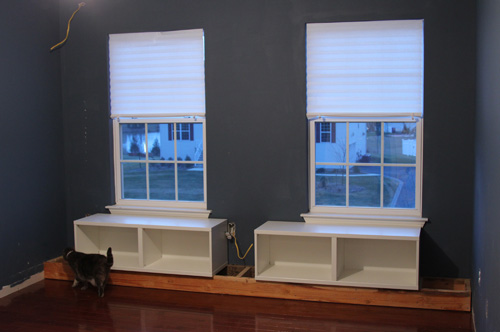
I built a frame out of 2×6 boards.  This allowed us to elevate the cabinets so we can place molding underneath them.  As you can see above, I also ran some electrical towards the top of the wall in order to do some puck lighting down the road.

The above is where I left you, six months ago.

With Easton here now, we knew we had to get this office completed.  Since I work from home these days, I need a space where I can work and Easton could play.  The existing office just couldn’t handle that.  So while Rebecca feeds Easton during the day (just about every 2 hours), I’ve been working on the new office.

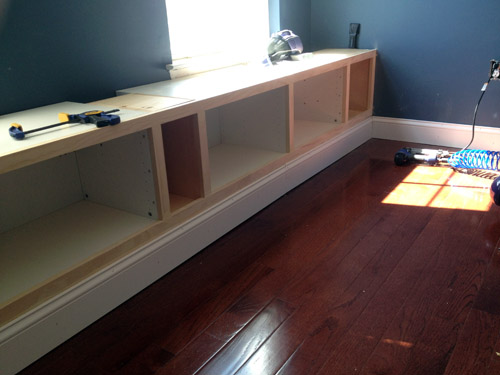
Due to the length of the wall, the Ikea cabinets couldn’t eat all the space.  I built boxes to fill the space and then attached them to the Ikea cabinets with some glue and screws. I built 3 of these boxes; two for each end and one in the middle.

Once the boxes were completed and attached to the Ikea cabinets, I secured the entire unit to the frame on the floor and to several studs within the walls.  Now since we couldn’t match the sizes between wood available at Lowes and the Ikea cabinets, I decided to add some trim.

As you can see above, adding the trim really gave everything a unified look.  And if you look even closer, I even began adding floor molding!

Once the trim was added, Rebecca and I began wondering what we should do with the top.  We eventually want to add a fabric top, but ultimately wanted this thing to look finished.

Since my saw is unable to do these types of cuts, I had Lowe’s cut down two ready-to-paint wood boards to our size.

The top hangs off the cabinet tops by about a half inch which is exactly what we wanted.  It gives the cabinets a nice finished look.

And here is where we currently are.  I mounted the top with some liquid nails and some screws.  There is a seam between the two boards, but I used some wood filler to really hide it. I also added quarter round molding to the floor to match the rest of the house.

So what is next?  There is a slight gap between the top and the trim.  I had to use some shims in order to get the top completely level and in doing so, it left a teeny tiny gap.  When you walk into the room, you can’t see it.  I debated if I should let it be, but I knew it would annoy the crap out of me; even if no one could see it.  I’ll be off to Lowes in a couple days to pick up some trim to fill in this area.  Easy stuff.

I’ll also begin building the side bookcases during the week.  Now that I’m incredibly more comfortable with building these things, I’m sure I’ll be able to bang them out in a day or two.  Once completed, I’ll then work on the valance to go across the top along with the puck lighting.  Almost there!

Diggy was the first to discover the new built-ins and immediately jumped on top to check out the view!

Goal Setting 2012

3 Comments

Posted by Rebecca, January 16th, 2012

Since I finally put away our Christmas things, I feel as though I need to write out everything we want to get done around here while it’s fresh in my mind. If I could have tackled all of this tonight, I would have. I am so anxious to finally organize this house and make some progress on projects that were put on the back burner when I was busy with school.

Oh, and we have a baby coming in May so many of these items are marked urgent. Some are just marked as “they are bothering us and we’d like to do them ASAP”. Since we realize we have to prioritize (I’m approaching the third trimester here, eek), I’m putting them in the order we’d like to do them.

1. Finish built-in bench in new office

We scratched our heads and shopped for wood this weekend, but hit a standstill when we realized we need to buy a table saw or something. And we’re cheap a–es. Solution pending.

2. Move office furniture in

Mike needs this room to work in and be organized and our goal was to get him somewhat settled in the new office before the baby comes. We’re going to use the furniture we currently have with some potential hacks.

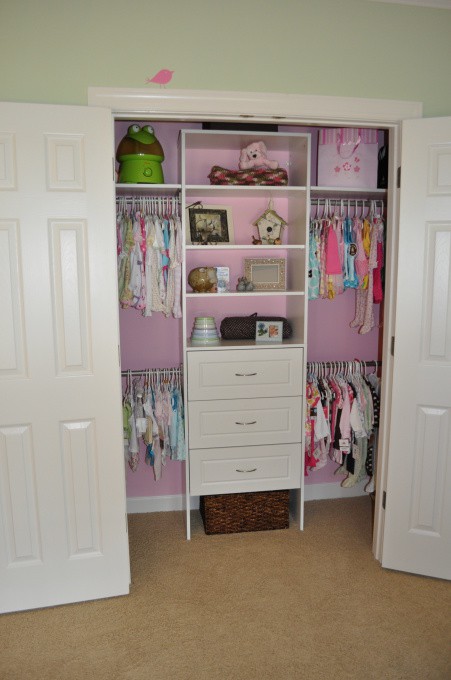
3. Remove wire rack from the baby’s closet, paint, stencil and add closet system

(from Roomzaar via Pinterest)

I put this as first in the baby’s room progress because the closet is the most needed to start to organize some of the stuff we already have. Hanging tiny little clothes in a huge closet is killllling me. Must. Make. Closet. Pretty.

4. Add board and batten to the baby’s room

(via Decorchick)

We plan to add molding high and all the way around the room, like Emily’s living room. Pattern to be determined 🙂

5. Add crown molding to the baby’s room, paint, add furniture, etc.

I know this category is huge and can probably be another to-do ist in itself, but we kinda have to wait until we get through other stages to work this part out. We have furniture in mind and a general idea of where we’re going, so we’ll share as much of it as we can as we go along (being sure not to spill any gender specific details :))

6. Replace playroom carpet

We originally planned to do this before Christmas but that didn’t happen. Since it’s not a space we’ll be using right away, we put the new office and the baby’s room first. But this carpet has got to go. If carpet wasn’t so expensive, we probably would have committed to this already.

7. Add bookcases to playroom

(via Centsational Girl)

We want to add some Ikea bookcases to the wall where the shelving is in the picture above and make them look built-in, like Kate did with hers.

8. Finish up the molding in our entryway

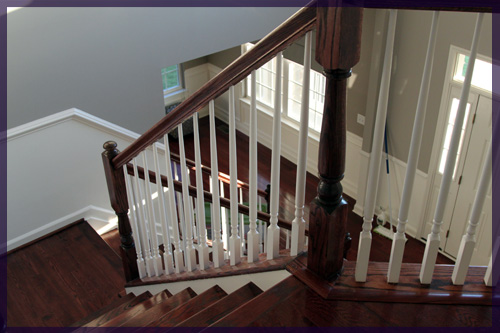
We need to add the box portion underneath our chair rail in the entryway and upstairs hallway. Mike is itching to finish this one but we reeeally need to do the baby’s room first. We’re just dying to get to number 8…

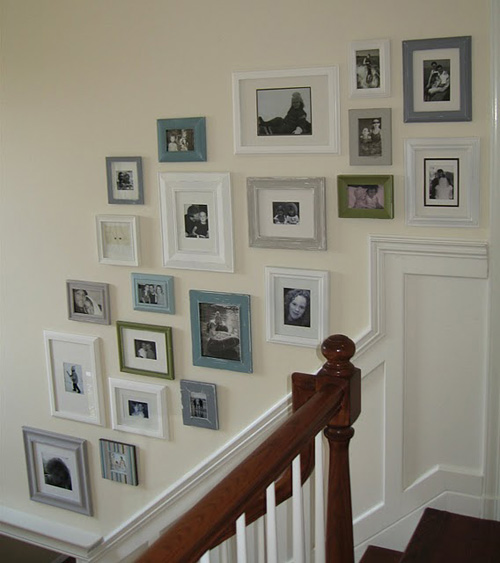
9. Start our gallery wall(s)

(via Sawdust and Paper Scraps)

I’ve shared this inspiration picture from Sandra before and we’ve been slowly accumulating frames to hang all the way throughout our entryway. We haven’t hung any yet because we figured we’d have to take them down to nail into the wall to finish the molding, so we wanted to do #7 first.

10. Build outdoor kitchen

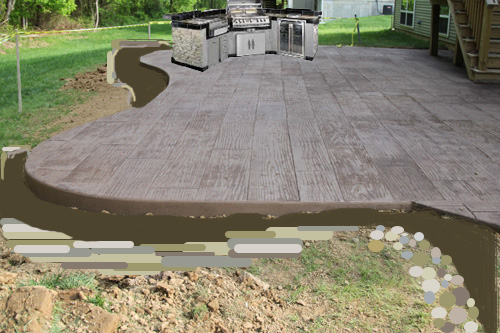
Despite the fact that we’ll have a newborn, we’re hoping to make some progress in our backyard this year. We seeded back there in the fall and we hope to do something with the landscaping and start working on the built-in grill we’ve been dreaming of (and drawing in Paint :))

Um anyone else overwhelmed by this list? I’m about to have a Jessie Spano freak out moment and start screaming “there’s never enough time!!!”….

Preliminary Playroom Plans

5 Comments

Posted by Rebecca, December 1st, 2011

Say that 3 times fast!
So we’ve already told you that our striped office is becoming a playroom. We’ve been scheming this since we moved in (probably before) so when we painted those stripes it was totally in our plan to do something fun, yet classy, and neutral. I know that kids come with a lot of gear and we wanted a place on the first floor to store things easily. Other than the stripes, I didn’t know what to do storage wise. For one, we have always known that we want to build a window seat by the bay window.

That’s a picture from when we painted those stripes back in March. We figure a nice little cushioned bench there with storage underneath would provide some much needed adult seating. Plus it would be so pretty 🙂

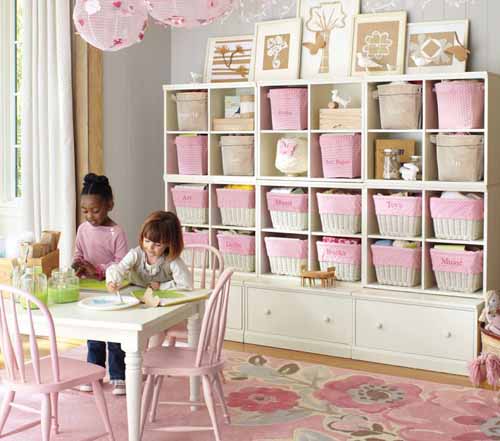
As for toy, book, gadget, whatever storage, I wanted something that didn’t look childish. This room is still the front room in our house and it has double french doors enterting it. I wanted it to be kid friendly yet still flow with the entryway. We received a Pottery Barn Kids catalog a while back and I spotted this little storage system, which was getting closer to what I was thinking…

(via Pottery Barn Kids)

I like the closed and open storage and I love the artwork on the top, but my problem with most playroom specific stuff is that it is so short. I understand that kids are short and it’s meant for them, but lines often cut a room in half. I don’t think some higher shelves for less used things or artwork would hurt anyone 🙂

While reading one of my favorite blogs, Centsational Girl, I saw that she took some Billy bookcases from Ikea and turned them into built-ins. I’ve wanted to do this forever and she has convinced me… and showed how it’s done.

 (via Centsational Girl)

I got all giddy when I saw this and immediately told Mike that WE MUST DO THIS FOR THE PLAYROOM. While we’re not comfortable building bookcases, we’re comfortable adding molding, which is all that needs to be done here. We can throw some baskets in the lower shelves for toy dumping and maybe even keep some decorative things up high. Ever since I saw this, I cannot stop thinking about it. It was the motivation for our Ikea trip last weekend and why I wanted to get a nicer light.

We have time before we’ll probably do much else with this room since the baby won’t be roaming around in there on his/her own for a while. But it will be nice to store things for the time being and have a room for the baby that’s off limits for the cats. You know, since our house is mostly hardwood now 🙂

I’m on a mission… called make playroom functional and fun for kids, yet pretty for adults 🙂

Holy Inspiration

10 Comments

Posted by Rebecca, June 16th, 2011

Have I mentioned before that I love Pinterest? Every single day something on there makes the little hamster in my head jump on his wheel and start running. I have never seen so many amazing things I would never think of on my own. I consider time spent on Pinterest as research and development time for the casa, which is even more important than time spent doing projects 🙂

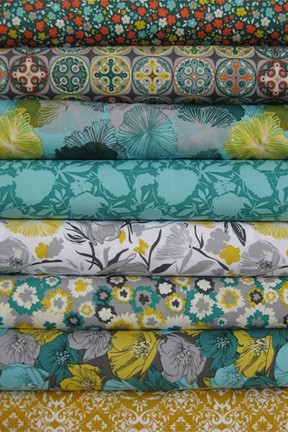
I usually hop on Pinterest for a little bit after I finish my post for the night. Last night I spotted these fabrics and were instantly drawn to them…

(via, I always try to link to the original source, but the link in the pin isn’t working :()

When I look at them closely, I probably wouldn’t choose any of these fabrics on their own but the color scheme is glorious. It reminds me of Kerry’s new nursery and the pom mobile she just made

So I was thinking, since my living room is taupey with blue gray shades, maybe I can incorporate a little yellow?

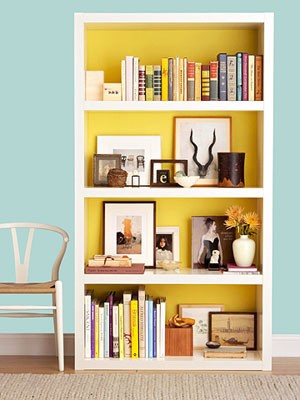
Liiiike, maybe in those bookcases I wanted to add?

(via)

I’d probably go with a softer yellow than in that image, but I was totally feeling this plan last night. Our living and dining rooms connect and our Target dining room chairs have a hint of gold in them. It would be a nice way to bring everything together!

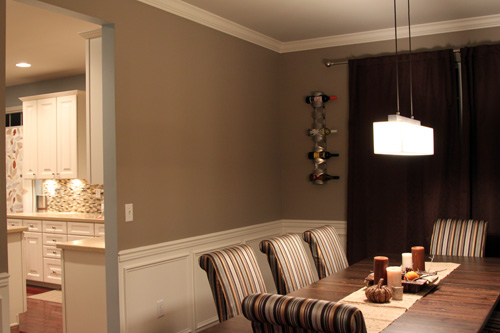
And just for fun, here’s the view of the kitchen from the dining room I’ve never shown you. It’s from Thanksgiving time and was taken at night, which is why the curtains are drawn and I never posted it here.

So as much as I’d like to change it up, all of our rooms are fairly open. I definitely want to keep the living room classy, but I think I’d like to mix another color in. That is, until I discovered this picture also on Pinterest last night…

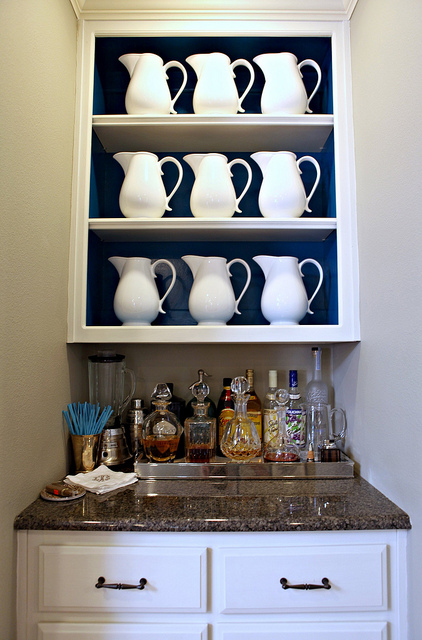
(via)

It’s a subtle color scheme, but not at all boring. It’s not overly matchy or themey either. After attacking the original source, La Dolce Vita, I found this close up image of those shelves back there…

Hm bold blue accent bookcases? Perhaps 🙂 Regardless, I am now totally inspired to take my living/dining room combo up a notch!

A Not So Formal Living Room

10 Comments

Posted by Rebecca, May 24th, 2011

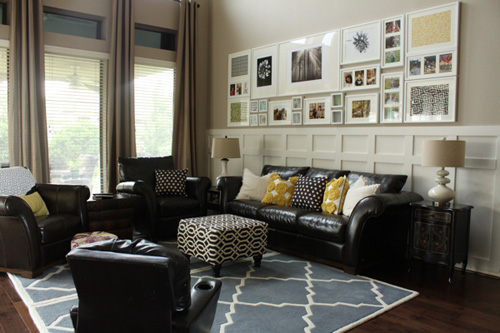
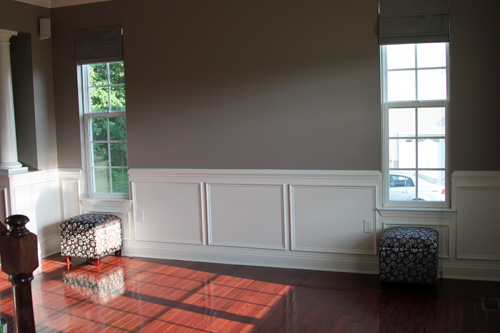
I’ve already declared my love of bookcases, but I’ve been scheming some more. Mike and I wanted to add some bookcases to the sitting room portion of our master someday, but lately I’ve been thinking about the giant wall in our formal living room. Yes, the room we never mention because it is completely empty.

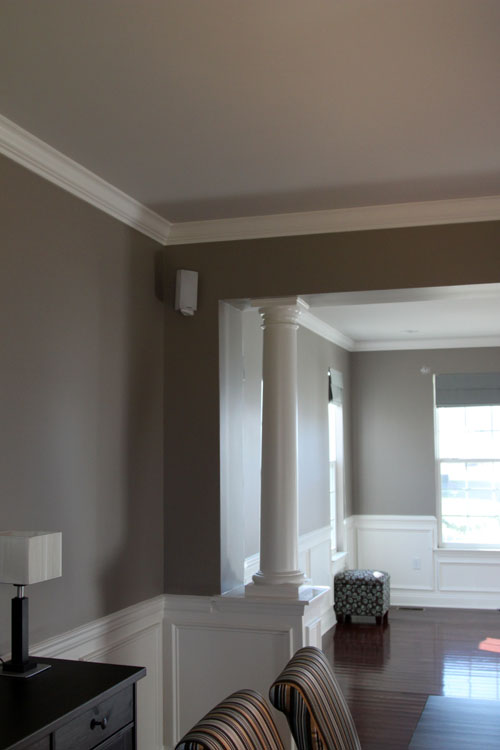
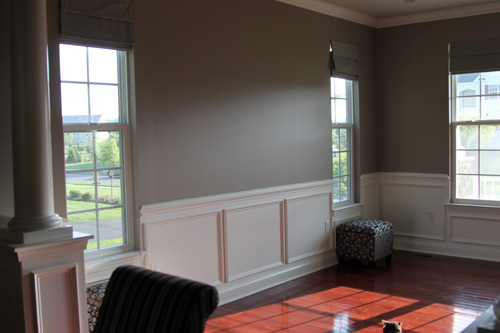
I didn’t consider adding bookcases here because of those 2 skinny windows on either side of the room. We actually paid extra for those windows, as everything with new homes is an option. We added every optional window they had. Those two skinny windows are the only windows in the entire house that face that direction. Mowie is very appreciative of the morning light 🙂

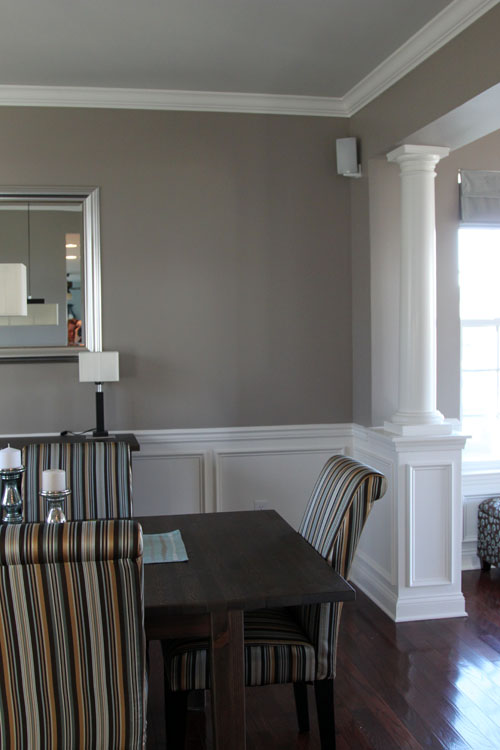
I also thought we’d have to save that longest wall for a couch. Here’s the view from the dining room.

Here is a better view of the windows overlooking our porch.

At the moment, I am thinking of using my master bedroom idea for this room. We need some serious cookbook storage. Yes, we have a million vegetarian cookbooks we’d like to easily access, those count as books, right? 🙂

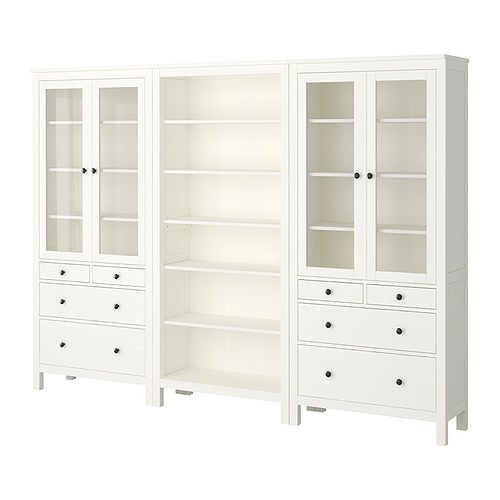
Mike and I were thinking of buying some Ikea bookcases. More specifically, maybe some sort of Hemnes combination.

There are a bunch of different sizes and styles we could chose from to make it look more custom. To round off our sitting room, I wanted to add two leather chairs, also from Ikea.

Okay, I’m panicking, they’re not on the Ikea website anymore! I hope they’re not gone! I first spotted them in Katie Bower’s formal living room.

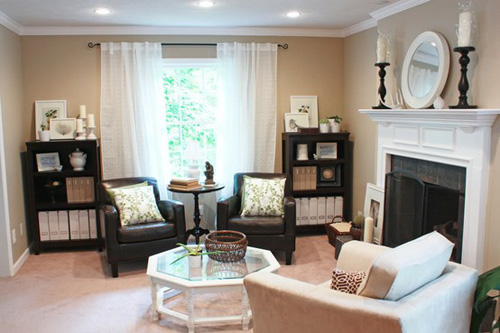
Hopefully Ikea still has them since they were just $199 each. Otherwise this post is foiled. Whamp whamp! But I was thinking of putting them in front of the big double windows, with some bookcases on the large wall. We’re going for the effect that Sandra has in her living room.

But with two skinny windows we’ll manage to work with. Adding some bookcases would give me the opportunity to paint the back of them a fun color like I’ve been dyiiing to do! Here are some of my current favorites from the blogosphere…

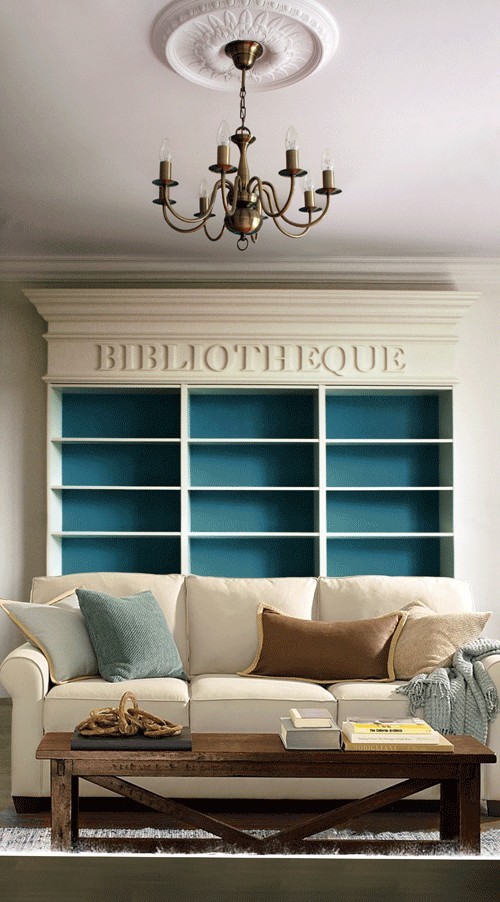
John & Sherry of Young House love painted theirs a teal color

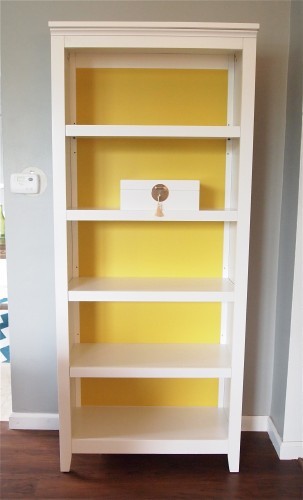
Jessie from Cape 27 went with a bright yellow (which is a Target bookcase btw!)

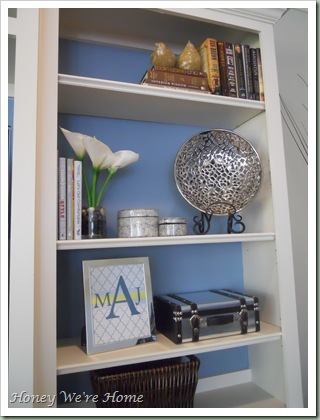
Megan from Honey We’re Home painted her built-ins a soothing blue

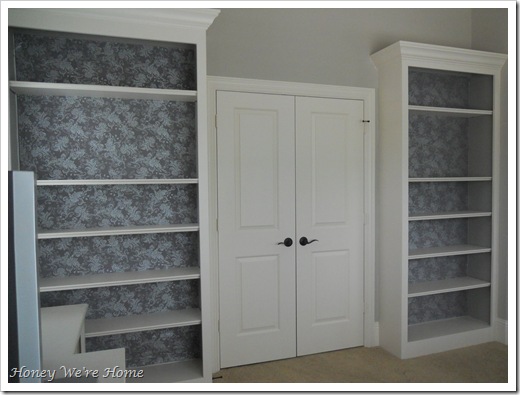
Depending on how accessories and what not go, I also like the idea wallpapering or lining the bookcases with fabric to add some more pattern to the room. Here’s an example of a fabric lined bookcase, also from Megan at Honey We’re home.

My fears of not being able to add a couch to this room if we had bookcases were alleviated this week when I spotted this image on Pinterest which is originally from Houzz.

Hey look, you can layer furniture! So even if I have a bookcase against the wall, I can then put a couch in front of that. I didn’t think of that 🙂

But after looking around, I think I want just a few chairs in this room. We still want to be able to extend our dining room table comfortably and we more than likely won’t be spending a lot of time in this room. The cats love this room though, so we want to keep the upholstered furniture minimal and animal friendly.

We shall see how this works out. Afterall, we should probably finish our entryway project first 🙂

Copyright 2010 - 2011. The Lil House That Could. All rights reserved.