Posts Tagged ‘chevron’

No Sew Crib Skirt

20 Comments

Posted by Rebecca, June 13th, 2012

Earlier this week, I shared how I made the no sew chevron curtains in Easton’s nursery using Premier Prints Zig Zag Blue Twill fabric. I had a bunch of fabric leftover and I wasn’t too happy with the crib skirt that came with our DwellStudio for Target bedding…

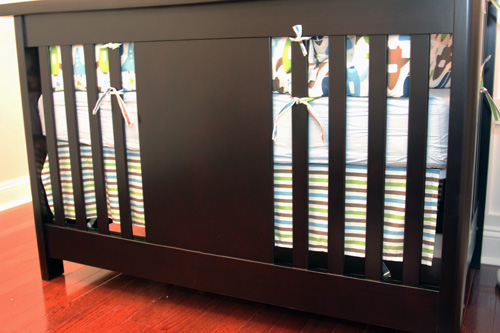
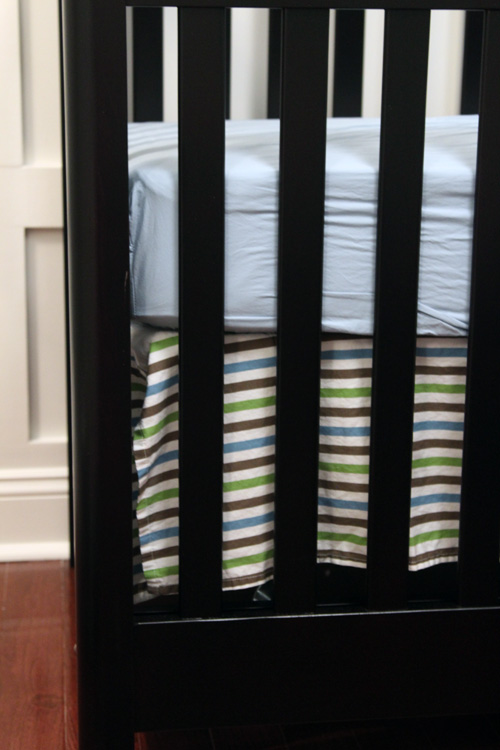
Not only was I not really feeling the stripes, but the skirt looked sloppy and was impossible to keep straight.

I remembered seeing a tutorial for a no sew crib skirt over at Young House Love, so I decided to make one. Easton was overdue and it was one of those completely random, on a whim projects. Thankfully it only took a couple of hours one afternoon.

I pretty much made up my own rules with this one. I decided to make 3 separate panels for the skirt– one on each side and one across the front. I figured since you’ll never see the back, there was no point in making that panel. To keep things simple, I used the measurements from the crib skirt I already had and determined that I needed two 25″ x 10″ panels and one 51″ x 10″ panel. I added about two inches to those measurements and cut some panels.

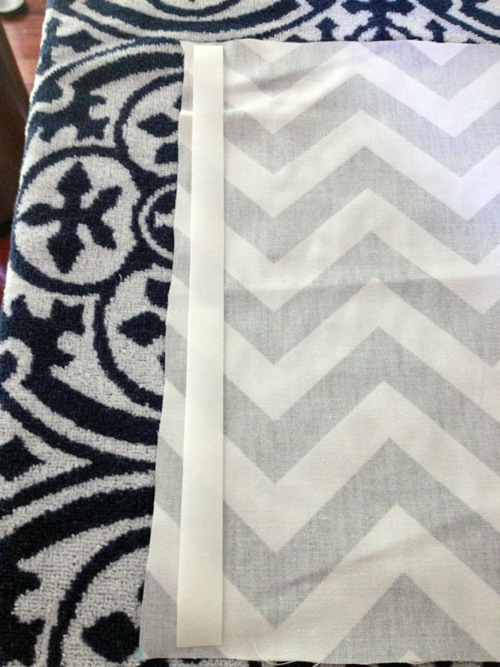
Then, like the curtains, I just ironed on some no sew hem tape for each edge.

Once again, you can see my wonderful cutting skills. I cannot cut straight for the life of me, but as long as the hem fold is straight, it’s okay.

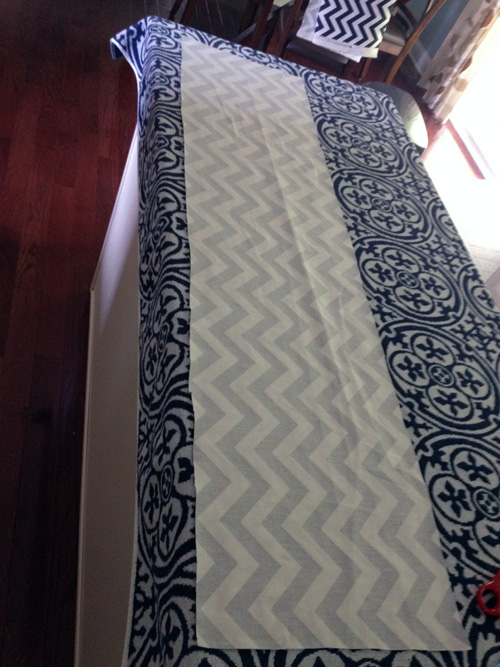
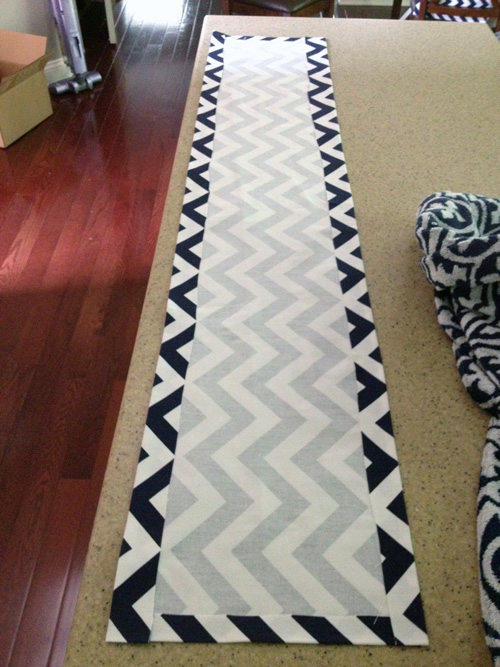
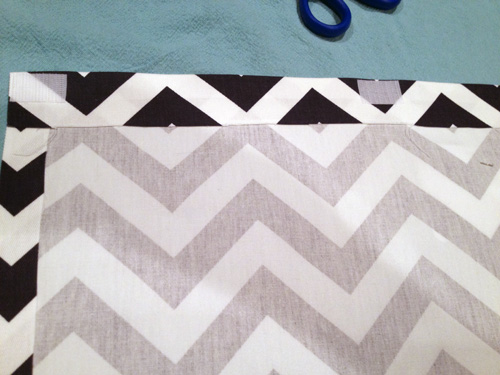
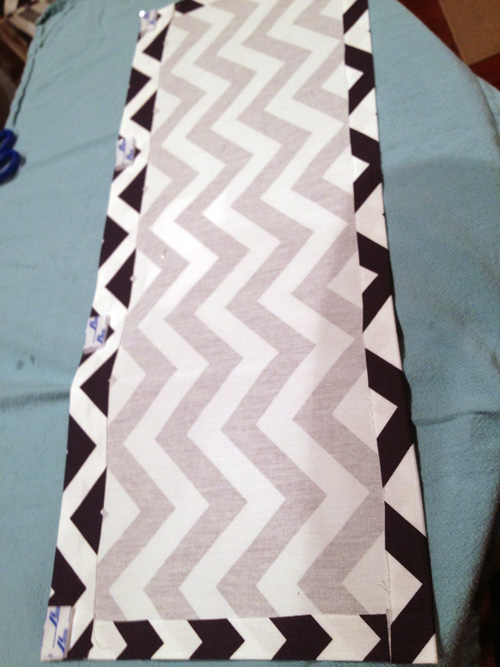
Once I hemmed all 4 sides, I was left with this.

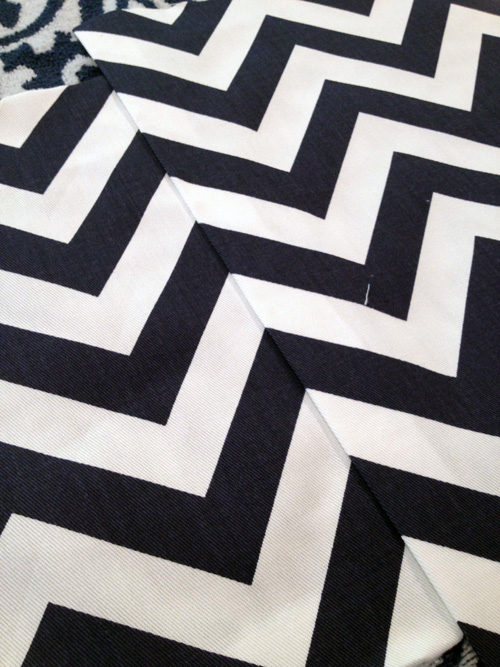
When I started the side panels, I made sure that my zig zags were going to line up.

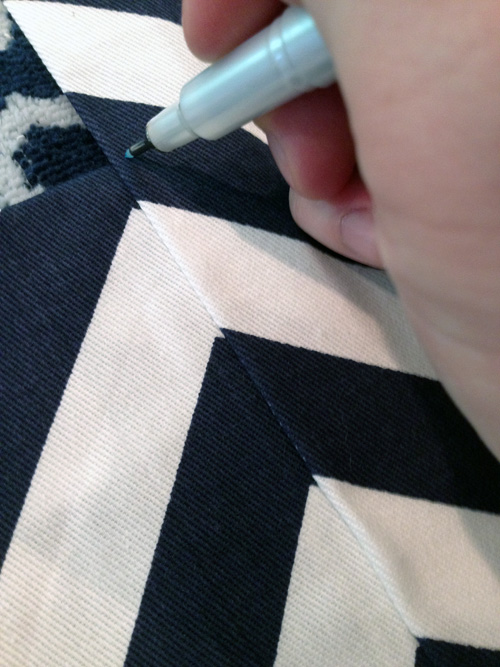
I just marked the top and the bottom with a disappearing marker and pinned them before ironing and hemming.

I realized after the fact that this step was unnecessary. Because the crib has fairly thick, solid legs on each corner, you don’t see where the fabric meets. Plus I kept my 3 panels completely separate, so they never touch and are never seen.

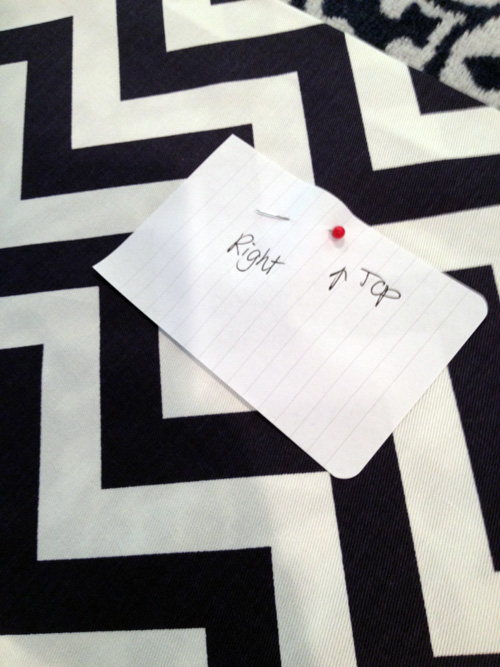
I now had 3 separate hemmed panels. I marked each one so that all of my hard work was not in vain (though it sort of was, see above line).

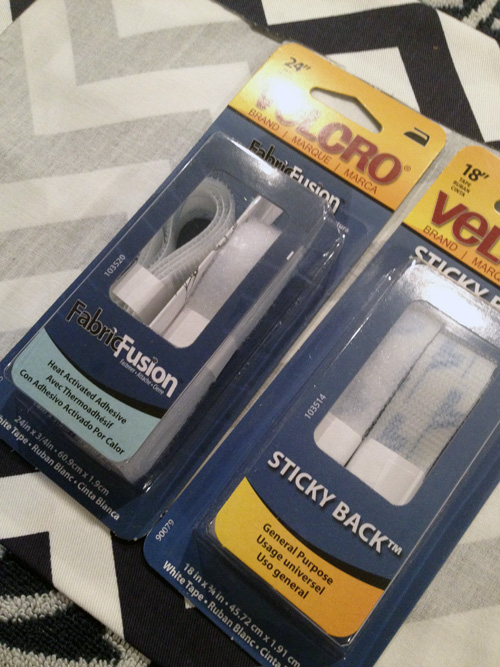
Then I had to figure out how to get these on the crib. After browsing the velcro aisle at Michael’s, I came home with these two packs of velcro.

I got one pack of Fabric Fusion velcro to adhere to the panels I just made. Then I got one pack of Sticky Back velcro to adhere to the actual bed frame. I cut small pieces of the Fabric Fusion velcro loop side and ironed it across the top of each panel, placing a piece every 8 inches or so.

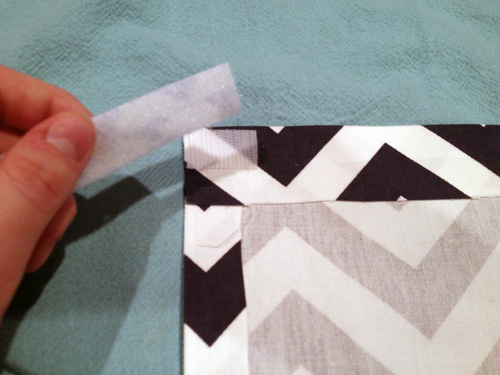
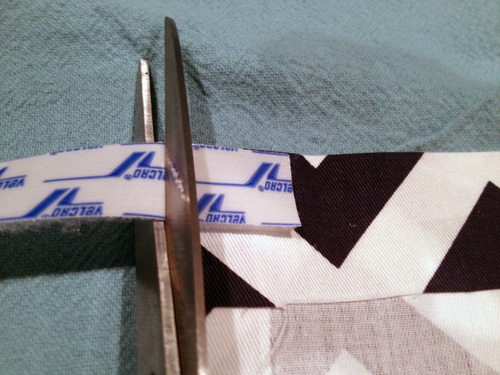
Then I cut the opposide side of velcro, the fuzzy side, from the Sticky Back velcro.

To make sure it was the same size as the pieces I ironed on, I stuck the pieces together first then trimmed them.

Then I had panels with velcro at the top that just needed to be adhered to the crib.

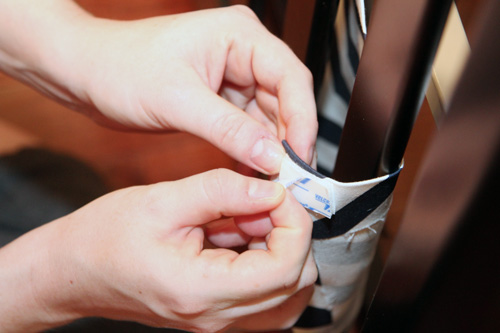
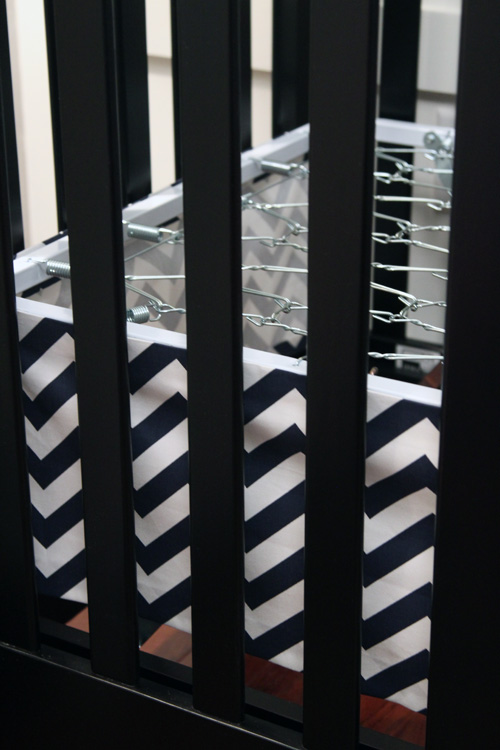
I peeled the paper off of the Sticky Back side and stuck it onto the metal frame of the crib.

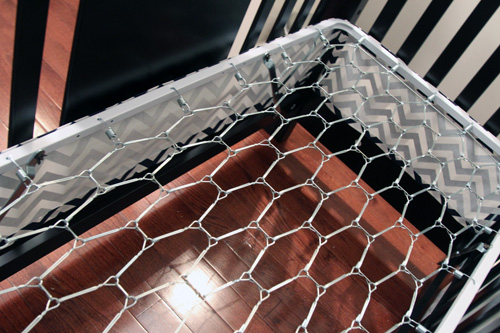
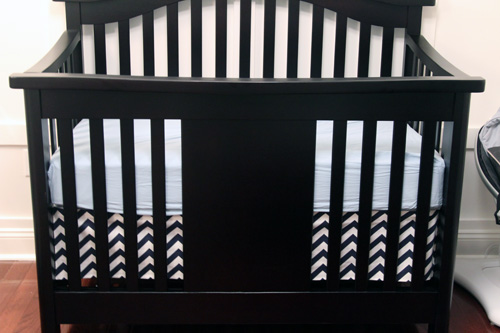
After all 3 sides were adhered, the crib looked like this…

The great thing about velcroed panels is that they are easy to remove to adjust or wash. There’s no need to remove an entire mattress just to fight with the skirt.

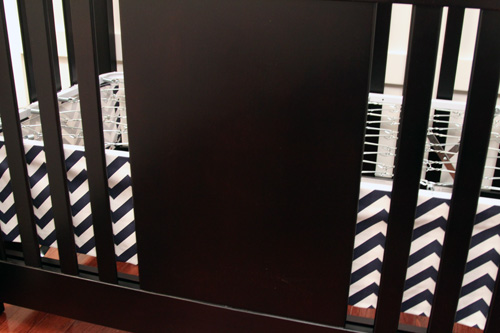
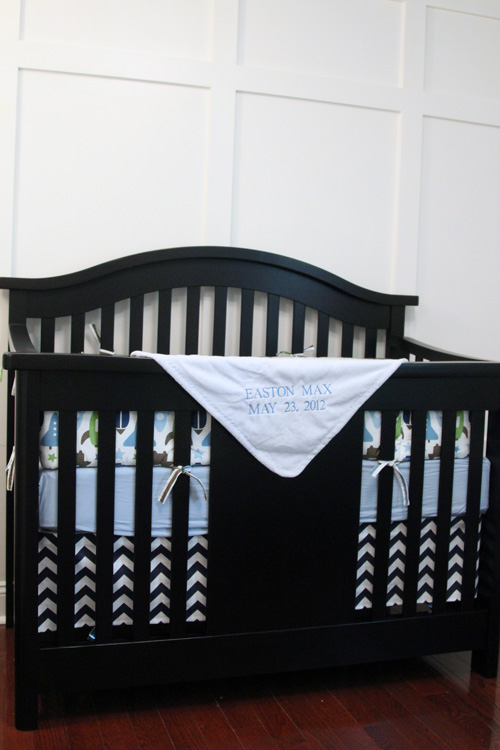
Once the crib was all made, I loved this new skirt so much more than the cookie cutter one that came with the bedding.

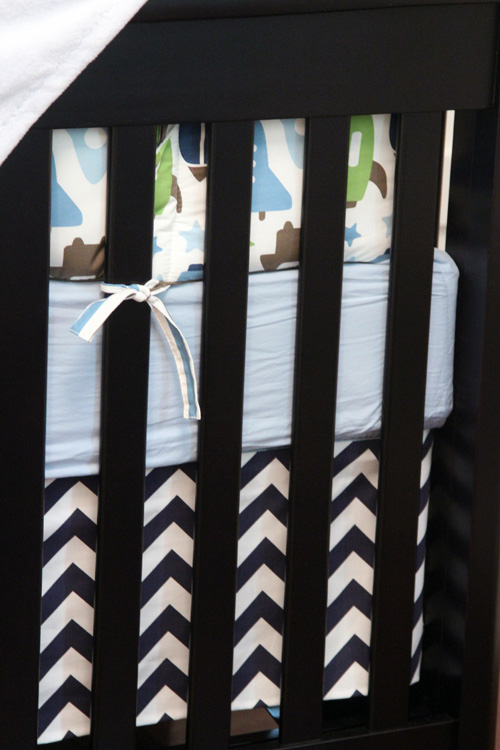
It adds such a cleaner, more modern look to the room that incorporates the curtain fabric from the other side of the room. The skirt also looks great without the bumper so it will only grow with Easton. That was our goal in creating this nursery from the beginning, giving Easton a space that he can grow into 🙂

Update! February 13th, 2013

I’m entering this project I did while super pregnant and too tired to adjust my camera settings into East Coast Creative’s Creating with the stars competition. Worth a shot, right? 🙂

No Sew Chevron Curtains

28 Comments

Posted by Rebecca, June 11th, 2012

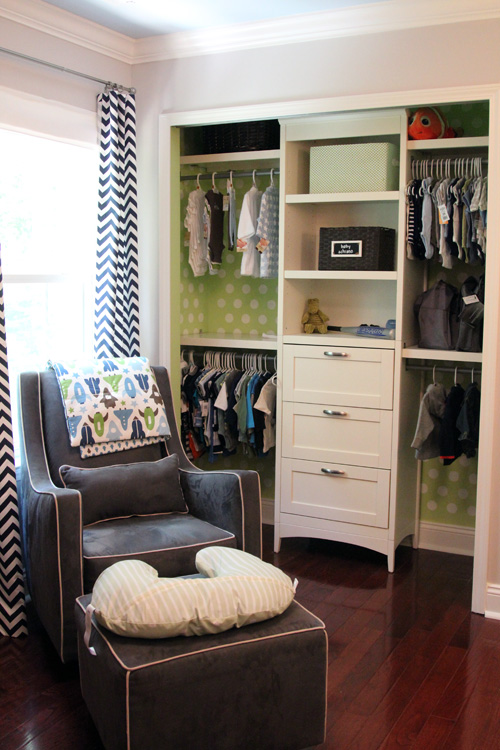
Finally, a post on those nursery curtains! We’ve been a little hectic around here the past two weeks… no, not just because we have a newborn. Mike mentioned that his side of our walk-in closet system collapsed when Easton was a few days old, so Mike has been spending all of his spare time spackling, painting and installing that. Then there was the broken AC and the broken microwave (yeah we didn’t tell you about that one), then we both caught colds. Needless to say, we haven’t had much time to blog, but I’m trying to get back into a routine.

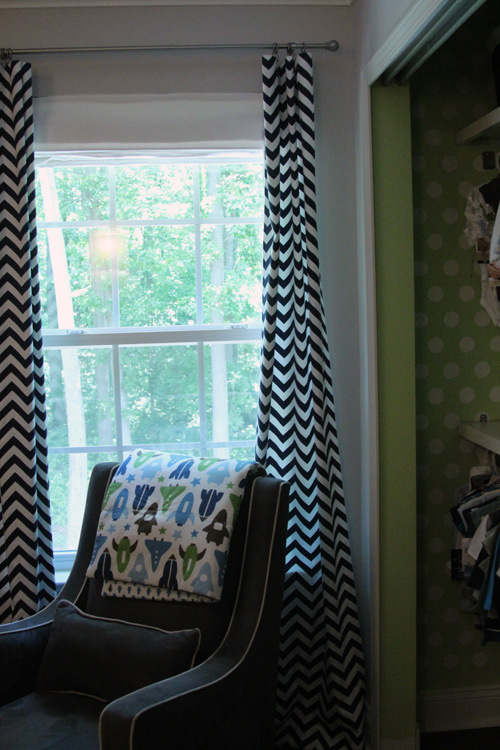
So anyway, while I was waiting for Easton to arrive in those final days, I was able to complete the chevron curtains I’d been planning. It only took me a few hours and was incredibly easy. As you probably guessed since Easton is a boy, we went with this nursery color scheme..

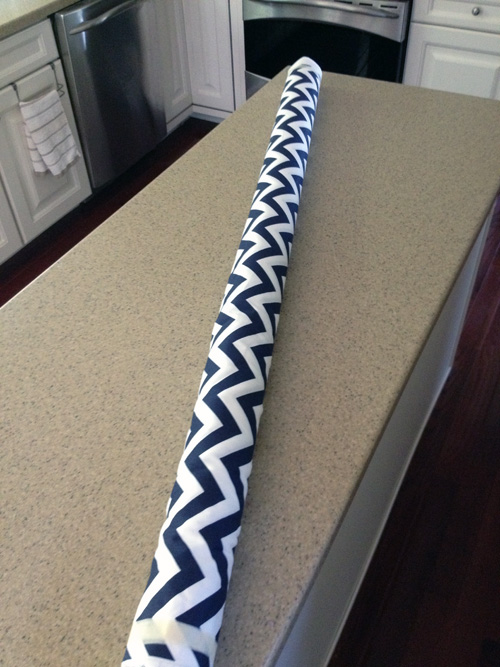
It’s crazy how close to these colors the final product ended up being! I ordered the navy chevron fabric from OnlineFabricStore.net, it’s Premier Prints Zig Zag Blue Twill and you can order it here. I believe I ordered 10 yards at the time because I was originally planning on making additional panels for the closet. It came in this gigantic roll…

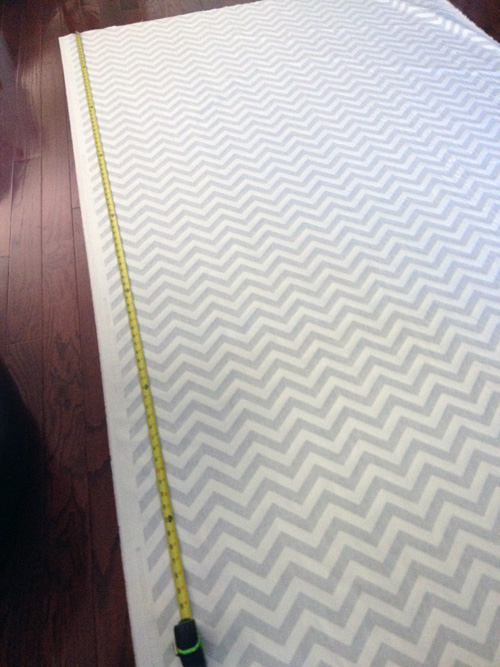
The roll is 54″ wide. Since our window is only 36″ wide, I knew I could cut two panels out of the width and still be able to pull them closed. All I had to figure out was the length, which was easy enough.

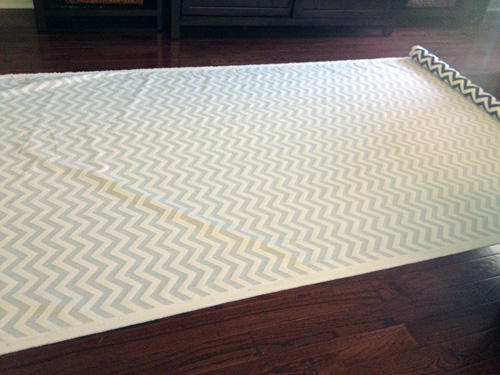
I laid the fabric on our family room floor to cut it, which was insanely hard being overdue pregnant, but I managed to crawl around to make cuts.

I made sure that when I measured, I left about an additional two inches around each edge to be sure to have enough room to hem. Young House Love has a more detailed tutorial on no sew curtains, so I won’t reinvent the wheel here 🙂
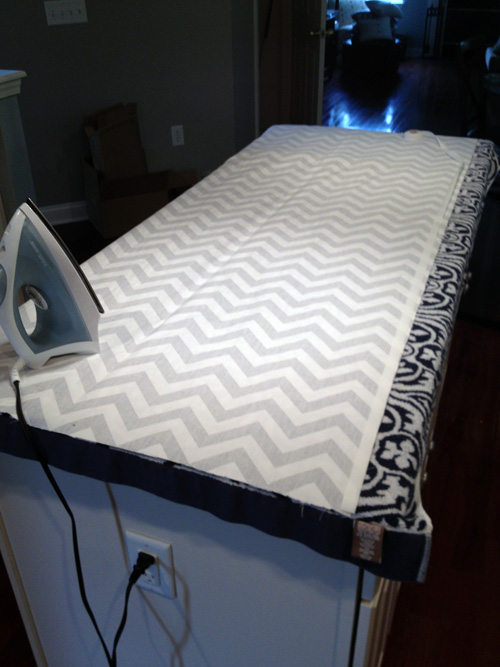
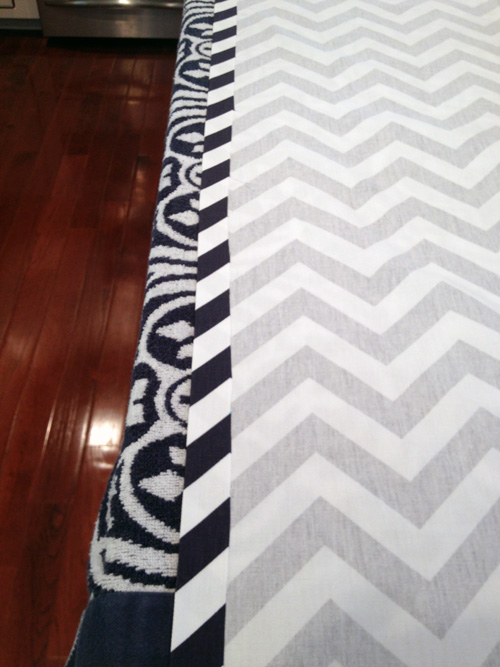
Then it was as simple as cutting some iron on hem tape the length of my seams, peeling the paper off and ironing the one side on… (done on our island with a towel so that I didn’t have to fight the fabric on a thin ironing board)

Then folding the fabric over to create the hem, and ironing over the tape again to adhere the other side. These directions are all on the no sew tape, which was Heat n’ Bond I picked up at Michael’s.

You can probably see that I can’t cut a straight line for the life of me, which is okay just as long as your fold is straight. I did all four sides like this, for 2 panels. Also, for a pattern like chevron, you want to make sure your zig zags are going to line up when you hang them. Both of my panels were cut from one strip of fabric so it was easy, I just had to make sure my top and bottom fold overs were at the exact same part of the zig zigs on each panel. That way, when they’re completely closed in the nursery, they will look like one continuous piece of fabric, all nicely lined up.

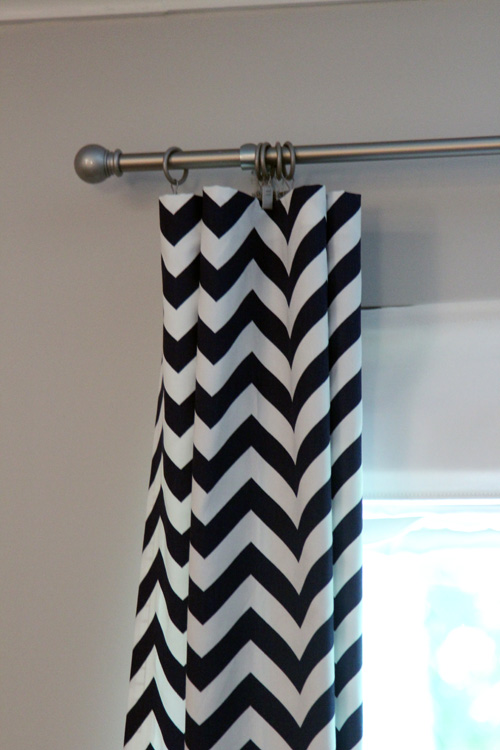
For the curtain rod, we picked up this inexpensive silver one from Target with some matching clips. I think the rod was literally less than $10 on clearance. We needed something not so bulky since the right side of it would be very close to the corner.

When deciding how many clips to use, I just started by putting one each on either end of the panel, then I filled in the middle until I thought there were enough, but it wasn’t too crowded. I ended up with 5 on each panel.

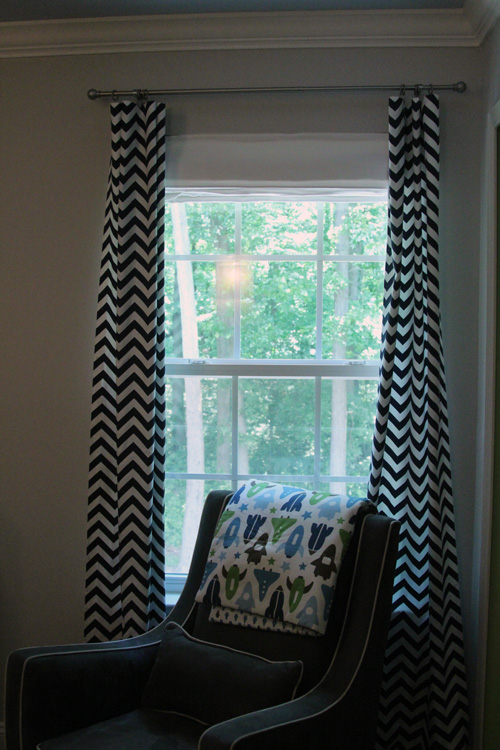
They were really easy to make and took about 2 seconds to hang. I thought I’d have to fight them a little more to get clean pleats, but not at all!

The curtains even made it into Easton’s newborn photos, in one of my favorite pictures ever. How well does this sum up our lives?

(image courtesy of S18 Photography)

Yes that’s Darwin’s butt, my cats even photo bomb on a professional level. Darwin loves his baby brother and follows us around wherever we carry him.

I loved the way the curtains turned out so much that a few days later, I decided to make a matching crib skirt out of some of the remaining fabric. I’ll be sharing that soon, as long as the baby’s nap schedule permits 🙂
ps- be sure to check out our daily Easton pictures over at Macky & Co!

Treatment and Teaser

2 Comments

Posted by Rebecca, May 17th, 2012

Last week, Mike and I hung a roman shade in the baby’s room. Since we just wanted a simple white one to put some bolder chevron curtains over, we decided just to use one of the 6 white shades we ordered for our master a while back. We bought cotton roman shades from JCPenney. Yeah we never hung them in the master…

(via JCPenney)

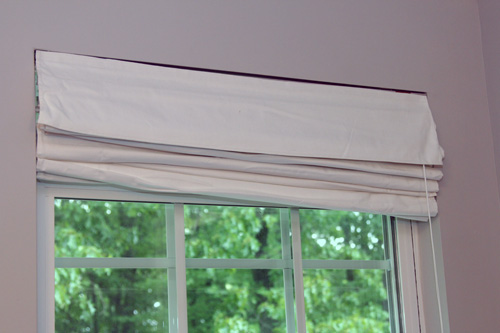
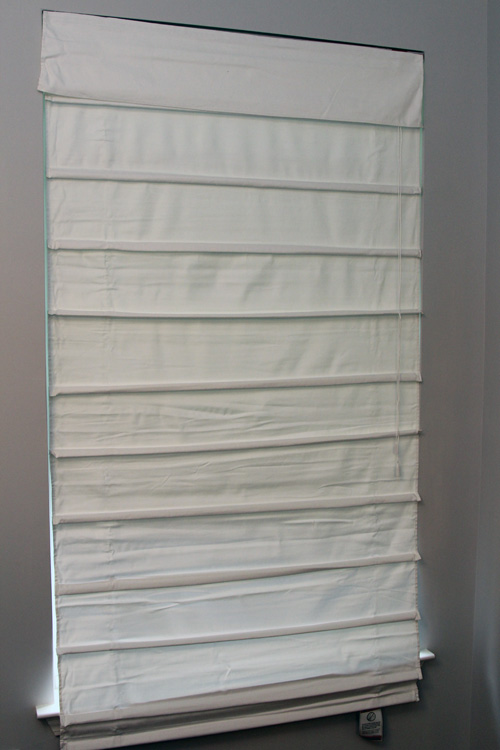
We have what I thought was a similar one of these in our kitchen and we’ve been happy with it. But when we hung the shade in the nursery, it folded up like this…

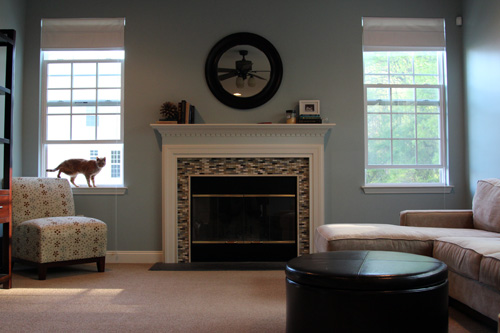
We’re not newbies to roman shades since we have them throughout our entire downstairs. Something about this was not bunching right. All of the Allen + Roth shades we have downstairs fold completely flat.

Exhibit A: Living Room

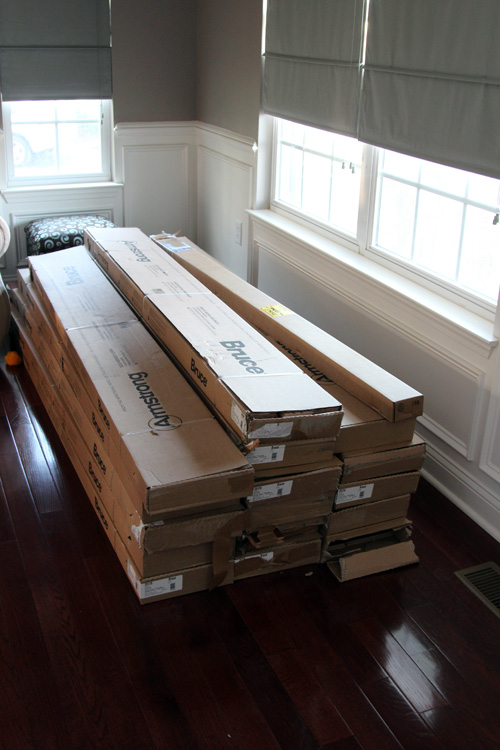
Exhibit B: Family Room

Exhibit C: Nursery?

The only thing we could think of is that it needed to be steamed. It is a different shade than the others and has many more folds because the windows upstairs are shorter. We would have went with our trusted Allen + Roth roman shades from Lowe’s if this window was 72″, but it’s 64″ and Lowe’s doesn’t sell those particular shades in shorter sizes. So I decided to attack it with the iron.

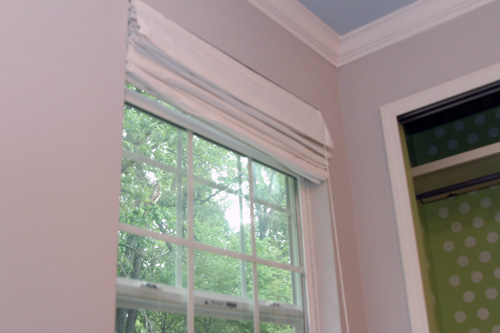
I couldn’t get all of those wrinkles out (and I was worried about the plastic loops melting or something if I took it down and ironed it), but it does look better than the picture above.

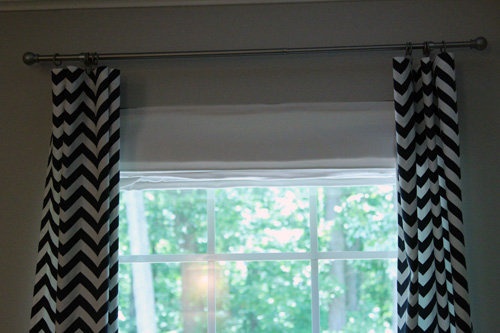
Since I got completely sidetracked after I ironed it and immediately started to hang the chevron curtains, the after picture was taken with my iPhone and… has the curtains in it. The Photoshopped curtains that is. Don’t try to find any hint of color in this picture, I Photoshopped it at a million times the size and I can promise you there is not a hint of pink or blue in this picture. Any color variation left is because of shadows. Mike was my quality control checker 🙂

I’ll share more detailed shots of the curtains, rod and clips when I post about the entire curtain process, but for now, the roman shade is looking better. I’ve been keeping it up and just closing the curtains, so it’s more functional to block out additional light than anything else. The curtains make up for the ugly shade 🙂

Can You Imagine

3 Comments

Posted by Michael, April 12th, 2012

Rebecca has been asking me all week what should we do above the baby’s dresser.  We know we want to rock the giraffe sconces, but we’re not so sure what to do exactly in between them.

Do we go with the classic three frame horizontal look?  Maybe one large frame?  We’ve bounced ideas back and forth to one another ranging from absolutely nothing besides the sconces to crazy framed patterns.

Ok, crazy framed pattern really means what you trendy kids are calling “chevron” patterns.  It’s called a zig-zag.  Seriously.  What’s easier to understand, “I think we should do a chevron pattern” or “I think we should do a zig-zag pattern.”  Yup, zig-zag.  Mike 1, rest of you 0.

Anyways, tonight I present you a combination that popped in my head as I was browsing 20×200.

(“Can You Imagine” via 20×200)

On the left, we have ‘Can You Imagine’ which instantly grabbed my attention.  For one, the background scenery reminded me much of our time spent in Hawaii.  And then the typography brought out the aspect of an imagination.  This baby girl or boy is going to have one helluva imagination; especially since he or she will be talking about Macky to friends as if Macky was a non-fur-baby.

But really, I glazed at this picture for a solid five minutes watching the waves grow as they approached me and then watching as they hit against the rocks.  Then I realized nothing was moving in this piece of art work.

(“Baby White Tiger No 5 via 20×200)

And then I saw this baby tiger.  What better way to make The Baby a crazy cat person than to hang a picture of a big cat?  Gotta start them young, right?

I love the simplicity of this piece, a baby white tiger on a simple backdrop.  But more importantly, I couldn’t help but think that this tiger had a piece of all of our cats — small sized tiger with big paws reminds me of Darwin, the fluffy white chest reminding me of Sunny (our precious guy we lost to panleukopenia), the big eyes with a slight tilt of the head reminding me of Mowie and the overall goofiness that Macky shares with this tiger.

In 20 years, you’re going to hear about The Baby having a TLC special about owning too many cats.

(“Closing Credits at the End of a Movie” via 20×200)

And to end, we have some artwork reflecting the geekiness in me.  I love that this really screams our youth while throwing several colors into the mix.  I really want to go play space invaders now.

I’m not sure if we’ll go with any of these, but I figured I’d throw them out there.  Maybe Rebecca will let me mount three LED televisions up there so the artwork can always rotate and be random.

Now that is a great idea.

Nursery Listing

7 Comments

Posted by Rebecca, April 5th, 2012

My brain hurts today and my to-do list is massive. We have loads of things in the works for the nursery, but nothing is completed for after pictures and stories. So! A random post of what’s going on it is!

First there are the things we’ve sort of done, or rather, started…

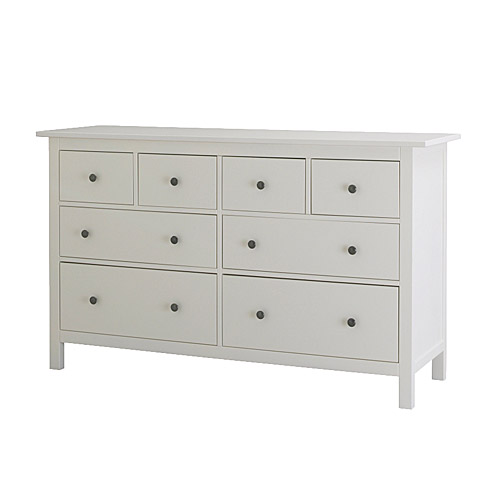
1. Buy dresser

(via Ikea)

Two weekends ago we bought a Hemnes dresser from Ikea. Last weekend, Mike started putting it together and did everything but the drawers. I’ll also have to share how we decided on this dresser and my little email exchange with Ikea.

2. Buy mattress

(via Naturepedic)

We picked up a Naturepedic crib mattress since I wanted to give it a chance to air out before the baby comes.

3. Buy changing pad

(via Buy Buy Baby)

We also picked up a Naturepedic changing pad. Both the pad and the mattress were chosen for their non-toxic, safer, compositions. But they’re both still in their packaging at the moment.

In the very near future (like maybe this weekend), we plan to…

1. Stencil the closet

I have a polka dot stencil waiting to take over this closet! I know it won’t take me long, but my energy levels depend on the day. I think taking a break from painting for a couple of weeks should be sufficient 🙂

3. Install Allen + Roth closet system

(via Lowe’s)

We hope to pick this up this weekend so that whenever we’re ready to get it installed, we have it on hand. I went through all of the baby’s things and I’m itching to put it all away somewhere!

3. Install giraffe sconces

(via Macy’s)

Yes, our first nursery purchase is still in the plans! That is, as long as we think they would be okay with the dresser once that’s in position. Hopefully this weekend will tell and all of the electrical won’t be too tricky.

Then there are the things we need to do somewhere in the future….

1. Buy glider…the glider that STILL has not gone on sale. I’m losing my patience.

(via Babies R Us)

2. Make some curtains out of the 10 yards of chevron fabric we bought to complete either one of our color schemes…

3. Find a bookcase, which depends on how much space we have after all major pieces are in the room

4. Add some wall art! I admittedly don’t have any concrete plans for this. I have to see how everything looks, since the room gets smaller with each piece added. Then I can decide if I want to add a canvas, gallery wall, paper laterns… I’m not sure!

That’s not too much for 5 weeks, right? RIGHT?!?

::blows into paper bag::

Copyright 2010 - 2011. The Lil House That Could. All rights reserved.