Posts Tagged ‘stamped concrete’

Outdoor Kitchen Part One

20 Comments

Posted by Rebecca, May 7th, 2013

This weekend, we finally got started on building the outdoor kitchen we’ve been dreaming of for 3 years.
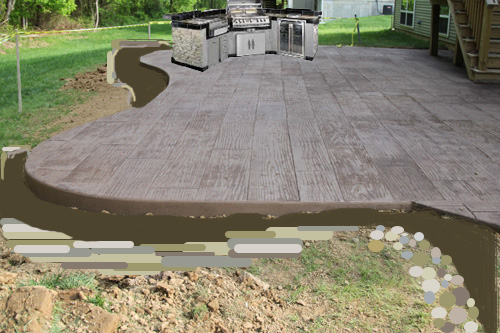
patio with grill

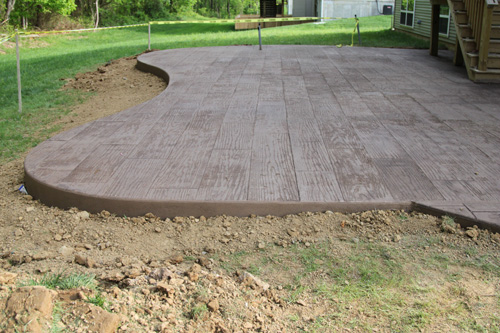
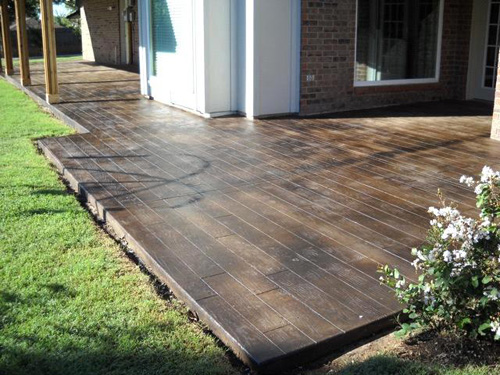
When we planned out our wood plank stamped concrete patio, we knew that we wanted to add a caddy cornered type of built-in grill. My brother and sister-in-law built their own grill and bar area when they moved into their house about 5 years ago and used BBQ Coach. They sell grill frames, complete with plans, instructions and videos. You basically choose the shape you want, along with how many appliance cut outs, and they send you the parts. When we were ready to pour our patio 2 years ago, we went on the site and chose the New Yorker BBQ Island. With the measurements in hand, we decided how large to make the one curve of our patio.

new yorker island measurements

(via BBQ Coach)

IMG_8387_x500

patio in progress_x500

We assembled the frame this weekend, so we finally got to see how it was all going to work out!

I don’t have many pictures or much info to share at this point, but I figured I’d try to keep the progress up to date…And avoid a giant, overwhelming (mostly for me) “after” post. I admittedly did zero work on this, since I was with Easton all weekend while Mike and our friend Steve worked away. Steve’s sister is married to Mike’s brother so he’s kind of related and was more than willing and excited to help us out.

They spent the whole weekend just getting the frame up due to confusing directions and a whole lot of parts.
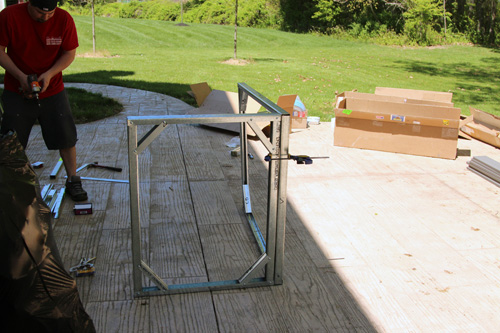
IMG_7556_x500

The frame was 3 rectangular pieces, connected by two 45 degree angles.
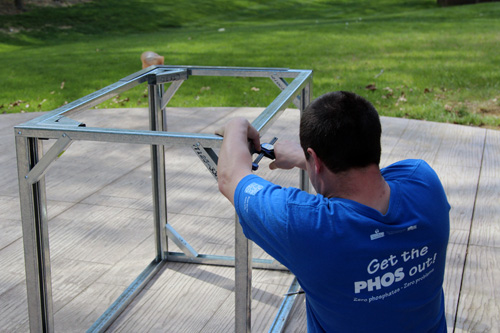
IMG_7557_x500

The good thing was that a) whenever Mike had a question he could ask my brother, who had built one of these in a different shape a few years ago and b) BBQ Coach responded so quickly to Mike’s emails that it was practically real-time support.
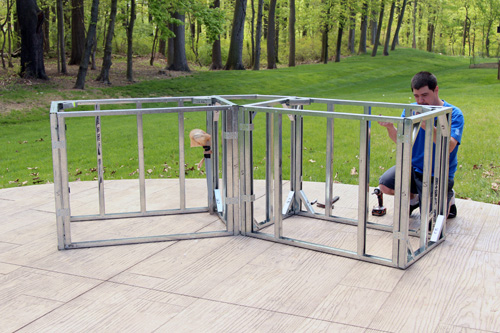
IMG_7559_x500

This is where we stand at the moment.
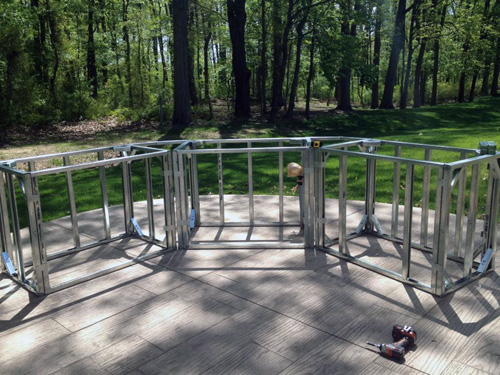
island frame

We finally brought out our patio furniture and though the island looks huge, it really works well with the size of the patio. I’ll have to take an aerial shot from Easton’s room one of these days, but we even have room to keep space behind the grill to add some bar stools. We could have done without that element, but we wanted it to feel nice and cozy out there.

Up next we have to decide how thick of a counter top we’re adding to finish out the frame. We want to do a concrete one and bought the thicker steel to support it. Now it’s just a matter of figuring out how to make one, or my concern, how to actually get it up on the frame since it’s going to be so heavy.

Then it’s adding concrete board, stone to the bottom, a backsplash and appliances. Who tackles a giant project two weeks before hosting a large first birthday party and having out of town guests? We do. I accepted a while ago that we are not logical thinkers. I just roll with it now.

Patio Update

10 Comments

Posted by Rebecca, May 10th, 2011

These past few days have been absolutely insane. I finished up a final paper and presentation last night, while Mike was in San Francisco attending the SF MusicTech Summit for his gig with SongMeanings. My semester from hell is over and I picked him up from the airport tonight, so we can finally resume our normal lives 🙂

The patio was poured last week in the midst of all of this chaos. While we were super excited about it, we could hardly focus on it. So it was good that we weren’t doing the work 🙂 At last update, the patio was anxiously awaiting a sealer. Mike got a call this morning (while in Cali) informing him that the concrete company was stopping by today to put the sealer on. In between work and picking up Mike from the airport, I managed to squeeze some time in for photos.

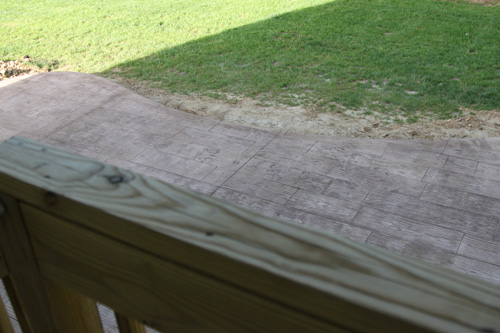
We were anxious to get the sealer on because we knew it would change the color of the concrete, but in these pictures, it was still wet.

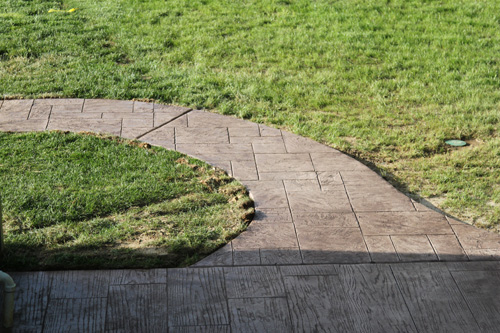
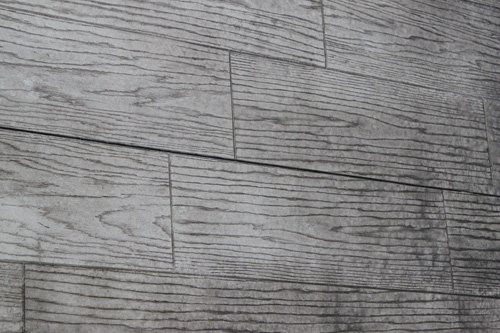
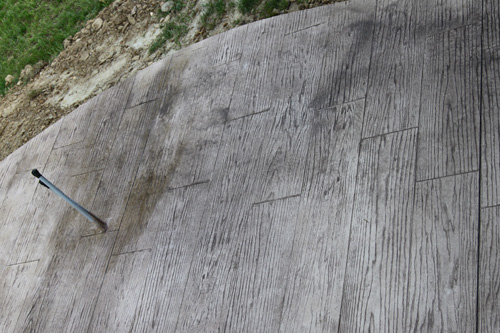
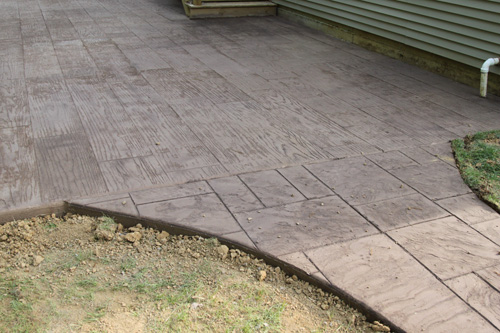
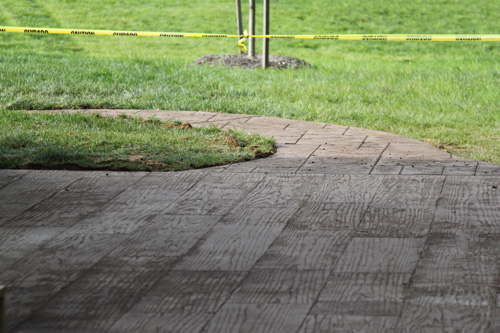
Oh! Last week they also came to put the cuts in the concrete where they expected it to crack naturally. So in the picture above you can see one along the curve. It’s probably the most obvious one, thankfully. Because of the wood plank pattern we chose, the cuts mostly follow the lines like this one below.

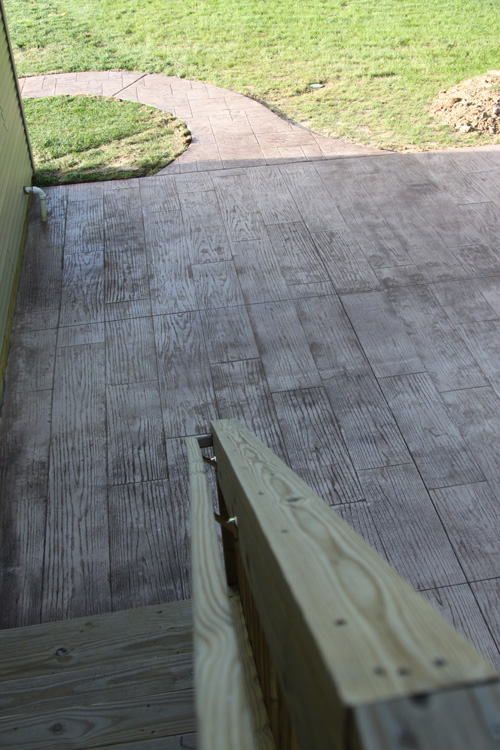
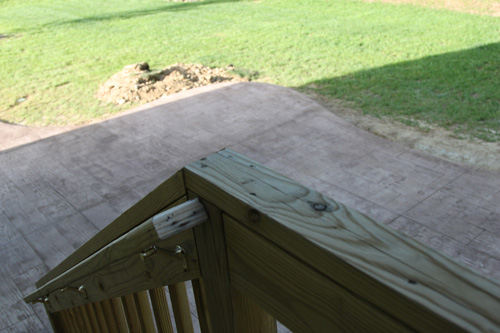
Some areas were still very obviously wet, like the area where our future outdoor kitchen will be.

We’re thinking of maybe adding a step in the center of the patio, leading onto the grass. The far side of the patio is 8 inches above ground, so it will be a nice entrance to the open space.

We plan on filling each curved side up with mulch and some landscaping for now, so we’ll see how that looks before deciding on the step(s).

We also plan on staining the unfinished stairs a nice and dark color.

So if I’m being completely honest here, I’ll tell you that I was a little disappointed that the concrete wasn’t as dark as I imagined (it’s actually a little lighter than shown in these pictures).  But I thought it would be okay with our dark stairs and future dark furniture. The patio has a weathered look to it that I like, but remember our inspiration photo?

We knew it wouldn’t be THIS dark, since we were warned about burning feet and fading, but the color we chose was called “walnut”. I also know that the sealer wasn’t dry when I saw it and it did look darker than it did yesterday.

When I picked up Mike from his 6 hour flight, he told me that the concrete company called and they want to come back and do another round of stain/sealer tomorrow. Yay! I thought I was going crazy about the color, but just a tad darker would be wonderful 🙂  I thought I was looking at the (not yet dry) finished product, but now I have to wait until tomorrow!

ps- I finally decided to order the Belmont patio collection from Target so that we’ll have somewhere to sit on the patio when the sealer is all done, but it’s sold out!! I emailed Target (since I checked everyday, for 8 straight days) and they have no clue when it will be back in. Cross your fingers it’s soon! I need this prettiness on my already pretty patio.

The Patio Day 2

127 Comments

Posted by Rebecca, May 3rd, 2011

Hey it’s me! I know it’s been a while, but I’ve been super busy with school. I never got a chance to thank everyone for the support you gave me after the post I wrote about our kitties Mac and Sunny last week. It really meant the world to me, so thanks 🙂

Unfortunately, Macky had a seizure at 1:30 this morning. But he is doing okay and had a happy birthday last week. We were all very tired and stressed when the cement truck pulled up at 7:00 this morning. As excited we were for the patio, having the doorbell ring that early and having to move our cars out of the driveway was not fun. But, we now have a patio!

Wait, what? You thought we were doing a wood plank stamp?

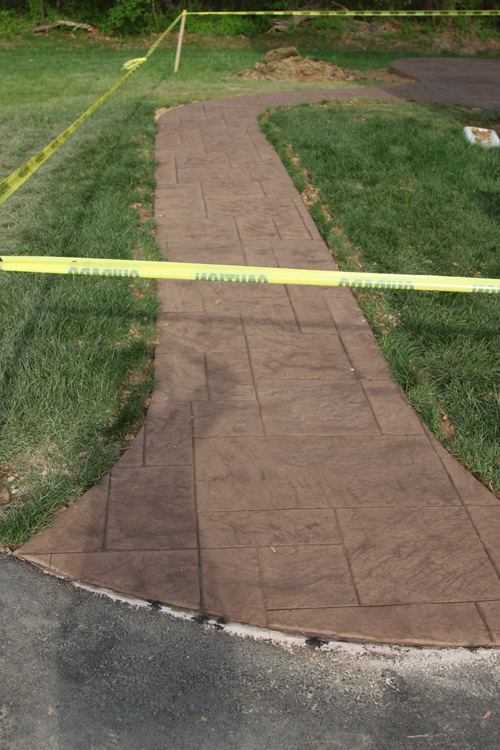
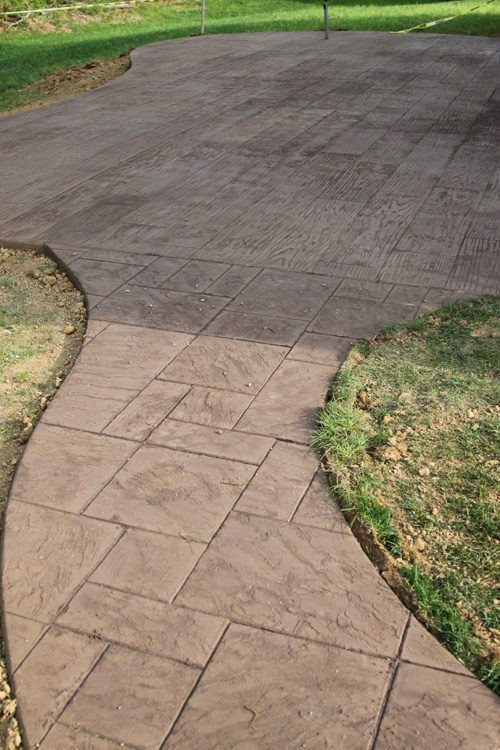
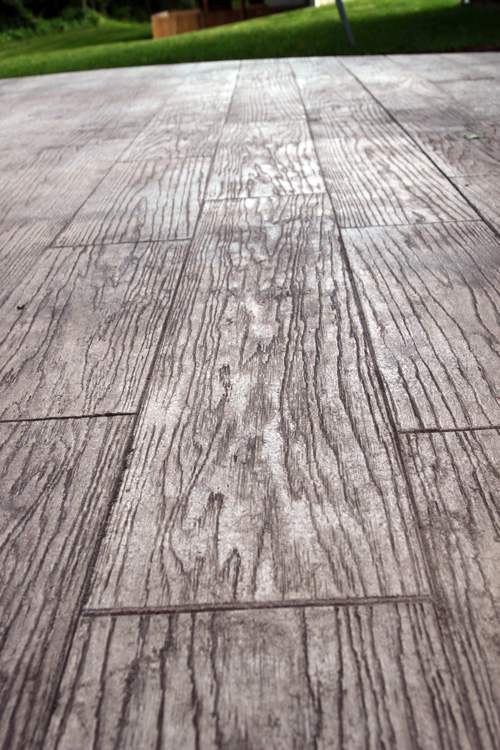
Well after talking with our concrete buddy, we decided the wood plank stamp wouldn’t look great on the walkway. I was worried about this, but he actually brought it up. He suggested we do 2 different stamps. At first I was all like uhh, that’s going to look funny. But he confidently told me that he had a client do it and he thought the same thing, but the result was great. He reassured me by saying that people mix pavers and wood decks, so why not a wood plank stamp with a paver type of stamp? It really didn’t take long to convince me that this could be a cool idea. We picked out the pattern above while standing in the yard in a matter of about 2 minutes. I liked the smaller, mixed size of the “tiles” and the grain type of texture they had to match the wood stamp. We still kept the walkway the same color as the wood stamped patio to unify the spaces.

Without further ado, the patio! After stamp but before sealer, so the color will change slightly and will have a nice sheen 🙂

These guys worked so fast that before 9am, the concrete was fully poured. I was home keeping an eye on Macky for a few hours so I got to see the pouring/smoothing process. It looked quite like icing a cake 🙂 I missed the entire stamping process though 🙁 I was dying to see that!

ps- Here’s the video tour that wasn’t working earlier!

I’m linking this post up to Centsational Girl’s Outdoor Ideas Party!

Patio Progress

15 Comments

Posted by Rebecca, March 22nd, 2011

I took a little blog break at the end of last week because it was absolutely GORGEOUS out. This was what my car said when I left work on Friday…

Thursday was equally as beautiful, so it felt like some sort of crime to spend my evening hours indoors on my computer. Sometimes life interrupts blogging in wonderful ways 🙂

Anyway, the nice weather gave us an opportunity to finally get out to the backyard to figure out what to do with our patio. We saw a patio display earlier in the week at Lowe’s and the gazebo was 10′ x 10′. Since that size seemed reasonable for a sitting area (and we were clueless about size) we thought 2 of those areas would suit our needs. So we guesstimated we’d want a 10′ x 20′. Sounded huge! I looked at Mike in Lowe’s and figured we were screwed for our estimate on Saturday. So when we ventured outside with a measuring tape on Thursday, I nearly died when the area we planned to cover measured 16′ x 32′. Hello budget buster. A 16′ x 32′ patio sounded not so reasonable, though we were relieved to see that it didn’t eat up a large portion of our yard.

Concrete guy came on Saturday morning. We told him from the outset that we wanted some sort of creative design that we could not come up with. He seemed enthusiastic and up for our challenge, which was definitely a plus for us! I like working with people who can bounce ideas back and forth and in the end can out think me. As much as I have ideas of my own and know what I want, I always look forward to suggestions and things I haven’t thought of.

We broke out a can of spray paint and started playing with shapes. We also asked him to price out a walkway from our driveway to the patio. Mike and I briefly talked about this, but it didn’t exactly process in my head. I was happy that he brought it up, but terrified of the price. Concrete guy measured, then gave us a book of patterns and colors to chose from while he wrote up an estimate. We knew exactly what pattern we wanted, so that part was extremely easy. He came back with this little doodle and description…

That says 34′ x 18’… this thing keeps growing! We showed him this actual picture of the pattern/color we wanted…

He had something similar in his portfolio, though it was a little lighter. He warned us that something too too dark would burn the heck out of bare feet in the summer. That was definitely something I hadn’t thought of, even though I am rarely without shoes…even indoors.

In the end, we were pleasantly surprised with the price given all of the extra square footage we added with the walkway. We liked the guy a lot too, so I think we’re going to go with it. He said he wouldn’t start jobs until the first week in April so hopefully we will have a patio soon!

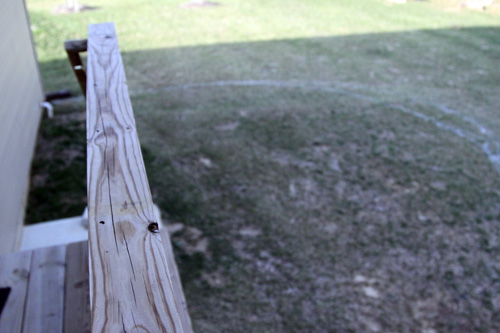
I ventured outside to take some pictures of the spray paint action.

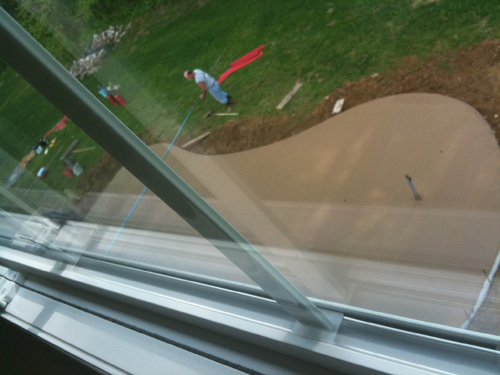
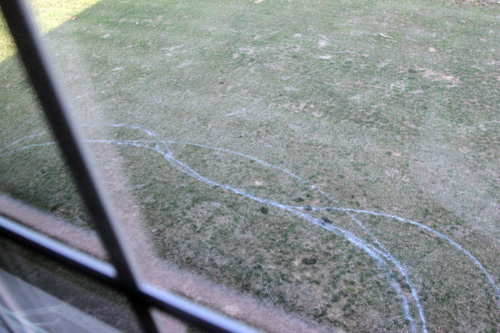
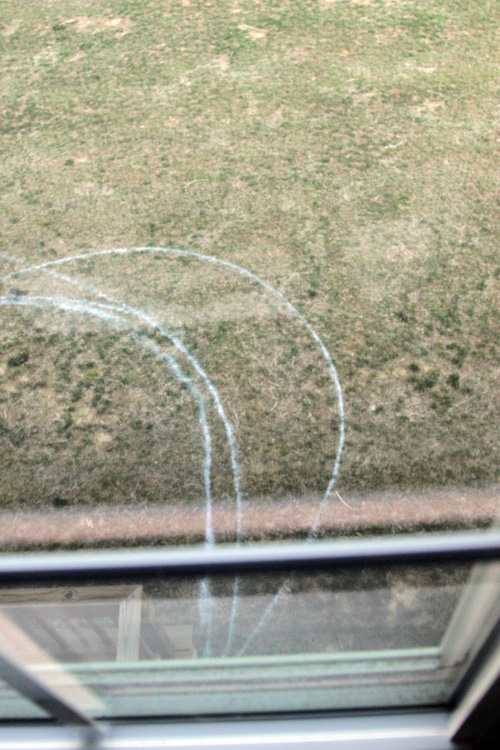
That’s one side. I quickly realized I couldn’t fit the whole patio into one shot without going upstairs, so I tried going into a spare bedroom to get an aerial shot 🙂

Ignore that semi-circle line. The curved area on the right of this picture sold me. I’m not sure why, since it’s not necessarily something we hadn’t thought of, but seeing it was an ah-ha! moment for me.

Just once it was more rounded (the outer line) it felt so cozy. I immediately pictured a grill angled in the center of this curve.

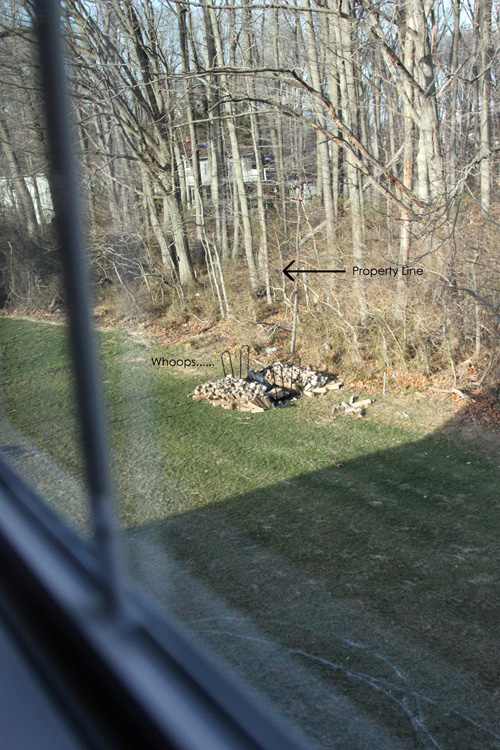
We were also very relieved that we still had a lot of yard beyond the patio. Sometimes we forget that our property extends into the tree line and that we’ll still have plenty of land for the future.

The arrow points to the property stake, which is visible when the picture is enlarged. I once climbed back there to get an idea of how much land was there and it was not a fun trip. Plus I looked like the crazy neighbor…again. Oh and did I ever tell you that we originally chose the lot to the left of this picture? Thank goodness we didn’t, holy house in their backyard when the trees are nakey.

Wait, you’re wondering why I’m ignoring the fact that our nicely stacked wood piles were demolished during a windy snowstorm? Because we’ve been ignoring them in real life for weeks….

Spring Fever

130 Comments

Posted by Rebecca, March 3rd, 2011

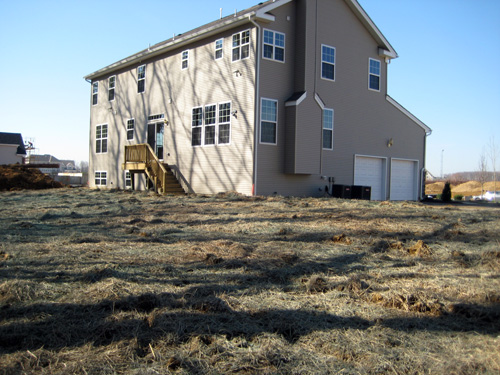
We visited our neighbors this weekend and as we were leaving they said something along the lines of “well pretty soon we can hang out outside and grill!” Mike and I looked at each other, realizing that not only do we have no outdoor “hang out” space, but we don’t even have a grill. The back of our house still looks like this….

We put zero effort into thinking about this space. Well, realistically thinking for the near future. I have high hopes of a pool with a waterfall and slide, but I know that’s not likely to happen. I am not a good landscape/hardscape envisioner… I am still new at this part of homeownership. I can think of the “feel” and “mood” I’d like our outdoor space to have but as far as actual materials, layout, size.. I am clueless.

After our neighbor’s reminder and the long and cold winter we’ve had, we started to think that this may be our big project of 2011. I love being outside when it’s nice out and sitting on the porch by myself got old quick last year. We originally thought we’d do a deck, but a) it’s expensive to do composite b) there’s maintenance involved with real wood with a dark stain and c) not sure if it would be the best place for my firepit dreams. So then we thought (in our dreamland) that we’d do a deck with an eating space with stairs down to a patio with a firepit/loungey area. Then we decided that we didn’t want to eat up too much of our yard and want to keep our future options open. So we started to think about just going with the patio.

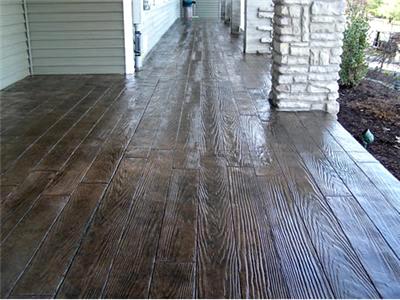
Once again, not only I don’t know much about this, but most patios don’t really do anything for me. We don’t want pavers and figured we’d go with stamped concrete. I just wanted to get a base down that we can work with over the next few years. I’ve seen some different things done with planters and whatnot that peaked my interest in outdoor space a liiiitle, but for now I was settling for just a start. So we were thinking we’d go with a fieldstone or cobblestone pattern to compliment our house, though neither option really overwhelmed me with excitement. Then Mike discovered this stamp pattern…

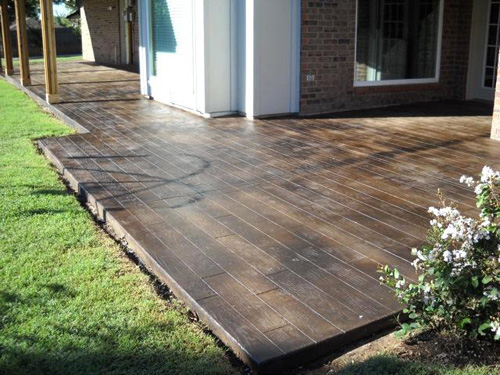
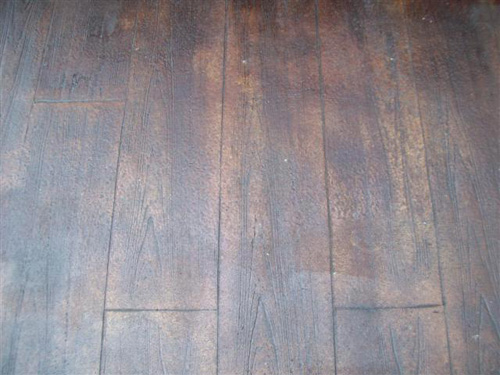
No that is not hardwood, it is stamped concrete! Mike found this idea on a local contractor’s website. We contacted him immediately to get an estimate. I have a love for wood that is dark and rustic, so to be able to have the warmth of a deck combined with the ease of concrete? Heavenly! I’ve never seen anything like this before and it definitely had that little extra we were looking for! Here are some more pics I found while googling…

(via)

(via)

I love the added texture in that last picture! Now, Mike and I can almost guarantee that this pattern and color will be the most expensive stamped concrete option in the history of the world… we just have that sort of luck. But we figure it can’t hurt to ask around. The next question we had to tackle? What size do we want.

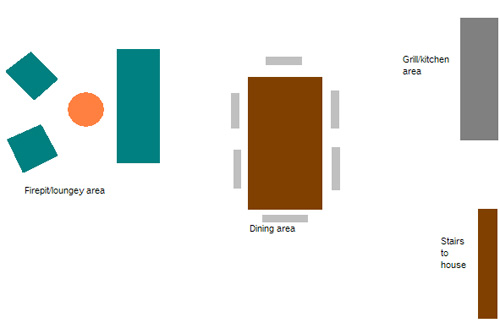
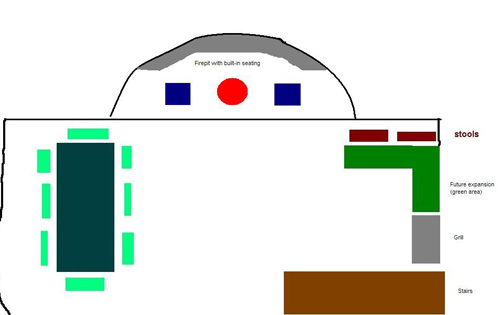
Mike asked me what I wanted out of the space and since he often responds to me with “I’m not following you” or “can you put that in terms I understand”, I had to do one of my awful Paint sketches that are not meant for the general public…

I’m hoping we find a creative contractor that can do better than my pathetically planned out rectangle. We would like all of these elements, just in a well thought out and planned space. So we started throwing some ideas back and forth after thinking for it a bit, so I revised my sketch to push back the grill to save some room for growth…

Mike then elaborated on this and came up with the best sketch ever…

Wait, do you need a close up of the best part?

I married such an artist.

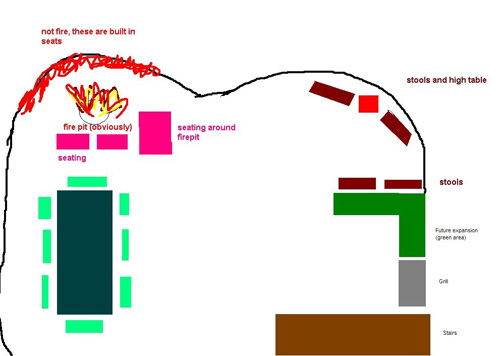
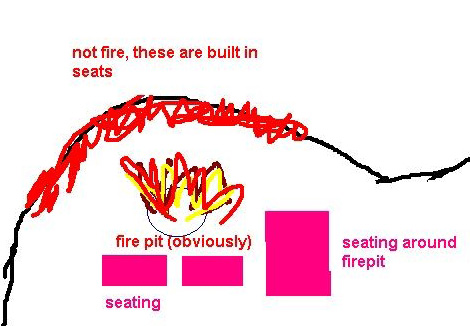
But I think we just came up with a patio the size of our backyard. So I came back with this one, cropping the patio at the edge of the bar and table and adding a lower level for the loungey/firepit…

I think this will still be too big, considering the mass amount of dead space in the center, but hopefully this is just a jumping off point. We’re hoping to actually go outside to the backyard (what a novel concept!) to get an idea of how large we want this thing. We had an appointment with the concrete man for Saturday, but we had to cancel it because we forgot we had other plans. So hopefully, concrete man will come soon with tons of ideas, thoughts on maximizing our space and a cheap price!

Until then, our Paint wars will continue…

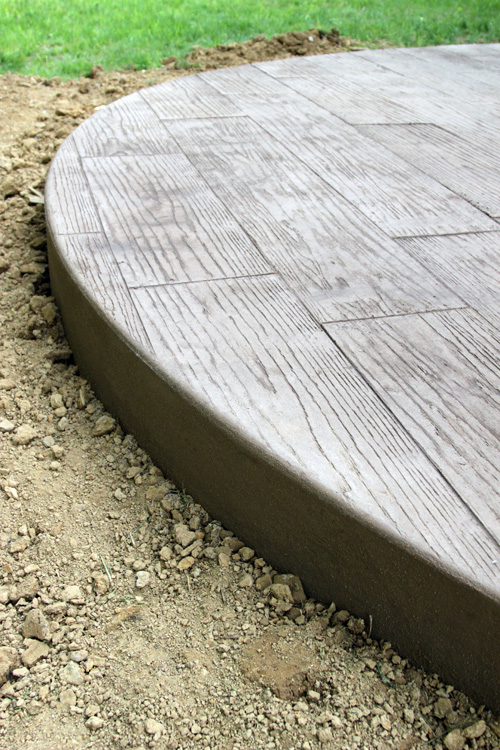
 Update! For those of you just finding this post, we did go forward with the wood plank stamped concrete! You can read all about it in this post and here are some of our very own after pictures 🙂

Copyright 2010 - 2011. The Lil House That Could. All rights reserved.