Archive for the ‘artwork’ Category

Alphabet Art for the Nursery

33 Comments

Posted by Rebecca, June 22nd, 2012

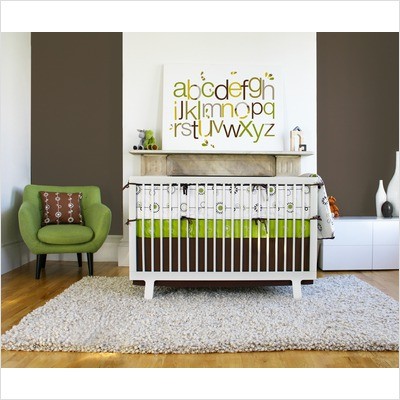
Before Easton was born, I posted about my plans to make some sort of an alphabet print for his room. My original inspiration image hailed from Pinterest…

(from Free Home Decorating Ideas via Pinterest)

My previous post covers how I went from planning this out using paint and canvas, to printing on canvas, to finally just making it a print using Photoshop.

I’ve said this before, but I am no Photoshop expert. In fact, I have no clue of what I’m doing 99% of the time. When I posted about deciding to make the art using Photoshop, I figured Mike would make it because I was lacking the skils. Well, throw in a late baby, a husband who is busy with his own work and me spending hours in bed and guess what? I did it all by myself 🙂

I camped out in bed the last days before Easton came and one of the things I did was whip up a little art on my laptop. I started as just playing around to give Mike an idea of what I wanted, so that he could then do it better. As I played around, I realized I could do it on my own if I just kept tweaking it. It ended up being far easier than I thought!

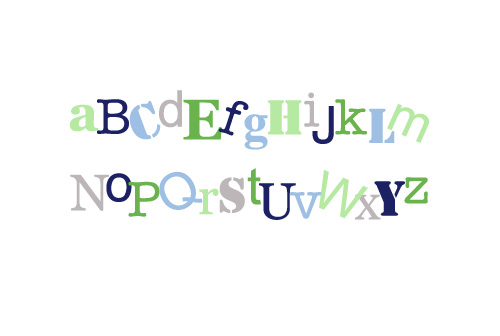
I started with a rough draft… all I did was type some letters in Photoshop and change the font, color, size and location of each individual letter until I liked the way it looked. I was surprised at how easy this part was since each letter was it’s own layer and I could go back and tweak whichever letter I didn’t like.

My first attempt looked like this…

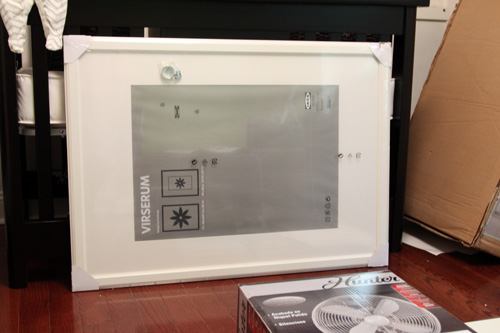
I liked it for the most part, but there was a lot of dead space. I had to figure out how the letters would look in the frame and make sure there wasn’t too much white space at the top and the bottom of the letters. We had picked up a large Virserum frame from Ikea before even starting this project, so that we were sure that we could size the print properly to fit the inexpensive frame. You may remember seeing the frame hanging around in some pictures…

The frame is 30 ¾” x 41 ½” and the mat opening is about 27 ½” x 19 ½”. I mentioned in my previous post that I saw on Shutterfly that I could order a print as large as 30″ x 20″, which was perfect. I would just have to make sure that my text was centered around the  27 ½” x 19 ½” size of the opening and that I made the image large enough pixel wise to print clearly.

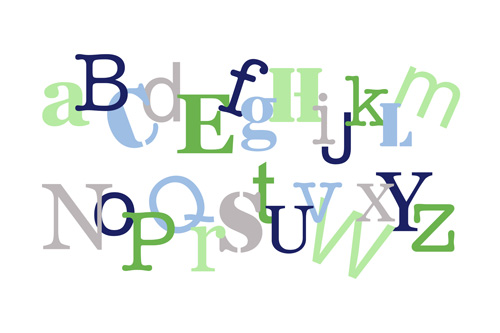
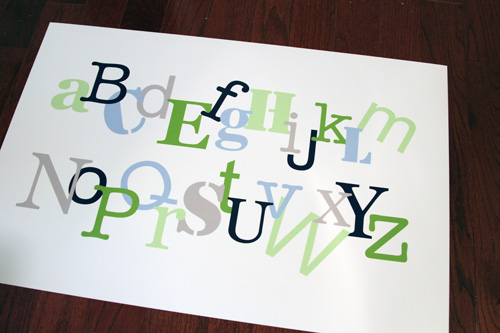
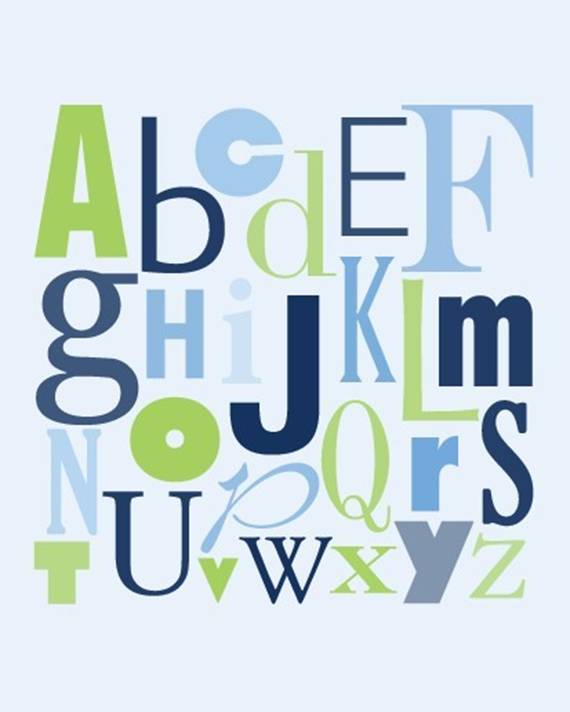
So I set my Photoshop canvas to the size of the print (30″ x 20″) and began to tweak my first draft. A little bit of making fonts bigger, a little bit of overlapping letters and just playing around, then my final product looked like this…

I ordered it and it cost me a whopping $15 to print through Shutterfly. It was supposed to take over a week to come, but it ended up arriving in a few days and coming the day before Easton was born. If you remember from my birth story, I was already in labor at this point so Mike ran it upstairs to show me how great it printed. He put it in the frame just so I could see how it looked, but I didn’t snap a picture of it.

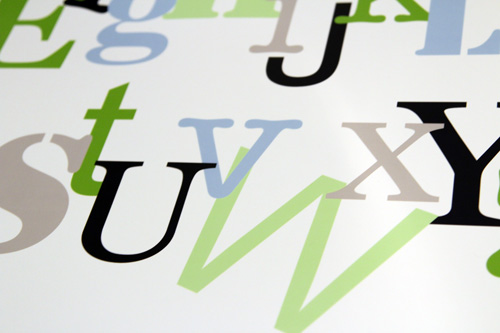
The large canvas size I chose worked because the letters were not at all blurry.

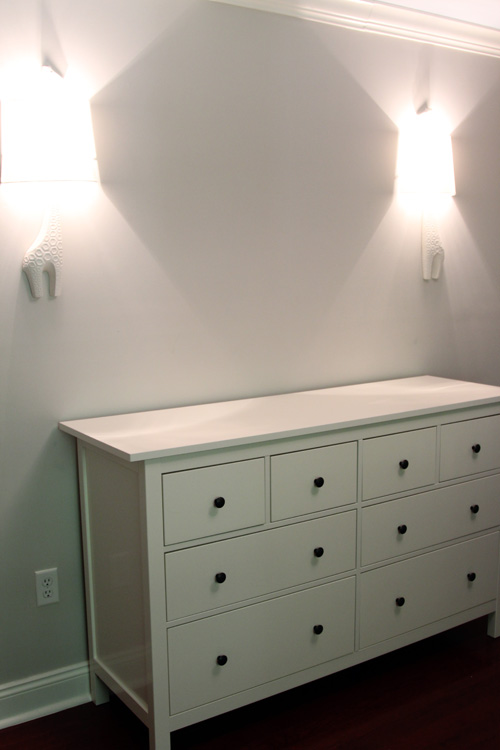
We planned to put it on the wall in between the giraffe sconces.

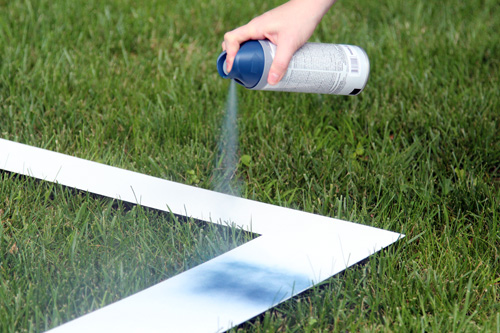
Since the sconces are white, the dresser is white, the frame is white and the mat is white, I thought it was too much white. It would look nice and clean, but I was just looking for a little more fun and contrast on this wall. So I decided to spray paint the mat navy blue.

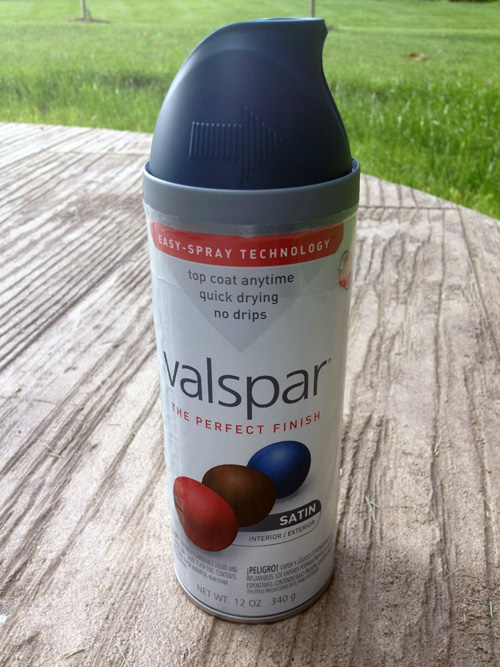
I picked up this can of paint while I was in labor. I figured walking around Lowe’s would help, though I was in such pain that I could hardly walk and I had to stop and sit on a pile of wood. Whoops.

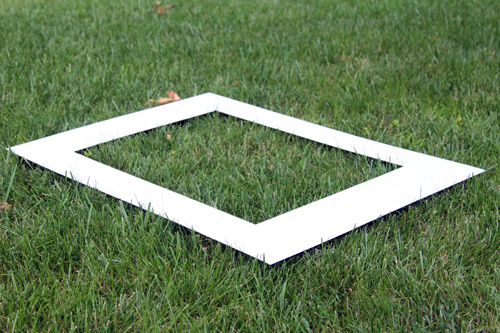
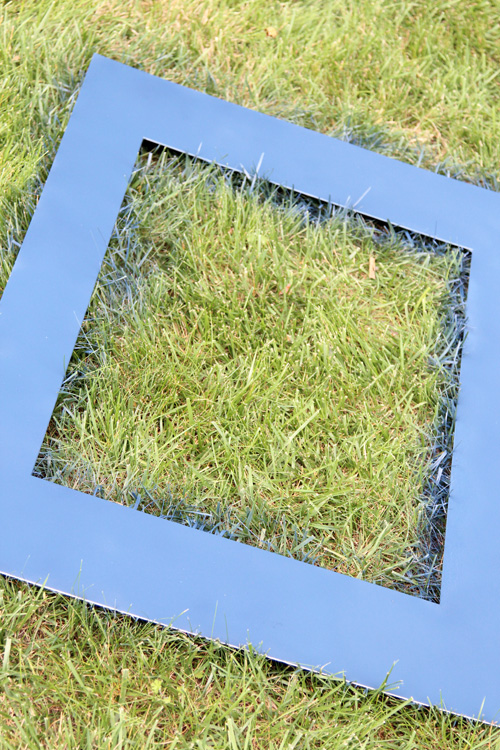
Finally this week, I decided to take the hour I had in between feeding, burping and cuddling to run outside and spray the mat. Hello backyard, I haven’t seen you in a while.

I just laid the mat on the grass because Mike was due to cut it anyway. The blue will be gone with one pass of the John Deere 🙂

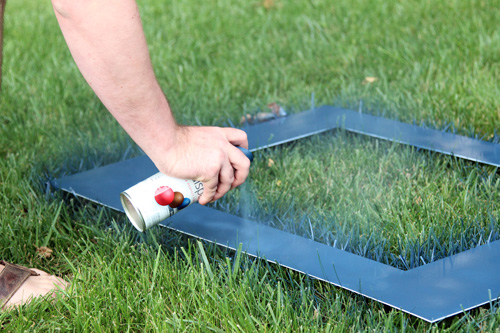
It took several coats to make sure there were no white spots. My hand started cramping since the Valspar trigger was really hard to push down, so Mike took over.

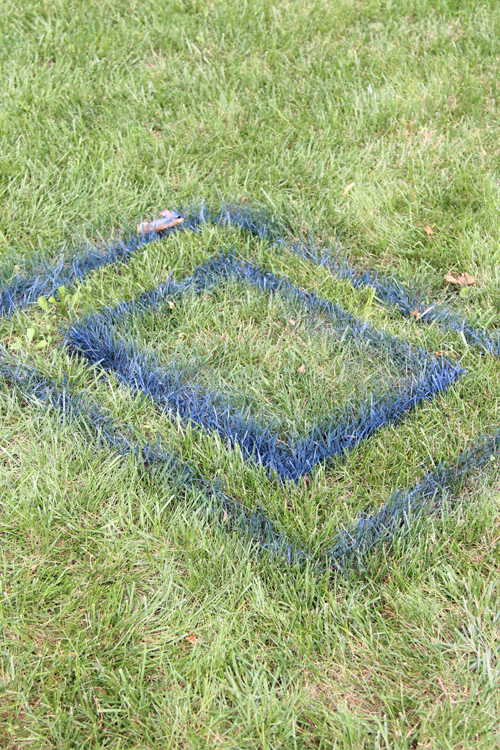
Once we were done, the grass looked like this (which was actually really cool looking)…

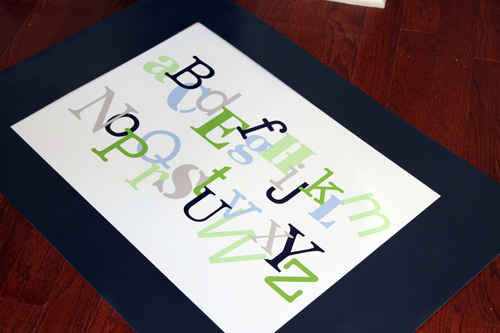
But the mat looked like this!

Fast forward a few days after it completely dried and I had another baby nap to put the mat in the actual frame. Sidenote: Mike’s been spending most of his spare time working on the built-ins in the new office that we abandoned to work on the nursery. So I’m usually on baby duty and can’t work on projects, but I can’t complain because the built-ins are looking awesome 🙂

First I wanted to make sure the blues looked good together. The lid of the spray paint can looked more bluish than navy, but it was the most navy one I could find. Thankfully, it dried much darker!

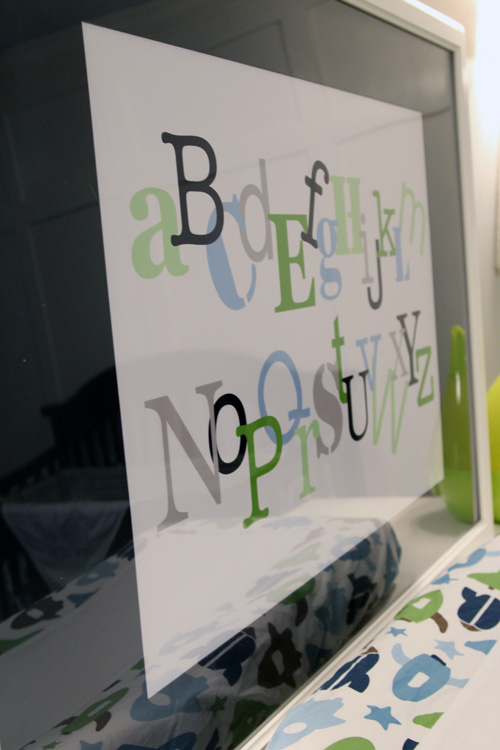
I put it in the frame and I was surprised that he “glass” in the frame is plastic. No wonder why Ikea can sell such a large frame, with a mat for just $29.99!

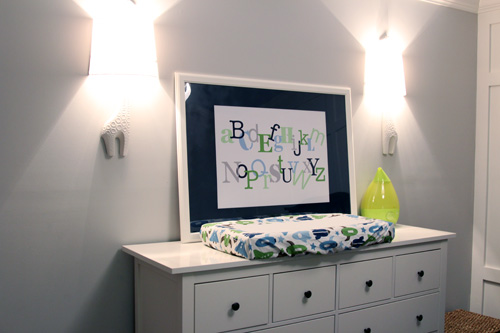
We couldn’t find the hardware that came with the frame, so I just leaned it up against the wall to see how it would look.

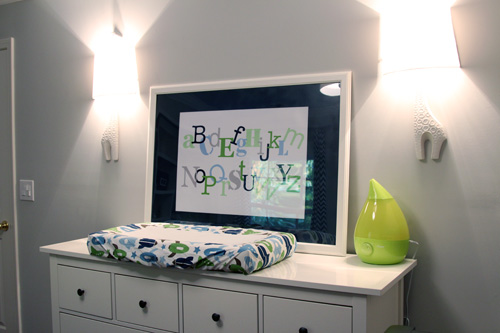
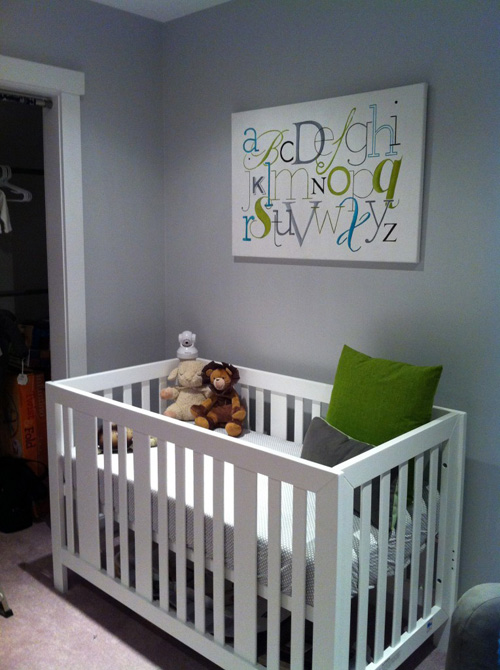
And I love it. I’m shocked at how well the colors match the color scheme of the room. I really just tried to incorporate the blues of the bedding/curtains/ceiling, the greens of the bedding/closet/bookcase and the gray of the walls. This artwork was meant to be the glue that brought everything together, and I think it does.

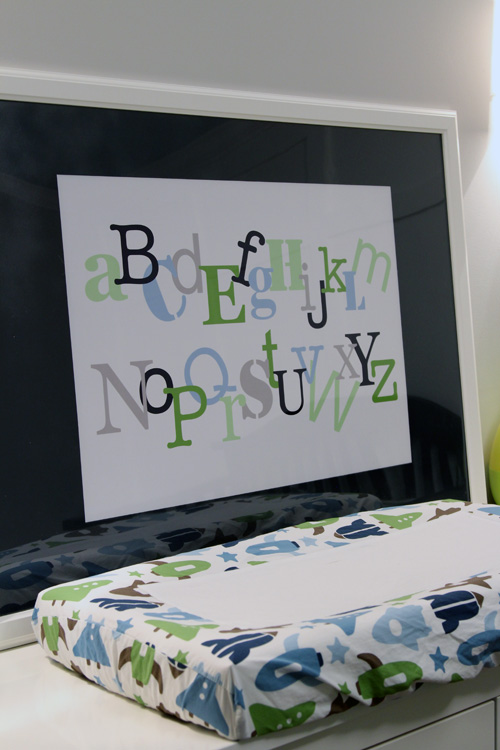
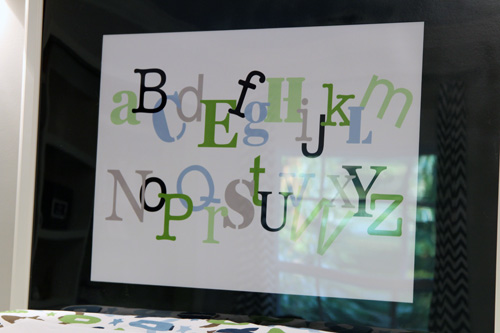
The plastic “glass” of the frame made for some awful glare, so it was hard to capture pictures. I may actually just remove it when we mount the frame, at least to take better pictures for you guys 🙂

Though the glare does allow you to see the other elements in the room with the art, like how you can see the chevron curtains hanging out in this picture…

One more picture from the other side of the room!

Not to shabby for $15 for a DIY print + $29.99 for a large frame and mat. Oh and a couple of bucks for spray paint!

Since this post took me 3 sessions to write, Mike is actually at Lowe’s at the moment picking up some stuff for the office and some hardware to hang this bad boy. Hopefully this weekend we can both have time, at the same time, to hang it since it’s a two person job. Then we’re one step closer to actually being ready to give you a full nursery reveal and tour. I’m so excited 🙂

Update! Since I just completed this and I didn’t have time to tackle a new project, I decided to use this as project as my summer Pinterest Challenge entry, hosted by Young House Love, Bower Power, Centsational Girl and Ten June, all of which are some of my favorite blogs. 3 out of 4 of my Pinterest Challenge projects have been some form of wall art, guess you can tell what I like to do for fun…

Oh and we did get around to hanging this print on the wall, which I posted about here.

Tada! 🙂

ABC, Easy As?

8 Comments

Posted by Rebecca, April 26th, 2012

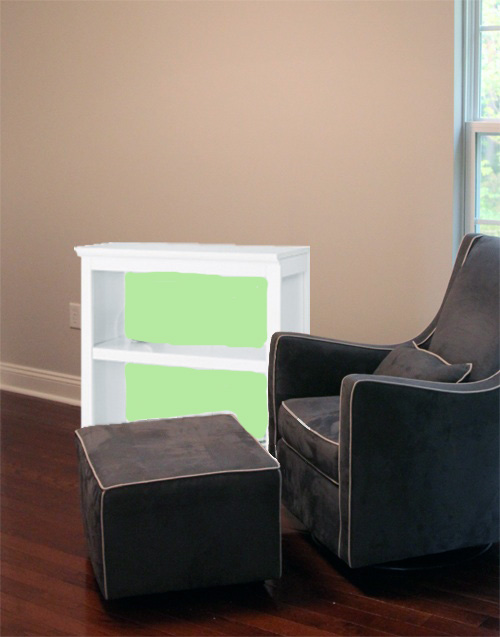
Confession: I love lettering, typography, whatever you want to call it. I’ve known forever that I wanted to make some sort of alphabet art for the baby’s room, but I put off actually making something until I had a better idea of the space. Now that we have the elusive glider and ordered a bookcase, I know that we can add a mix of pieces to the wall over the bookcase (which has not yet arrived…)

Which means I can finally decide what to do with the space on the other side of the room, above the dresser. Mike talked about our adding some framed art here, but now that we know we can add a TON of frames to the space above the bookcase, I’m leaning towards one giant artpiece.

Of course I don’t have a head-on picture of the dresser, on the wall it’s staying on, that includes the height of the ceiling. But you get the idea that the wall above the dresser is a giant blank slate.

We’ve waited to install our giraffe sconces until we were sure of where we were putting the dresser. Which meant we had to have the glider. Which we just got last week. See how everything comes back to that damn glider?

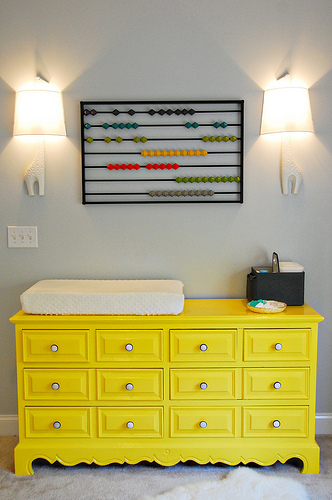
Now we know we can install our giraffe sconces over the dresser like our inspiration picture…

(Honey & Fitz via Centsational Girl)

Then in the middle, I want to add some giant, horizontal alphabet art. Like this…

(from Free Home Decorating Ideas via Pinterest)

Or like this…

(via Project Nursery)

I’m partial to styles that have multiple fonts, sizes and are not perfectly aligned. Like this one…

(via Project Nursery)

Or this…

(via Etsy)

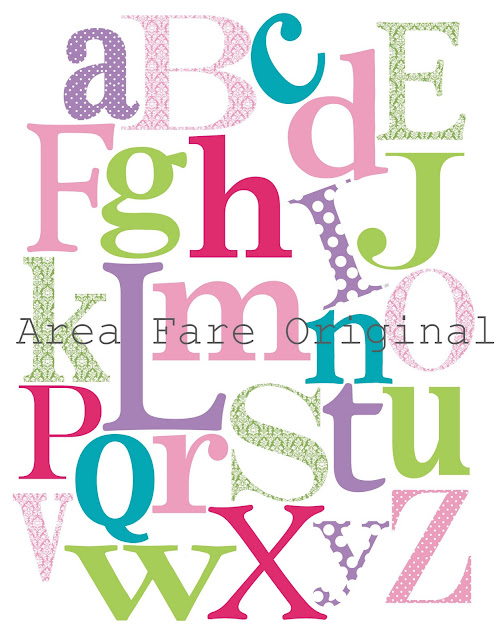
Or even patterned like this one…

(via Area Fare)

You notice how all of those last 3 have blue in them and 2 out 3 also have green? That’s for all of you people who have tried to tell us that you know we’re having a boy because of our nursery paint choices. Muhahaha.

Up until last night, I figured I’d draft something using a couple of different fonts, then paint the final product on canvas. As I fiddled with Photoshop last night trying to do that fancy mock up of our new bookcase that I posted above, I realized that we can just design something in Photoshop and have it printed on canvas. This would save me a TON of time and be a lot more fool proof than my free handing. I looked up the prices of printing on canvas using Kodak Gallery and was shocked to see that it would be about $150 for a 24″ x 36″, which is about what we would want.

So I went back to doing it myself, when Mike reminded me that the last time I went to Michael’s to buy a canvas that large, they were super expensive too (even with 50% off sale). I do know how to stretch my own canvas, which is always an option, but then I would still be freehanding the letters. Humpf.

Then I thought of just doing a print in a matted frame. I decided to see how large of a print we could order and I was shocked to see that they come as large as 20″ x 30″ for just $20! I checked the Ikea website to see how large their frames go and it seems as though they sell them pretty large. We’d probably want the finished product, meaning the outside of the frame, to be around 24″ x 36″. Ikea notoriously has awkward sized frames, so I think we’ll pick up a frame first. Then we can see how large the opening is and plan a print to fit the opening. The whole thing– print, mat and frame should run us about $50 and would be less tedious than painting by hand. Though I need Mike to be in charge of the Photoshopping magic, I am still a rookie and what takes me 2 hours takes him 2 minutes.

We’ll keep you posted on our progress (though not the specific colors we’re using just yet!). Hopefully the logistics work out and between the 2 of us, we can whip up something awesome 🙂
ps- My last day of work is Monday. Let’s hope the baby gives me a full week to wrap up all of this nursery business!

Can You Imagine

3 Comments

Posted by Michael, April 12th, 2012

Rebecca has been asking me all week what should we do above the baby’s dresser.  We know we want to rock the giraffe sconces, but we’re not so sure what to do exactly in between them.

Do we go with the classic three frame horizontal look?  Maybe one large frame?  We’ve bounced ideas back and forth to one another ranging from absolutely nothing besides the sconces to crazy framed patterns.

Ok, crazy framed pattern really means what you trendy kids are calling “chevron” patterns.  It’s called a zig-zag.  Seriously.  What’s easier to understand, “I think we should do a chevron pattern” or “I think we should do a zig-zag pattern.”  Yup, zig-zag.  Mike 1, rest of you 0.

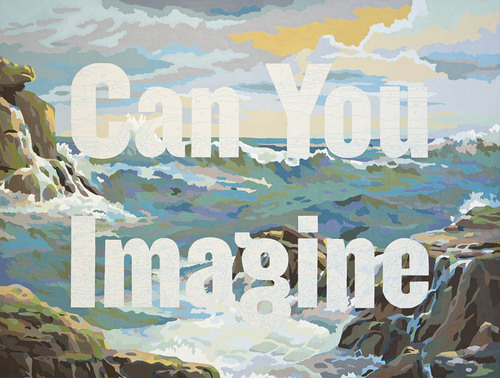
Anyways, tonight I present you a combination that popped in my head as I was browsing 20×200.

(“Can You Imagine” via 20×200)

On the left, we have ‘Can You Imagine’ which instantly grabbed my attention.  For one, the background scenery reminded me much of our time spent in Hawaii.  And then the typography brought out the aspect of an imagination.  This baby girl or boy is going to have one helluva imagination; especially since he or she will be talking about Macky to friends as if Macky was a non-fur-baby.

But really, I glazed at this picture for a solid five minutes watching the waves grow as they approached me and then watching as they hit against the rocks.  Then I realized nothing was moving in this piece of art work.

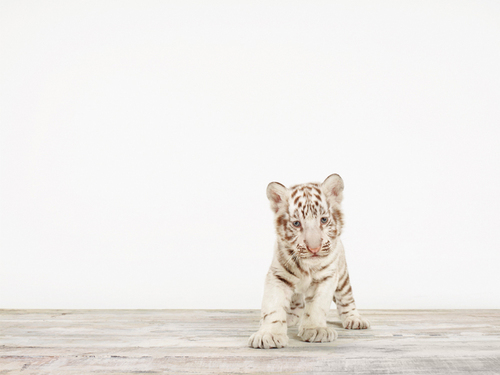
(“Baby White Tiger No 5 via 20×200)

And then I saw this baby tiger.  What better way to make The Baby a crazy cat person than to hang a picture of a big cat?  Gotta start them young, right?

I love the simplicity of this piece, a baby white tiger on a simple backdrop.  But more importantly, I couldn’t help but think that this tiger had a piece of all of our cats — small sized tiger with big paws reminds me of Darwin, the fluffy white chest reminding me of Sunny (our precious guy we lost to panleukopenia), the big eyes with a slight tilt of the head reminding me of Mowie and the overall goofiness that Macky shares with this tiger.

In 20 years, you’re going to hear about The Baby having a TLC special about owning too many cats.

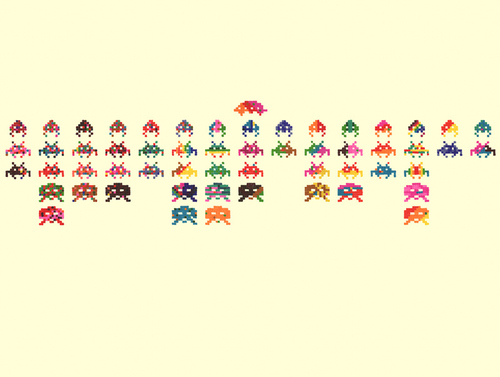
(“Closing Credits at the End of a Movie” via 20×200)

And to end, we have some artwork reflecting the geekiness in me.  I love that this really screams our youth while throwing several colors into the mix.  I really want to go play space invaders now.

I’m not sure if we’ll go with any of these, but I figured I’d throw them out there.  Maybe Rebecca will let me mount three LED televisions up there so the artwork can always rotate and be random.

Now that is a great idea.

Our Favorite Projects of 2011

4 Comments

Posted by Rebecca, December 29th, 2011

2011 is over already, can you believe it? Since this year was our first full year of blogging (and living in the house), we figured we’d jump on the end of year list bandwagon! So without further adieu, here is a list of our top 5 favorite projects that we completed around the house this year…

5. Powder Room Paint Job

Though painting is nothing all that special, we took a flying leap out of our comfort zones with this near-black paint choice. I think it paid off 🙂
4. Pencil Eraser Art

This was another project that didn’t take me long, but had a big impact. I still love looking at this thing and I’m thinking of ways to use some pencil eraser art in the future.

3. Entryway Chair Rail

This was our first molding adventure and we got a serious high off of conquering those funny angles. Therefore, we loved it this year.

2. Stamped Concrete Patio

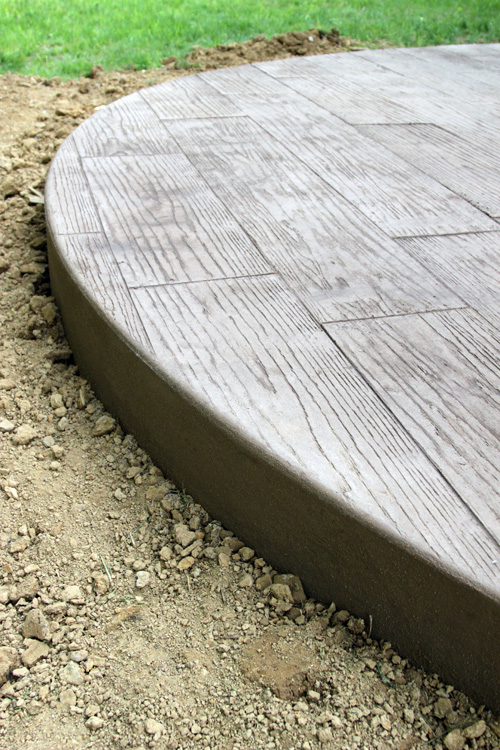
While we did not attempt this one ourselves, we definitely did not expect to have an awesome patio this year. It’s a reader favorite so our wood plank stamped patio gets the runner up position on our 2011 list!

1. Office stripes

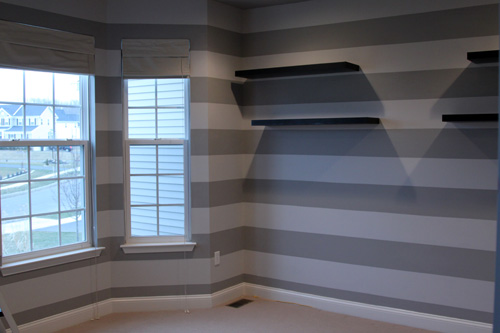
Measure once, measure twice, okay measure 5 times then level, remeasure… 18 hours later peel off tape and have clean stripes! The amount of blood, sweat and tears that went into taping this room and the almost perfect finished product (we needed a few touch ups) make this our favorite project of 2011. Plus looking at the stripes through our french doors everyday makes it even better!

Honorable Mention:

The Baby.

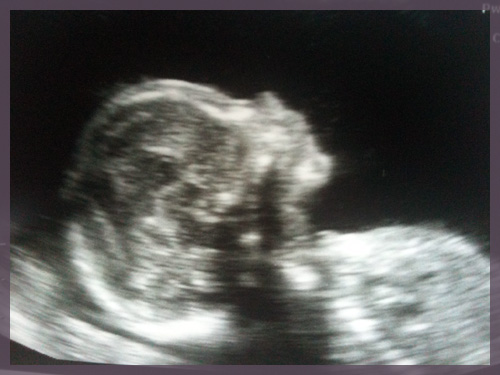
Look at the little chin chin! I couldn’t resist the baby bomb 🙂

Hopefully 2012 will bring even bigger and better projects. We’re really surprised at how many things we’ve checked off our to-do list this year. We have a bunch of things to get started on for 2012 ASAP! What should we tackle first?!

Gallery Wall Makings

4 Comments

Posted by Michael, November 28th, 2011

Rebecca and I have been discussing the whole gallery wall thing for quite awhile.  So much so that we’ve probably purchased nearly thirty to forty frames in anticipation of finally getting the wall going.  The only problem besides finding time to do so?  Actually determining what to put in these frames.

We have a couple of pictures in mind such as a handful of our pictures from our honeymoon in Maui, our nephew leaping into some fall leaves and, of course, pictures of the cats.  But, those might only fill up — at most — 10 of those frames; certainly not enough to fill out where we’re planning on doing the gallery wall.

While looking for our marriage certificate (yeah, you read that) the other day, I came across some little cards we picked up from a small shop in New Hope, Pennsylvania (if you can ever get the chance to visit New Hope, please do so).  They are 5 x 5 inch cards with inspirational quotes on them.  Now, we’re not ones to do sappy quotes on our walls, but the ones we found actually have some meaning behind them for us.

So where does this all connect?  Well, we bought the cards to frame … and to hang on our eventual gallery wall. We’re not sure if we’ll frame all the cards we bought, but we couldn’t narrow it down to just one at the store.

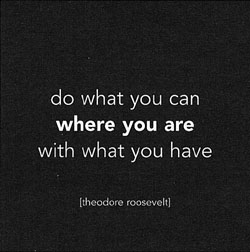
Probably one of my favorite all time quotes, outside of “Keep It Simple Stupid”, comes from good ol’ Teddy Roosevelt.

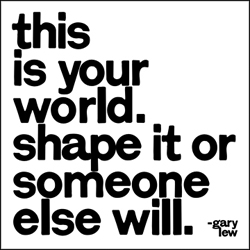
Our second pick was a quote from Gary Lew.  Simple and to the point, but enough to get you thinking.

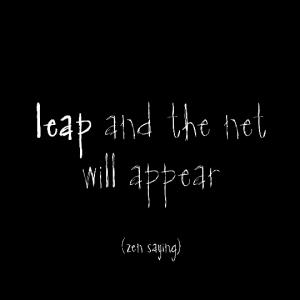
And our last pick and probably the one getting my vote for the gallery wall is a Zen saying.  It also happens to be a Jason Mraz line in the song Make It Mine.  But most of all, it’s stays true to a decision we recently made in quitting my job to do SongMeanings full time.

The company that made these, Quotable Cards, has many many more — some great, some corny and sappy.  I just found “grow old with me! the best is yet to be!” by Robert Browning, which is also a famed John Lennon line.  Or even Lincoln’s “whatever you are, be a good one.

We’re planning on lining our entry way, up the stairs and the upstairs’ hallway with frames.  Rebecca had it as an item on our to-do list for our staycation way back in August.  Yeah, we never got to it.  Rebecca has been swamped with graduate school (oh and growing a baby) and if she leaves the entire thing up to me, it’s going to be filled with album art, hip-hop lyric quotes and pictures of kittens — some of which won’t even be ours.  I think it’s best if I wait for her, eh?

Copyright 2010 - 2011. The Lil House That Could. All rights reserved.