Archive for the ‘background’ Category

Spreading the Love- Sawdust and Paper Scraps

16 Comments

Posted by Rebecca, February 10th, 2011

If you browse my archives over there on the right, you’ll see that today marks one year since my first post (or posts, I was anxious!) First was the obligatory introduction post and the second was about my love for a Walmart tissue box. I don’t really consider it to be my ‘blogiversary’ or anything, since I really just started for myself and told not a soul in the beginning. When I started, I didn’t even know who Young House Love was and I thought I had an original idea going. Yes, I am naive, I thought for a minute that I invented the house blog. Once I was finally confident enough to spread the word, I decided to join Twitter where I discovered so so many wonderful bloggers that I have learned from and have been inspired by. One of those people is Sandra from Sawdust and Paper Scraps.

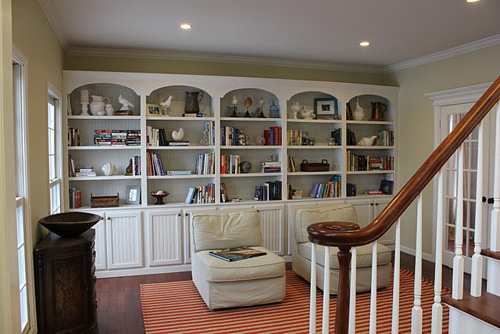
I discovered Sandra just a few weeks ago, at 2 am, while I was wide awake and browsing Twitter on my iPhone. Once I clicked the link for her blog I was in awe. First I spotted these built-in bookcases

I’ve mentioned my love of built-ins before but the amazing thing about these? Sandra built them herself. Talk about motivation to learn how to use a saw!!

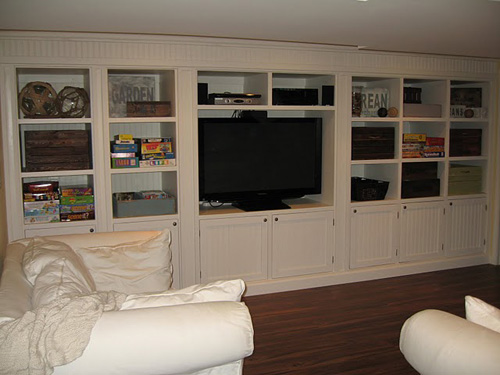
Little did I know at that point that Sandra also built the entertainment center in her basement…

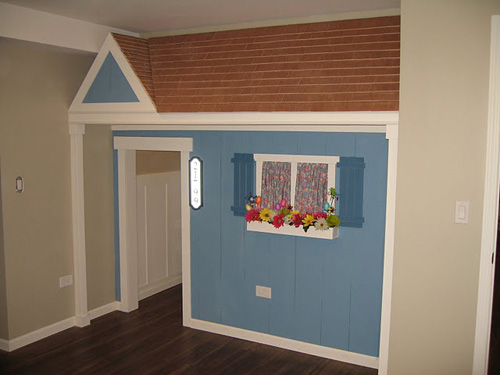
As well as a playhouse for her daughter (which started as a closet!)…

Holy talent.

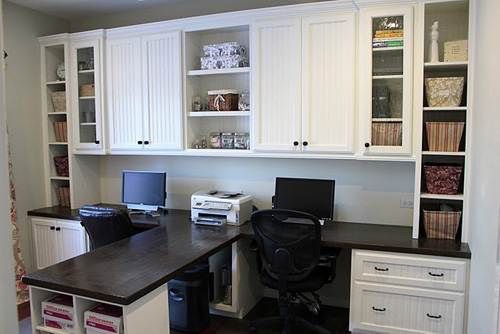
She also created our dream office

We wanted an office layout like this, but buying cabinets was too pricey for us and we are not talented enough to make our own like Sandra does. How awesome are those countertops??

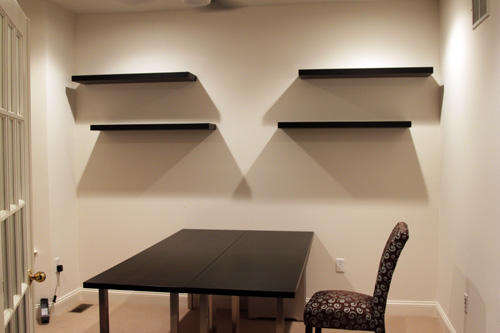
Instead we went with a much less attractive Ikea version…

My poor little office looks sad! Hopefully someday we can have beautiful cabinetry too!

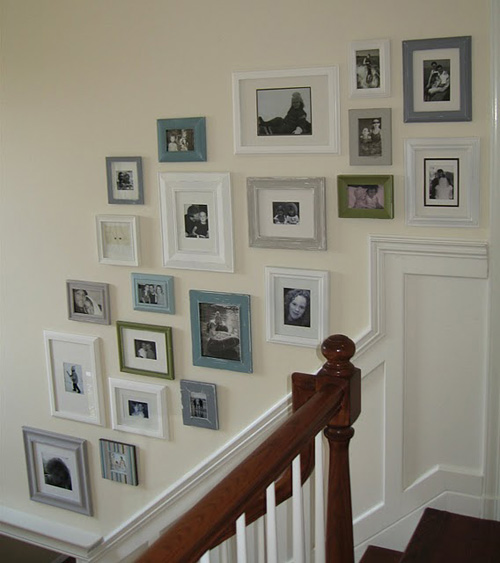
Finally, my absolute favorite part of Sandra’s house is her picture frame collage

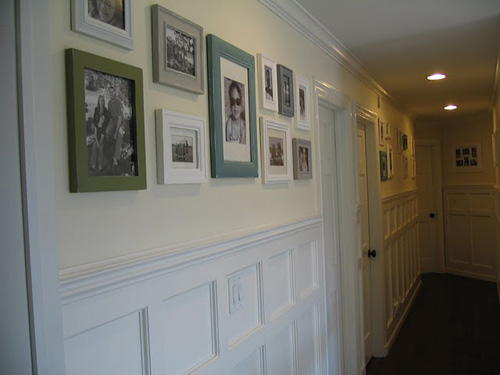
I’ve been dying to do something like this, but we don’t have much of a staircase wall. Luckily Sandra did her hallway too! 🙂

We’ve been planning to extend our living/dining room moldings up our stairs and into the hallway, so this picture frame arrangment would be wonderful. I love how Sandra mixed frame colors and sizes, but unified everything with the black and white pictures. I have had this image in my head for 2 weeks!

Finding a blog I have never seen before is like Christmas morning for me. One that keeps me up at 2 am is like a trip to Disney World, so I just had to spread the love. I am so happy that I’ve found Sandra, as well as so many other ridiculously talented bloggers in this past year. Maybe someday I can be as good…or I can at least attempt to use a saw by my next fake blogiversary. But until then? Blogs are more inspiring than HGTV. Yeah I said it 🙂

Visit Sawdust and Paper Scraps for many more impressive projects and special thanks to Sandra for letting me use her images!

A Lil Housekeeping

5 Comments

Posted by Rebecca, January 31st, 2011

I got lucky and had a snow day on Thursday, so I took my time off to do something I’ve been meaning to do around here… I created a Flickr account. You can access it from that funky little blue icon up there on the right, next to that blue Facebook icon and that blue Twitter icon. Seriously, what is up with the social networking sites and the blue! Mike also made a little navigation bar up top to add a few more features and clean up the design of the site. I have a couple of extra changes I want to make to make sure this site is easy for you guys to use and find things.

In my new Flickr account I’ve added all of the pictures of the house while it was under construction. You can find them (in chronological order, for the most part) under the House Under Construction set. These pictures were kind of the jumping off point for this blog, since they are the pictures I used to post under my personal Facebook account as our house was being built. Once the house was done, I stopped taking pictures and people were like whaaaat? More pictures please! And that’s how it all began…

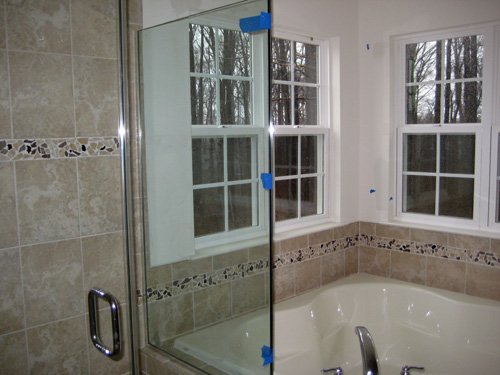
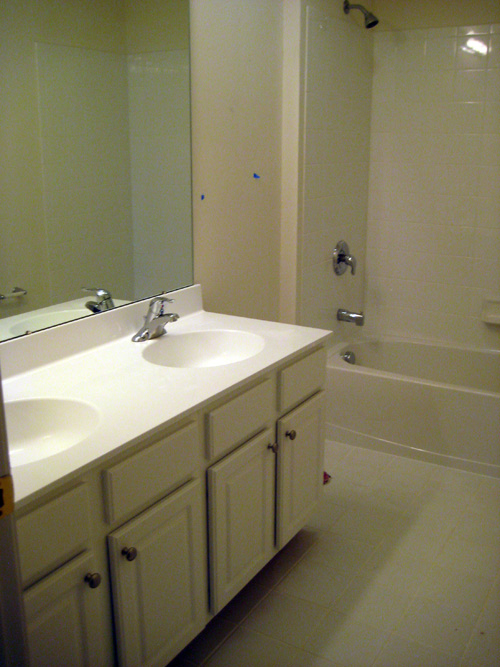
Included are some areas of the house you’ve never seen, such as our master bathroom…

The hallway bathroom….

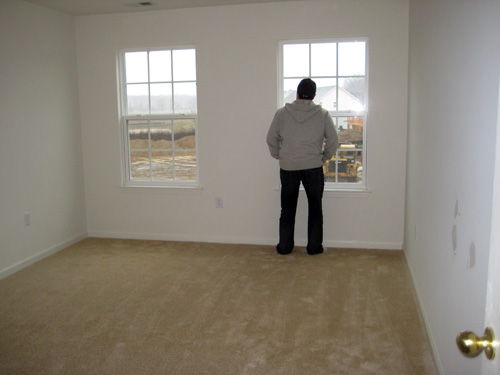
One of the spare bedrooms…

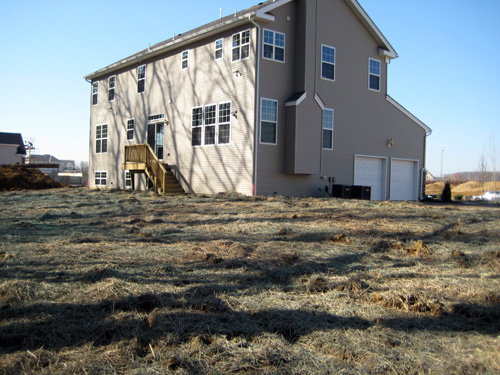
And the backyard…

The reason why I haven’t showed you any of these spaces is that they haven’t been touched since we moved in. Wait no, the hall bathroom has a shower curtain now and the master has some paper blinds over the tub, but other than that, we’ve done nothing in those areas. Slow and steady wins the race 🙂

Flickr is smart enough to know what camera I took each picture with and when it was taken (for the most part, some pictures are marked as the date they were uploaded), so please excuse the poor quality of the iPhone pics. I want to eventually get a room by room tour up and maybe even make Flickr sets of rooms from start to finish. I haven’t decided how to execute it yet, but it’s in the works!

Looking at these pictures make me happy, it was such an exciting, nerve-wracking and fun time. I still look at them and think, holy crap, we did it.

What We Ate Wednesday

12 Comments

Posted by Rebecca, January 26th, 2011

I’m back! Mike saved my life with his posts this week. You’ll probably be hearing from him a little more from now on, since my workload this semester is much larger. Just call us John and Sherry 🙂

Anywho, my blogging buddy Jenn over at Peas and Crayons is hosting a What I Ate Wednesday link party today. She threatened me asked me to post some things we eat around here. Since Jenn is wonderful, and also happens to be my #1 and #4 most frequent commenter (no really Jenn, you hold 2 spots in the top 10…), the least I could do was post a little recipe from last night!

So a little foodie background, Mike and I don’t eat meat and haven’t for about 2 years now. I was never a big meat eater and I originally decided that I wanted to do a grass-fed/free-range diet. We did it for a week and it almost bothered me more to think about what the animals I was eating, were eating! It made them more real to me, so I decided I would rather not eat meat than go the grass-fed route. I never expected Mike to join me, but he decided he was up for the challenge and would see how long he could go. Much to both of our surprises, it’s been almost two years. A major misconception about us is that I have somehow forced Mike into my lifestyle, which could not be further from the truth. Mike loves to cook and was open to trying out new things, so if anything, being vegetarian has made us expand our horizons and try new things. Plus Mike maaay have eaten a rib at a recent bachelor party and I did not kill him in his sleep. See that? I am not the crazy vegetarian lady.

We often get funny looks and comments such as “You don’t eat meat? What do you eat???” So I’m pretty excited to share some of our recipes 🙂  Though I can’t promise that there aren’t some nights where I eat Froot Loops for dinner…

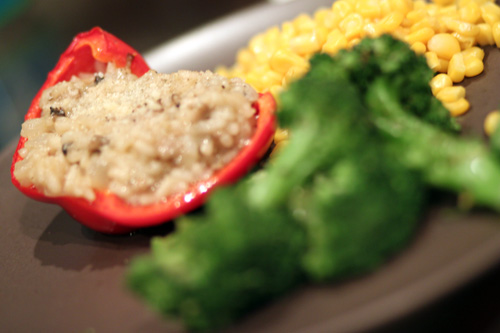
Okay onto the food! Last night we made some stuffed peppers with white wine risotto. And by we I mean Mike..

The recipe, which is from here:

  • 4-6 red bell peppers
  • 2 tbsp olive oil + 1/4 cup
  • 1/2 tsp salt
  • 1/2 tsp garlic powder
  • 3 scallions
  • 4 cloves garlic
  • 3 cups vegetable broth
  • 1 cup white wine, separated + 1 tbsp
  • 1 cup Aborio rice
  • 1/2 cup sun-dried tomatoes (re-hydrate if necessary)
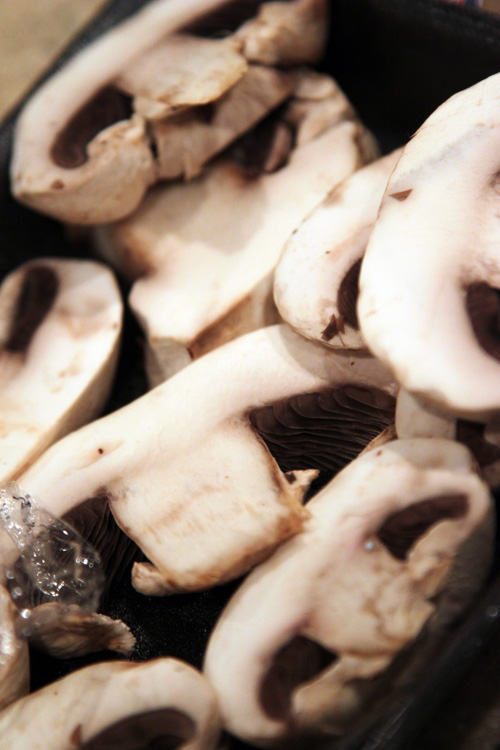
  • 1 portobello mushroom, halved and sliced
  • 1 tbsp margarine
  • parmesan cheese (vegan or dairy, optional)

We substituted the portobello mushroom for some steak cut mushrooms, removed the sun-dried tomatoes and added some onion.

Directions:

Slice tops off of peppers and scoop out seeds. Place in baking tray. Drizzle with 2 tbsp olive oil, garlic and salt and bake at 350 degrees for 15-20 minutes, or until just barely tender.

Meanwhile, heat vegetable broth and 1/2 cup wine over low heat til hot, just before simmering. In a separate large skillet, sautee scallions, garlic cloves in 1/4 cup olive oil. Add rice and mushrooms until rice is toasted, but not burnt, stirring frequently. Add 1/2 cup white wine and simmer one more minute. Add 1/2 cup of the broth and wine mixture to rice. Allow to cook until the liquid is almost absorbed. Continue adding broth mixture 1/2 cup at a time until rice is cooked, about 30 minutes.

Add 1 tbsp margarine and 1 tbsp wine just before done cooking.

Stuff into peppers. Sprinkle the stuffed peppers with parmesan, if desired, and bake 10 more minutes.

We served them with some broccoli (because I was craving it) and some corn (because that was the vegetable Mike chose). I’m sure a salad would have been a much more normal choice. And tada! A delicious meal on my lovely Ikea Dinera plates. I had to throw a touch of decor in there for you guys 🙂

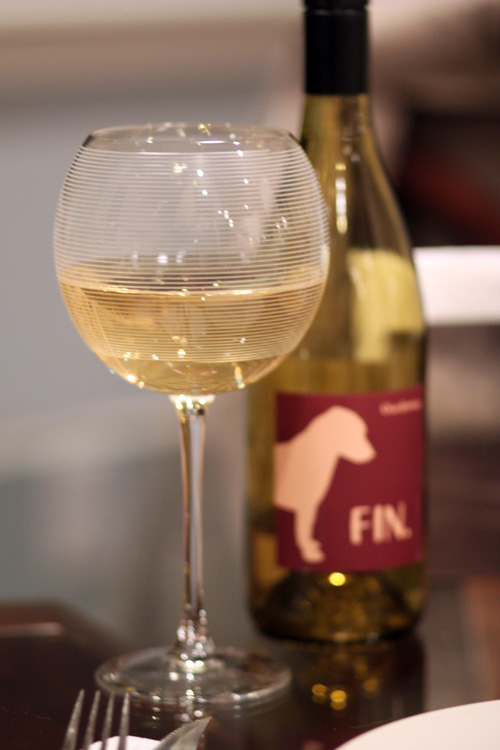
Don’t worry, the remainder of that bottle of white wine was put to great use, we don’t waste…

For more recipes, crafts and cute animals, head on over to Peas and Crayons!

Throwback Thursday?

12 Comments

Posted by Rebecca, January 20th, 2011

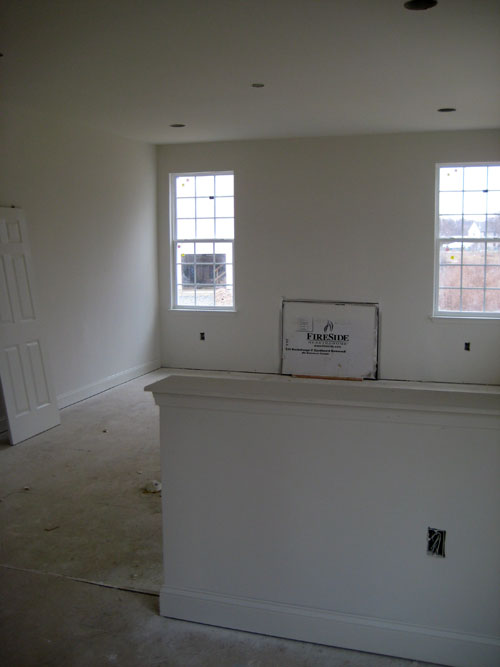
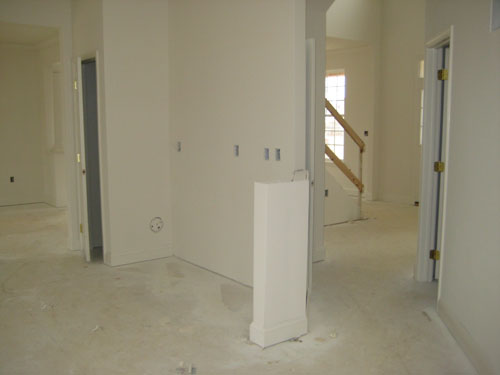
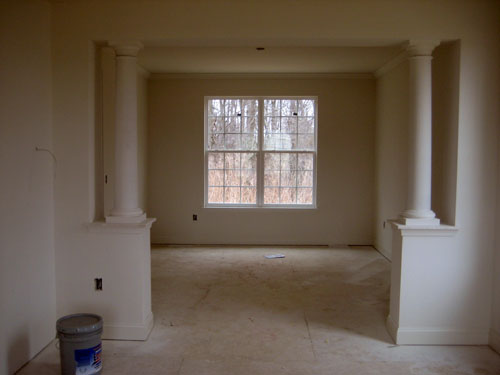
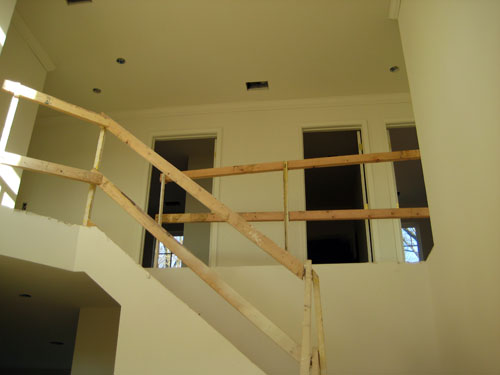
I survived 8 hours of work today, but my body is screaming for some rest. So I’m going to take it easy tonight and give you some pictures of our house from January of last year, when it was freshly drywalled. It was so exciting at the time, but I must add how small it looks with nothing in it!

The family room…

Half of the kitchen, sans cabinets (those came in March I think…)

The dining/living room, which I showed you last week…

The entryway…

Sometimes I feel like we’re not making enough progress, but looking at these and seeing all that we’ve accomplished in less than a year, while working, schoolin’ and having lives…I guess we’re not doing that bad of a job 🙂

Hopefully this weekend I can get back to my regular picture taking around this joint. For now, snuggles, milkshakes and Jersey Shore.

“Imma good peeeerson!”- Snooki, 2010.

Painting projects

12 Comments

Posted by Rebecca, January 12th, 2011

Lately I’ve been dying to paint something. I’ve been thinking of the powder room or office, but mostly I would love love love to paint our master.

The problem with this is with the new trim, wall and french doors we had installed when we added hardwood floors upstairs, this is no simple project. We can’t just throw some paint on the walls, we have to….

1. Caulk the trim

2. Prime the new wall and doors

3. Paint the many walls

4. Paint all of the trim

5. Stencil wall behind bed

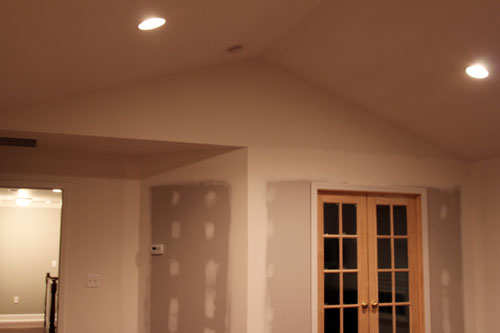
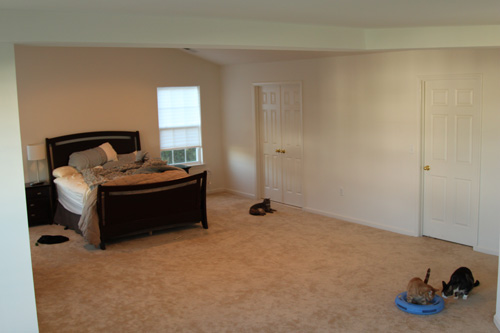
Now, our master is not your simple 4 walls type of room. It has cathedral ceilings…

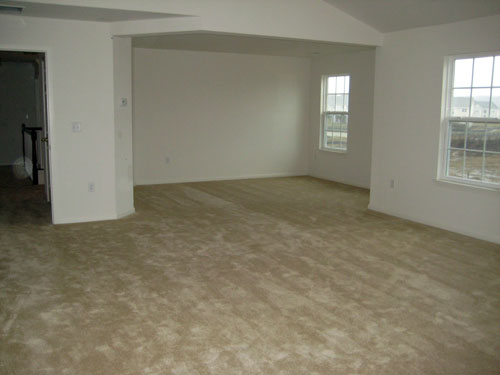
A sitting room, which I’d like to paint a different color than the rest of the room…

This one is obviously a ‘before’ picture- when we still had carpeting and no wall, but it is the best view I have of the sitting room size since there is no light fixture in there and the new wall makes it extremely dark. It’s on the to-do list 🙂 But anywho, it’s a large room in itself. Our main bedroom part is about 17’x19′ and the sitting room is about 14’x12′ I believe. So that’s approximately 491 square feet to paint! Oy!

Since I referenced this picture in yesterday’s post and it’s a good view of our bed area, I figured I’d share. The messy bed, clothes on the floor and cat conference going on just add to it’s charm…

Once again it’s a pre-hardwoods, pre-wall picture, but it’s entertaining and it shows the size of the room pretty well. This one was taken from the sitting room, looking into the main bedroom part.

What you see in that picture is the only furniture/stuff we have in our bedroom. Paper blinds, no paint, no pictures…NOTHING. It is like a blinding sea of white in the morning. We know we’ve put the office on the back burner, but because of my inability to sleep well and my need for a little sanctuary, I think this will be tiptoeing its way up on the list.

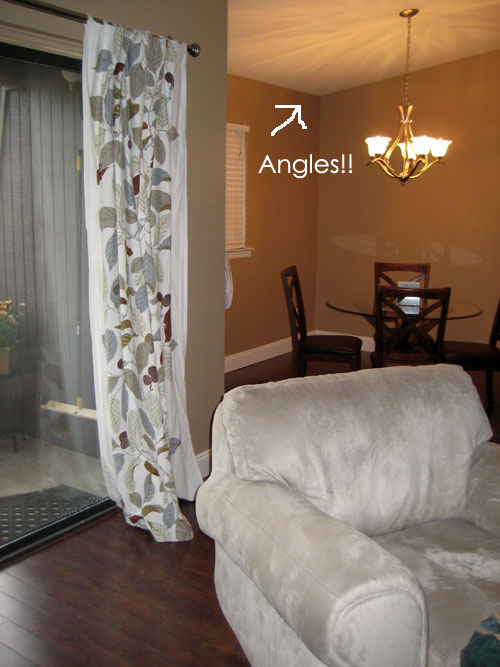
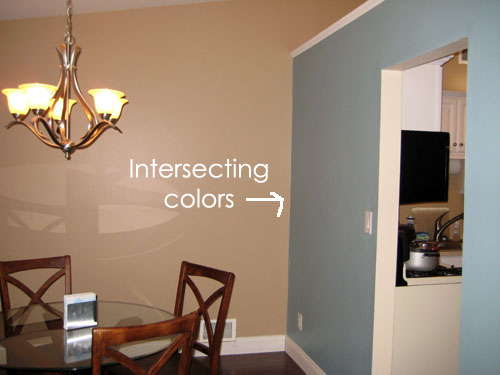
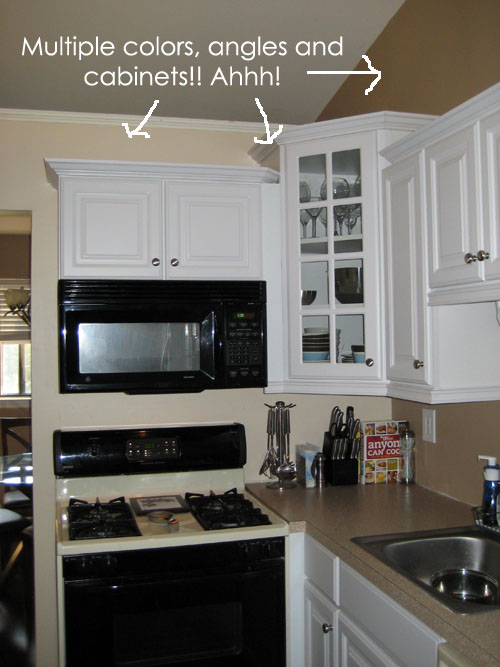
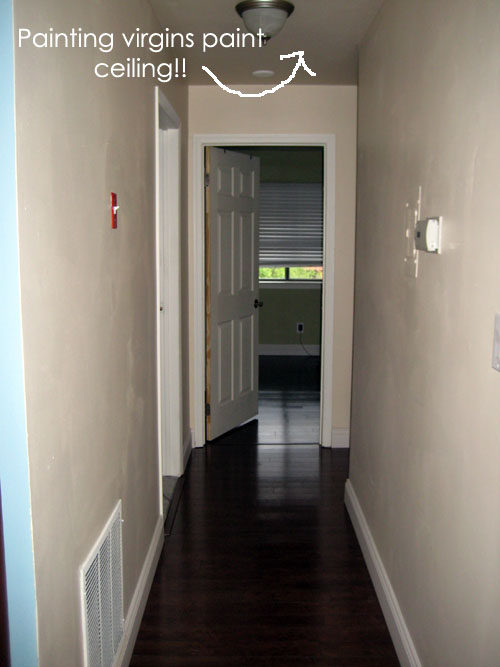
This wouldn’t be the largest and most complicated paint job we’ve undertaken. When we had our condo, we painted our connecting kitchen, dining and living rooms, 3 different colors, with angled ceilings at a maximum height of 12 feet. Oh did I mention that this was the first time either of us had ever painted a room? And that we didn’t have a proper ladder, or really any money for paint and supplies?? Oh and we accomplished it in one weekend? Here are some pictures of the hard work we accomplished in 2 days…

We actually repainted all of these walls about 2 years later because we didn’t like the colors we choose. Another lesson learned, looking at your old pictures will make you cringe. But when we toned down the colors a little (and went more beige than peach), we had it professionally done. This experience was traumatic for us, plus Mike put a huge hole in the drywall that needed to be patched beyond his skills, so a professional painter was key.

Long story short, as much as I’d love to tackle my major painting plans this upcoming 3 day weekend, I’m traumatized by past experiences. I’m thinking this will be a project we’ll tackle piece by piece, over many weekends. Lesson learned 🙂

ps- you know you love the arrows I drew up there! 🙂

Copyright 2010 - 2011. The Lil House That Could. All rights reserved.