Archive for the ‘inexpensive design’ Category

Planning an Outdoor Siesta

16 Comments

Posted by Rebecca, March 8th, 2011

This weekend was a little crazy for us. We ran around doing taxes, visiting family and… doing homework for 7 hours on Sunday. Needless to say, we didn’t make any office progress. But we did squeeze in a spontaneous Sunday morning Crate and Barrel visit! Of course C&B never disappoints me and since we haven’t been there in a few months, it was an extra special treat.

Yes we are that boring. I think I just lost a few readers.

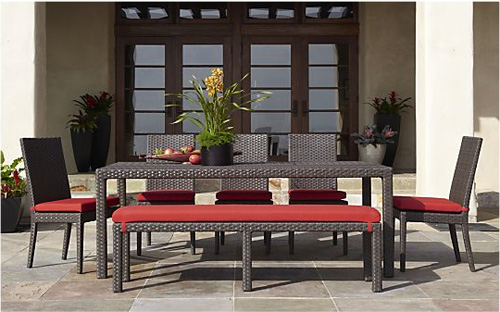
Anyway, we went there not really looking for anything other than a dough separator for our pizza making adventures. We’ve had patio fever and I was hoping the outdoor stuff would be displayed since I have been in love with the Ventura furniture collection since I first laid eyes on it. It was even one of my first blog posts!

This is last year’s C&B image, I loved the orange the purple combo.

As we got upstairs to the furniture section on Sunday, all of a sudden Mike stopped and started drooling over something. I look over and of course it’s my beloved outdoor furniture collection. I was a little scared because normally one of us is the voice of reason, but when the 2 of us love something? It’s dangerous for the credit card. I decided in this moment that I had to pull my ish together and be the mean wife.

Mike: Thiis is awesome!

Me: That is expensive.

Mike: Well maybe it’s worth it if we’re going to use it and it’s a good quality.

Me: You might want to look at the tag…

So we looked. The table alone, without a glass top, is $900. The glass top is $200. Each chair? $300. Each cushion for each chair? $40. We ran away screaming without looking any further.

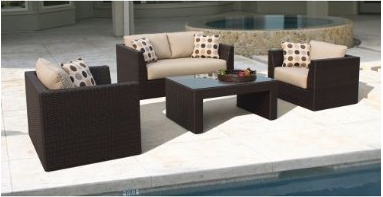
So I set out to research my plan since last year, which was to find a knock-off at Target or something. But first, I had to see just how much this lovely Crate & Barrel combination would be. We want a table, 6 chairs and a conversation set. Here’s this year’s picture from the C&B website…

Here’s what this would run us…

Um yeah. I’m not sure all of the furniture in my house combined costs that. My dining room table was $200. So on to the options!

First I checked Walmart…

Walmart has a looot of options that look similar. Apparently they sell things via CSN, so many of these were still around $2000 a set (we want a convo set and a dining set). So I moved onward to Target, which only has a few of their pieces out in stores right now. There’s the ever popular Rolston Collection, which I’m not too crazy about because of the legs.

Then I found the Belmont Collection

Still just okay. Then I found the Lexus Collection

So far this is my favorite! Even the dining set meets my criteria…

I was looking forward to putting some bright pillows on whatever we get to mimic my favorite purple/orange color scheme of last year’s Crate and Barrel collection, but these Target chairs come with those cute little pillows! I like the idea of the lumbar support in the dining chairs.

As of today, I’m starting to think of sectional more than conversation set type thing because it just looks so cozy!

Okay who am I kidding, I love the sectional because I want to take a nap on it like this dog…

Sticking with the conversation set for now since we’re just in the research phase, I added the Lexus conversation set, the table and six chairs to my Target cart to see the price difference…

Still a large expense, but that’s nearly a $5,000 difference! I think I would like it more if Target offered free shipping on all of the items rather than just one or I had some sort of coupon. I bought our dining room chairs from Target and a set of 2 of those were cheaper than the sets of outdoor chairs! Oh patio, you are so pricey.

Hardwood stamped Patio Guy is coming next Saturday, cross your fingers our patio dreams (whatever they may be) come true! 🙂

On a Magic Carpet Ride

16 Comments

Posted by Rebecca, March 1st, 2011

I mentioned last week that Mike and I were headed to Ikea over the weekend for some extra storage. I also had another mission in mind- an area rug. You were all very helpful in my past office area rug plea, but after painting the stripes, I decided I no longer wanted a patterned rug. This was one of the reasons why I started this blog, to chronicle the adventures of me changing my mind and rooms evolving 🙂 I just thought it would be a little much to have a large graphic rug with such dramatic walls. I remembered that when I went to Ikea looking for a patterned rug, there was a perfect color green solid rug. So my main reason for going to Ikea Friday night? To pick up that rug.

When we finally made it down to the rug section (who am I kidding, Mike and I go to Ikea so often that we fly through the upstairs in about 15 minutes!), I spotted the rug and ran over. It was marked as “last chance” and the only size left was the larger one, which was nearly 7’x10′. Right before we left, I measured out a 5’x7′ area and figured that would be a good size. I was fairly certain this large one would be too big, but it was a low-pile and the perfect color. Oh and it was $199. Seriously Ikea, every other rug you have is like $19.99, yet I manage to find a $200 rug?! The price scared me and the size scared me, but what scared me even more? The fact that it was “last chance”. Our dining room furniture was last chance and I wanted it for months. When we finally went to pick it up, we ended up on a wild goose chase to Brooklyn to find our table. “Last chance” brings back awful memories for us, so we decided to pick it up and if it was too big or we had buyer’s remorse, we could always return it.

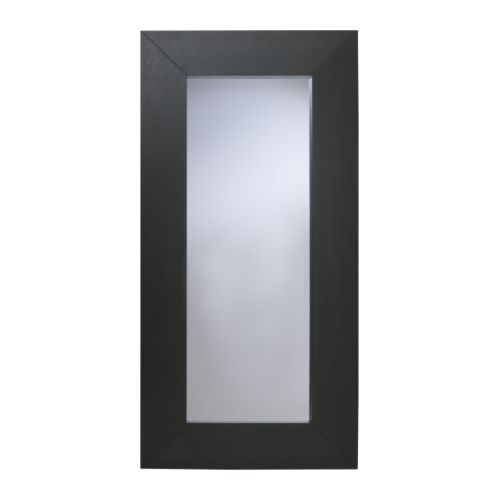
So now we’re carting around a nearly 10ft rug when we once again walk by the Mongstad mirror I’ve wanted for years.

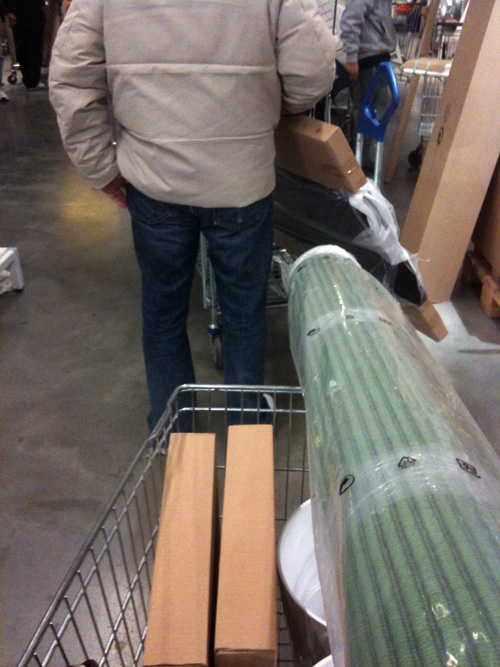
I have just been waiting for this thing to magically disappear, since every time we go and decide not to buy it, I feel like I’m playing with fire. We have an SUV now and we figured our desktops are 80 inches long and they fit, so maybe this would too? We measured the Mongstad and it was only 75 inches long with packaging!!! Score! Let’s bring that home too! Here we are with our carts of oversized purchases, that’s Mike in front of me…

We also got some doors for our Expedit bookcase, 2 white planters for the porch in the spring and some more storage boxes. We waited on line for.ev.er. Really we walked through the store and picked up all of this loot faster than this line moved.  We paid for our stuff and headed out to the car…

We put down the seats and start to slide the mirror in… it doesn’t fit. Wait wait! We can move our seats up a little! So we do. And it’s still sticking out of the back of the car. It’s about 25 degrees and windy, so I really don’t want to drive with my rear door open. Plus we couldn’t figure out where the heck to tie it down. We realized at this point that we are morons. The desks are much more narrow than this mirror and we were able to put them diagonally and push them up on our center console a bit. No such luck with this giant mirror. So we figure we’ll move our seats aaaall the way up just to get the mirror in and once we get the rear door closed, we can push them back a bit.

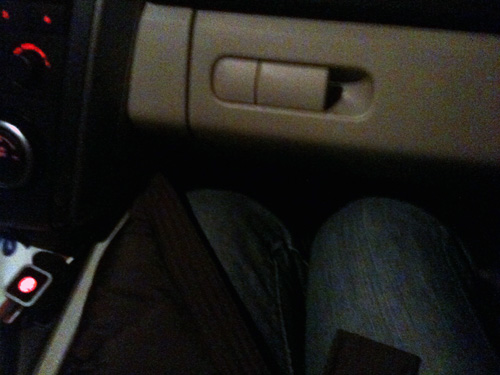
So Mike pushes the driver’s side seat up and I push the mirror in and close the rear door. I get to the front of the car and I see Mike, completely smooshed against the steering wheel, as if he is driving a clown car. I couldn’t hold it in, I doubled over with laughter. I asked him if he wanted me to drive and he said no, he just wanted to get out of the parking lot before someone saw him. I also tried to take his picture to insert here and he told me that he was suffering enough and did not need the moment documented on my blog for all eternity. I respected his wishes and will attempt to show you the ridiculousness of this situation with a picture of my own knees…

My knees are normally no where near the front of the car. I actually had to reach back to reach the cup holder. We laughed the entire way home and hoped that no one would stop next to us at red lights because we looked that ridiculous. I believe my seat was actually angled forward because by the time we got home, my back was killing me.

But I got my giant mirror finally!!!! 😀

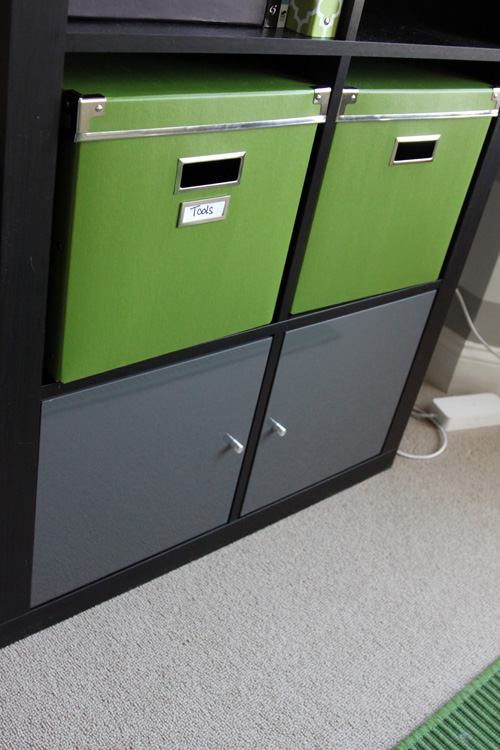
On Saturday Mike cut holes in the office wall to hide the TV wires, but the power cord we had was too short so he had to order a longer one. I’ll take pictures of the much cleaner looking TV when the last wire is hidden! But we did install these guys…

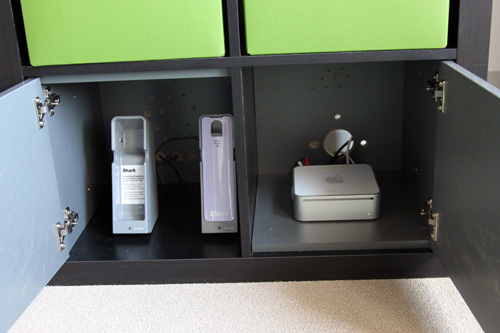
We planned to go with white doors but when I saw these glossy dark gray ones, I couldn’t resist! Mike also drilled some holes in the backs of these to hide the Mac Mini and the battery chargers to our Shark Stick Vacs (every pet owner needs one!)….

So far I’ve only stuck a few things on this bookcase since I knew Mike would have to move it again this week once the new wire arrived.

Saturday night we rolled out our giant rug. Upon first roll, it was ginormous and I was nervous. We had to wiggle it under Mike’s desk since his computer was already hooked up, so we didn’t get that immediate feeling of the size. But once we rolled it out? It’s perfect! Macky obviously agrees!

He seriously did this about 2 seconds after we let him back in the room after rolling out the rug. He should be an Ikea spokesman…and yes he’s playing with a roll of frog tape, sign him up to sell that too! 🙂
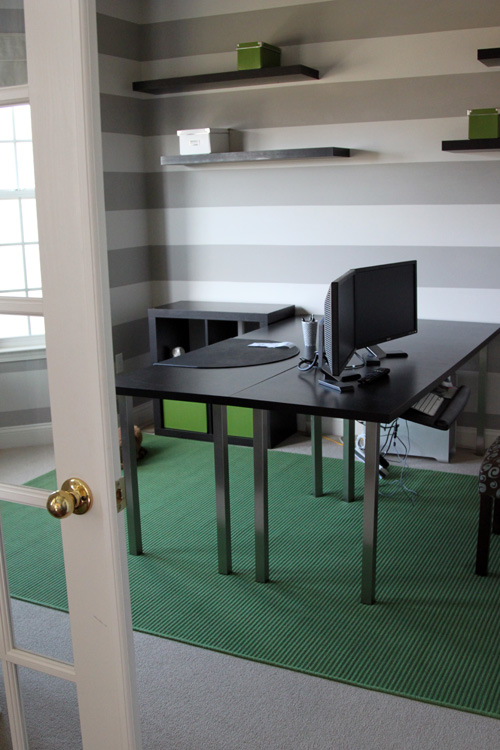
Here’s a room shot from Sunday morning.

At least now the price doesn’t seem so outrageous for such a large rug! Really, I think any smaller would have looked funny and once we get chairs in there they will roll right to the back edge of the rug on either end. Speaking of chairs, we did stick to one plan

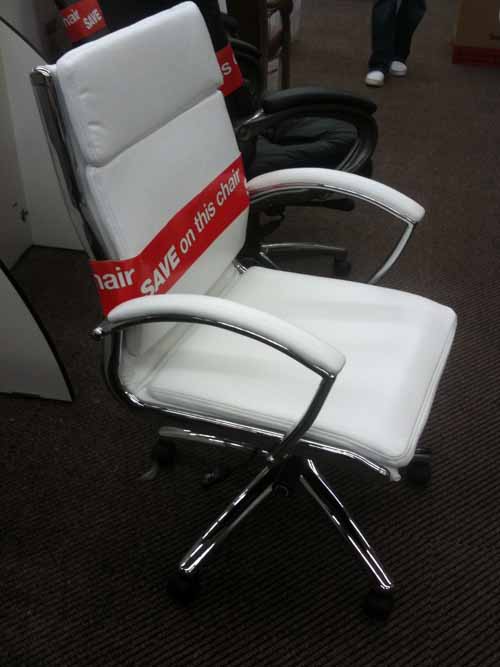
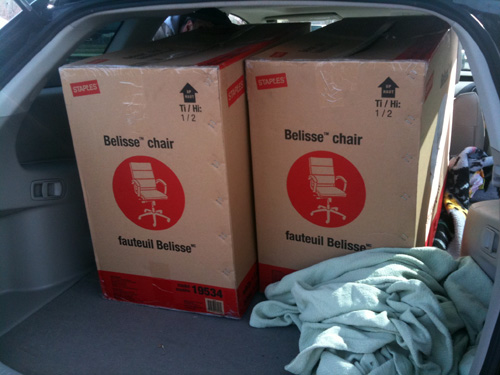
We picked up 2 of these chairs I first spotted in Staples back in November. They were actually even cheaper than the “sale” price back then and we got them for $99!! The boxes were stacked on the floor in a display, so we were able to judge the size and thought they’d fit in the car. We almost had a repeat of Friday night, but thankfully we got them in…

We still have to put them together, but we’re almost there!

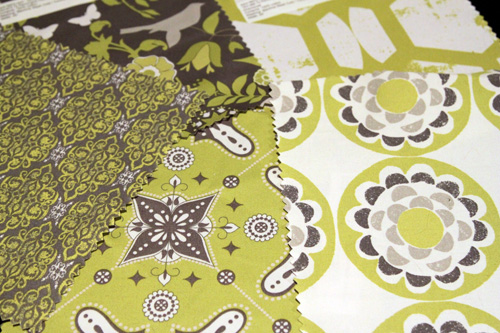
For those of you wondering what these fabric samples I posted yesterday were for?

Curtain panels and possibly covering some of the storage bins we have. I want something with some white, gray and green in it to bring everything together so I’m working on a solution 🙂
One last time for that Macky video!!

Isn’t he adorable?? 🙂

The 4 Day Weekend

9 Comments

Posted by Rebecca, January 18th, 2011

Last week, I started drafting a post about all of our big plans for our upcoming 3 day weekend. This is as far as I got with it…

“Since Mike and I both work full-time, we are always counting down to the weekend and potential projects. We haven’t had a chance to really do anything the past few weekends because of the holidays and vacation, but this weekend we have to ourselves AND it’s a three day weekend! I start up a new semester of grad school next week, so I feel like this is my final (and first) weekend to tackle anything house related without being distracted.”

All was hopeful and dandy, and then I got a stomach virus/flu/still don’t know what I have. I haven’t left the house since Saturday, so obviously my big dreams were squashed. We planned to hit up the Philly Home Show, hang our new curtains and organize a bit. Oh and disassemble our Christmas tree, which has been naked since before we left for Disney, but is still standing since we got home late Sunday night.

But on Saturday, before we were hit with the plague, we were out running a few errands and managed to hit up the Crate & Barrel outlet sale and West Elm. I’ll tell you about my Crate & Barrel finds when I have the energy to actually unpack the bag, but I cannot hold my West Elm find in anymore!

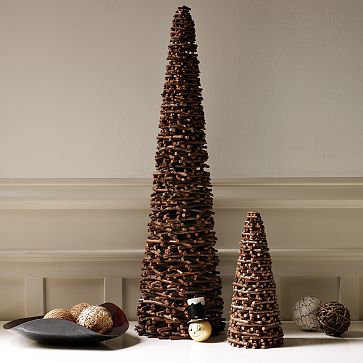
Remember this Christmas tree I wanted with the hefty $69 price tag?

Well it was on sale for $8.97. Oh and it was 20% off of that, so I paid $7.17 for it!!! And it’s giiiinormous, like 3 feet tall. I basically skipped out of the store.

Another thing I learned during this West Elm trip? I have a $10 threshold. If I like something and it’s less than $10, I buy it. More than that and I’m like whoooa! too much! So I also picked up two things for $8 each that I’m not sure about now. I’ll keep you posted.

But for now, back to bed 🙁

coffee filter tree

7 Comments

Posted by Rebecca, December 15th, 2010

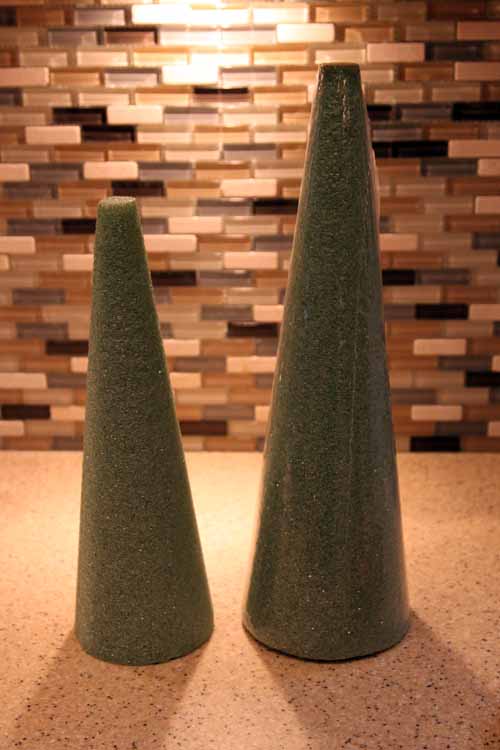
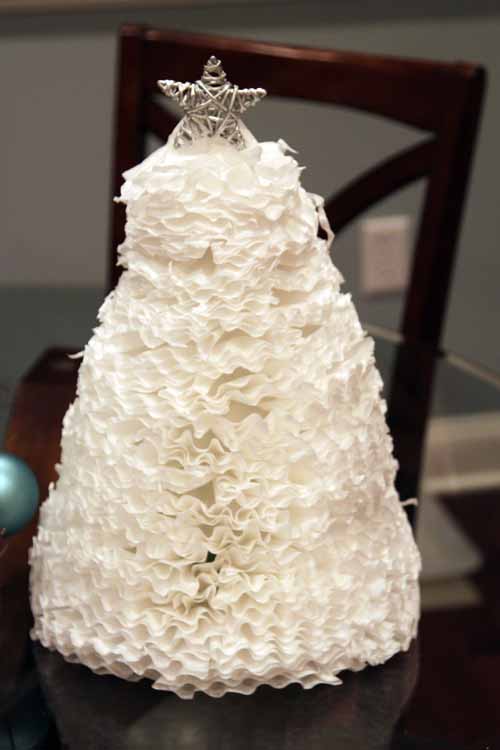
I mentioned in my coffee filter wreath post that I had also made a tree.  I picked up 4 of these foam cone forms from the craft store.

I first experimented with some fancy paper patterns, but they were far too time consuming.  In the end, I stuck with the same method as the wreath.

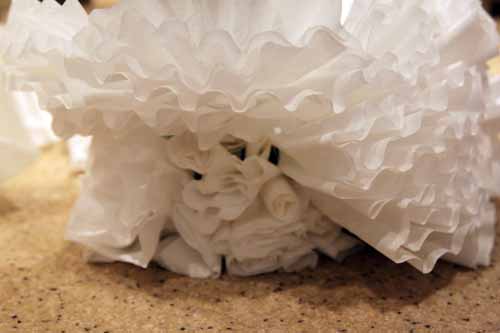
By the way, have you ever tried to remove something you’ve hot glued? My god those little rosette flowers I made were nearly impossible to rip off!

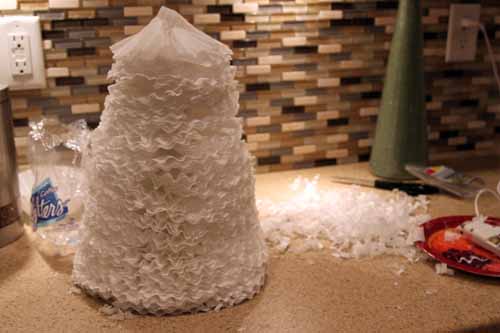
I just kept adding the filters until I ended up with this.

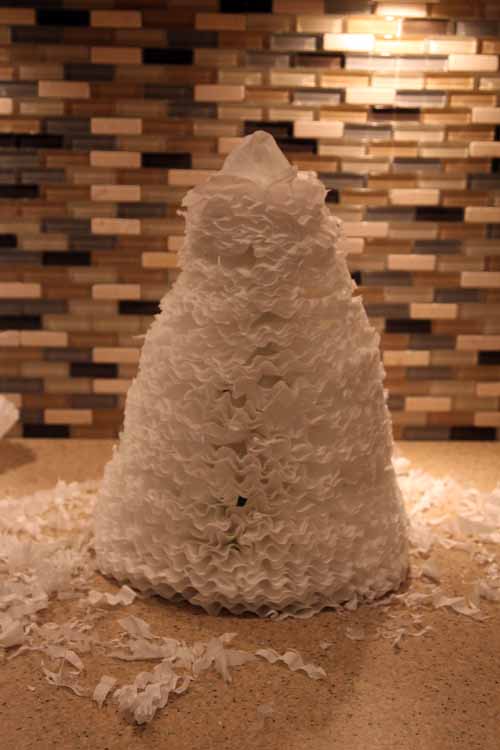
You can see the trimmings there in the back.  That was the first round of my scissor-handing.  This thing was so massive and ugly that I didn’t even think to take a picture of the before process.  I was just immediately thinking of how I could help this abominable snow/coffee filter tree.  Mike’s response? “What the heck happened at the top?” Well as you add the filters, suddenly you’re at the top, but the filters are still like 3 inches away from the point.  So you end up with flat top.  I knew this would happen because I had seen pictures of other coffee filter trees out there.  I guess I just thought it would be easier to trim down.  I did manage to do quite a bit of trimming.

I also stuck a floral wire, which I shaped into a point into the top of the foam to add a couple more inches to work with.  Then I stuck a star I had hanging around on the top to hide the awkward lack of pointy top.

I totally didn’t realize there was a chunk missing on the right until I took these pictures.  Whoops! You can’t tell in person, I promise 🙂

With the star on top and after staring at it for a couple of days, I like it much more.  I may still add some ribbon to it.

It still has that full and fluffy texture that I love about the coffee filter wreath.

I don’t think this is going to cut it as our only tree though.

10 days until Christmas. I should probably put a full sized tree there.

Excuse me, I must now go and trim that lump out of my coffee filter tree.  Looking at these pictures is driving me crazy.  No wonder why Mike doesn’t let me trim his hair….

my indoor wreath

16 Comments

Posted by Rebecca, December 12th, 2010

You’ve already seen my outdoor wreath and since it didn’t satisfy my wreath craving, I decided to make an indoor one.  I love very simple wreaths made out of interesting elements, so when I saw that The Nester and Decor Chick! made wreaths out of coffee filters(!!) I just had to try!

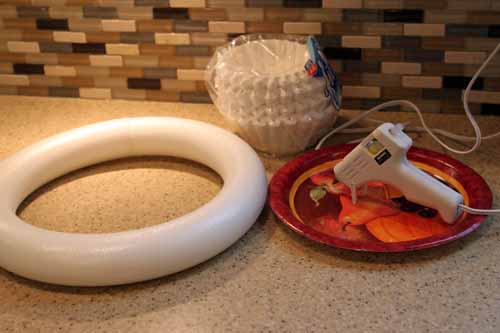
The ingredients…

Wreath form, coffee filters, glue gun (mine’s a cheap-o $2 one)

The method…

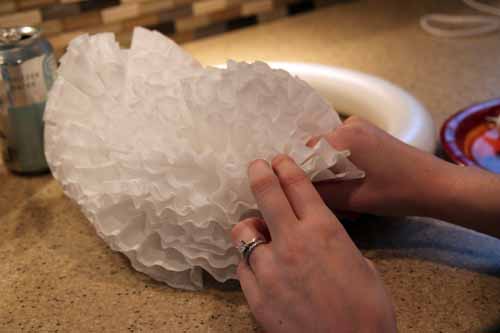
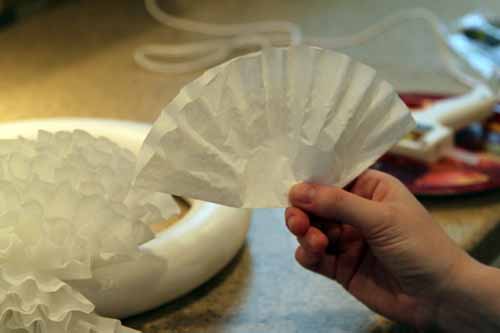
Fold in half

Then in half again

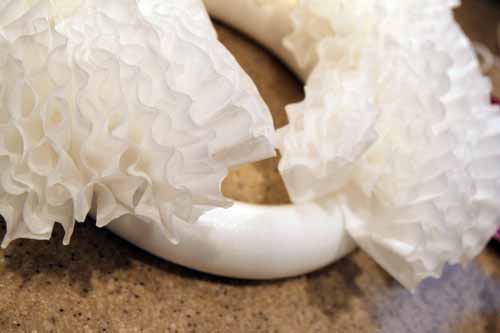
Stick a dab of hot glue on the bottom corner

Then add it in!

Keep adding until it’s nice and full

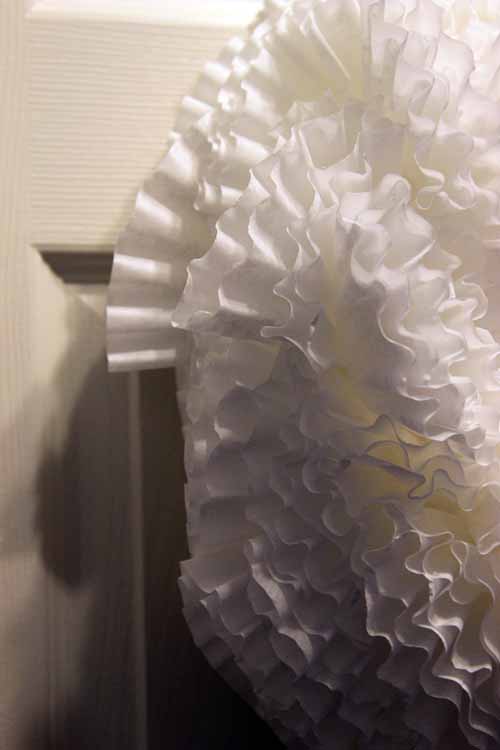
I didn’t have much of a pattern going, except that I tried to keep most of the lines following the shape of the wreath form. I really just filled in until it was big and fluffy.

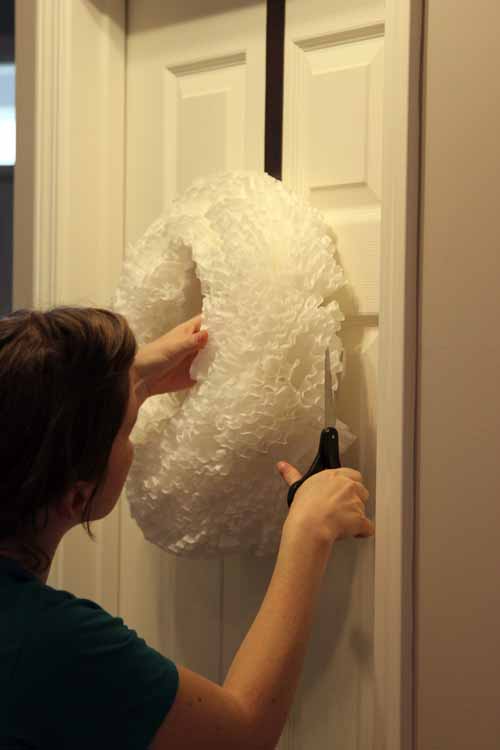
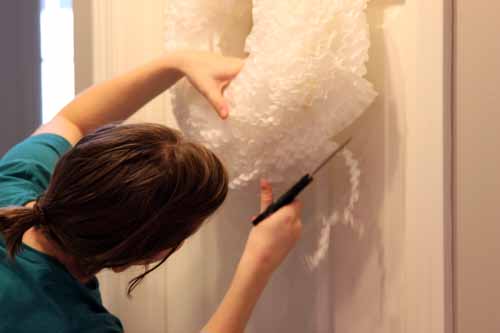
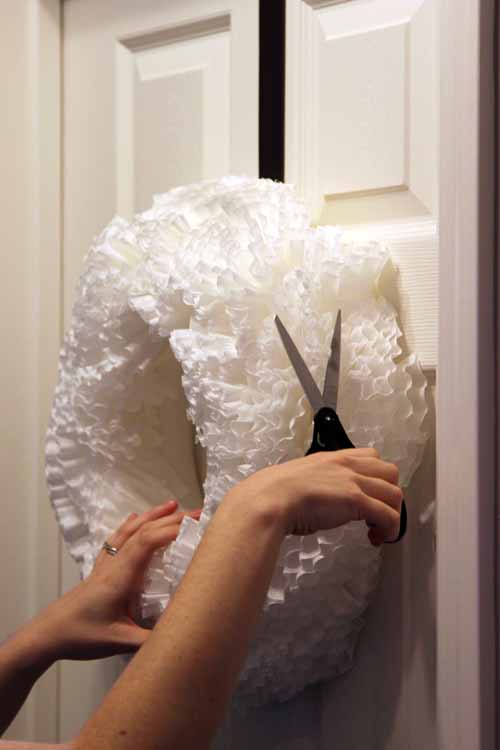
Now my new buddy needed a serious haircut.

So I kept him hanging to give him a trim, since it was a better view than laying him flat.

Um please excuse my hair in these pictures, I didn’t leave the house today….

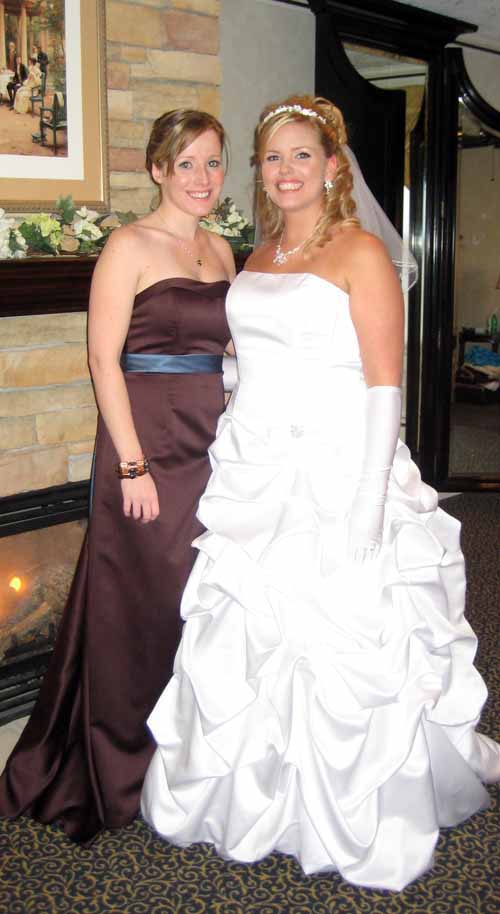
Hair cut complete! Now I had to figure out how to hang this thing.  I decided to use a sash I had worn as a bridesmaid in my friend’s wedding.  Thank you David’s Bridal for this pretty blue!

So I wrapped it around the wreath, marked off the length I needed with a rubberband, oh and I ironed it using my hair straightener…

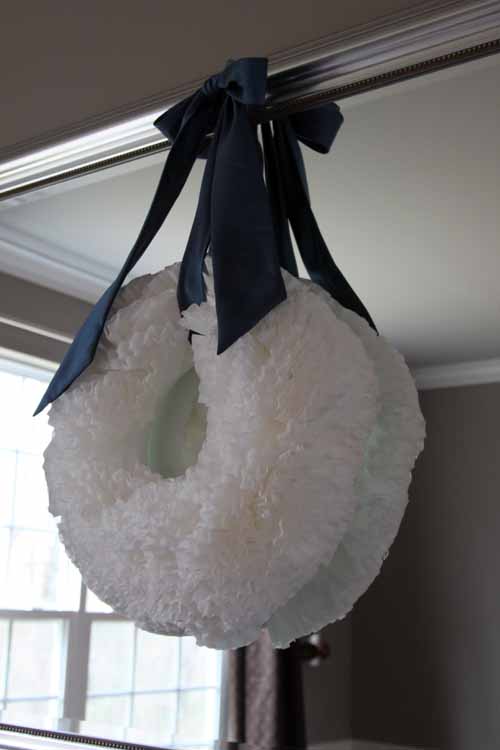
I wanted to hang it on our dining room mirror, but I had no clue how to go about it.  Then I remembered we had some silver command hooks I bought for my side of the closet but hadn’t used yet.  So I stuck one to the mirror and hung my wreath on there.  Tada!

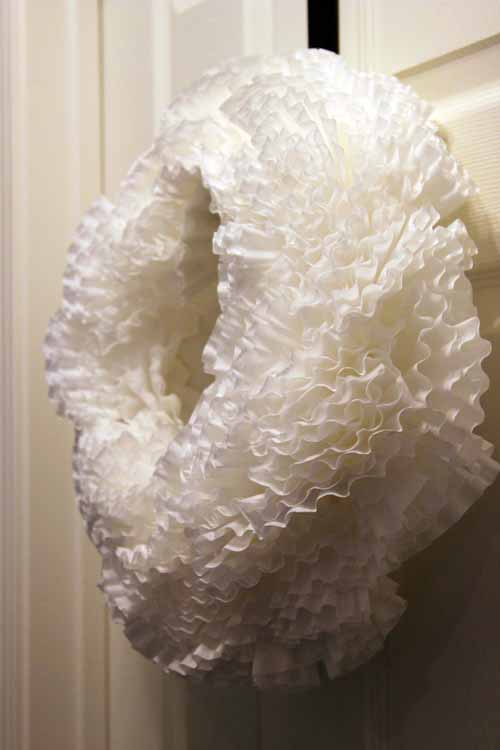
The finished product!

The best part of this? It is the cheapest thing you could ever make.  I used just under 100 coffee filters- I bought a pack of 200 just to be safe and paid about $2 for them.  The wreath form was a couple of bucks at Joann fabrics but I’ve seen people use cardboard cut into a circle or any other bendable foam.  So if you get your wreath form from something you have hanging around the house and your coffee filters at the dollar store, you could make one of these for a single dollar. Cheaper than a bag of chips in a vending machine these days!

I’m not going to lie, I love this thing.  It reminds me of hydrangeas.  Okay another confession, I made a tree with the remaining coffee filters, but I’m not sure if I like it or what I’m going to do to embellish it.  I ran out of glue sticks for the night 🙁

We’ll save that one for another day. I have to get ready for Dexter!

Copyright 2010 - 2011. The Lil House That Could. All rights reserved.