Posts Tagged ‘paint’

Projecting

3 Comments

Posted by Rebecca, September 6th, 2012

Projecting or project-ing? I guess either one works. Projecting the projects? Yes, that’s what I’m doing.

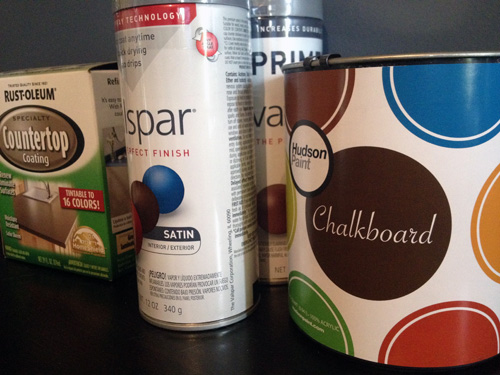
At the end of my desk I have this little pile going. It looks like this…

There’s some countertop paint, white spray paint, spray primer and a can of chalkboard paint. Each one is for a different project.

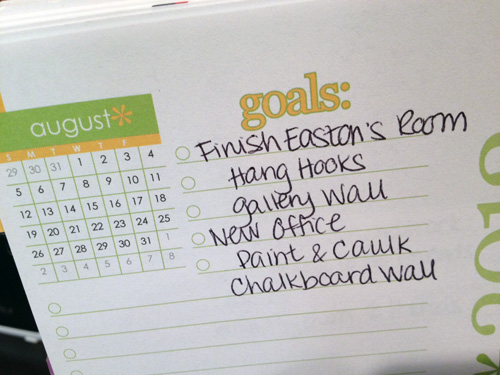
I always keep track of my to-do list and goals in my glorious Erin Condren life planner. None of the items on the to-do list and goals for August got done. Not a single one.

So, I naturally transferred them all over to September. That is where all of those random paint supplies come in!

Before I went back to work, we were in such a nice groove with Easton sleeping that I felt like I had some nice time to myself to do fun things. Then I went back to work and the concept of free time disappeared. We started so many projects that we haven’t even touched in weeks. I am determined to make some time (ie- give up sleep) to tackle that little list. So here’s the (September) goal list in a little more detail…

1. Finish Easton’s room.

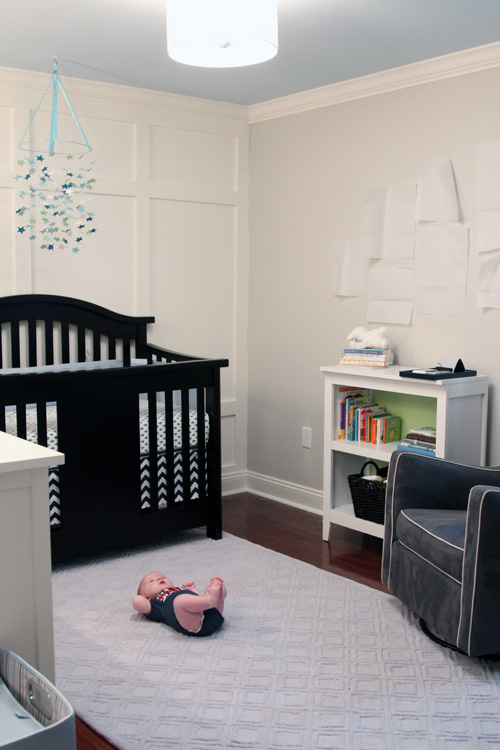
This “project” is like a major thorn in my side. It’s so close to being done but I just can’t get there. Ever have those dreams where you’re trying to get somewhere but you never actually make it? Am I the only person with those dreams? Anyway, this is what the nursery feels like. I wanted to have it done by now but I keep hitting road blocks. Spray paint frames? Can clogs and need a new one. One week later get new can? The paint chips as you’re carrying frames into the house from outside. Make print to put in frame? Shutterfly cuts off part of your text. So that explains why the gallery wall still hasn’t been hung since I started it two months ago. The spray paint and spray primer belong to this action item.

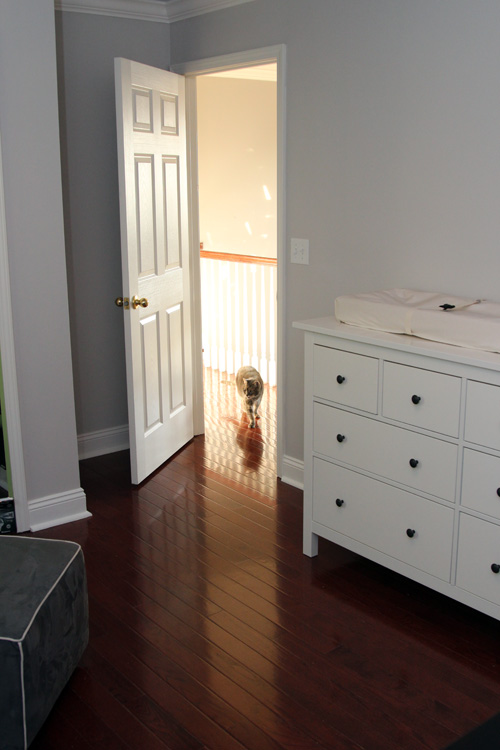
We plan to hang some hooks in the little area behind the door of Easton’s room, which is a small project, but one we can’t do when he’s asleep.

That corner behind the door is the one I’m talking about. The picture is not the most recent, but you get the idea.

2. Work on new office

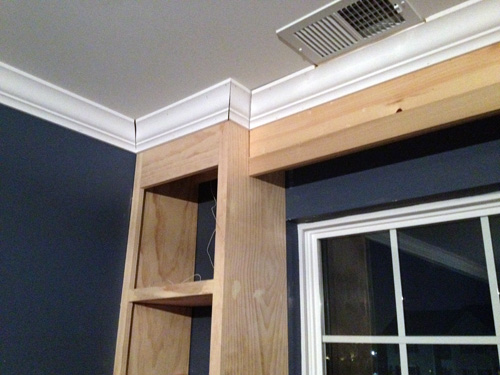
The goals here are to caulk and paint trim and paint a chalkboard wall. For weeks, the new built-ins have been sporting the raw wood look.

It’s one of those things we finished only about a week before I went back and I’ve been itchiiiing to get some paint on these things! But first it needs caulk, which isn’t as fun. I’m hoping to get some time after Easton is asleep this weekend to pretty it up.

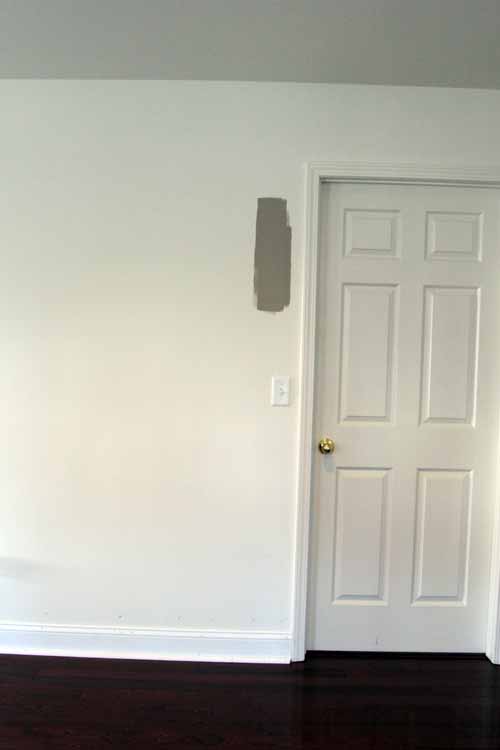
We decided a few weeks ago to paint one wall in the office with some chalkboard paint. It’s this little wall…

We bought Hudson Paint chalkboard paint in So Stone, which is a darkish gray color. The other walls need another coat of paint, so if the gray doesn’t look that great with the blue, we can always change things up. I’m so excited and anxious to get this one done! But first comes the caulk, primer and paint for the rest. Boooo

Okay, so maybe the list only had 2 main items with additional bullets, but I like to think that means it’s manageable. I’m setting realistic goals, even if they have to be pushed back again. Let’s face it, I can barely keep my eyes open long enough to type this (I’ve dozed while sitting up twice now!), so I think a few small paint projects is enough.

Oh wait, what’s that can of countertop paint for? You shall see 🙂

Rapid-I AM A DAMN GOOD-Roller

7 Comments

Posted by Michael, December 5th, 2011

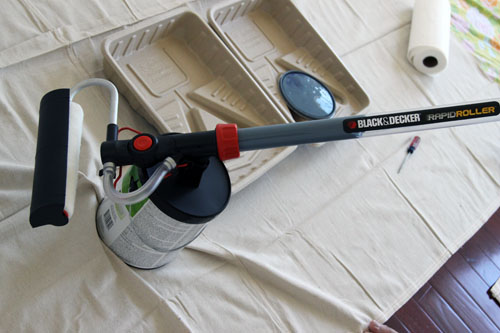
A couple of weeks ago, Rebecca was contacted by a representative from Black & Decker who asked if we would like to try out one of their products. We decided to paint office 2.0 over the weekend using the RapidRoller they so kindly sent us. I have to be honest, when the RapidRoller arrived I wasn’t entirely excited to use it. Lets face it, painting is not fun — and painting with fancy products (especially consumer grade products) never works out for us. They’re often cheap and end up causing more work than what they were designed to do (yeah we had some bad experiences with gadgets when painting our stripes). So it’s safe to say I went into this thing just waiting for it to be an epic fail. I cannot believe I just said epic fail.

Setting up the roller consisted of maybe 3-4 easy steps. But the instructions confused me. Probably because I can’t follow directions and steps in numbered order. I’m special, I like to skip around. But when I stepped back and gave it some thought (actually read the directions in the order they suggest), I realized how truly easy it would be to set this bad boy up.

Then it came time to hook the roller up to the paint can and again, I must be honest – I was expecting for this thing to shoot paint all over me. But much to my surprise, the roller sucked a good amount of paint into its handle (see that blue stuff in there?!) and I was ready to paint.

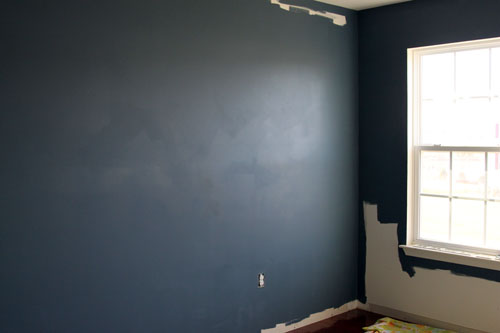
For paint, we went with our usual choice of Olympic no-VOC paint. The color we chose was called Denim, a dark navy blue with some gray undertones.

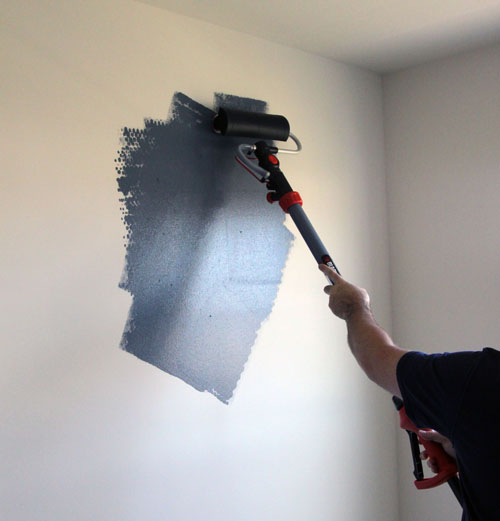
To draw paint from the handle to the roller, you press the trigger and you’re set. As you are rolling, you’ll notice the need for more paint. My instinct at first was to put the roller down and go into the tray for more. But with this tool, you just pull the trigger and more paint gets sent to the roller. Going back to when the box arrived, I was expecting paint to be all over the place when the trigger was pulled. Once again, the tool proved me wrong. No mess and a clean Mike. Shocking considering I usually have paint all over me when doing projects like this.

The paint went on quite nice with the roller, but I’ll still have to do some touch up work since we used such a dark color. I guess I can’t get off that easy when painting! The roller does have a spatter shield, which is nothing revolutionary but I never used one before. It worked like a charm and prevented quite a few drips and splatters.

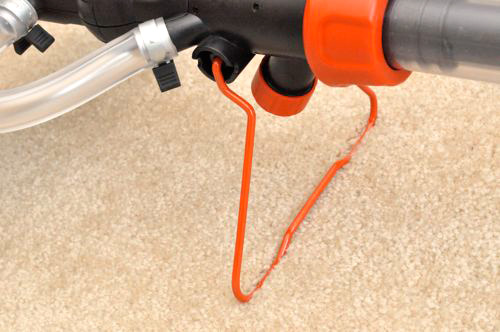
So best thing ever? This thing has a kickstand. No more worrying about rollers falling over and sending paint everywhere while you take a break (or in my case, a slice of cold pizza). Why hasn’t the kickstand thing been done before?

via One Project Closer because I forgot to take kickstand pictures.

Here is my only complaint. When the entire handle is filled with paint, it is incredibly heavy compared to a traditional roller (it sucks up about 1/4 of a gallon of paint at a time). But I get it; the RapidRoller gives you the added bonus of barely ever having to refill with paint (the paint is stored in the handle) but with a little more muscle on your part (to lift the handle filled with the paint). I don’t think the added weight is anything that will hinder your painting process, but you’ll feel it. Rebecca stuck to her usual edging process, but I don’t think she would have lasted long rolling. Then again she gets winded when walking up the stairs these days…

I can’t really comment on the pivoting head. I tried rotating the head when getting close to the ceiling, but it takes some adjustment to feel comfortable rolling horizontally. It seemed to have worked but I wanted to go the other way with it, like I was before and how I’m used to naturally rolling. And because I have the attention span of a 3 year old, I reverted back to the traditional approach almost immediately.

Clean up was alright. It’s an easy process, but you’ll be there for a solid twenty minutes. I was worried that if I didn’t clean this thing right, it wouldn’t work the next time around. So I patiently cleaned the roller. It all comes apart quite easily and it’s just a matter of soaking some things and rinsing others as the directions indicate.

In the end though, we painted the office probably an hour quicker than we normally would with traditional rollers and paint trays. But 20 of those minutes previously saved then goes to cleaning the tool after use (typically we buy disposable rollers and trays). I’d say we saved a solid 40 minutes using the tool, plus the time we would have spent cleaning up paint drips. Also, throw in the time I normally spend washing paint out of my hair and buying new t-shirts because I dripped on them. Maybe we’ll up the time saved back to an hour then! Not really a game changer when you’ve committed to painting a room, but lets face it, painting sucks and if something helps me save time when painting, I’m all for it.

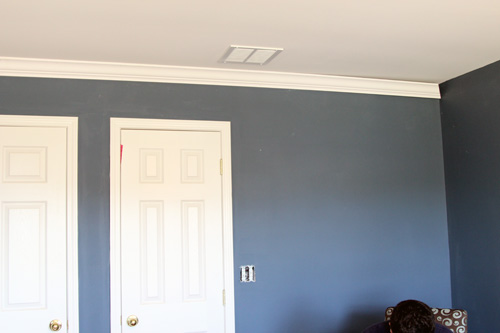
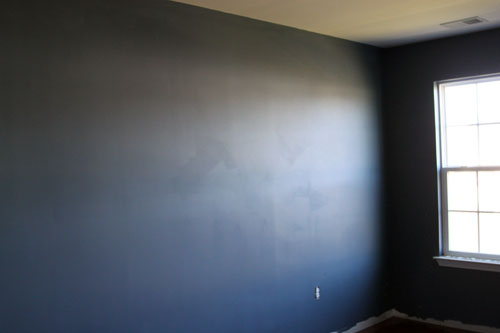
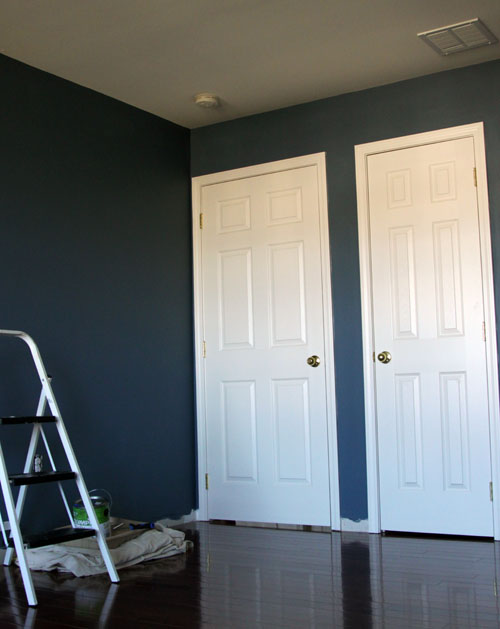
::drum roll:: Here’s our finished product, before some touch ups we have to do (some areas are a little streaky)…

We’re very happy with the color and our process was made much easier by the fact that we didn’t have to paint around baseboards! We’re planning on adding taller baseboards in here to match the rest of the house (the builder gave us tiny ones in the spare bedrooms).

We’re thankful that the people at Black & Decker sent us the RapidRoller to give us the kick in the arse we needed to paint this room. And for the gadget that made this job less time consuming when we are so pressed for time this month!

If you are pressed for time like us but want to paint a room, you’re in luck! On Wednesday (after Rebecca finishes up her final presentation tomorrow night), we will be hosting a giveaway where one lucky reader will win a RapidRoller! Be sure to come back to enter  🙂

Outdoor To-Do List

3 Comments

Posted by Rebecca, May 25th, 2011

The weather is still playing mind games with us. There has been a chance of thunderstorms nearly every day this week, which makes it difficult to plan to do anything outside. We have a bunch of projects we want to do, large and small, so I wrote them all down. Since it’s a 3 day weekend (YAY!!!) I figure one of those days has to be nice, or at least portions of those days and the list will save some of the time we normally spend trying to remember what we wanted to do. Here it is, in no particular order. We’ll call it the Spring/Summer 2011 Outdoor To-Do List, because I am in such a creative mood 🙂

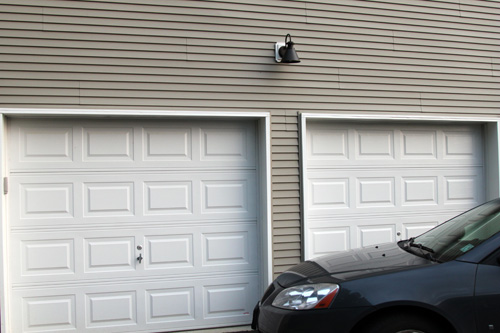
1. Paint garage doors

In a perfect world, I would love to have some craftsman style dark wood doors with square windows at the top. But for now we’ll settle for just painting them the same brown as our shutters and front door. Maybe someday we’ll look into replacing the top panels with some square glass windows.

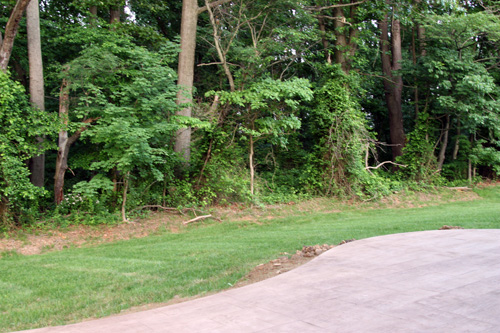
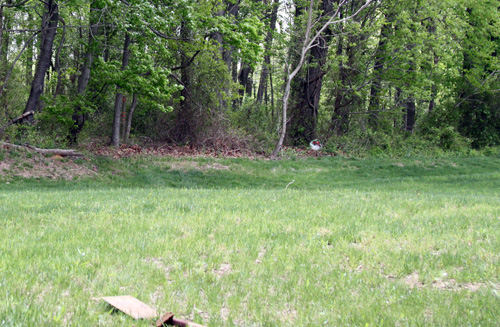
2. Have brush cleared

This one should be coming very soon, since we already have someone to do it and he said it would be a couple of weeks before they could start. We actually have a decent chunk of land, but the builder didn’t clear all of the logs and sticker bushes and random stuff back there. So we’re having the brush removed and of course, keeping the large trees. Should make for an awesome treehouse someday 🙂 and I’m super anxious to see what our lot actually looks like in its full glory.

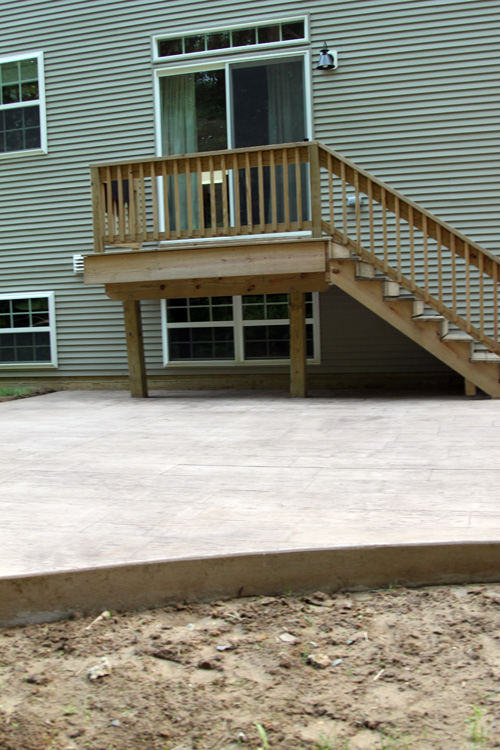
3. Stain backyard stairs

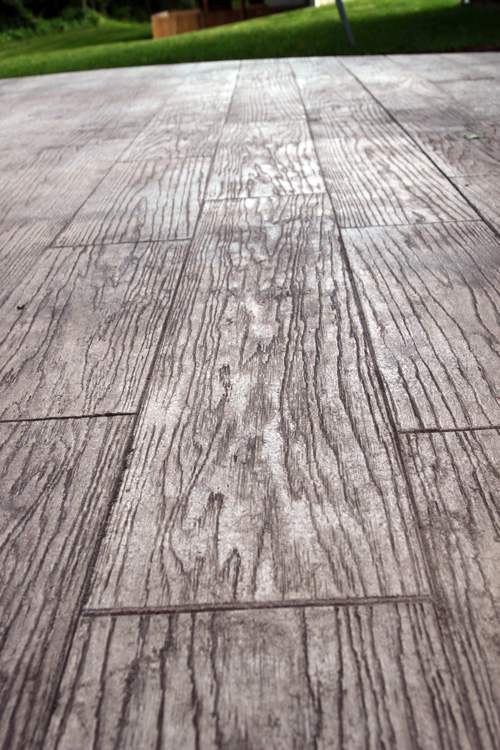
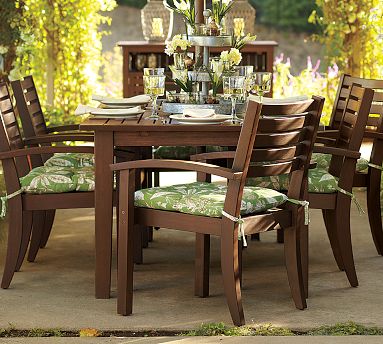
We plan to stain these stairs a dark color to compliment the furniture we bought and to bring out the awesome darkness we have going on in the “grain” of our concrete.

It’s funny because from a distance, the patio looks lighter than we wanted. We knew we could always stain it darker so we weren’t that concerned, but on Saturday when we finally stood on it, we saw where those 2 coats of sealer went. And I love it. It looks so realistic and has so much character now 🙂

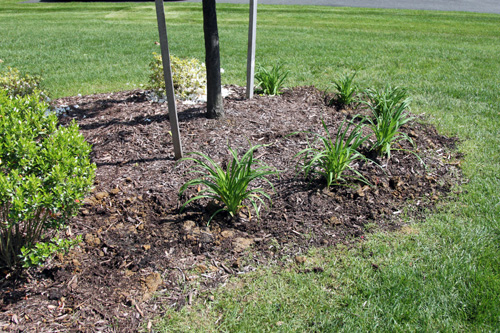
4. Add mulch & river rock to garden beds

We need to freshen up our mulch a little and we want to define some edges with river rock.

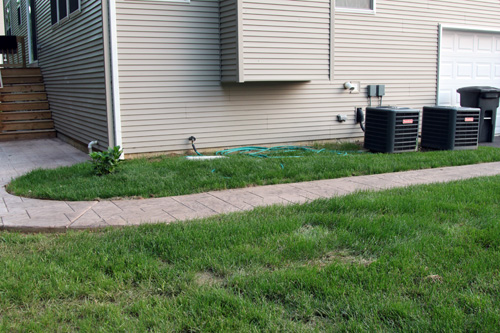
5. Landscape around patio/walkway

We already planted a lonely hydrangea by the walkway, but we want to make this whole area an inviting garden that will hide the hose, air conditioning units and the awkward outside part of the fireplace.

By the patio, we’ve been saving any extra dirt (or rather, frozen peanut butter type clay) to fill in where the patio drops to make some raised garden beds there.

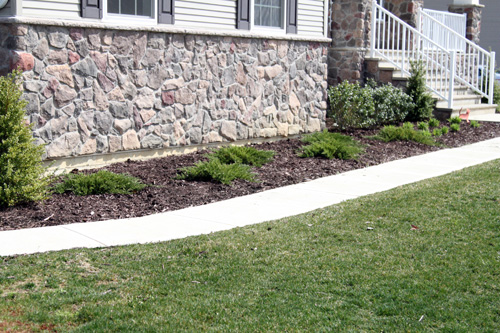
6. Replace dead plants in front (halfway done!)

These flat things aren’t dead, but I hate them. I’ve been itching to dig them up. I want something with more height to cover the bottom of the garage. So they’re getting kicked to the curb (literally)! Does anyone in the area want them? I’d like to see them find a good home 🙂
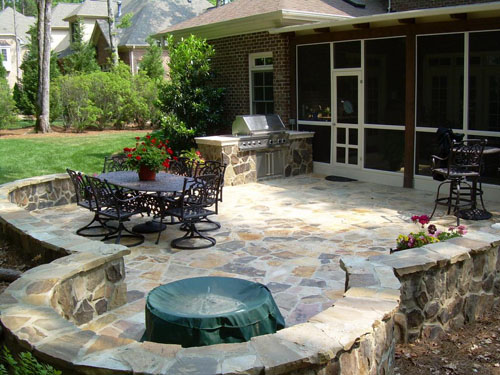
ps- that picture is from a few weeks ago and our grass is nice and green now

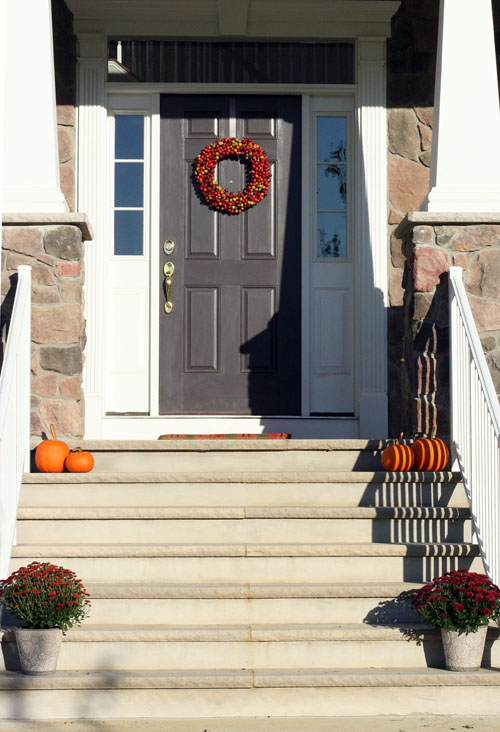
7. Install storm door

This picture is from the fall, but I thought I had another one on my memory card and I don’t… and it’s already dark out. But sadly, we want to install a storm door. I say sadly because I know it’s not going to be pretty for the curb appeal and ideally I wouldn’t want one. But we get such an awesome breeze through that front door and on nights like tonight when it’s 83 degrees inside and 75 outside? We could really use it. One of our requirements is to get a brown one with the lowest profile possible, so it won’t look as bad.

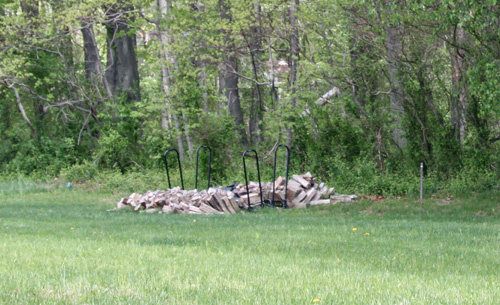
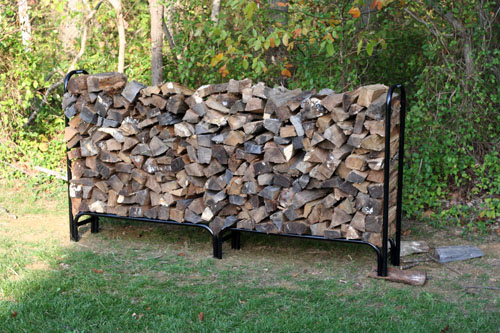
8. Pick up that damn pile of wood

I know you guys are probably sick of looking at this mess in our backyard. Believe me, we are too. But we know how time consuming it will be to return it to its former glory, hence the procrastination.

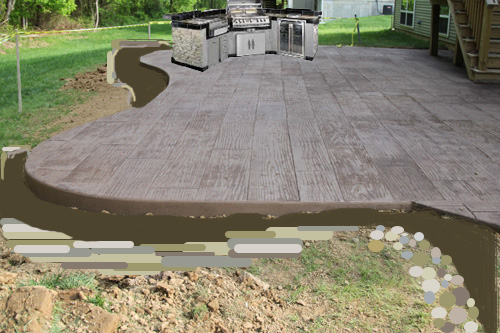
9. Build outdoor kitchen area

I wrote about our plans here. It may happen this year, it may not. We’re going to play the wait and see game.

10. Seed backyard

Pre-patio picture from the last weekend in April, but our grass back there isn’t looking so hot. Especially compared to our neighbors on either side, whose grass is much fuller in the back. We waited to reseed because we want to throw some seed back where the brush is going to be cleared.

11. Add planters and find a bench for the porch

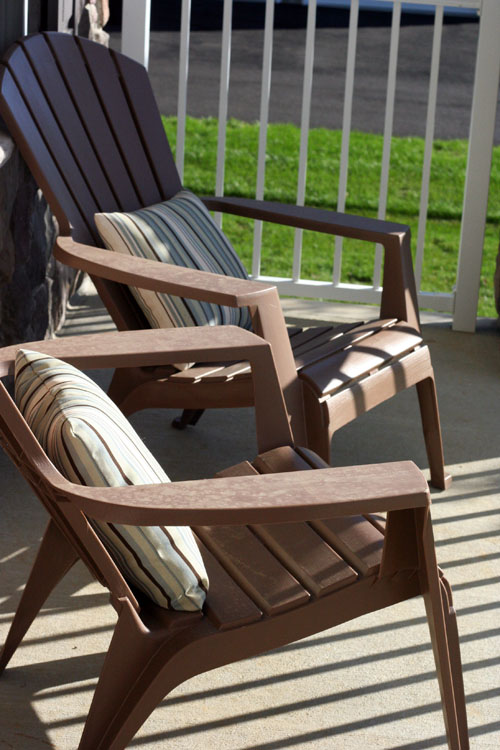
These chairs were always a temporary porch solution and will be relocated to the patio for this year. I’ve been on the lookout for a character filled bench since we moved in. Maybe this year I’ll get lucky? I also want to plant some flowers in some pots we already have.

And because I like to cross things out and this was actually on my handwritten list….

13. Buy patio furniture (done!)

But I should probably change this to “Put patio furniture together” because that hasn’t happened yet 🙁

Now that I think about it, I should probably make an indoor to-do list incase of inclement weather. Though I’m pretty sure that would just say “paint entryway” 10 times 🙂
The 100th post!

16 Comments

Posted by Rebecca, January 13th, 2011

Today is a milestone for my little bloggy, this is my 100th post! Cue the balloon drop! Okay I don’t have a balloon drop, but I do have this video I found of the parade through the Magic Kingdom in Disney…

YouTube Preview Image

This song has been in our heads for a week. Though I didn’t know the words were “Celebrate a dream come true” and I normally just run around singing “Celebrate da datty doooo”. I also perform the arm waving dance, which I did once while entering the Magic Kingdom and my beloved iPhone took a flying leap out of my pocket and onto the concrete. Mike told me this was a sign from God to never do that dance in public again. Luckily I can still bust it out in the house!

It took me about 4 months (of actual “serious” blogging) to get to this point. So I figured I’d set out some goals to accomplish by my next milestones. A list, shall we?

By my 200th post:

(via)

I would like to have painted another room in this house. Whether it’s the office, powder room or master, within another 4 months I hope to have told you about some new color on our walls!

By my 300th post:

(via)

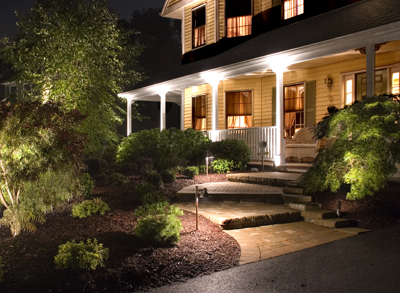
We have been wanting to add some lighting to our landscaping since our yard is ridiculously dark at night. I would also like to change out some of our builder given landscaping with maybe some more hydrangeas. That is, if the two I planted last summer come back to life!

By my 400th post:

(via)

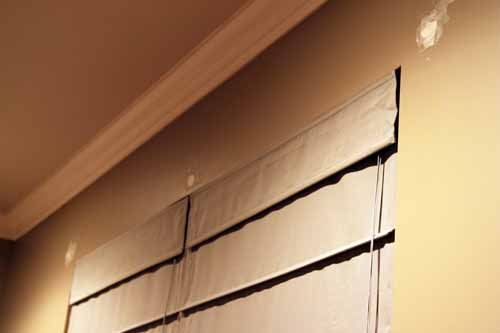
I would love to have our master bedroom completely (or almost completely) finished and made-over. I don’t necessarily want it to look like this one, I just picked a dreamy looking one 🙂
By my 500th post:

(via)

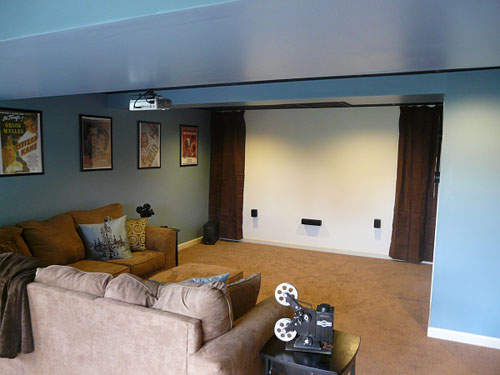
A nice finished basement with a pimped out theater area. Mike can go crazy with all of his speakers and wires and whatnot, and I can get a couch with cup holders in it without feeling like I’m breaking a design rule…

By my 1,000th post:

(via)

We’ve been dreaming up a nice backyard area for ages and well, this one wouldn’t be so shabby! We’re not sure if we want to do a deck, patio or combination type thing, so this project isn’t a big priority. Once we feel like we need an outdoor entertaining space we’ll look into it a little bit more!

By my 1,500th post:

(via)

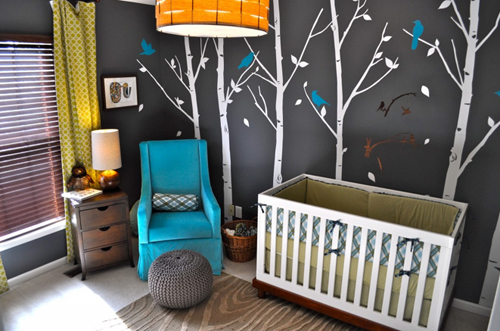
If you’ve done the math at this point, you’d know this one is very far down the line, but I hope to be able to add a nursery to my resume in a few years. I love browsing nurseries, they are just so fun and imaginative. This one is one of Young House Love’s great nursery crashes on Baby Center. Oh and with a nursery of course comes a spin-off blog 🙂 You think that I’d dedicate a blog to my cats and house but not dedicate one to my future kids?

Hopefully I’ll keep up with some of these goals, at least the ones within the next year or so. It will be interesting to see how many posts it takes me to actually finish and post about each thing! Now I’m off to celebrate a dream come true by watching a new episode of Jersey Shore!!

lasagna and paint

11 Comments

Posted by Rebecca, December 29th, 2010

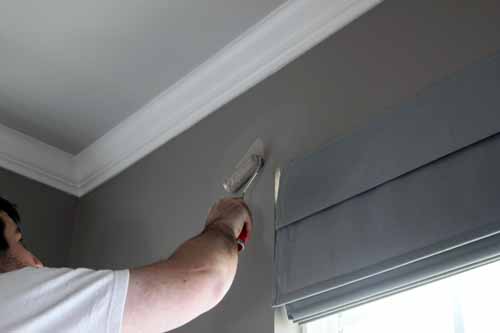
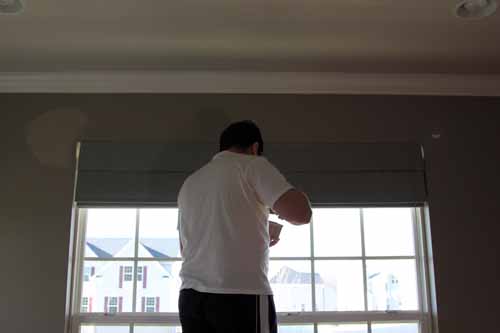
On Christmas Eve, we painted some random spots we had that needed touching up. I mentioned the holes from our curtain rod in my Christmas To-Do List post.

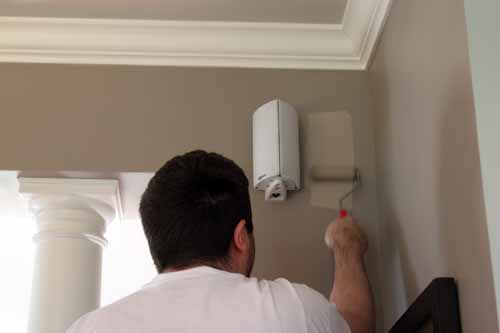
When Mike installed our new speakers (which he still needs to post about!), we got a new drill hole in our dining room wall. So we decided to finally break out the can of Benjamin Moore’s Waynesboro Taupe.

What a difference with some daylight, huh? 🙂

Then into the dining room…

Thankfully, the touch up spots were flawless.

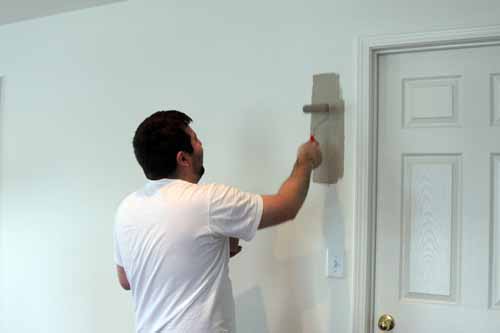
Since I love this paint color and it’s one of the few true taupe colors I’ve found, I decided to try a swatch for our bedroom. While Mike had roller in hand, I asked him to put a tiny bit on one of our bedroom walls. Then he did this…

He is laughing hysterically at me in this picture because after he rolled past the 2 inch mark I was like Wooooah! Hey! What the heck are you doing?!? I said a swatch!!! Apparently he has no clue what that means. Sort of like how I’ve been telling him since we moved to bend at the knees (we ended up in the emergency room with a pulled out back earlier this year) and just a few weeks ago he told me he had no clue what that meant. Oy!

So I currently have this on my wall…

And it’s definitely too dark. We actually have the lighter, neighboring shade from the color swatch (Himalayan Trek) in our entry way and upstairs hallway and it is way more gray than taupe. Anyone know a good light taupe color that’s not too gray and not too beige? We have a possible contender just beyond that door in the walk-in closet, which I am planning on finally sharing with you tomorrow!

Oh and this title? We painted and then made lasagna. True story. We’re trying to diversify our skills 🙂

Copyright 2010 - 2011. The Lil House That Could. All rights reserved.