Archive for the ‘kitchen’ Category

Touch This Way

6 Comments

Posted by Michael, February 7th, 2011

With the floors completed and my cold somewhat fading away, I took to install the Delta faucet my parents had given to us on Christmas.  It’s the Delta Pilar Touch 2O Single Handle Pull-Down Kitchen Faucet; you know the faucet with the catchy commercial, “your hands can do so many many things!”  Don’t act like you don’t know it.  The entire time I was installing this thing, I was singing the jingle.

Good thing I didn’t film that part for you.

I was going to show you how to install this thing and take some pictures along the way, but honestly, John from Young House Love pretty much covered it.  No sense in reinventing the wheel. I didn’t have much experience with faucets and or plumbing so going into this thing, his post did help quite a bit.  And the parts I was lost?  Good ol’ dad was there to help.

Some things I learned along the way and stumbled on (maybe you could learn from?)?  First, get yourself a basin wrench for those hard to reach areas.  I spent a good hour trying to get at a nut until I called my father for help and he replied, “uh yeah, there is a tool for that.”  Next, be prepared for the curve ball — maybe something doesn’t fit right, maybe your house is wired with pex and the faucet is ready for copper.  In which case, be patient and go to Home Depot (for me, go to Home Depot with my dad) and ask one of the associates in plumbing.  They helped us out greatly when we needed to go from a 1.2in pex tube to a 3/8th’s inch pipe.  Third, you’ll want to have teflon tape handy for when something might be a bit leaky.

And last, never, ever, ever say to your wife, “wow, I can’t believe how incredibly easy this is going.”  Because right when you finish saying those words, you’re going to run into problems.  Fortunately, I had my dad to call upon to help me through the problems (thanks Frank Barone!).

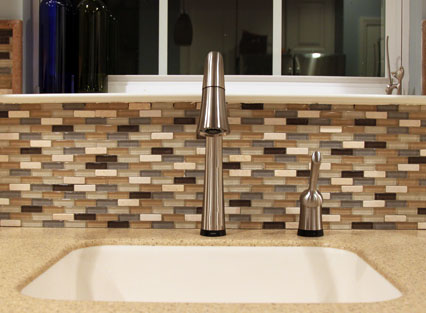
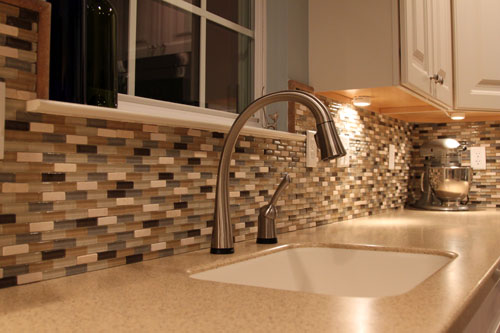
So lets go to the final product. Please excuse the backsplash — we’ve yet to actually properly grout or caulk that thing.

The faucet is pretty simple and straight forward.  No fancy curves or decorations here.

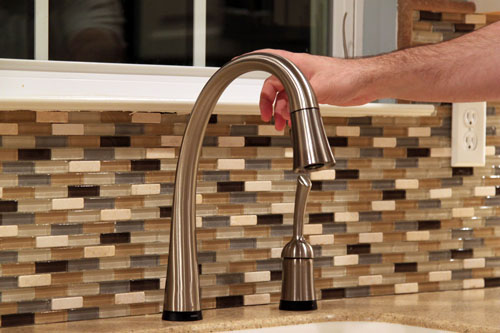
And an action shot!

The one suprising thing about the faucet install is the abundance of wires now in the cabinet.  I’m surprised Delta didn’t recommend any wire organization tips and tricks, but I plan on cleaning this thing up tomorrow night.

First impressions?  This thing is going to be incredibly useful.  It’s going to take some time to recondition the way we use the faucet while cooking, but with all the messy cooking we do, it’s going to be well worth it.

The faucet appears to be a bit sensitive; it picks up on your every touch.  It’s supposed to be able to distinguish human from say cat (Macky), but I’m not exactly eager to put that to the test.  And even if Macky was able to turn this thing on with his paw (believe me, he’ll try), it automatically shuts itself off after 4 minutes.  Translation: Macky and The Wet Bandits will have nothing on us.

Also, the faucet handle needs to be on the up/on position for the touch technology to work.  Planning on cooking a big messy meal?  Put the handle up and it’s ready to go.  Leaving for the day, pull the handle down so it’s off.  Kind of convenient with some planning.  I suppose you can just always leave it on, but again, I’m not sure if I really trust Macky…

That’s all I have for now.  If anything good (or bad) comes up with the faucet, I’ll be sure to keep this post updated.  Until next time, I leave you with some live action footage.

Oh and when I mentioned my father as Frank Barone above, it’s a reference from the show Everybody Loves Raymond.  You see, my mom got offended the other day when I said my life is like a never ending episode of the show.  She couldn’t see the humor in it.  Oh, that Marie…  I love the episode when they encourage Raymond and Robert to box.

The “New” Floors Are Done!

8 Comments

Posted by Michael, February 3rd, 2011

It’s deja vu all over again.

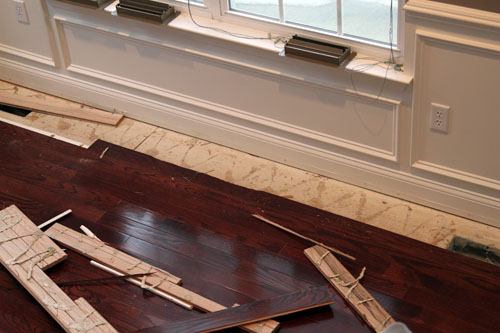
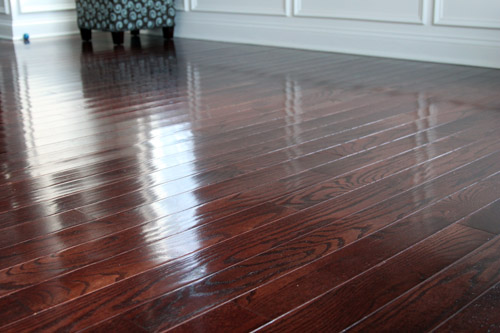
Ok, it was a bit more funny when Yogi said it (Go Yanks!).  It seems like just yesterday we walked into a brand new house with brand new hardwood floors.  Wide planks, dark cherry color — we were in heaven.  But unfortunately, things took a turn for the worst.  Boards started to chip, some started to “creak,” “crack,” and “pop,” and some just decided to no longer stay flush against the subfloor.  Fortunately for us, the builder was willing to rip everything up and install new flooring.

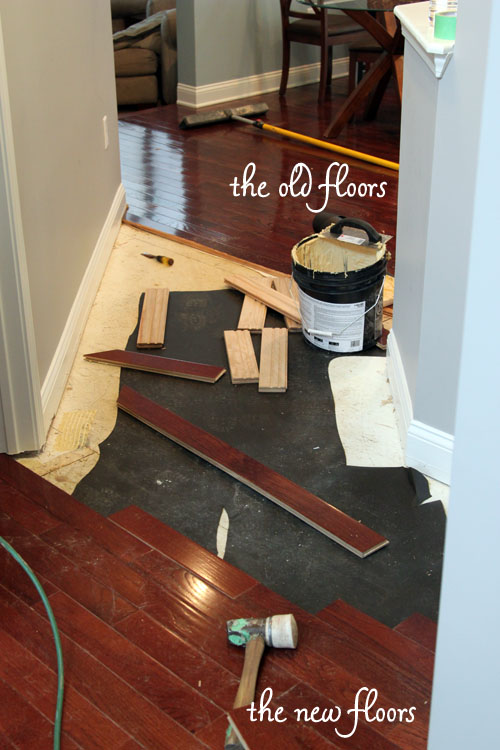
They started on the area that used to push up and against the wall.  If this incline had some more time, it’d be a skateboard ramp for Macky.

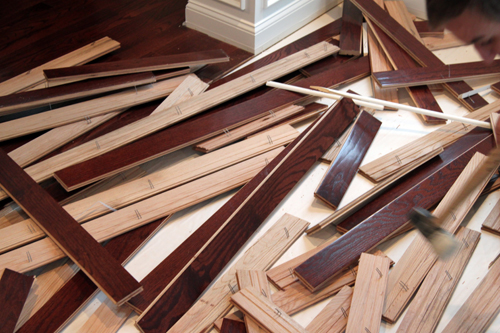
And before we knew it, the wood just started to pile up.

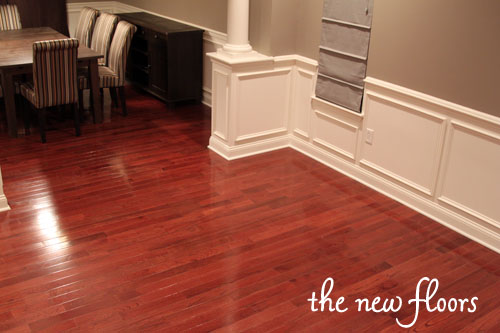
After some hours coding away in the office, I came out to discover a good portion of the new floors were already installed!

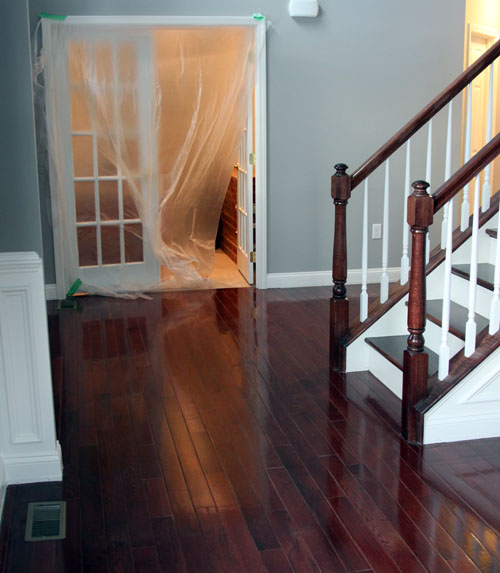
Here is a good shot from the formal living room looking into the entry way.  Please ignore the the room covered in plastic — that is my office and you can’t see it until the master reveal!  I’m kidding, there was dust flying everywhere, the contractors felt bad for me while I was working.

Not quite kid tested, but…

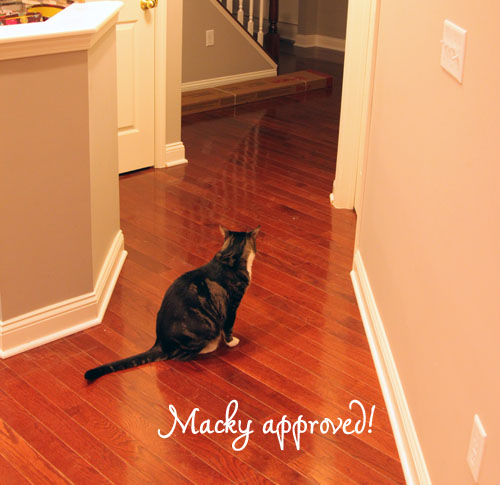
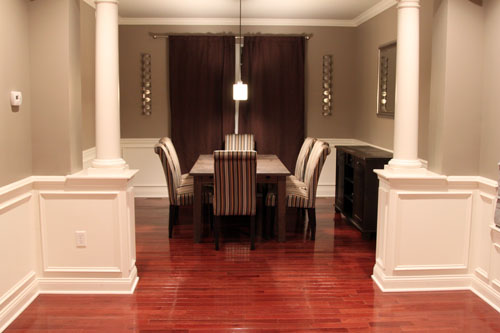
And finally, some shots of the completed floors.  Almost as if nothing ever occured these last few days.

The install wasn’t too bad.  A bit of dust here and there and some scuff marks on some of our molding.  The builder is sending in a cleaning crew tomorrow to, well, clean and also a painter to touch up some of the molding.  Good stuff.  I’m hoping everything works out with these floors; they already feel and look better compared to the previous floors.  I am, however, a bit concerned about the previous floors.  Where will they go?  Will they sit in a landfill for the next X hundred years or can they be used/recycled?  I’m hoping to get some of these answers tomorrow morning when the builder stops over.

hello there, “project”

12 Comments

Posted by Michael, January 24th, 2011

We are about to embark on a rather large “project.”  And by “project” and we, I really mean they (the builders) are ripping up our existing hardwood floors and laying down new wood.

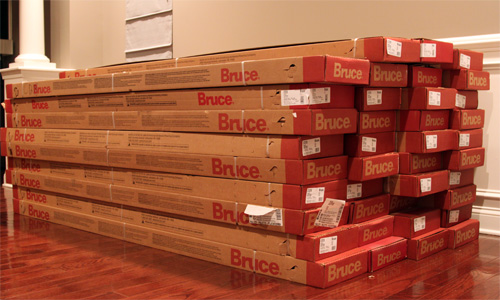
Earlier today, the builder dropped off several large boxes of wood flooring and it is currently sitting in our living room.  It’s enough hardwood to replace our entire downstairs.  I know, I know, we just moved into a new house with new floors, how could this be?  Well, pick your jaw up off the floor and I’ll tell you.

During the first few weeks of living here, we noticed some areas of the wood floors “popped” and “cracked” while we were walking.  We shrugged it off thinking it was just the wood settling into place.  Several weeks went by and it started getting worse.  A lot worse.  And then we noticed the floor was slightly raised towards the front of our living room.  You can slightly see the wood slanting and pushing towards the wall in the photo below.  This rise in the floor also exists in our dining room.

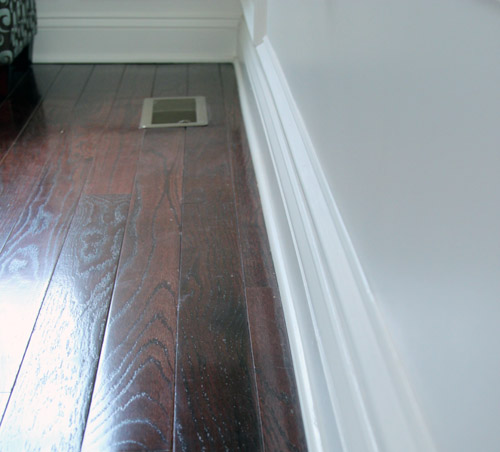
On top of the bulging up at the walls, the floors also didn’t lay complete flat.  As time went on, they began to bulge and “ripple” throughout in various locations.  You can kind of see a “ripple” in the photo below.


Oh but it gets worse.  Every which way, little cracks and chips started to appear.  Before we knew it, we had several of these guys.


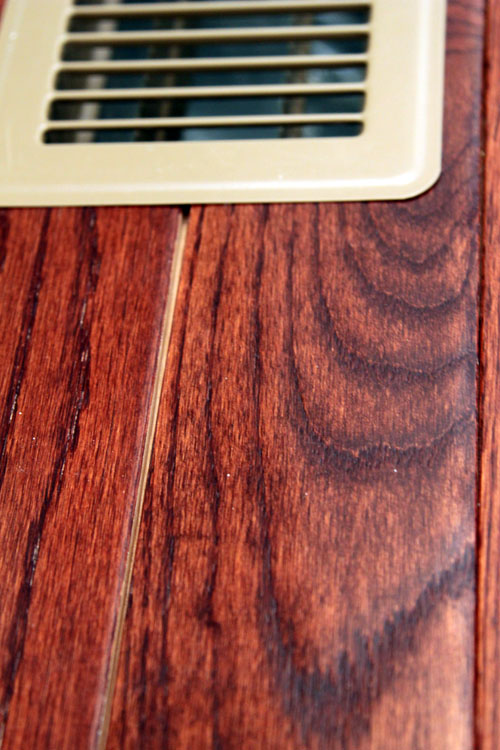
And finally, planks started to pull apart from one another.  We have quite a few of these “gaps” downstairs.  I understand hardwood can swell, contract and what not, but these are now permanent.  These gaps aren’t a result of humidity or anything like that.

Growing tired of our new floors acting as if they’re hundreds of years old, we filed a complaint with our builder.  They came out to check everything out and confirmed everything we were experiencing.  A few days later, a floor company was sent out to further inspect.

As we met with the floor company, they explained the humidity was a bit high in our house and the builder should have installed a dehumidifier in our basement or at least told us to do so.  To them, our issues were a direct result of the humidity.  They explained they could fix our bulging floors and our popping wood planks by driving some hundred tiny nails in various locations.  They proceeded to do so and for a few days, all was well with our floors.  We also immediately purchased a dehumidifier and proceeded to run that puppy 24/7.

And then they started to pop.  And then bulge.  And our issue was alive again.  We filed another complaint with the builder and they asked if they could put an industrial sized dehumidifier in our basement to see if that would resolve anything.  We said sure and for three weeks, we heard an annoying humming noise coming from the basement.  And you know what happened after three weeks?  Absolutely nothing.  Looking back, we had a much larger issue than just the humidity.  This was a bad install job with bad flooring.

At this point, I’m ready to start war.  In my head, I’m drafting letters and going over what I’m going to say to the builder.  When the builder came to pick up the industrial sized dehumidifier, my heart was pounding and I was incredibly nervous over how the “I want new floors” conversation would work out.

Much to my surprise, the builder informed us that they’ll be working everything out to have new floors delivered and installed for us completely under warranty.

Later next week, we’ll have a company ripping up our floors and installing new hardwood.  While we’re happy these issues will be completely resolved (cross your fingers), we’re not exactly looking forward to the mess this will create nor the stress it will cause our precious Macky (we’re pretty sure he suffers from stress induced seizures).

Throwback Thursday?

12 Comments

Posted by Rebecca, January 20th, 2011

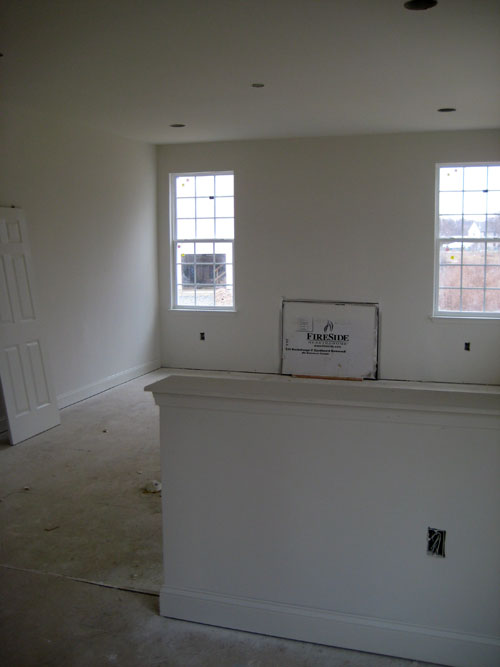
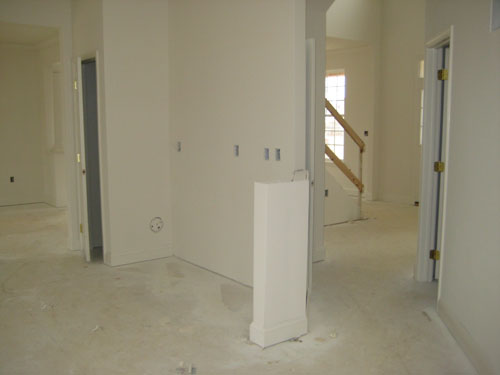
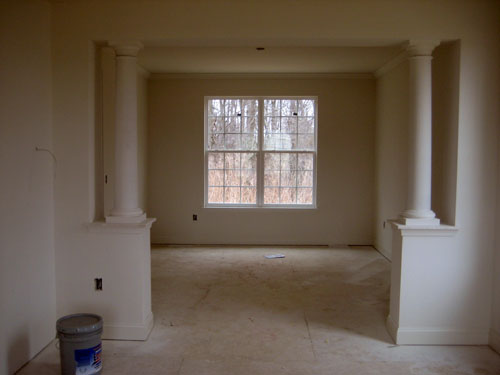
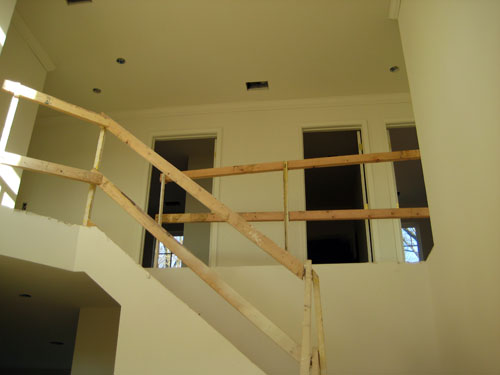
I survived 8 hours of work today, but my body is screaming for some rest. So I’m going to take it easy tonight and give you some pictures of our house from January of last year, when it was freshly drywalled. It was so exciting at the time, but I must add how small it looks with nothing in it!

The family room…

Half of the kitchen, sans cabinets (those came in March I think…)

The dining/living room, which I showed you last week…

The entryway…

Sometimes I feel like we’re not making enough progress, but looking at these and seeing all that we’ve accomplished in less than a year, while working, schoolin’ and having lives…I guess we’re not doing that bad of a job 🙂

Hopefully this weekend I can get back to my regular picture taking around this joint. For now, snuggles, milkshakes and Jersey Shore.

“Imma good peeeerson!”- Snooki, 2010.

Countertop Change-Up

13 Comments

Posted by Rebecca, January 19th, 2011

I have spread my illness to Mike, so we were both home today drowning our sicky sorrows on the couch. My fever and nausea have morphed into sneezing, coughing and watery eyes, which I will GLADLY accept. At least now I can sit up, as of this afternoon.

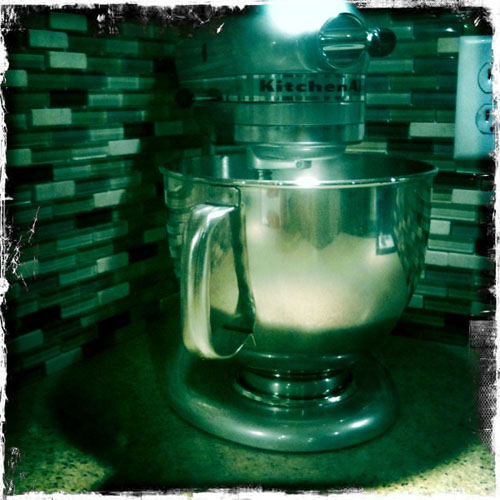
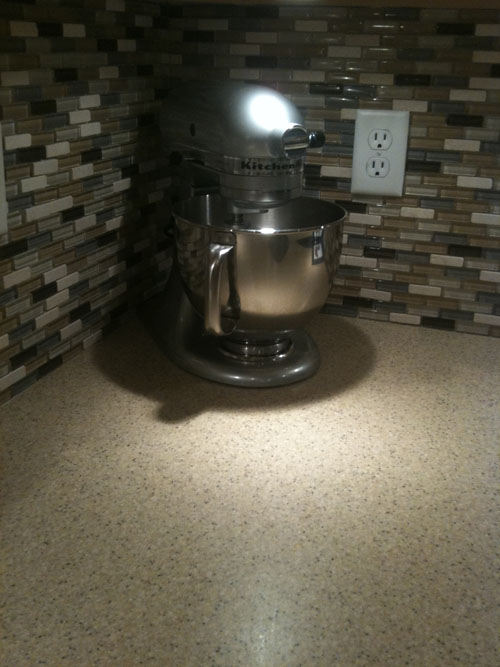
So I was just in the kitchen, debating whether or not to have soup, toast or soup and toast for dinner, when I realized that I never showed you pictures of my beloved stand mixer in it’s new permanent home. Since I am still not at the top of my game, I didn’t have the energy to find the camera, find the memory card and upload pictures. So I decided to take pictures with my iPhone quickly. Being the overachiever that I am, I remember that I installed the Hipstamatic app a while back and never used it. Time to put it to use!

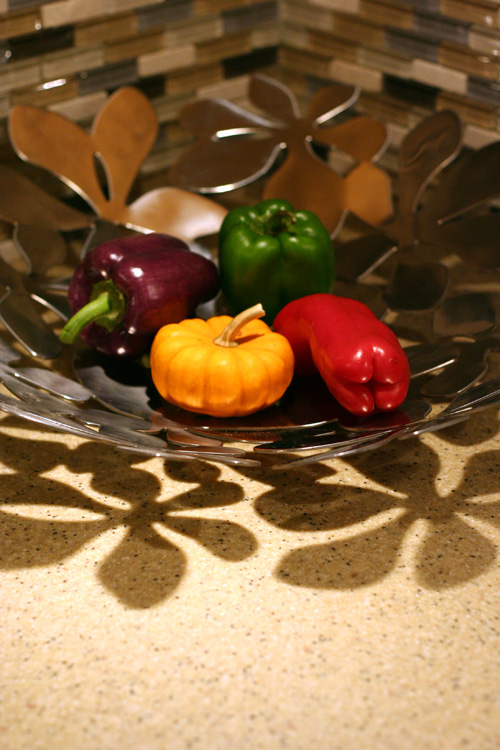
We previously kept fresh veggies in our Ikea Stockholm bowl in the corner…

But now…

I tried some of the different film styles that come with the app…

The view finder was reeeally hard to work, or maybe I’m just sick and impatient. But I wanted to get some pictures of how small this thing actually looks on the counter. We weren’t going to keep it out, but when we saw the small footprint it left, we loved it as some new countertop eye candy. Here are some standard iPhone pictures of the size…

I hate cluttered countertops, so this worked out nicely and adds some pretty shine 🙂

Plus have I mentioned how easy it is to make cookies now?? I love you, stand mixer.

Now back to that soup….

Copyright 2010 - 2011. The Lil House That Could. All rights reserved.