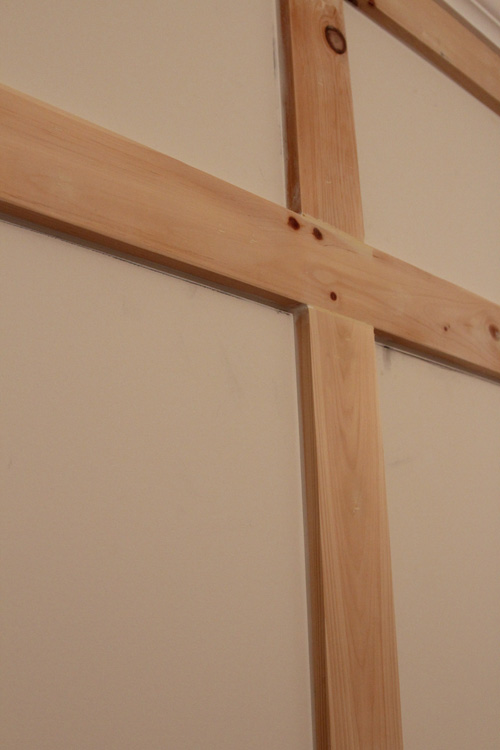
Paint Color Confusion

No Comments

Posted by Rebecca, March 5th, 2012

Saturday morning we headed to Lowe’s to pick up our paint for the nursery. We went with the colors we decided on last week.

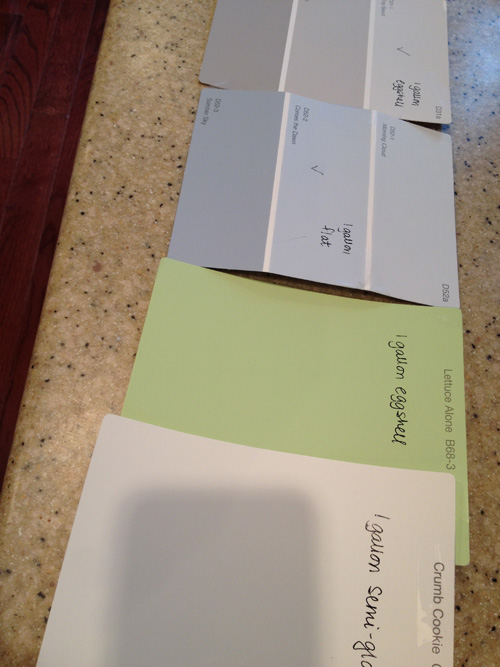
To keep things simple since we were walking in with 4 different colors in 3 finishes, I wrote what we needed on each color we wanted.

Yes that is my iPhone shadow. It was inevitable.

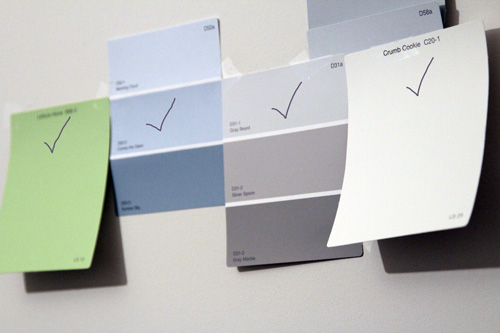
Anyway, the colors are Crumb Cookie in semi-gloss (trim & paneled wall), Lettuce Alone in eggshell (closet), Comes The Dawn in flat (ceiling) and Gray Beard in eggshell (walls).

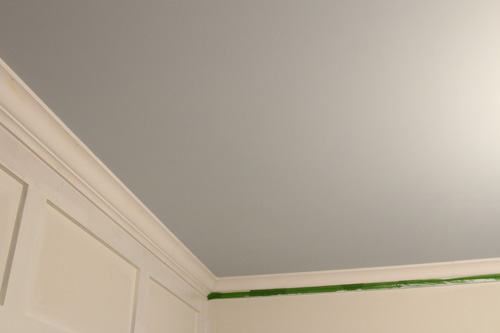
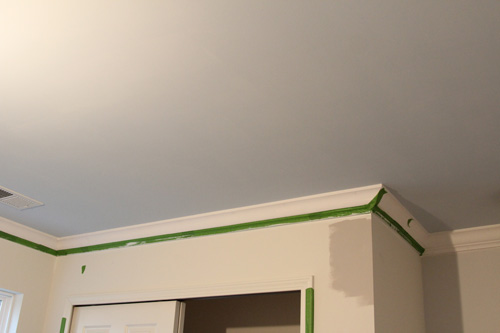
We painted the ceiling in about an hour on Saturday night (after getting haircuts, buying paint, caulking and attending an engagement party an hour away). We loved the result.

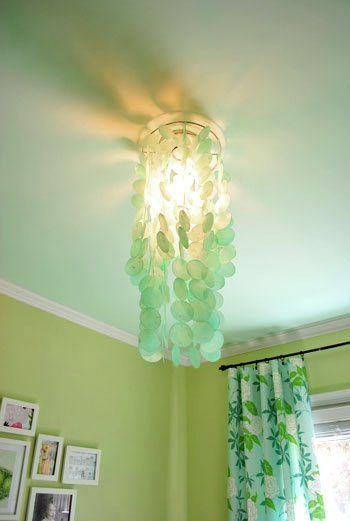
It gives this infinity sky feeling– when you look at it you almost feel like you can jump in it and it never ends.

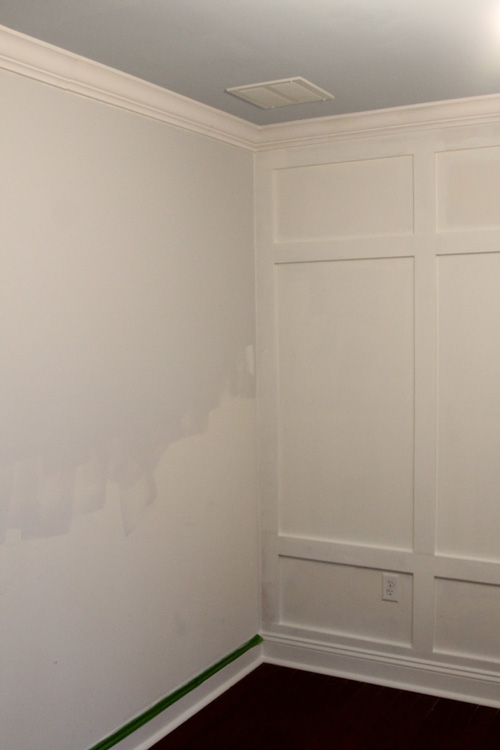
Then yesterday we started to paint the walls the gray color we chose… and this happened.

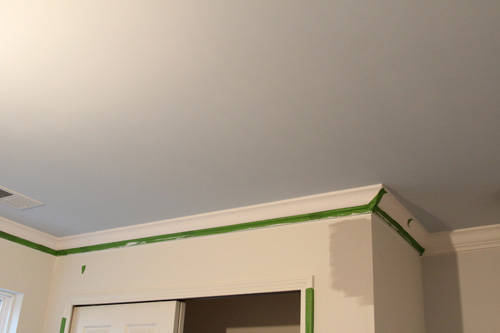
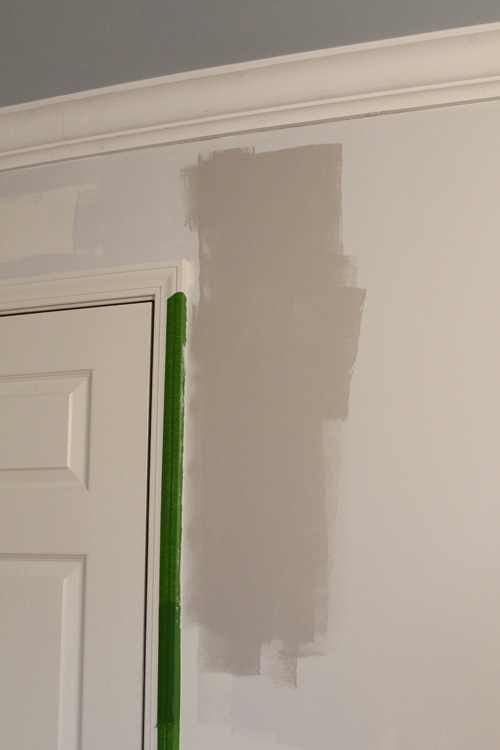
Yes, that’s it on the left (and there’s the paneled wall primed and partially painted!) But the gray paint looks like baby blue. Suddenly our modern looking neutral nursery turned into a Pottery Barn boy’s room. Not the look we were going for, so we stopped right then and there.

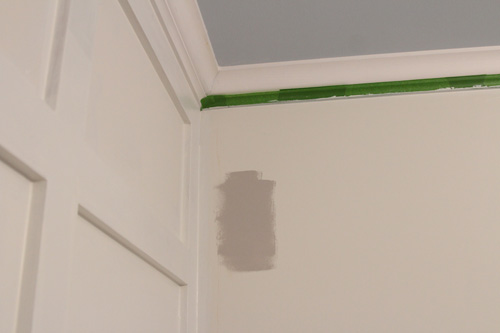
The problem is that the ceiling is reflecting on the walls, so the true gray is appearing blue. I went back to my pile of swatches and decided we needed something with some brown undertones, to counteract the blue reflection. We picked up a tester of Olympic’s Gray Goose and stuck it on the walls.

Definitely doesn’t look baby blue, but we’re not sure if it’s too brown. Or if it gives off a purpley pink undertone….

Here it is at the top of the closet, which I don’t mind so much. It definitely varies depending on where it is in the room…

I didn’t get a chance to see the new color in daylight since I got home late, so I’m going to check it out again tomorrow morning. It looks great with the curtain fabric and bedding (which I can’t show you) but I’m nervous about it with the charcoal colored glider we’re planning on getting. We have both brown and gray fabrics to mix in, so I wanted the paint to be a little bit of both. Like the bridge that brings the neutrals together.

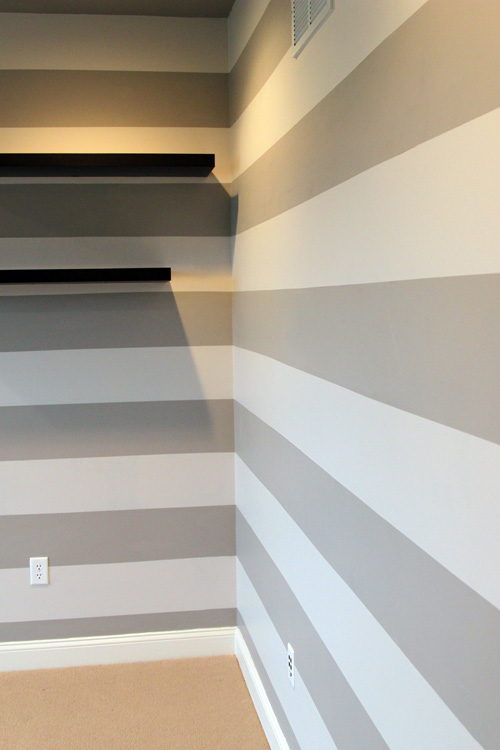
I have a feeling the solution to our problems may be right in front of my face, like maybe, in our striped walls downstairs in the current office/future playroom…

We might have to dig out the leftovers of one of these colors tomorrow….

  • StumbleUpon
  • del.icio.us
  • Twitter
  • Facebook
  • Google Bookmarks

Chipping Away

6 Comments

Posted by Rebecca, March 1st, 2012

I went to Lowe’s tonight to pick up a few paint chips for the nursery. We have plans tomorrow night, Saturday afternoon and Sunday afternoon and I reeeeally want to get the painting done this weekend. Which means that we need to decide on colors by Saturday morning so we can go buy paint, start to paint at night and hopefully finish it on Sunday morning/Sunday night. But I think I may be in over my head…

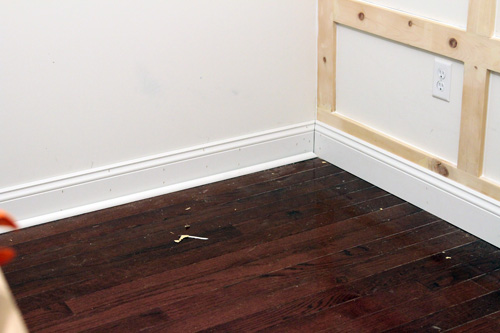
(please excuse the dirty floors in the nursery, no point in cleaning when we still have a lot of work to do!)

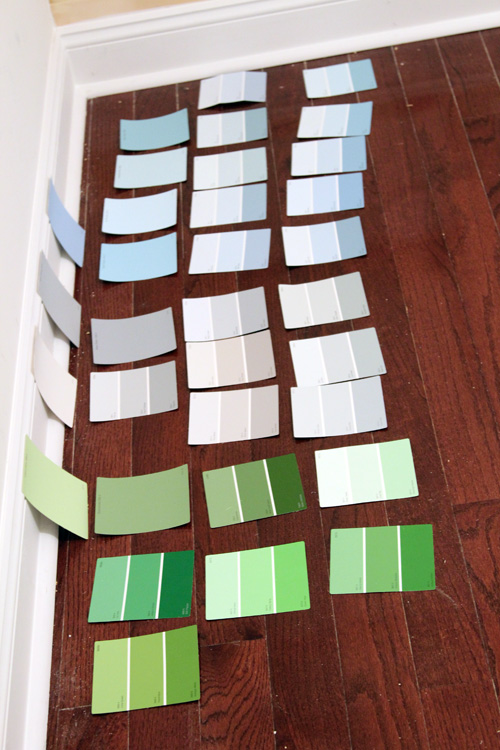
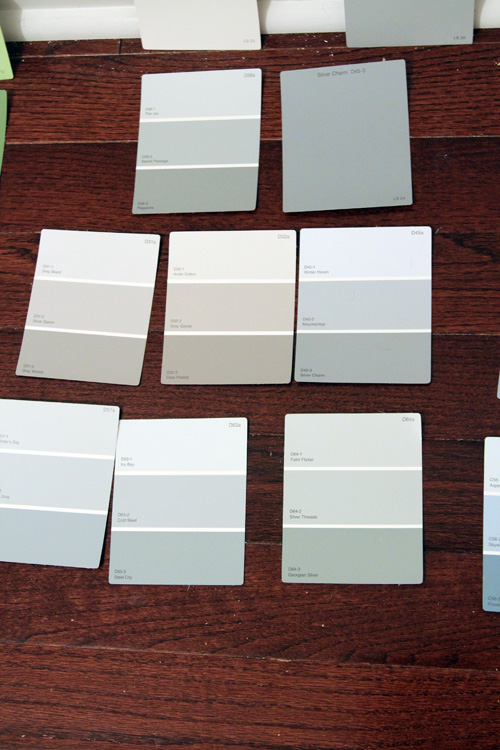
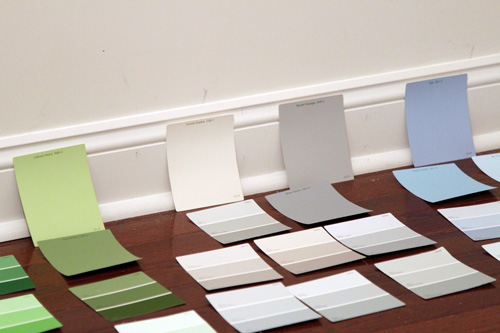
All of these colors are for Olympic’s No-VOC paint. While at Lowe’s, I grabbed grays pretty quickly (there never seem to be enough gray options)…

The greens were extremely limited…

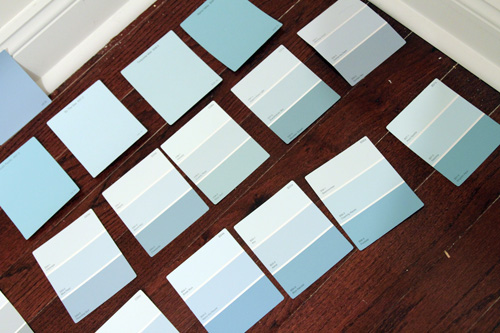
And then I was completely overwhelmed by the amount of sky blue colors. Really, there were rows and rows of blues and I just stopped taking them after a while. I figured one of these has to work!

Yeah, so those are the “few” paint chips I was going to get. We started by looking at them in the kitchen, where we decided that we liked the big chips against the baseboards the most.

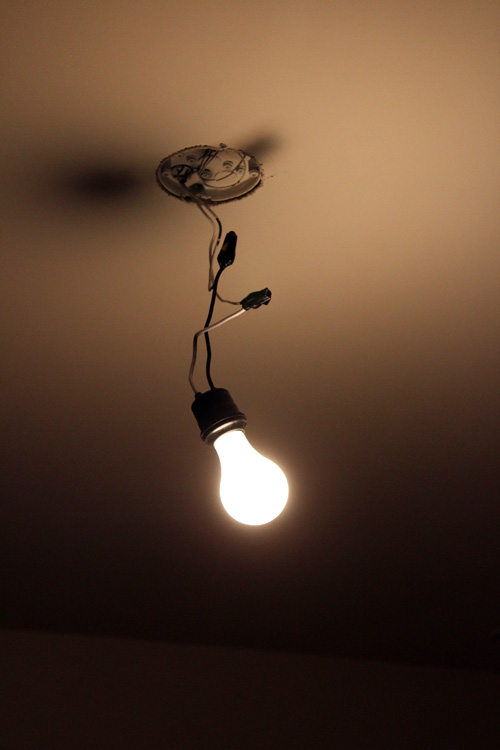
The white one is the actual color of our trim throughout the house– Olympic’s Crumb Cookie. I grabbed one of those chips just to make sure it blended well with everything else, considering our entire paneled wall will be painted that color. Granted it’s dark out and we’re dealing with a simple lightbulb in the room, but we decided that the blue was too blue and the gray was too dark. Back to the drawing board it was!

Our preliminary, night time choices are looking like this…

It’s really hard to get a true picture of paint colors with a camera… especially at night. I think the blue is coming across more blue than the comforting blue/gray that it really is, but I don’t think we’re too far off from the colors in our inspiration schemes.

Actually, according to my monitor, we’re pretty damn close! Originally I was leaning towards a more true gray color for the walls, but it didn’t feel right. It appeared a little bluish, so we gravitated back towards one with brown undertones. I’m slightly concerned about the glider we want being a charcoal color, but I held a similar color up against it and it looked fine. Hopefully everything still looks good in the morning so we can get this process rolling!

ps- I think there may be some paint chip art in my future 🙂

  • StumbleUpon
  • del.icio.us
  • Twitter
  • Facebook
  • Google Bookmarks

The Most Frequently Asked Nursery Question

4 Comments

Posted by Rebecca, February 28th, 2012

What color will you paint?

This is a common question regardless of the room, but even more so since we are not sharing the gender of the baby. In fact, someone just asked me this question yesterday. I think many people have a hard time leaving the traditional nursery wall colors of pale pink, blue, yellow and green and often assume that our walls will be yellow or green. For people who don’t read my blog, I usually leave the answer at a simple “neutral walls”. For the rest of you, you get the long answer 🙂

First, I have always planned to paint the walls a gray/greige color. The panelled accent wall will remain entirely white. Maybe something like Benjamin Moore’s Stone Harbor for the walls…

I also mentioned that I wanted to paint the closet a fun accent color before we put our closet organization system in. For this, I think we’re going to go with a neutral, but still fun, green. Like Benjamin Moore’s Citrus Green

I have also always wanted a fun painted ceiling. When I was a kid, I had baby blue sheets with clouds on them and always imagined my future kid’s room would have clouds painted on the ceiling. I really toyed with the idea of a mural, then a stencil on the ceiling, but I think I’m going to go with just a subtle sky blue color. I’d hate for a pattern to take away from the crown molding or paneled wall we just worked so hard on. Maybe something like Benjamin Moore’s Mediterrean Sky

I know what you’re all thinking, I’m sure our parents are currently like OMG BLUE, IT’S A BOY!!!!! But shall I remind you that this was our plan from the beginning. I mentioned here that I wanted a multi-colored room and though I love the idea of yellow or orange, I tend to gravitate towards cool colors. I decided that I didn’t want to paint a ceiling yellow or orange and thought that the blue was such a nice soothing option for an area that a baby will stare at for so many hours. For those of you not convinced, girls can have blue ceilings too, see?

(via Young House Love)

Incase you’re not confused enough, here’s our targeted color scheme completed with our potential curtain choices:

If the baby is a girl…


And if the baby is a boy…


I absolutely love both of them. I thought I wanted a bright ceiling and closet but the more I thought about it, I decided the paint colors should be muted and more serene with pops of bold fabrics. We’re planning on using the chevron curtains on both the window and the closet, since they are extremely close to each other and multiple fabrics would be too busy. So that means that either of the chevron patterns would be against the green, as they are in the swatches. I have a chevron sample that I plan to bring with us when we choose paint colors this weekend. I will probably still scratch my head and be extremely confused, but seeing all of the colors together lessens the blow. Of course, we plan to buy no VOC paint as we always do.

So my short answer to my most frequently asked nursery question sounds a lot more boring than what we’re planning, eh? 🙂 I cannot wait to paint this weekend!

  • StumbleUpon
  • del.icio.us
  • Twitter
  • Facebook
  • Google Bookmarks

Learning to Cope

4 Comments

Posted by Rebecca, February 27th, 2012

No, this isn’t a sappy post about how I’m juggling priorities or the upper body pain I’ve been suffering from. Though I could use one of those….the further my body gets away from my keyboard at work the more the more my neck, shoulders and arms hurt. You hear about the lower back and hip pain during pregnancy (which knock on wood, I’ve been perfectly fine with) but no one warns you about the ergonomic difficulties you will face. Like how this week suddenly when I walk out of doors in our house I hit my belly… those few extra centimeters each week make a difference! Longer arms are the solution….

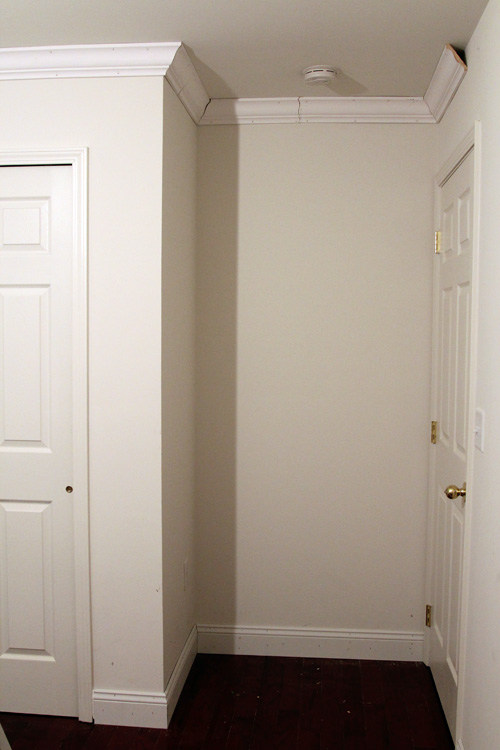
Anyway, this post is about the last two pieces of crown molding that we put up this weekend using the good old coping method. Last we left you with one straight piece running along our paneled wall, which needed two coped angled pieces to make the corners.
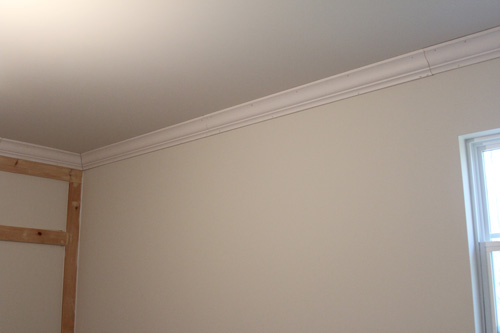
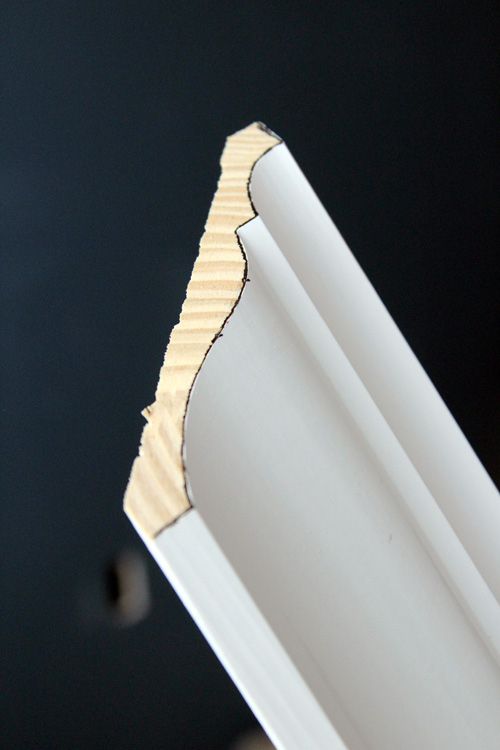
We started by cutting end of a piece at the 33.85 bevel and 31.65 miter that we explained in this post. Which left us with this (this is for the left side of the paneled wall when you’re looking at it, so a left inside corner)….

Then, as most tutorials tell you to do, we traced the line of the molding so we knew where to cope, like so….

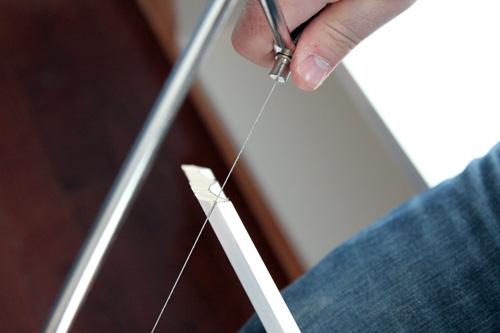
Then Mike took off the back chunk of wood at this sort of angle (you just want the front face of the molding to show, if that makes sense)…

I was supposed to be the coper, as I like doing tedious things by hand, but after the first piece I realized that it was going to take way more strength than I could muster so I passed the torch to Mike. I had the very important job of sitting on the piece of molding while it was on the bench to act as a human clamp. I excelled at this.

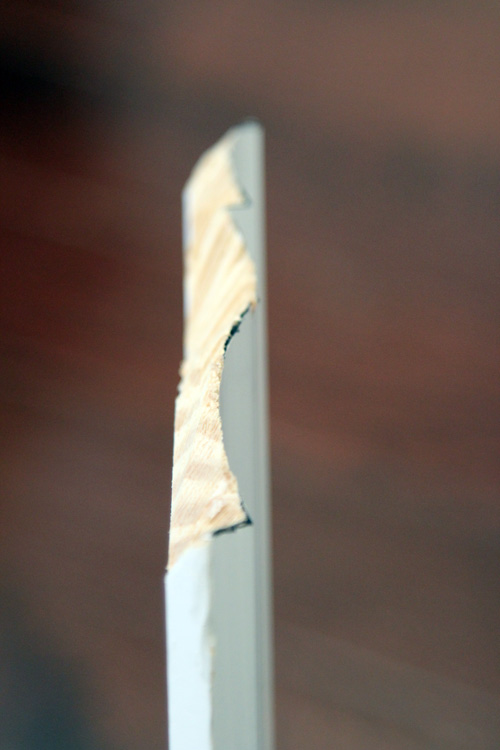
After that’s all chopped off, it looks something like this…

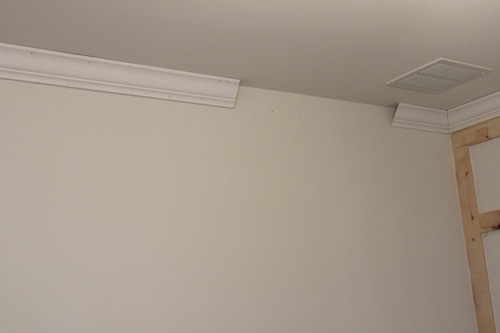
Then we put it up and it was all done! Almost. First time we put this piece up we realized it was a smidge too short. Which actually worked out well because the ceiling was very uneven and the corner piece was not meeting up with the 8 foot piece next to it. So we decided to cut the corner piece down to a smaller piece to be able to gradually adjust for the crooked ceiling…

Then we cut the next piece and worked some nail gun magic to get everything lined up.

We did most of the room like this where it was necessary. There may be more seams, but it’s less caulk magic to work and less of a risk of having a bulging piece screaming for help in the end. We did the same thing on the other side after we coped that piece (though the ceiling wasn’t crooked over there)…

Then we were officially done! Though coping wasn’t extremely difficult, after using both coping and non-coping methods, it’s way more convenient to just cut both sides of a corner at an angle and avoid coping. Next time we tackle a room we will do all of our corners the non-coping way.

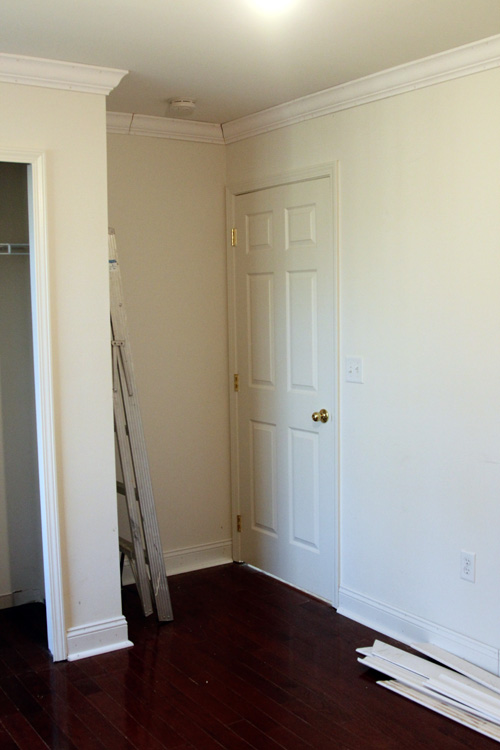
It’s nearly impossible to get a full room shot in this small room, but I did clean out all of the extra stuff in there to make it easier 🙂

We also added the quarter round molding to the baseboards this weekend, which took no time but makes such a difference…

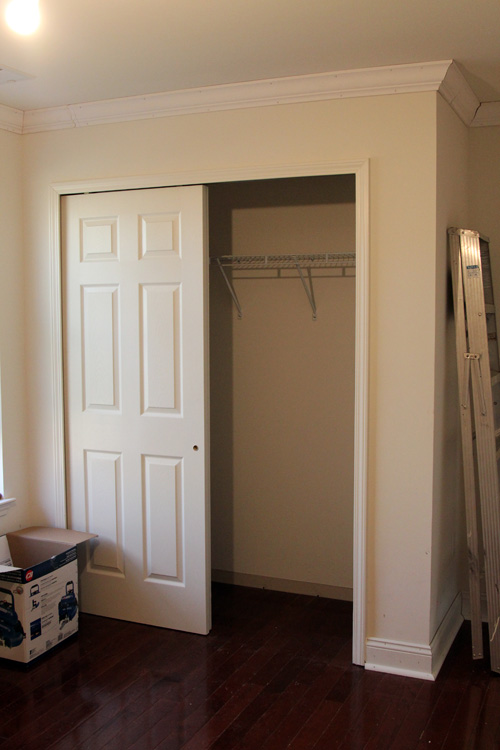
I also completely emptied out the baby’s closet in anticipation of painting it an accent color and adding an organization system like we mentioned here.

We have also decided to remove the doors and go with… curtains! We toyed with double doors that open outwards, french doors or curtains and decided that some chevron curtains would look best (though I can’t reveal what color we decided to go with!) Hopefully we can get the wire rack removed, closet walls spackled and everything caulked/filled this week so we can paint the this upcoming weekend!

  • StumbleUpon
  • del.icio.us
  • Twitter
  • Facebook
  • Google Bookmarks

From Top to Bottom

5 Comments

Posted by Rebecca, February 23rd, 2012

Today while I was at work, Mike put up the baseboards in the nursery 🙂 We used 5 1/4 inch primed MDF for the baseboards, the same molding we have throughout our house (we previously had a much smaller baseboard with the carpet in this room). Mike said the whole room took him about an hour to do and was a piece of cake.

We still have yet to finish the last two long pieces of crown (they they will be insanely easy to do) because Mike needs my help with those. We had childbirth class last night (eek), so we didn’t get a chance to do it. But thanks to this new fancy light we installed in the nursery, we can work in there at night and I can come home and snap these pictures to share…

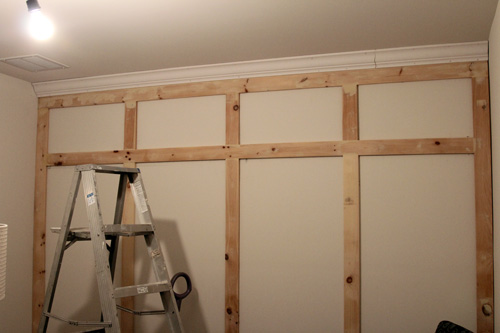
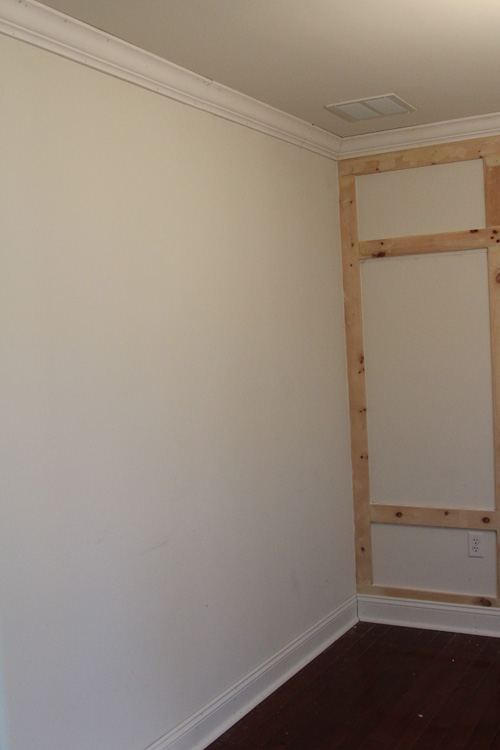
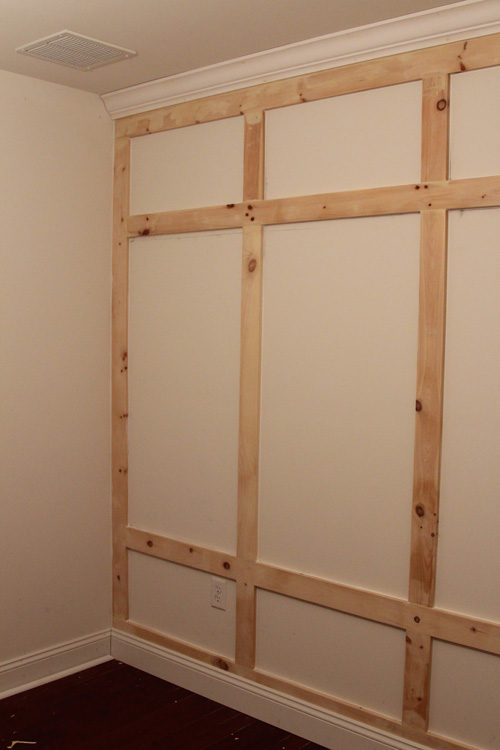
Works for now! Anyway, now you can see the paneled wall coming together with the crown and baseboards integrated.

In hindsight, I probably would have added a smaller board at the top of the paneled wall rather than the additional 4 inches we put at the top and bottom. The crown is only about 4 5/8″ while the baseboard is 5 1/4″ I believe, so the amount of paneled wall showing at the top and bottom is not symmetrical. Though the bottom will have furniture in front of it so it’s no biggie.

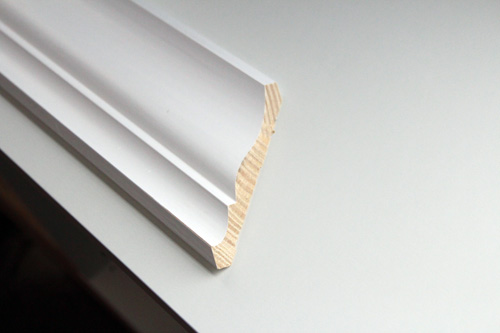
And the piece over there on the left of the picture has a piece of quarter round sitting up against it just to give you an idea of what the molding will look like once we add it.

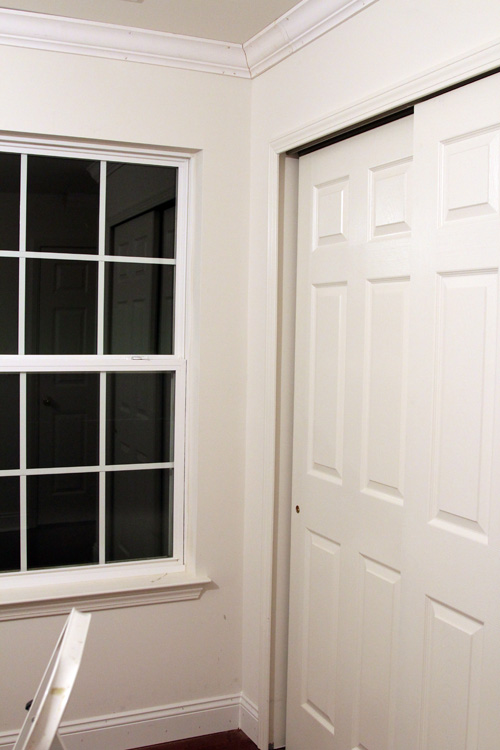
Here’s another shot of the two moldings by the closet…

Mike also filled all of the nail holes, sanded and caulked the paneled wall. All that’s left now is to prime the raw wood boards!

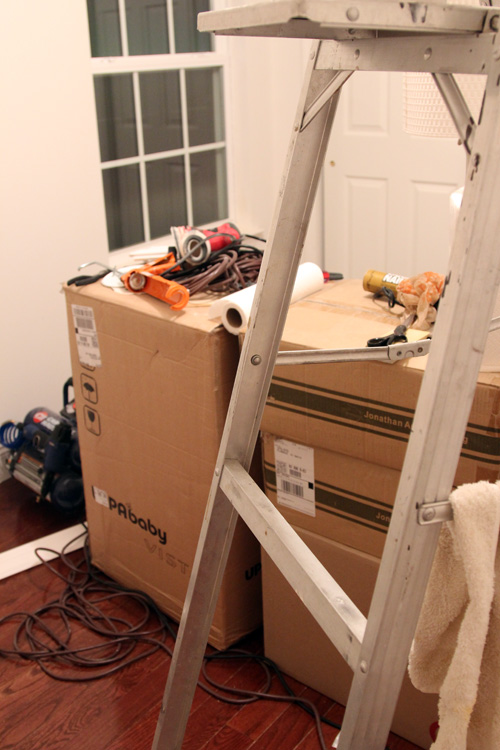
Normally this is where I would zoom out and give you a full room shot, but we currently have an island of boxes hanging out in the middle of the room…

There’s a stroller, our Jonathan Adler giraffe sconces and a box of other baby stuff hanging out and acting as a table for our caulk and whatnot. I don’t want to unload anything else into the closet because we’re planning on giving that a makeover as well.

We’re hoping to choose paint colors this weekend and get going on that in the next week. Weeeeee! Wee wee weeeeee! Just call me a pig on a zipline…

  • StumbleUpon
  • del.icio.us
  • Twitter
  • Facebook
  • Google Bookmarks
Copyright 2010 - 2011. The Lil House That Could. All rights reserved.