De-Christmasing and Neutralizing

14 Comments

Posted by Rebecca, January 4th, 2011

One of my goals before we leave for vacation tomorrow morning was to take down our Christmas decorations. I know this wasn’t a priority, but we’re not coming home until Sunday night, then the next weekend is my last precious weekend before I start up grad school again. So I’d really like to do something other than focus on taking down a tree… plus it will be mid-January by then, oy!

So today, I left work early and mission was accomplished…for the most part. I was hesitant to pack everything away because I didn’t know where to start. We have way more stuff this year than we’ve ever had and I wasn’t sure what type of storage we’d need. Plus I wanted to put it away as organized as possible, rather than hastily thrown in boxes. Then I saw what Megan from Honey We’re Home did with her ornaments yesterday…

(via Megan’s Christmas Organizing post)

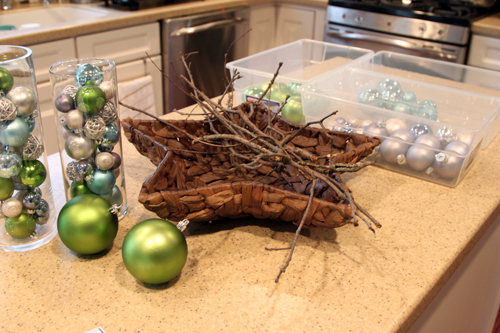
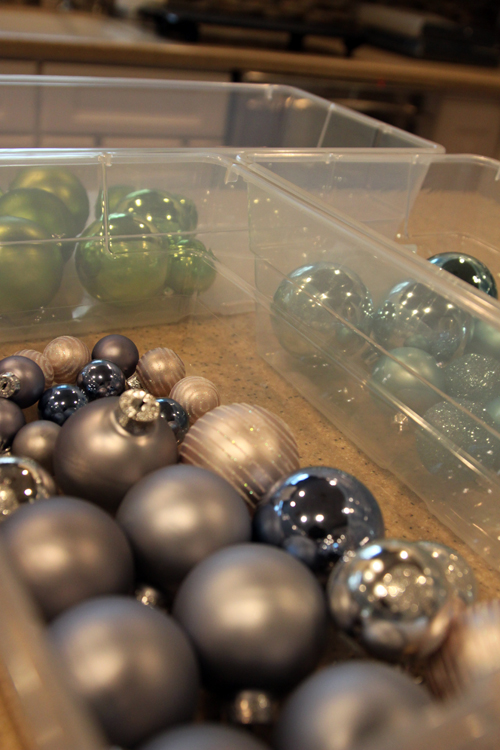
She organized her ornaments by color. Back in our condo, we had tree ornaments and a couple of vase fillers and that was it. But this year I bought so many ornaments for our large tree and other projects that I was just overwhelmed. So I decided to use Megan’s method as a starting point and started collecting my non-tree ornaments.

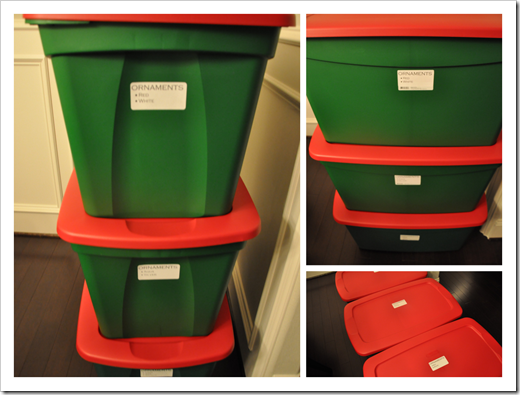
I picked up 3 large Christmas storage bins at Target, since we only had 2 before. I, like Megan, like the Christmas colored ones because when they’re buried underneath things, you know exactly what they are! I also picked up some smaller containers for my small ornaments then packed them up by color.

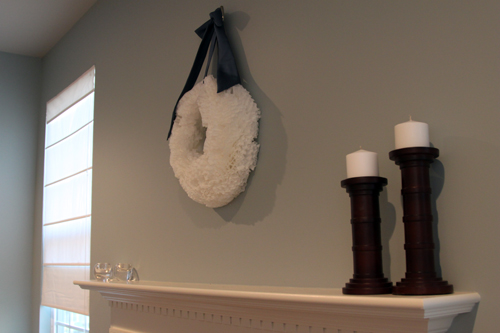
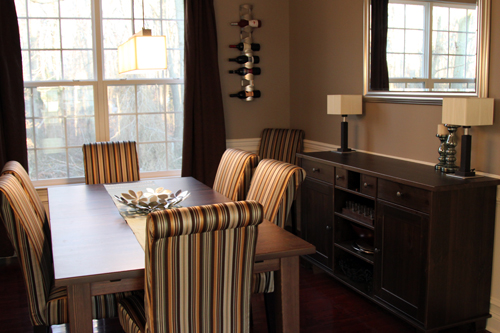
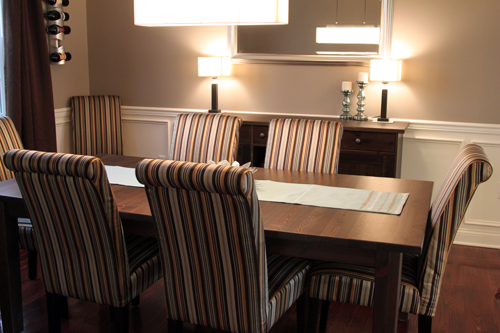
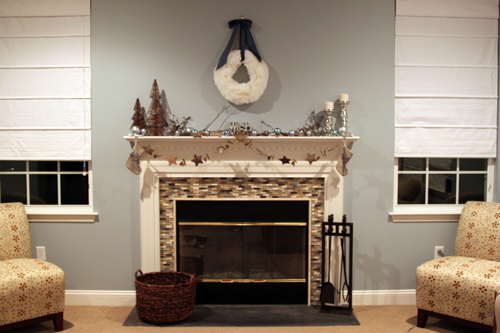
I took away all of the other Christmas items on the mantle and in the dining room and just like that, the house was neutralized.

I still need to find a safe place for my coffee filter wreath and tree, so until I get back, it will remain hanging in the family room. I kept the wood pillar holders, as well as the metallic pillar holders I picked up at Target out because they’re not holiday themed.

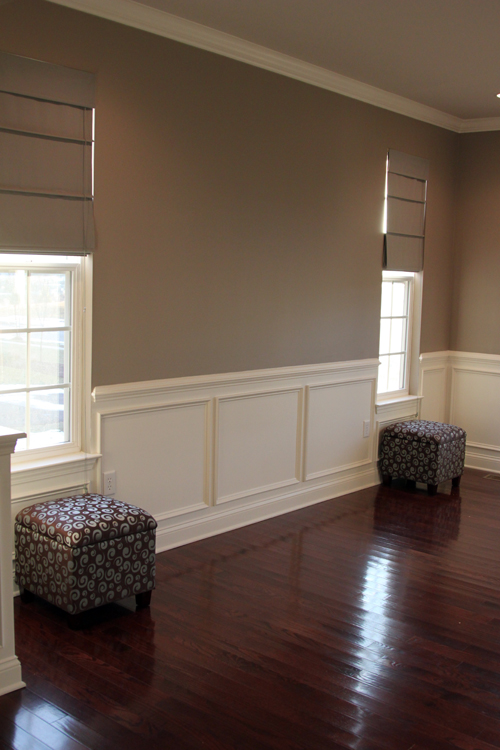
For all of these extra things I accumulated this season, I decided to put my living room storage ottomans to good use (nicely furnished room, huh? This is why you never see the living room :))

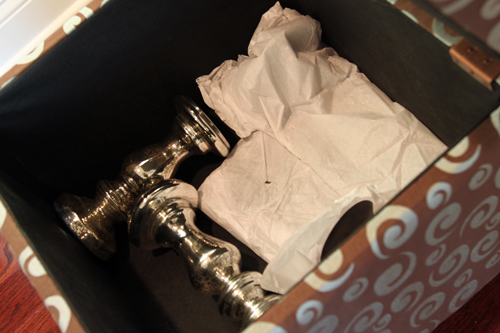
Most of my candles are in the entertainment center, but I store some larger pieces here, including the silver pillar holders.

Oh and we haven’t seen our Ikea Stornas table without an extension in it since Thanksgiving, it looks so tiny with only 6 chairs!

As you can tell I put the majority of our things away, even accessories that were out before Christmas. I just wanted a clean slate for when I get back from Disney. On to the tree!

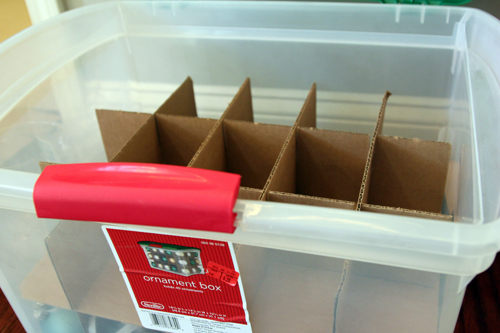
I decided to keep tree ornaments separate from vase filler type ornaments, since I strung those ribbon things on all of the tree ornaments and I’m not doing it again next year! I had one ornament box from Target a few years ago, which I decided to start to fill even though I knew I had way too many ornaments on this thing.

This particular box is a little tight for my biggest ornaments, which is why I almost didn’t use it. So I only put large ornaments in every other opening.

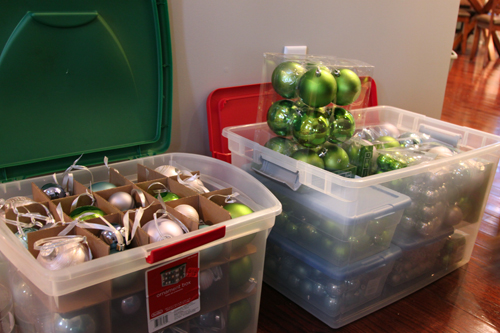
Then I filled the remaining openings with 2 or 3 of the smaller balls.

I was surprised that a good majority of my tree ornaments fit in this one box! I put the remaining ones in one of the leftover boxes that some of the large ones came in. I actually had all of the boxes from all of my ornaments (even the ones that are 4 years old). I decided to chuck them all this year because they take up way too much space.

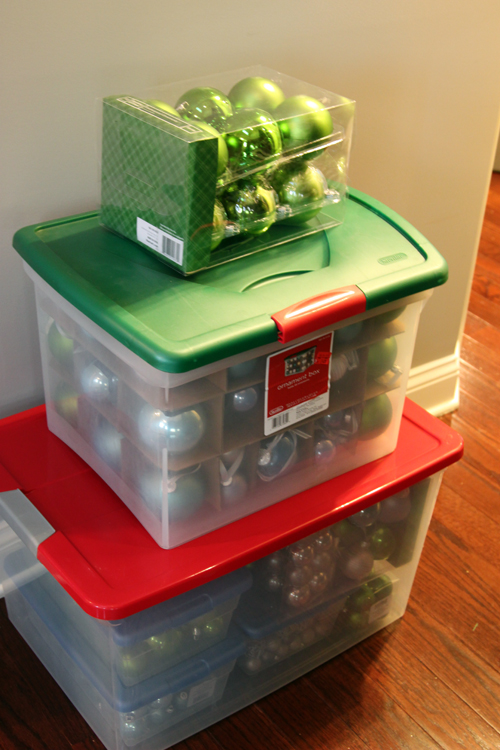
I packed my vase filler boxes, as well as my remaining tree boxes into a larger storage box and it was near perfect, until I remembered I had an unopened box of large green ornaments.

See that box of green ornaments messing with my plan? Whaaamp whaaamp. Of course it would have been too perfect to fit all of the ornaments in two neat boxes. The solution?

Um yeah, there was no solution. It’s called, I’m going to Disney tomorrow and I could care less if my ornaments are perfectly packed this year. I’m just happy I got it done πŸ™‚ I ended up sticking that last box in a storage tote with some mantel things. The tree is naked, but still standing. We’ll probably take that apart as well as bring all of this stuff down to the basement when we get back.

Despite the fact that my flight leaves at 7am tomorrow, I’m not planning on taking a blogging break. I will be bringing my laptop and hope to tell you about my favorites in the new West Elm catalog I received yesterday, as well as about my first time ever at Disney. Cinderella’s castle is considered a house right? πŸ™‚

On to my packing!

  • StumbleUpon
  • del.icio.us
  • Twitter
  • Facebook
  • Google Bookmarks

New Year, New Projects

4 Comments

Posted by Rebecca, January 2nd, 2011

First off a little year-end blurb πŸ™‚

I’d like to thank all of you who have visited my little side project and sent me words of encouragement- whether through email, snail mail (thank you Laura :)) or in person. I really lacked the confidence to get this thing going in the beginning (if you look at the archives, I half started this in February!), but because of the kind words from people I haven’t talked to in years, people I’ve never met, or people who want me to help them with their homes, I feel so loved and encouraged to continue this. I LOVE doing this and it’s so rewarding to hear that so many of you enjoy it too. So thank you all, from the bottom of my heart, for helping me to keep this bloggy up. On to a new year of blogging!
Though we still have many, many unfinished projects hanging around from 2010, we’ve already begun planning some new projects for 2011. We often say that we have house A.D.H.D., we bounce from room to room, never really finishing things. Oh you’ve noticed? Well this is sort of intentional because it keeps us interested, gives us time to think and re-think of things we’d like to do and be really proud of our finished product.

So what’s new around here? Well first off, we received the Delta Pilar Touch 2O Single Handle Pull-Down Kitchen Faucet we were eyeing on our Dear Santa list!
It was a generous gift from Mike’s parents and we are very excited to put the final piece of our kitchen puzzle together!Β I am planning on recreating the commercial once it’s installed….

While we’re on the topic of Christmas gifts, my parents bought us a Cutting Edge Stencil. I had been eyeing up the Casablanca Allover Stencil for months and decided it would be a good gift to ask for. Since I love meticulous, detailed jobs, I am going to do something like this in our master bedroom…

Okay, I am beyond excited to do this. Though Mike has already warned me that though he is fully confident in my abilities, this project is outside of his skill set. He always manages to roll paint in his hair, never mind successfully applying a stencil….

Yesterday, we hit up Ikea and found another missing puzzle piece- extra long teal-ish curtain panels. These are something I’ve been thinking of for our family room for quite some time. Once we added our white roman shades, we knew we needed a little something extra there. Cue the Merete dark blue panels!

They are nearly identical to the color of my coffee filter wreath ribbon and they will add just the right amount of boldness and fun that we’ve wanted in the family room since we moved in.

Soon I will have the Hawaii inspired color scheme I’ve been dreaming of in the family room.

As excited as I am to do all of these things ASAP, we’re laying low this week, putting away some Christmas decorations, oh and HEADING TO DISNEY ON WEDNESDAY! Woooo πŸ™‚

Anyone else scheming up 2011 projects already?

  • StumbleUpon
  • del.icio.us
  • Twitter
  • Facebook
  • Google Bookmarks

the walk-in closet reveal

11 Comments

Posted by Rebecca, December 30th, 2010

This is part of our house that you’ve never seen, that I’ve been wanting to share since I started this blog. Just finding the precious daylight time to photograph it was hard, but I have short work days at work this week and no school, so I finally got a chance to spend some time in there!

Our walk-in closet was the very first project we tackled here since I knew the 10 feet of wire rack the builder provided wasn’t going to cut it for me. Β I needed some sense of organization in the house in order to be able to live with the constant chaos in other areas.

I like to be able to get fully dressed in the closet and not have to run and get things from dressers and whatnot, so I knew I needed at least 3 drawers for socks, underwear and tank tops, an area for folded tees, an area for hoodies/sweats, an area for jeans, some long hanging space for dresses, etc and an easily accessible area for my perfume, deodorant headbands and other accessories. Oh and some hanging space for my extensive scarf collection πŸ™‚

Mike was okay with just buying some wire racks for his side and that is what we did in our condo. My side had some cheap Closet Maid stuff that eventually fell apart and he dealt with the wire shelving. So I was insistent on doing it right this time, and doing it right away. I didn’t want to start with a messy closet and have it be something I’d have to tear apart to organize months down the line.

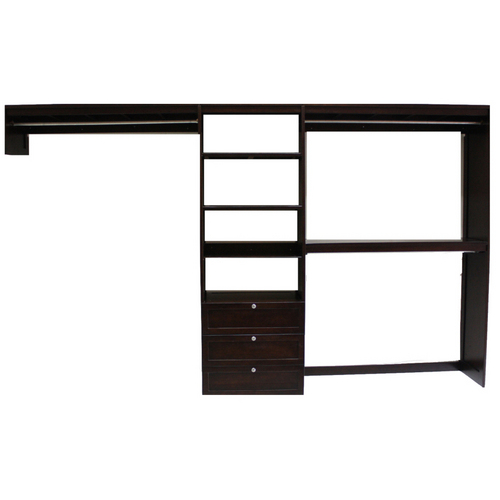
I knew California Closets was very expensive, so we went to Lowe’s and really got lucky. We were able to get this Allen + Roth closet organizer, which had everything I needed.

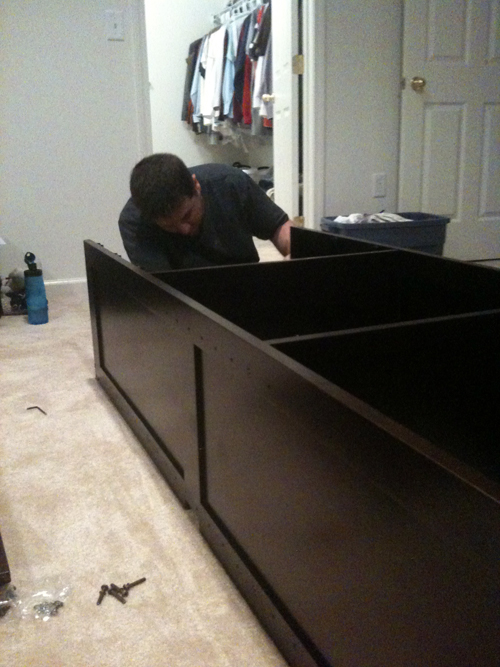
Once we saw this, Mike was convinced that a closet makeover was a good idea. It is solid wood, the same length as our closet, a nice dark stain and had the perfect combination of hanging/open/closed storage. So we picked up two of these back in the spring. We had a rent a truck, pull some muscles, borrow Mike’s brother to get them off the truck, then open the boxes in the garage and take the pieces upstairs one by one because holy hell, solid wood is heavy.

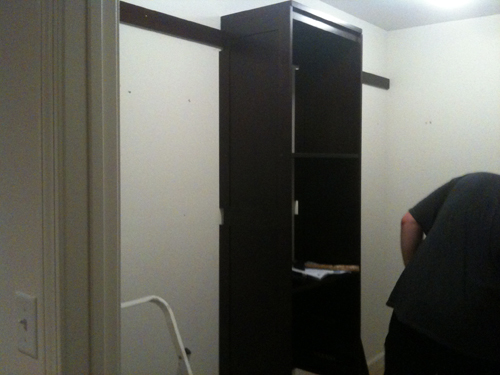
Mike started with my side and I used one of the spare bedrooms as a closet while he worked on it. Please excuse the in-progress iPhone pictures, I wasn’t really updating this website at the time, nor had I really told anyone about it yet (okay I still haven’t really told anyone about this, I just wait for people to find it :))

Turns out our floor plan wasn’t exactly accurate and our closet was a little shorter than 10 feet long. No problem though, since the organizer was solid wood and we were able to cut it down. But we had literally just moved in, never even used a saw before and had zero confidence. Mike managed to cut down the wood pieces, using our circular saw on the garage floor since we had no work table to put it on, but we didn’t have anything to cut the pipe piece. So the closet project went on hold for a week or so while we borrowed the right tools. Finally we were able to assemble my side.

After a little experience/confidence, Mike’s side seriously took him like an hour.

We had both sides up and were really impressed with how it looked. But we realized it would have looked REALLY great had we painted. So we looked at each other, it was about 7pm on a Saturday, and we ran to Lowe’s for a gallon of paint. It was so spur of the moment that I don’t even remember the color. We fully painted it that night, kicking ourselves that we didn’t paint BEFORE we put it up and instead had to navigate in between all of the openings.

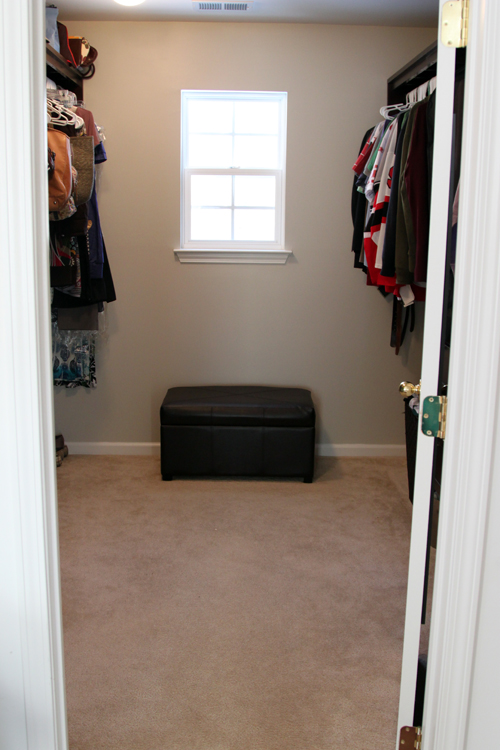
So without further adieu, here’s our DIY walk-in closet πŸ™‚

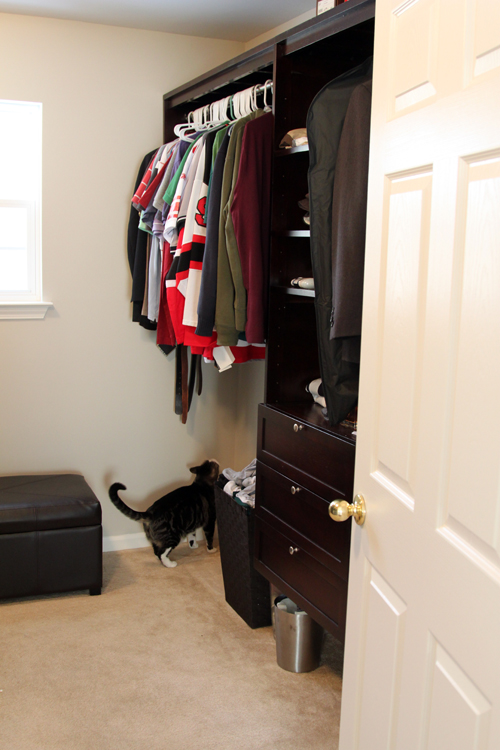
View from the door, still need a window treatment!

My side, obviously Macky isn’t normally allowed in here since he looks like he’s never seen it before…

Mike’s side, he has less shoes so his side gets the laundry basket and the garbage can.

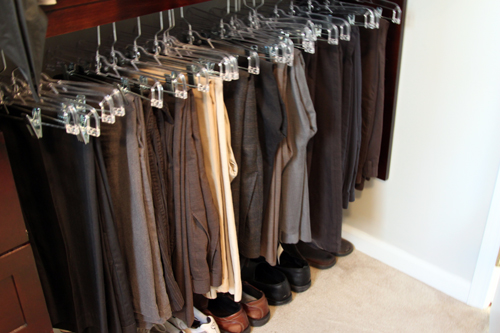
The best part of Mike’s side, his impressive collection of pants that look like a display at Banana Republic (and I know, because I used to work there :))

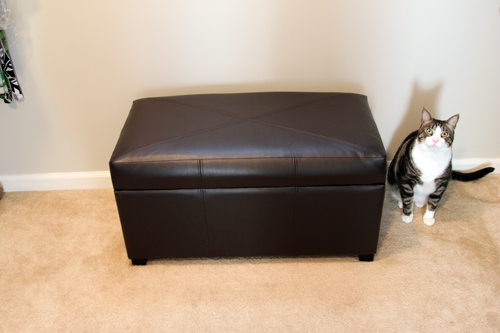
Macky modeling our Target storage ottoman that is home to my flip flops in the summer and serves as a place to sit and put on my boots in the winter.

Closer view of my side, we keep a Shark stick vac in the closet and I forgot to move it out of the way. So please ignore the funny purple handle that photo bombed this.

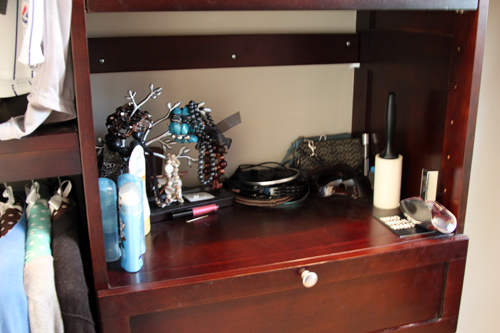
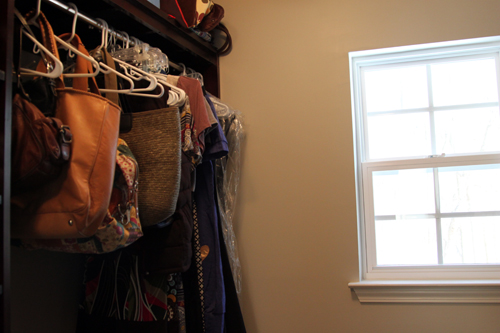
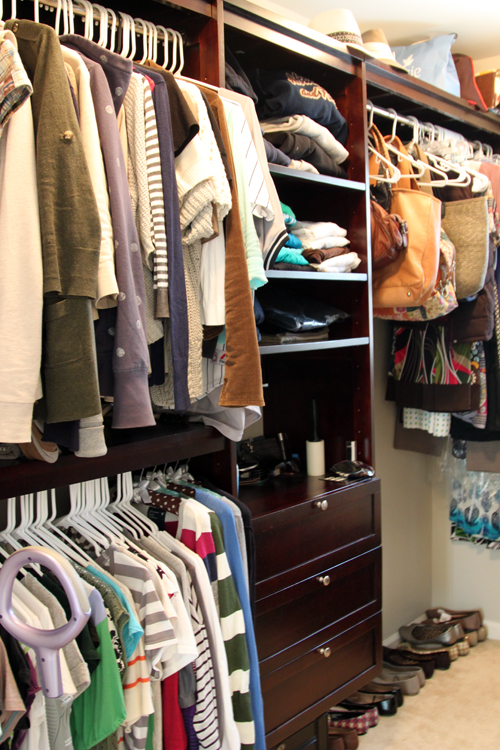
My little accessories area which is currently home to my Target jewelry tree full of my chunky bracelets that don’t fit in my jewelry box, headbands, wristlets, sunglasses, lint roller (essential for a pet owner!), perfume, deodorant and sunblock (essential for the palest person in America). I am planning on revamping this area soon with some hooks and lighting so it’s a little more organized.

The naked window, which has such a pretty view of the backyard. Thankfully the window is small, high and faces the woods!

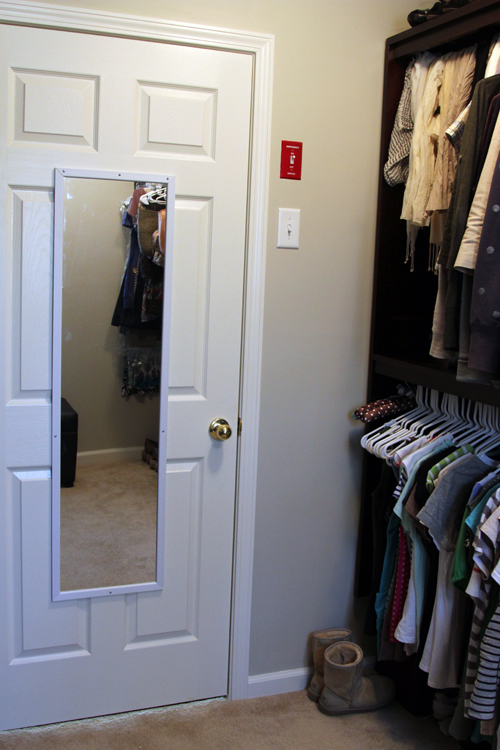
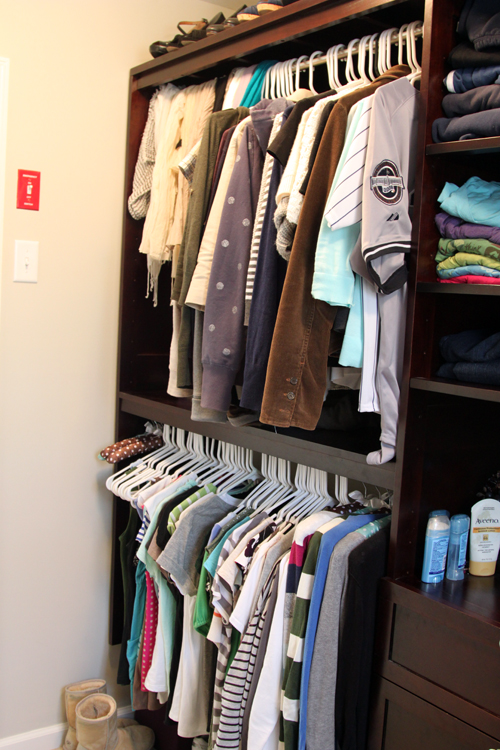
The side of my closet that is home to my scarves, cardigans/other button ups on top and shirts on the bottom.

We stuck a cheap mirror on the back of the door, which was an absolute necessity!

Here’s the view of our bedroom from the closet. The funniest part of showing people our bedroom is that our walk-in closet is painted, but our actual bedroom isn’t. Baby steps!

We’re very happy with how our closet turned out. I am almost disappointed that it doesn’t look as good in pictures as it does in person! It appears cluttered in these pictures when in reality, there’s so much space and I still have my summer clothes in there!

  • StumbleUpon
  • del.icio.us
  • Twitter
  • Facebook
  • Google Bookmarks

lasagna and paint

11 Comments

Posted by Rebecca, December 29th, 2010

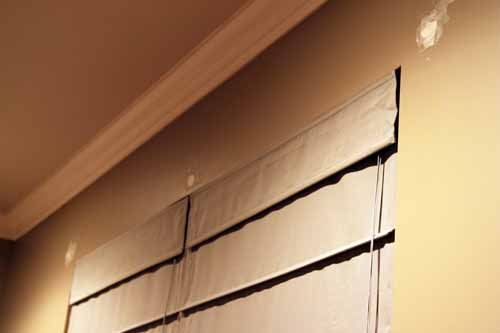
On Christmas Eve, we painted some random spots we had that needed touching up. I mentioned the holes from our curtain rod in my Christmas To-Do List post.

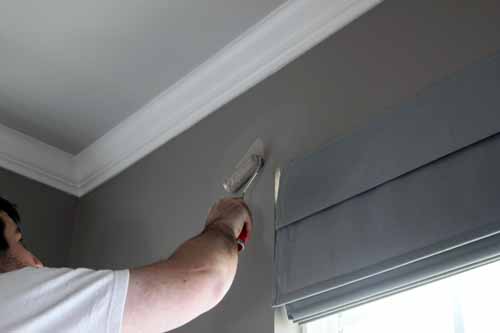
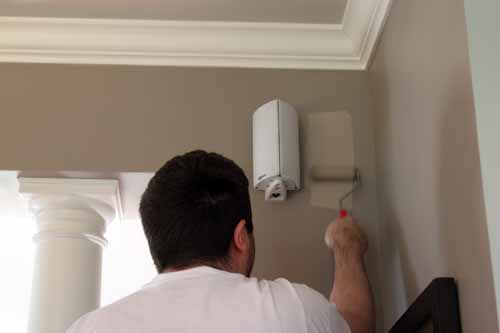
When Mike installed our new speakers (which he still needs to post about!), we got a new drill hole in our dining room wall. So we decided to finally break out the can of Benjamin Moore’s Waynesboro Taupe.

What a difference with some daylight, huh? πŸ™‚

Then into the dining room…

Thankfully, the touch up spots were flawless.

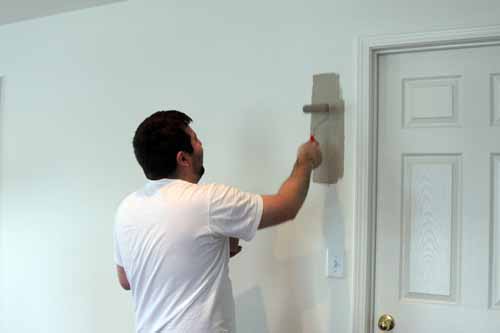
Since I love this paint color and it’s one of the few true taupe colors I’ve found, I decided to try a swatch for our bedroom. While Mike had roller in hand, I asked him to put a tiny bit on one of our bedroom walls. Then he did this…

He is laughing hysterically at me in this picture because after he rolled past the 2 inch mark I was like Wooooah! Hey! What the heck are you doing?!? I said a swatch!!! Apparently he has no clue what that means. Sort of like how I’ve been telling him since we moved to bend at the knees (we ended up in the emergency room with a pulled out back earlier this year) and just a few weeks ago he told me he had no clue what that meant. Oy!

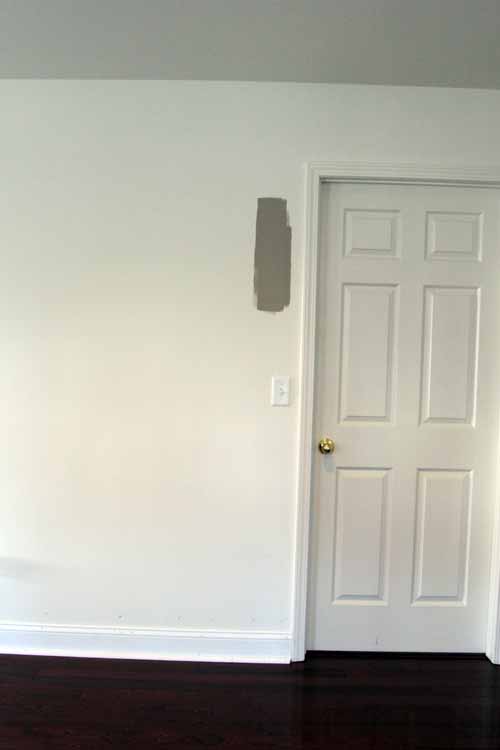
So I currently have this on my wall…

And it’s definitely too dark. We actually have the lighter, neighboring shade from the color swatch (Himalayan Trek) in our entry way and upstairs hallway and it is way more gray than taupe. Anyone know a good light taupe color that’s not too gray and not too beige? We have a possible contender just beyond that door in the walk-in closet, which I am planning on finally sharing with you tomorrow!

Oh and this title? We painted and then made lasagna. True story. We’re trying to diversify our skills πŸ™‚

  • StumbleUpon
  • del.icio.us
  • Twitter
  • Facebook
  • Google Bookmarks

the first blizzard

4 Comments

Posted by Rebecca, December 28th, 2010

On Sunday, we were hit with our first major snowstorm since moving in. Thankfully, Mike’s grandfather bought us a snowblower just the week before, amid rumors of a storm around the 21st. That storm never came, but thankfully we were prepared when we were hit!

Yesterday we went outside to assess the damage. Wait… let me rephrase that… Mike went outside to assess the damage and I watched from the window. I planned on going outside to take some pictures and make a snowman, but MY GOD IT WAS FREEZING. Β And ridiculously windy. There was no nice, sunny, day after storm weather. And it was my birthday, so I didn’t feel guilty sitting in the house while Mike used the snowblower. I mean, it’s not like we had to shovel this year, right? So in order to have some documentation of the storm to show you, I took this video of Mike snowblowing the driveway, with my iPhone, from the comforts of our bedroom…

Then I realized this was kind of mean. So I marched outside in my rubber boots and brought Mike some water.

I also took some pictures. It is ridiculously hard to take pictures when a) your hood is covering your face b) your hands are numb because you can’t use the camera with the mitten top covering your fingerless gloves and c) the snow is so bright and you’re too cold to play with camera settings.

See how deep that is?!

It was so windy that the covers blew off of our wood piles…

And there were these funny snow drift spots everywhere…

I think it’s safe to say that my mums are officially dead…

Hey there’s Mike again!

Thanks to the plows, we have to climb a mini-mountain to get the mail out of our box…

Though it still took Mike quite a while to do all of the sidewalks and the driveway, it was no where near as awful as it would have been had we not had the snowblower. Yesterday Mike rescued our next door neighbors, who were shoveling out their driveway with garden shovels. Then tonight, we came home to see our neighbors across the street (who we’ve never met) returning from spending the holidays in Canada and being unable to even find their driveway. We offered the snowblower, but apparently we were just a little too late, they had managed to shovel just enough to get their car in.

So even though we thought we were a little late with the snow preparation, apparently we were in the best shape out of all of our neighbors. Once again, THANK GOD.

  • StumbleUpon
  • del.icio.us
  • Twitter
  • Facebook
  • Google Bookmarks
Copyright 2010 - 2011. The Lil House That Could. All rights reserved.