House’s first Christmas tree

10 Comments

Posted by Rebecca, December 20th, 2010

Yesterday we finally assembled our first fake tree, our house’s first tree and our first tree as a married couple.  We decided to get a 9 foot tree and put it in our entryway.  I had my fears but so far, everything has worked out beyond wonderfully.

Once again, I’ll try to let the pictures (and Macky) tell the story of our new tree 🙂

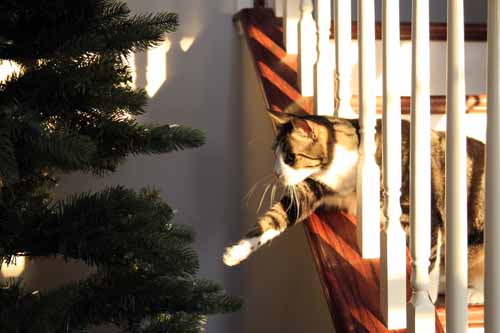
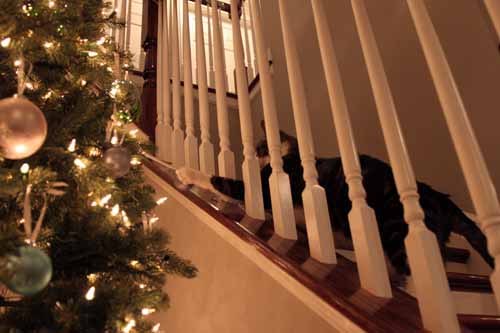
The first smack

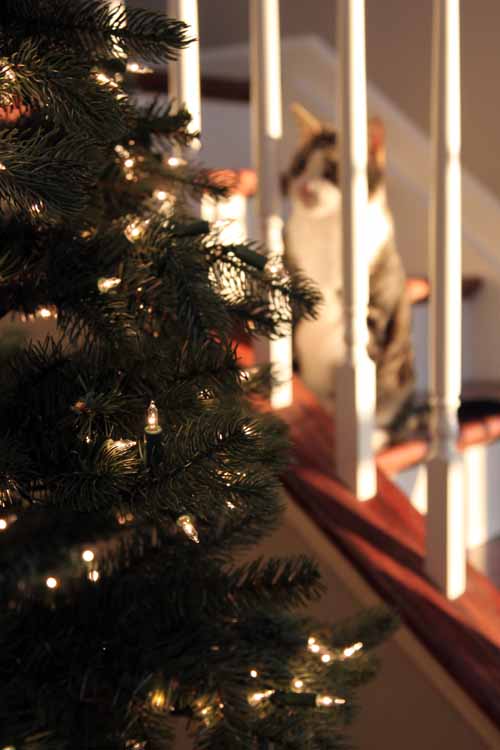
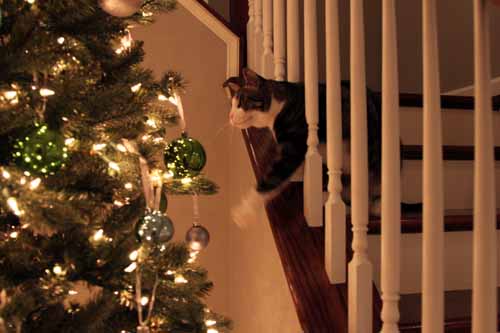
“OooH pretty lights!”

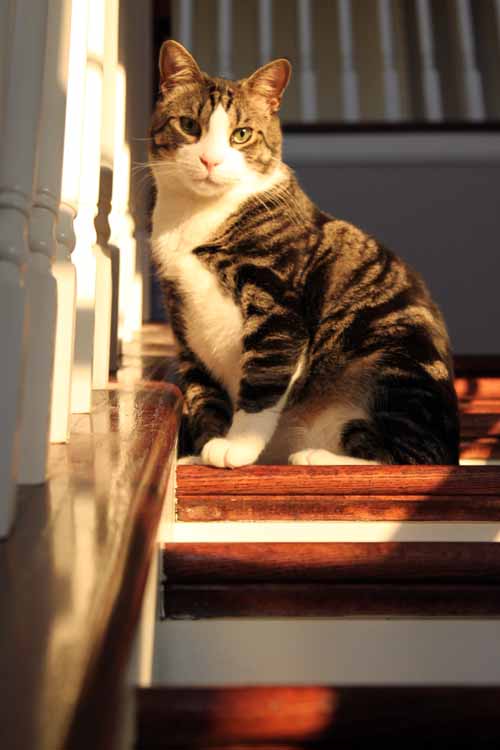
How gorgeous is he??

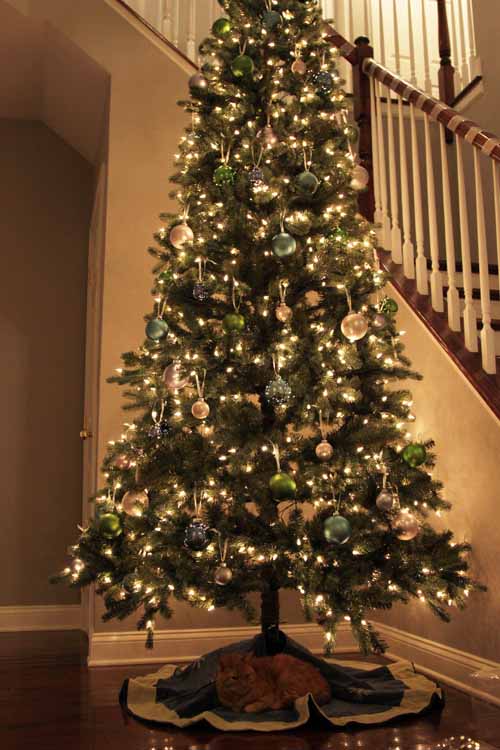
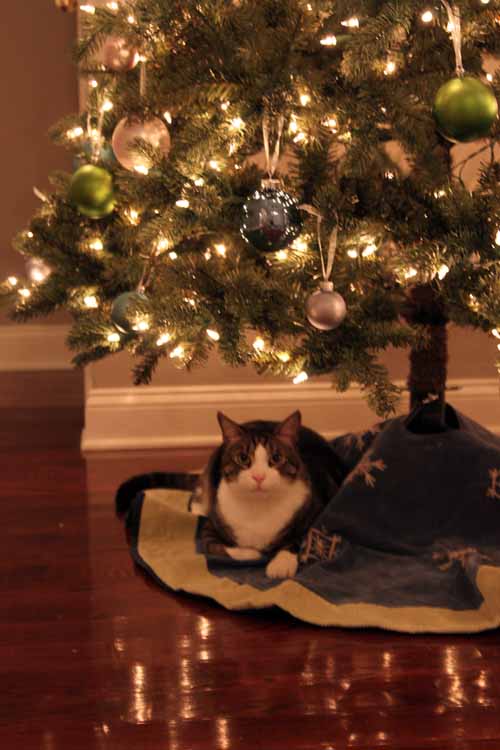
Not even decorated and already a preferred nap spot. +1 for fake tree!

My 4 year old beloved Target ornaments…

…Mixed with new Walmart aqua & green ornaments= new color scheme

Darwin modeling the tree while it’s in progress

Macky’s turn

Ornament tying assistant

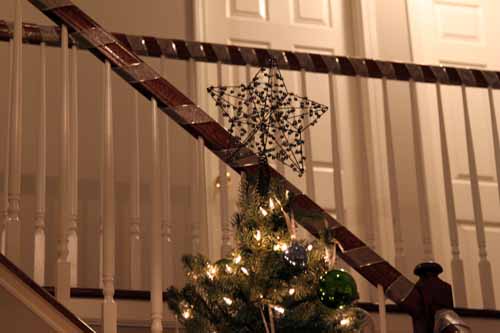
My old tree topper, which is secured with a stick and a rubberband, since apparently fake trees have flimsy tops. -1 for fake tree!

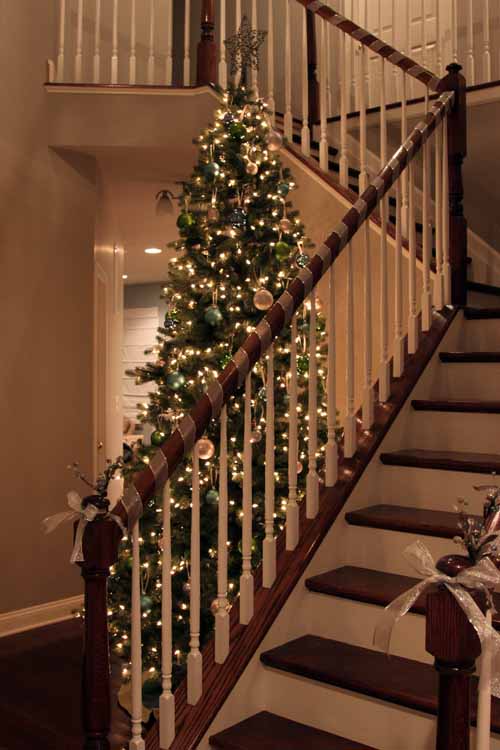
Tada! I couldn’t fit the whole tree in a picture without opening the front door. It was cold.

A little staircase decoration

Simple, but I like it

View from the formal living room

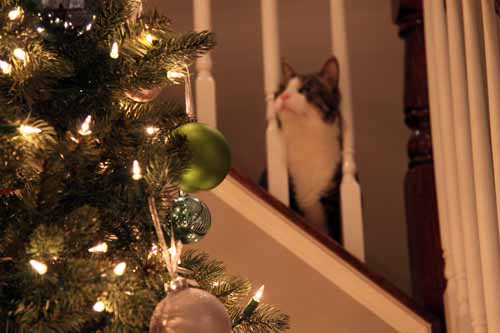
View from above

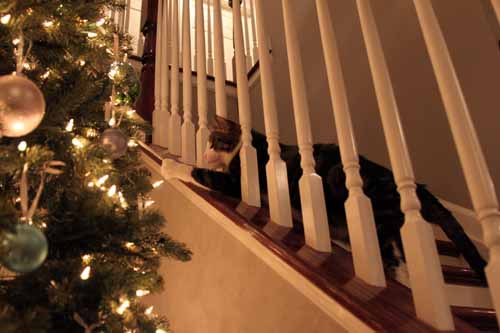
View from below!

Tug of war

The tree won despite the fact that Macky’s nail got stuck in the ornament.  Says a lot for how I curled up each branch tip so the ornament wouldn’t come off!

Trying again.

Trying a new angle

Admiring momma’s hard work?

Surrendering.  For now.

I think I ended up putting nearly 200 ornaments on this big guy. I would have liked a wooden garland, since I love the star one I used on my fireplace. But since we decided to go with a large tree just this week, I couldn’t find any on the fly. I would love some dark wooden beads to make it a little more rustic.  For now, it’s simple, as my trees normally are, and we love it.  Cats included 🙂

Some tips for having a tree with cats around:

1. Make sure your tree is sturdy. We did a shake test before buying ours and the base may actually be heavier than that of a real tree.  Because of that, we didn’t feel like we had to tie it to the railing like we originally mentioned doing. We did put a rubber, no-slip mat under the base because we thought a towel would make the tree slide if they played under it.

2. Don’t buy an expensive tree skirt. I actually don’t like mine very much, but the cats think it’s a blanket. Anything you don’t want anyone sleeping on? Don’t buy it.

3. Watch out for dangers for little paws. I use the ornament ties instead of hooks and shatterproof ornaments.  I actually would have liked plastic ornaments just to be safe.  I want to make sure I don’t get any cut paws around here!

4. Don’t hang ornaments too low.  I’ve said this before and people automatically assume I have a half naked tree.  Scroll up for clarification. I don’t put any ornaments below the line of the first branches.  This is so that when the cats walk under it, they’re not walking into dangley things that they are going to be tempted to smack.

5. Secure your ornaments! This is perhaps the most important. With our real trees, I used to push the ornaments a few inches back on the branches, so they weren’t easily knocked off.  This year with our fake tree, the branches are bendable so after I put an ornament on, I curled up the tip of the branch so that the ornament couldn’t slide off.  This is why Macky couldn’t pull of that one ornament in the above picture 🙂

6. Use common sense.  This is like baby proofing. A tree that tips when something small walks into it? Bad.  Sharp objects? Bad. Tinsel? Bad on so many levels.

And see that? I think you can have a beautiful tree while having animals around. I followed all of my own rules and my tree doesn’t look so awful now does it? 😉

ps- if you have a real tree, make sure the kitties can’t drink the water or you don’t use any chemicals in the water if they can access it!

  • StumbleUpon
  • del.icio.us
  • Twitter
  • Facebook
  • Google Bookmarks

the Christmas mantel

9 Comments

Posted by Rebecca, December 20th, 2010

We did most of our Christmas decorating today (Sunday, I know it’s after midnight so it’s technically Monday). But better late than never, right? On all accounts. So most of my posts this week will be Christmas related, which is quite appropriate, given that Christmas is indeed this week. I’m a blogging rebel 🙂

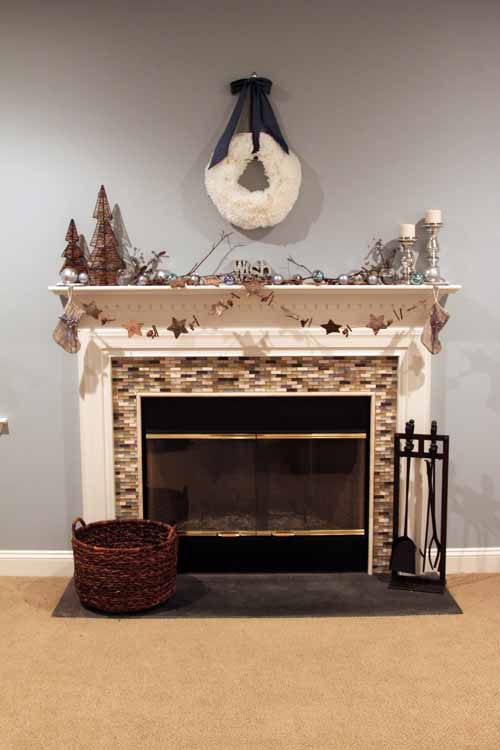
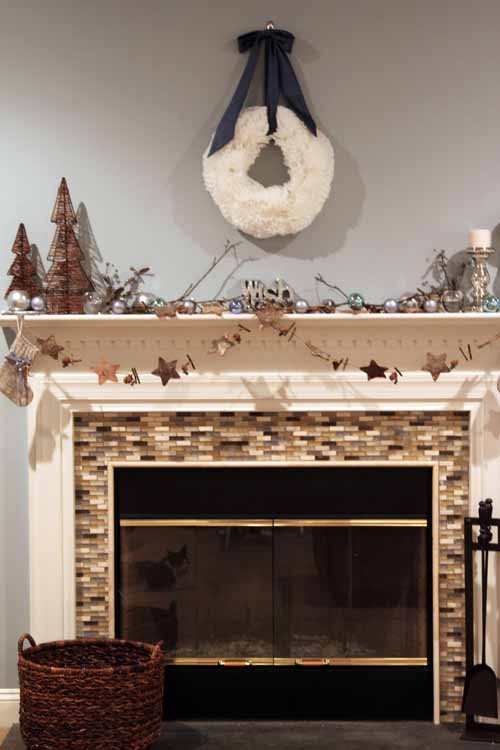
I put this mantel together about an hour ago.  I’ll let the pictures do most of the talking.

You see what I did there?? I moved my coffee filter wreath from the dining room to over the fireplace using my handy dandy command hook.  We planned on hanging some frames over the fireplace by Christmas but yeah, that didn’t happen.  So I whipped up this solution and I actually like the wreath better here!

Some detail shots…

Yeah, I hot glued that star to the center of the mantel.  Mike told me to do it…no really, he did.

I was going to post a list of where everything is from, when I realized that the majority of things here are from Target.  And very few things here are new.

From Target:

Stockings

Initial pins on stockings

Stocking holders

Twine trees (which I totally could have made with a hanger and some twine)

All but 2 ornaments

Star garland

Silver candle holders

The fancy glittery twig things (I think they’re technically tree picks)

The only things on that list that were purchased this year were the trees and the candle holders.  Everything else is possibly 4 years old… including the garland.  I put it on the mantel because I didn’t have enough for our new 9 foot tree 🙁

Also included on the mantle are:

Sticks from my backyard

A “wish” sign from Kohl’s about 3 years ago

Silver ornament candles from Ikea

Round glass candle holders from the Crate and Barrel outlet

2 ornaments from Walmart

This was my first time putting together a mantel quite like this, since our tv used to be over our fireplace in our old place and I generally just stuck the round ornament candles under it.  But this was a lot of fun and I liked pulling things from around the house to make it complete.  And I got to use a lot of my old decorations that I couldn’t use on my giant tree this year 🙂

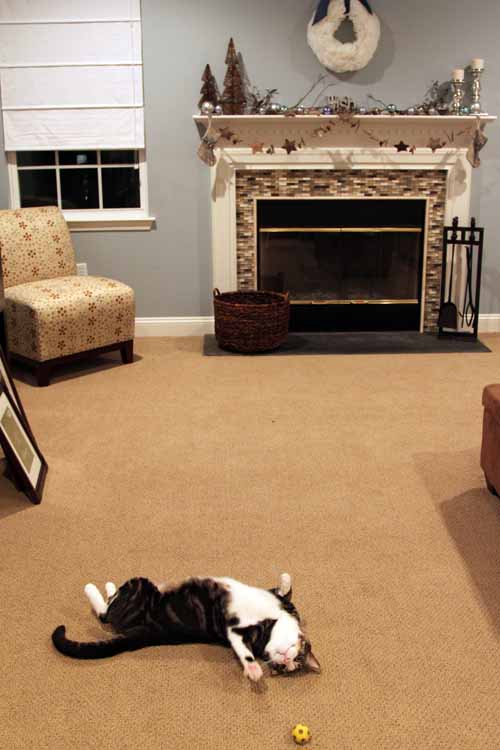
Oh and incase you were wondering what Macky was doing as I put this together…

He had a rough weekend, he had a seizure last night.  So you’ll be seeing a lot of pictures of him the next few days since I am being a completely overbearing momma and just looking at him makes me emotional. Plus he’s super cute when he’s mushy.

Just wait until you see him with the tree…:)

  • StumbleUpon
  • del.icio.us
  • Twitter
  • Facebook
  • Google Bookmarks

Flashback Friday

2 Comments

Posted by Rebecca, December 17th, 2010

Okay so I stole my title from The Candace, but I love looking forward to her little throwbacks every Friday and figured I’d spread the love.  I’ve been meaning to post this video from right before they poured our foundation. It was October 4, 2009 to be exact, 6 days before our wedding 🙂

I want to do an updated version of this video when it’s warm and the landscaping is green again.  It’s amazing what a difference a year makes.  Our street is completely finished, landscaped, has lamp posts and is about to be paved for the last time.  Crazy huh?

  • StumbleUpon
  • del.icio.us
  • Twitter
  • Facebook
  • Google Bookmarks

that whole house audio thing

9 Comments

Posted by Michael, December 16th, 2010

Multi-zone and multi-source audio for the house.  Sounds pretty sweet, eh?  I’ve been wanting to do this since we first purchased our home.  It was just too expensive to go through the builder.  And even if we had the cash to do it, they didn’t exactly offer what I had in mind.  I wanted functionality with components Rebecca and I were already comfortable with (read: iTunes and Apple products).  Builder wasn’t offering such capabilities.

I also thought about doing a ton of pre-wiring throughout the house while it was being built.  I figured this might be a good idea.  But much like everything else, even this was insanely expensive.  They wanted $125 to run one network cable from the basement to the master bedroom.  If you don’t know about network cable, it’s relatively cheap so this was pure profit for them – something I just couldn’t stomach. 

So where does this leave us?  Right now, I have an Apple TV powering our “entertainment center” in the family room.  The Apple TV allows us to manage our music on a remote computer and stream it to the family room.  The thought here is to expand this streaming capability throughout our house.    Music in the formal living and dining rooms, music in the master bedroom and bathroom and music in the basement.  But here is the catch:  I want to be able to control each “zone” independently of one another.  That is, if Rebecca is in the bedroom and wants to listen to Jack Johnson at a very low volume, she can.  And at the same time if I’m downstairs in the family room, I can be rocking out to, and pretending to be, Justin Timberlake at a very high volume.

But how do you pull this off?  And how do you pull this off using Apple products?  Oh and how do you do this without going broke?  The answer is the a combination of some stereo equipment collecting dust, some speakers, the Apple Airport Express and the Apple TV.  Plus the iPad’s and or iPhone’s Remote app to control everything.

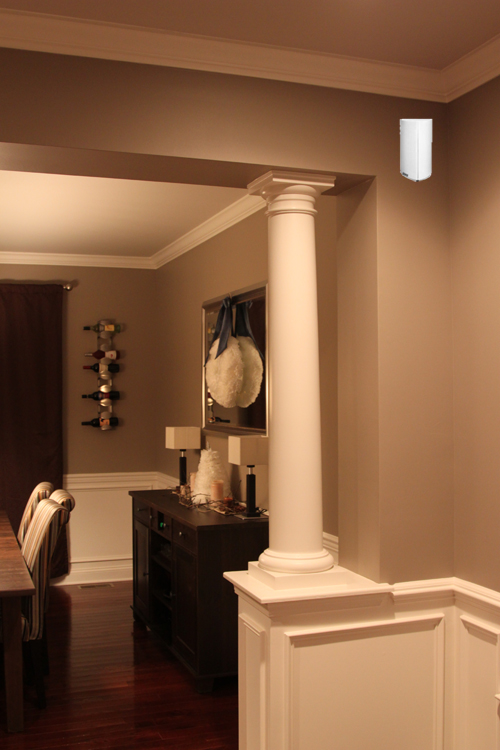
First mission?  Get speakers mounted in the living and dining rooms.   The speaker wires will be routed through the walls and into the basement.  The basement will hold all the wonderful stereo equipment.  I’ve used my elite Photoshop skills to show you what this might look like.  Displayed below is the living room looking into the dining room.  Between these rooms, we have columns (with just enough room inside for me to fish some wire without wanting to kill anyone).

On each side of these columns, we’ll have a speaker.   Once complete, we’ll have two zones — each zone will have two speakers.  For those out there who are interested, I went with Polk for the speakers.  I wanted something a bit more towards higher end, but these were ridiculously cheap on sale and solid white, so I could not pass on these (plus they’re refurbished so I saved even more money).

So there you go, the first mission.  Stay tuned.

  • StumbleUpon
  • del.icio.us
  • Twitter
  • Facebook
  • Google Bookmarks

coffee filter tree

7 Comments

Posted by Rebecca, December 15th, 2010

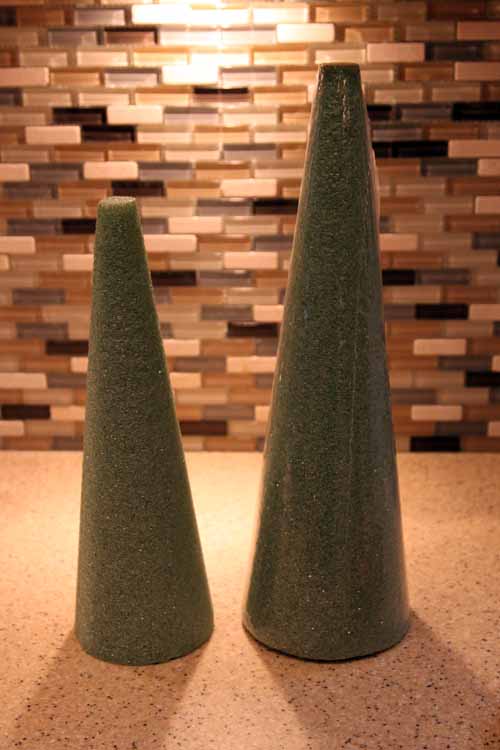
I mentioned in my coffee filter wreath post that I had also made a tree.  I picked up 4 of these foam cone forms from the craft store.

I first experimented with some fancy paper patterns, but they were far too time consuming.  In the end, I stuck with the same method as the wreath.

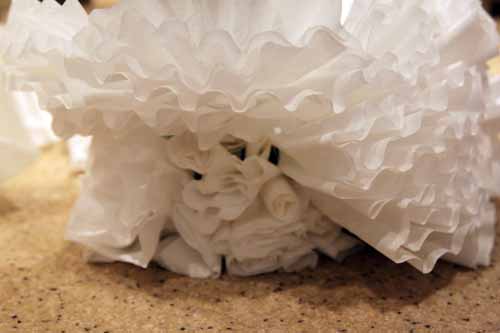
By the way, have you ever tried to remove something you’ve hot glued? My god those little rosette flowers I made were nearly impossible to rip off!

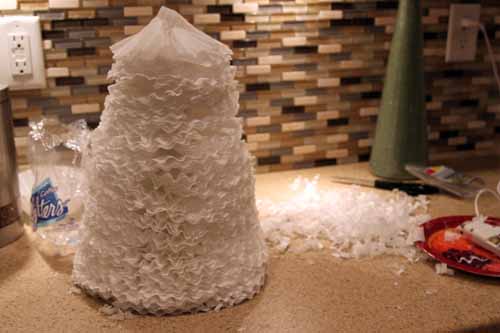
I just kept adding the filters until I ended up with this.

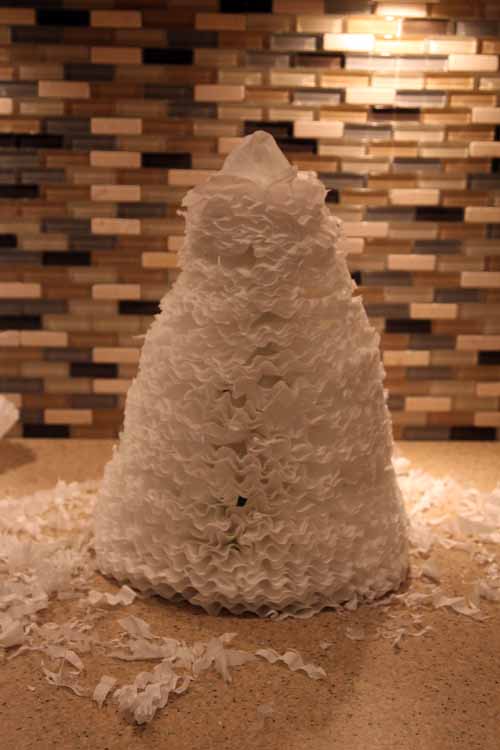
You can see the trimmings there in the back.  That was the first round of my scissor-handing.  This thing was so massive and ugly that I didn’t even think to take a picture of the before process.  I was just immediately thinking of how I could help this abominable snow/coffee filter tree.  Mike’s response? “What the heck happened at the top?” Well as you add the filters, suddenly you’re at the top, but the filters are still like 3 inches away from the point.  So you end up with flat top.  I knew this would happen because I had seen pictures of other coffee filter trees out there.  I guess I just thought it would be easier to trim down.  I did manage to do quite a bit of trimming.

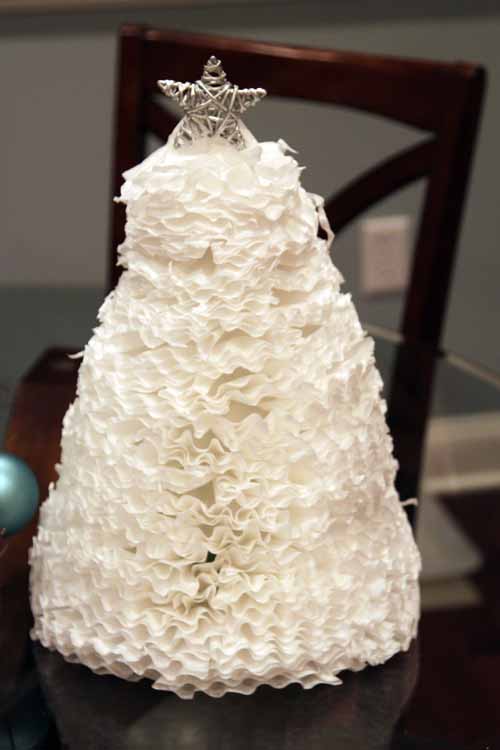
I also stuck a floral wire, which I shaped into a point into the top of the foam to add a couple more inches to work with.  Then I stuck a star I had hanging around on the top to hide the awkward lack of pointy top.

I totally didn’t realize there was a chunk missing on the right until I took these pictures.  Whoops! You can’t tell in person, I promise 🙂

With the star on top and after staring at it for a couple of days, I like it much more.  I may still add some ribbon to it.

It still has that full and fluffy texture that I love about the coffee filter wreath.

I don’t think this is going to cut it as our only tree though.

10 days until Christmas. I should probably put a full sized tree there.

Excuse me, I must now go and trim that lump out of my coffee filter tree.  Looking at these pictures is driving me crazy.  No wonder why Mike doesn’t let me trim his hair….

  • StumbleUpon
  • del.icio.us
  • Twitter
  • Facebook
  • Google Bookmarks
Copyright 2010 - 2011. The Lil House That Could. All rights reserved.