Posts Tagged ‘office’

Crowning the New Office

1 Comment

Posted by Rebecca, July 26th, 2012

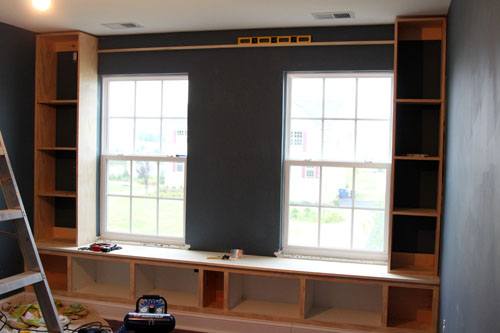
Yesterday, my mom came over to watch Easton so that I could help Mike install the crown molding in our new office. If you recall from our adventures in installing crown in the nursery, I figured out the angles while Mike provided the muscle. We figured this second installation would be cake, though we had to work around the new built-in bookcases.

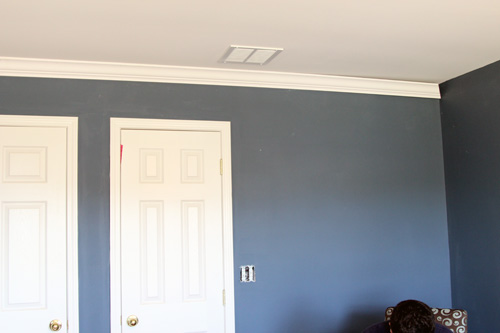
We picked up 12 foot pieces of molding so that we had less seams to caulk. We started simple with the 3 walls that didn’t have bookcases.

Seemed simple enough, though the wall was longer than 12 feet, so a seam was inevitable.

You can read all about the details of how we made our cuts in this previous post. Though we realized we must really be horrible at installing crown because it was impossible to match up the corners of these long 12 foot runs. The chances of our ceiling being level from end to end are slim to none. The pieces have some flexibility to them, but it’s still hard to get everything matched up to a point where gaps are caulkable. Therefore, we once again ended up breaking some of the longer pieces down to match up the corners perfectly. I think we’d rather build 5 more bookcases than have to install crown again, but at least this shorter wall was easier…

If you notice we didn’t nail the ends right away so that we could move the pieces to match the corners. We learned this trick the hard way last time 🙂

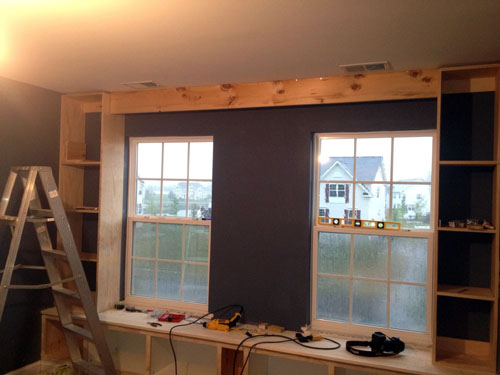
So that was the easy part, next was adding the crown to the top of the built-in. We thought it through a little (okay, not really too much) and decided to start with a straight run of molding across the top first.

When we did the paneled wall in the nursery, we topped it with a straight cut of crown and coped the side pieces into it. We thought we could go with the some method. We called it a quits since I had a baby to feed and we got all of the long pieces done. All that was left to do were these smaller pieces around the bookcases…

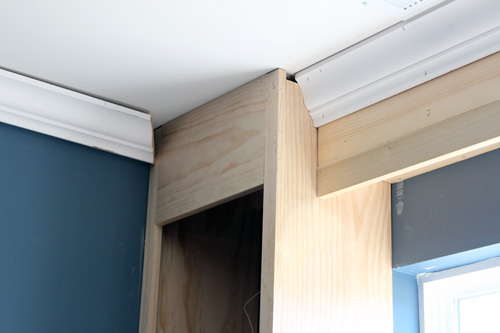
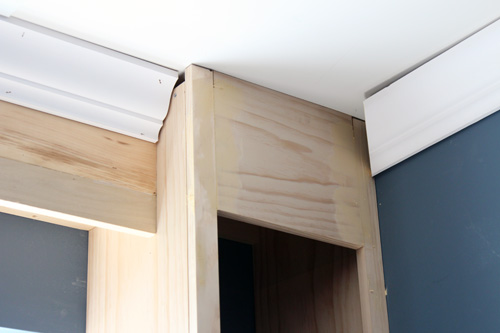
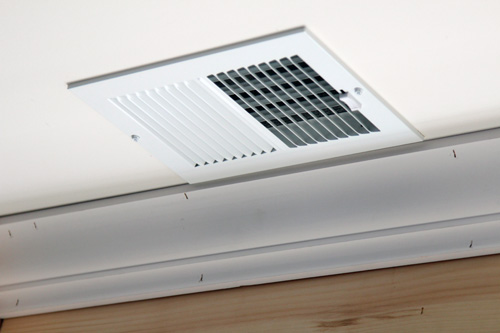
But yeah, that didn’t work. First, we need to put that top piece at more of an angle. We tried to install it so that we could avoid making cuts around 2 vents that are on the ceiling.

After that, we have to figure out how to make an inside corner and an outside corner in an incredibly small piece of molding. We’re not sure that coping was the right choice, since that piece is so small to begin with. Mike tried solving it for a bit today, but the little hamster that runs on the wheel in his head got tired and he came downstairs. I think I saw some smoke coming out of his ears from all of that thinking…

If we can ever figure this out, all we have to do then is caulk and paint the built-ins and trim! Then we will finally be able to start moving in to our new workspace… and Easton will have his playroom 🙂

Wish us luck for a speedy recovery solution!

Some Built-in Updates

4 Comments

Posted by Michael, July 19th, 2012

When I left you, I had just finished the base of our built-in’s for the new office.  The next step was to build up the sides and then finish up with the valance.  The sides weren’t too bad; mostly straight cuts, a couple nails and some glue.  I left off the back because we don’t have the right tools to make the exact cuts required.  We figured we’ll just prime the back and then paint it white to match the finished built-ins.  Not bad.

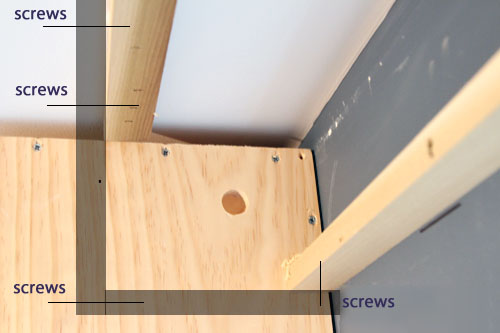
You can see in the pictures below, I put support braces at the tops and bottoms of each bookcase.  This was to ensure we could secure this thing into another stud besides through the sides.  I also used a boatload of liquid nails.  I’m pretty sure this thing is going nowhere.  I feel bad for the next homeowners should we decide to move and should they decide to take this thing down.  Oh man, they’re in for some fun.

Next up was beginning the support pieces for the valance.  This is where I became nervous.  I knew this would have to be able to support plenty of weight between the wood valance, molding and puck-lighting.  In addition to support, I knew this would need to be completely level.  But how do you get it completely level when your ceiling is about a half inch height difference from one end to another?  I’m not sure.  But it all worked out; one way or another.

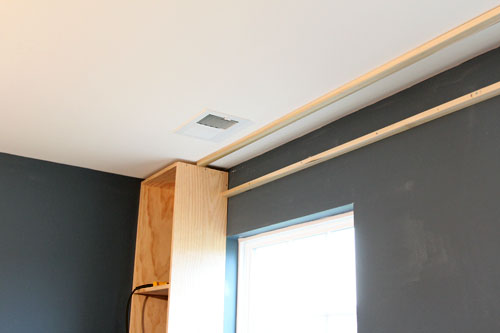
I supported the valance cleat to the wall by drilling screws through just about every stud between the two bookcases.  It also has support with lots of liquid nails.  I think I’m forming an obsession.  I also secured each end to the bookcases via screw.

I then began securing my second cleat to the ceiling.  Do you know how hard it is to find a stud in a ceiling?  I knocked and knocked on the ceiling for probably a half hour trying to find each stud.  The stud finder didn’t help, at all; probably because I’m a bit too awkward holding that thing up against the ceiling.  You’re probably wondering where I am going with these cleats and how it all ties into the valance, huh?  Here is the plan.

Each cleat will secure a portion of the weight from the valance face and bottom.  Then the valance face will secure into the bottom creating a nice clean edge.  Dear god I hope so. You’ll also see I drilled a hole for the puck lighting which will sit on the bottom of the valance bottom.

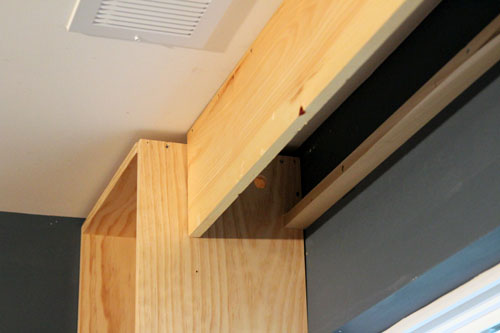
Here you see the valance face mounted via screws to the front valance cleat. It’s also secured with screws through the sides of the bookcases.  This thing is going nowhere. Don’t worry about those gaps you see between the ceiling and the bookcase; the crown will hide a lot of these imperfections.  Phew.

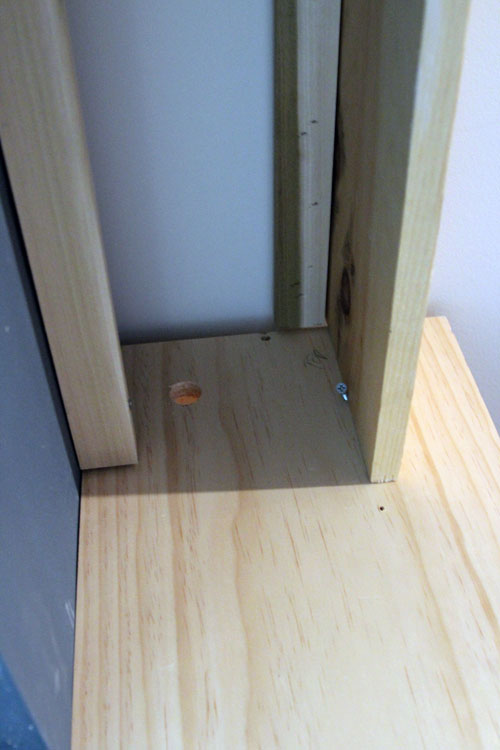
This is the view from “inside” the valance.  You’ll see I drilled a hole for the puck-lighting again.  See that random screw?  It was my clever way of making sure the valance face stayed level and straight while I was securing it to the cleats.  The valance bottom will fit snug behind the valance front and the rear cleat.

So what’s on the remaining to do?  A couple things actually.

  • Install puck-lighting to valance bottom.
  • Run wires to the left bookcase (where the outlet is).
  • Secure valance bottom to the rear cleat and valance face.
  • Install crown molding.
  • Caulk the heck out of this thing.
  • Prime the heck out of this thing.
  • Paint.

Stay tuned. 🙂

Rapid-I AM A DAMN GOOD-Roller

7 Comments

Posted by Michael, December 5th, 2011

A couple of weeks ago, Rebecca was contacted by a representative from Black & Decker who asked if we would like to try out one of their products. We decided to paint office 2.0 over the weekend using the RapidRoller they so kindly sent us. I have to be honest, when the RapidRoller arrived I wasn’t entirely excited to use it. Lets face it, painting is not fun — and painting with fancy products (especially consumer grade products) never works out for us. They’re often cheap and end up causing more work than what they were designed to do (yeah we had some bad experiences with gadgets when painting our stripes). So it’s safe to say I went into this thing just waiting for it to be an epic fail. I cannot believe I just said epic fail.

Setting up the roller consisted of maybe 3-4 easy steps. But the instructions confused me. Probably because I can’t follow directions and steps in numbered order. I’m special, I like to skip around. But when I stepped back and gave it some thought (actually read the directions in the order they suggest), I realized how truly easy it would be to set this bad boy up.
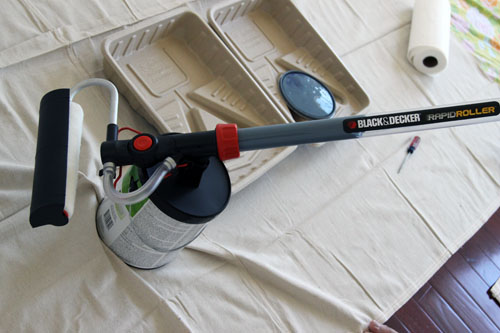
Then it came time to hook the roller up to the paint can and again, I must be honest – I was expecting for this thing to shoot paint all over me. But much to my surprise, the roller sucked a good amount of paint into its handle (see that blue stuff in there?!) and I was ready to paint.

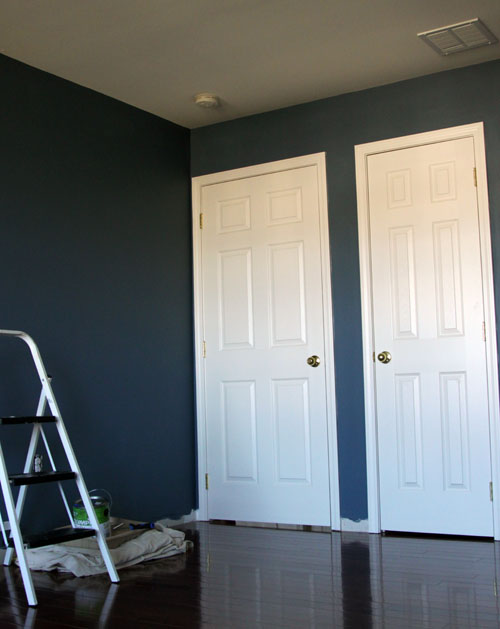
For paint, we went with our usual choice of Olympic no-VOC paint. The color we chose was called Denim, a dark navy blue with some gray undertones.
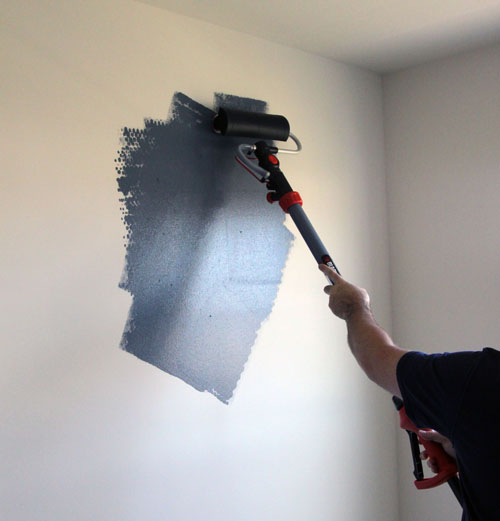
To draw paint from the handle to the roller, you press the trigger and you’re set. As you are rolling, you’ll notice the need for more paint. My instinct at first was to put the roller down and go into the tray for more. But with this tool, you just pull the trigger and more paint gets sent to the roller. Going back to when the box arrived, I was expecting paint to be all over the place when the trigger was pulled. Once again, the tool proved me wrong. No mess and a clean Mike. Shocking considering I usually have paint all over me when doing projects like this.

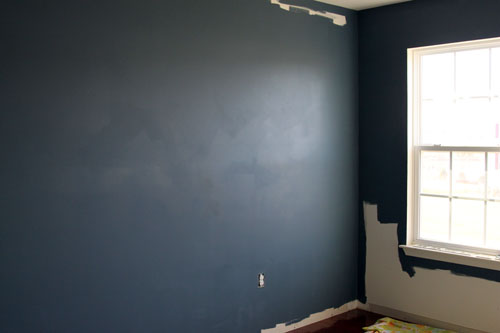
The paint went on quite nice with the roller, but I’ll still have to do some touch up work since we used such a dark color. I guess I can’t get off that easy when painting! The roller does have a spatter shield, which is nothing revolutionary but I never used one before. It worked like a charm and prevented quite a few drips and splatters.
So best thing ever? This thing has a kickstand. No more worrying about rollers falling over and sending paint everywhere while you take a break (or in my case, a slice of cold pizza). Why hasn’t the kickstand thing been done before?
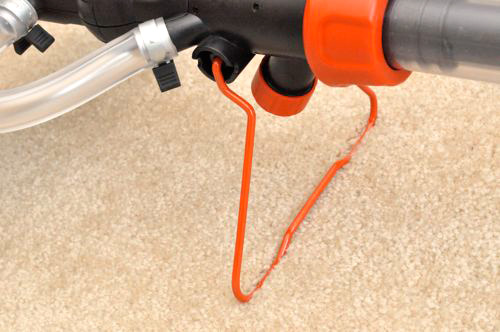
via One Project Closer because I forgot to take kickstand pictures.

Here is my only complaint. When the entire handle is filled with paint, it is incredibly heavy compared to a traditional roller (it sucks up about 1/4 of a gallon of paint at a time). But I get it; the RapidRoller gives you the added bonus of barely ever having to refill with paint (the paint is stored in the handle) but with a little more muscle on your part (to lift the handle filled with the paint). I don’t think the added weight is anything that will hinder your painting process, but you’ll feel it. Rebecca stuck to her usual edging process, but I don’t think she would have lasted long rolling. Then again she gets winded when walking up the stairs these days…

I can’t really comment on the pivoting head. I tried rotating the head when getting close to the ceiling, but it takes some adjustment to feel comfortable rolling horizontally. It seemed to have worked but I wanted to go the other way with it, like I was before and how I’m used to naturally rolling. And because I have the attention span of a 3 year old, I reverted back to the traditional approach almost immediately.

Clean up was alright. It’s an easy process, but you’ll be there for a solid twenty minutes. I was worried that if I didn’t clean this thing right, it wouldn’t work the next time around. So I patiently cleaned the roller. It all comes apart quite easily and it’s just a matter of soaking some things and rinsing others as the directions indicate.

In the end though, we painted the office probably an hour quicker than we normally would with traditional rollers and paint trays. But 20 of those minutes previously saved then goes to cleaning the tool after use (typically we buy disposable rollers and trays). I’d say we saved a solid 40 minutes using the tool, plus the time we would have spent cleaning up paint drips. Also, throw in the time I normally spend washing paint out of my hair and buying new t-shirts because I dripped on them. Maybe we’ll up the time saved back to an hour then! Not really a game changer when you’ve committed to painting a room, but lets face it, painting sucks and if something helps me save time when painting, I’m all for it.

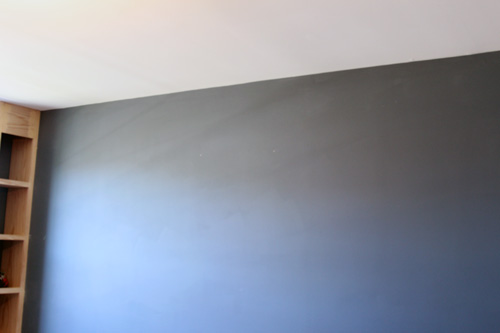
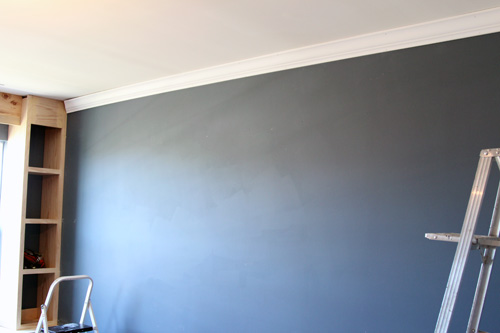
::drum roll:: Here’s our finished product, before some touch ups we have to do (some areas are a little streaky)…
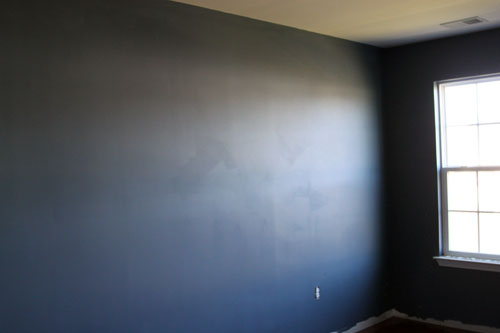
We’re very happy with the color and our process was made much easier by the fact that we didn’t have to paint around baseboards! We’re planning on adding taller baseboards in here to match the rest of the house (the builder gave us tiny ones in the spare bedrooms).
We’re thankful that the people at Black & Decker sent us the RapidRoller to give us the kick in the arse we needed to paint this room. And for the gadget that made this job less time consuming when we are so pressed for time this month!

If you are pressed for time like us but want to paint a room, you’re in luck! On Wednesday (after Rebecca finishes up her final presentation tomorrow night), we will be hosting a giveaway where one lucky reader will win a RapidRoller! Be sure to come back to enter  🙂

A Place to Rest My…

16 Comments

Posted by Rebecca, March 15th, 2011

I”ll just cut to the chase here, WE FINALLY HAVE OFFICE CHAIRS! Wooo!

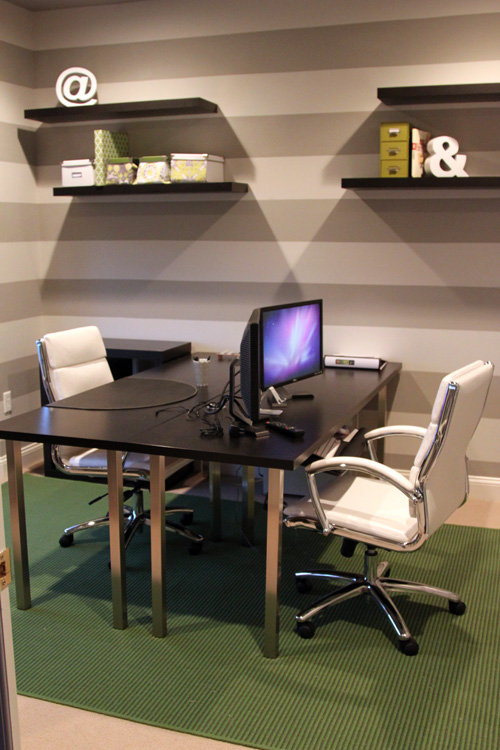
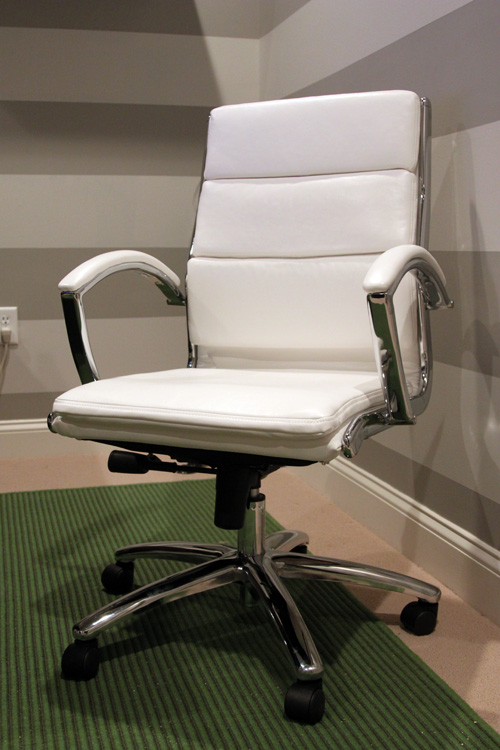
Incase you’re new around here, we spotted these white Belisse chairs at Staples back in November (they’re not available online). We fell in love with the idea of white chairs after spotting some at Crate and Barrel. However, they were $999. No, Macky didn’t step on the ‘9’ key there…

We’ve had parson style chairs that were rejects from our dining room in the office up until this point. I thought maybe I’d reupholster them, until we got backaches and had no where to rest our arms. We realized that we needed chairs meant for an office, as badly as I wanted some chic stylish ones. After a little searching for affordable white chairs, we ended up paying just $99 each for these beauties!

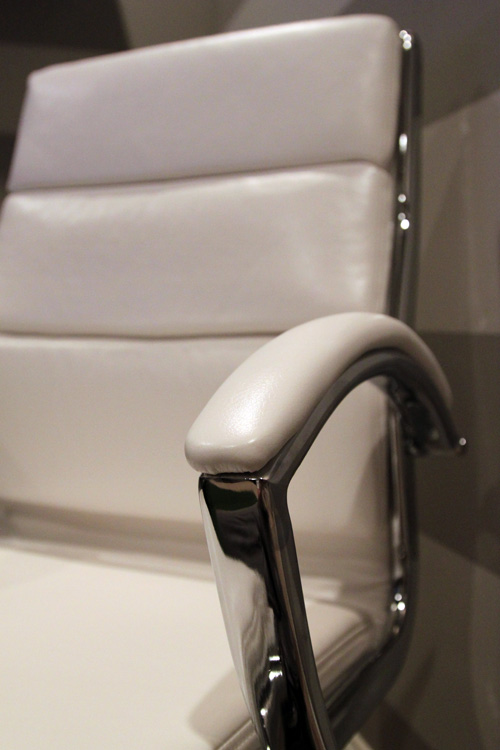
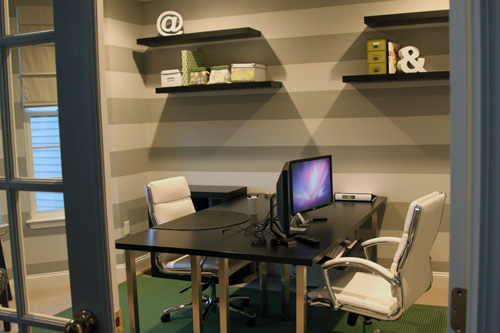
I love them. I love that they are a nice bright white, I love that all of the “hard” parts are a nice shiny chrome, I love the modern lines, I love the comfort. And mostly, I love that when you peek into the office from our french doors, you see something less expected. They’re still traditional enough in that they are office chairs, but they add that ounce of modern that makes it look like 20 somethings work in here. They have wheels and armrests, but they’re not the standard CEO-style chair.

I’m a little concerned about them getting dirty, but we’re usually in socks and pajama pants within 5 minutes of getting home, so I imagine some leather wipes will keep them tidy. Though they’re not real leather, so no cows were injured in the designing of this office 🙂

My second fabric sample should be arriving tomorrow. Once that decision is made, I can order fabric for curtains to bring some more white into the room. But for now, our white bookends have some crisp friends to keep them company.

Striped Walls

8 Comments

Posted by Rebecca, February 17th, 2011

I couldn’t think of a good title today.

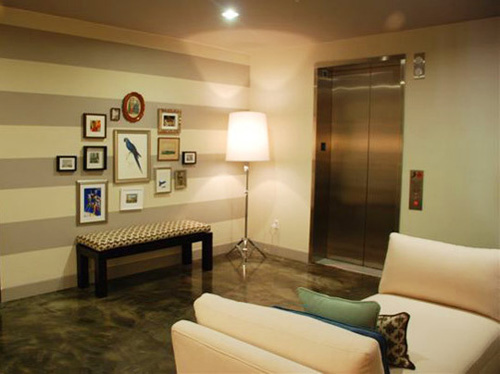
Since we moved in, I’ve had striped walls on my mind. Originally, I thought of doing a light tone on tone horizontal stripe in our bedroom. I’m not sure where I got this idea, since I had it in my head long before I discovered house blogs. Probably some show on HGTV! I was thinking something like this…

(via Apartment Therapy)

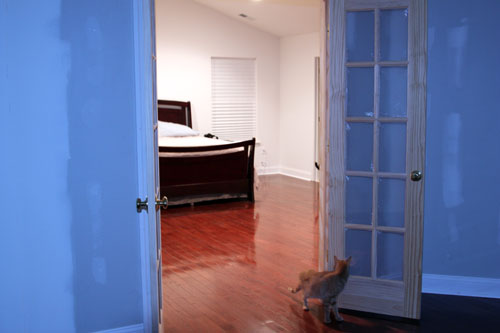
Our bedroom is large and I knew the walls needed something, but I was too intimidated to try a stencil or wallpaper. If I ever made the bed and took a picture, I could show you a decent angle. And I’d rather not show you the uber embarassing kitten conference, unmade bed, pants on the ground picture again. So here’s an equally awful and creepy picture of the wall behind our bed, taken from our sitting room which has no light fixture in it (hence the ghostly looking cat…)

I just couldn’t imagine stripes in here, but it was the easy solution. Then I decided to man up and attempt a stencil.. attempt still pending.

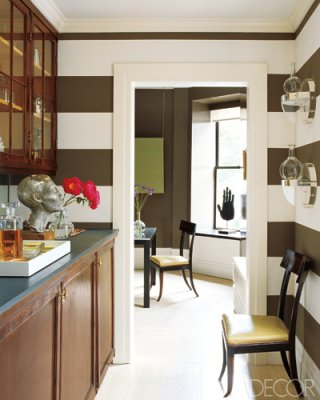
So I diverted my need for stripes to another room after seeing this must-have inspiration photo from Elle Decor…

(via Elle Decor)

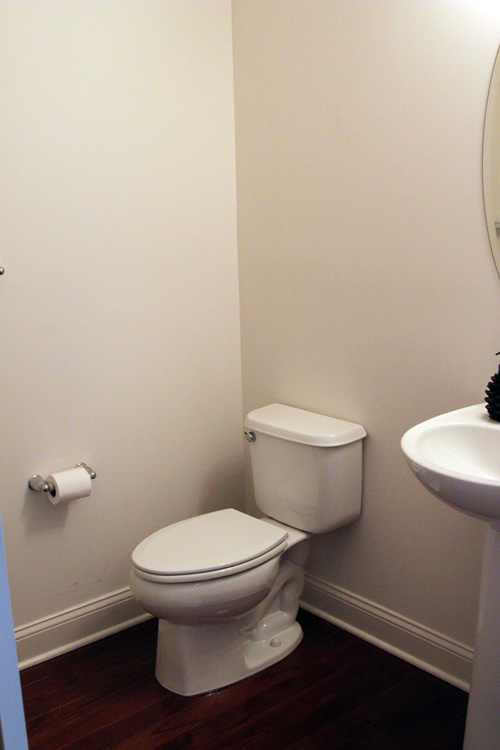
I fell in love with the dramatic contrast and figured the perfect place for something so bold would be the powder room. Until one day recently when I was analyzing the powder room and I realized my beloved stripes wouldn’t look good in there.

The ceilings are pretty high..

And the door is actually at an angle, so the room isn’t a perfect square.

At this point I figured that maybe I’d just use my dark brown stripes in our future basement. Note: our basement is no where near finished. By the time we finish it, I’ll probably think of something else. I have no clue why it took me so long to think of this, since this was my original, original idea, but the office could use some stripes.

Way back when we were buying office furniture and all gung-ho office, I wanted to do stripes but knew the bedroom needed a fancy wall paint more and I didn’t want to be the stripe house. We’ve lost some motivation in the office, since it needs so much organizing and I was having a hard time visualizing the finished space. We went with the furniture we could afford and I wanted to balance the Ikea modern with some more traditional elements to keep it classy. I think the stripes will do just that.

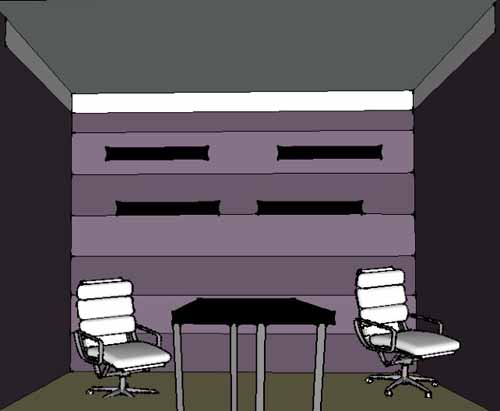
To reassure myself, I download Google SketchUp last night and played with it for just a half hour or so. Awesome program. I just fiddled and wasn’t aiming for perfection, but this is what I got…

The walls on the sides are the same color as the darker stripe, SketchUp just does a 2D shadow type thing. The room is missing the bay window on that left wall and the gallery wall would be on the right wall. The white line at the top is crown molding we’d eventually like to do. We’ve been eyeing up these white chairs from Staples and that’s as far as I got last night. I didn’t rotate that one chair, but then I realized it was kind of funny to keep it like that because we will probably never push our chairs under anyway! The paint color is the Benjamin Moore Smoked Oyster we’ve had in mind since we moved in, though we’ll have to throw a little sample on the wall before deciding. The color in this SketchUp is far more purple than the actual color. Here’s a little image from the Benajamin Moore site…

We’d probably pair the Smoked Oyster with the Elephant Gray or Portland Gray. Smoked Oyster definitely has some purple tones (to make my purple loving self happy) but falls into the brown/gray family as well. That is the only reason why Mike agreed to it as well, I even gave him the option of a green!

Anyway I’m super excited about my new area to put some stripes. Now maybe the office will make some progress soon 🙂

Copyright 2010 - 2011. The Lil House That Could. All rights reserved.