Archive for the ‘dining room’ Category

Throwback Thursday?

12 Comments

Posted by Rebecca, January 20th, 2011

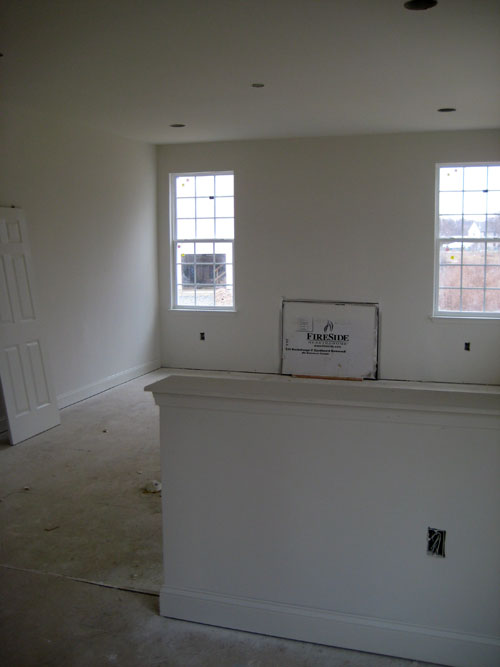
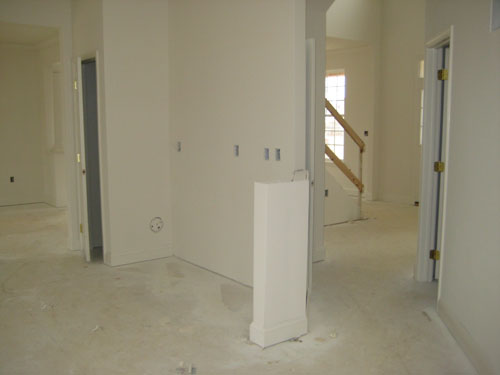
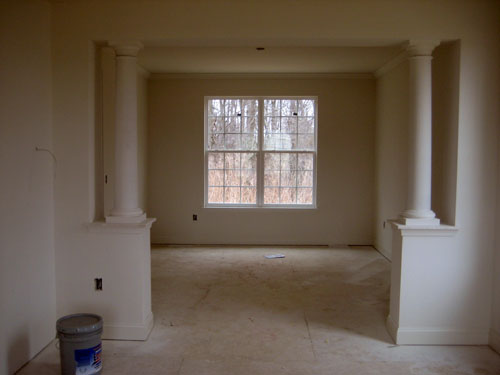
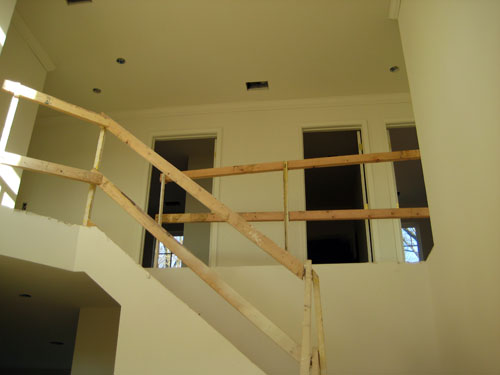
I survived 8 hours of work today, but my body is screaming for some rest. So I’m going to take it easy tonight and give you some pictures of our house from January of last year, when it was freshly drywalled. It was so exciting at the time, but I must add how small it looks with nothing in it!

The family room…

Half of the kitchen, sans cabinets (those came in March I think…)

The dining/living room, which I showed you last week…

The entryway…

Sometimes I feel like we’re not making enough progress, but looking at these and seeing all that we’ve accomplished in less than a year, while working, schoolin’ and having lives…I guess we’re not doing that bad of a job 🙂

Hopefully this weekend I can get back to my regular picture taking around this joint. For now, snuggles, milkshakes and Jersey Shore.

“Imma good peeeerson!”- Snooki, 2010.

Bookcase Envy

16 Comments

Posted by Rebecca, January 11th, 2011

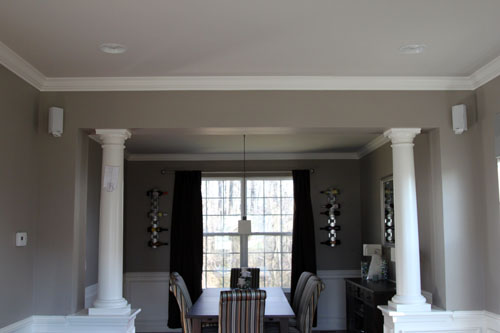
When we bought our house, included were these columns in between our dining and formal living rooms.

I stole that picture from Mike’s speaker files, since he still hasn’t posted about it and they’re nice daylight pictures. So please ignore the sloppy curtains and the speaker template taped to the column. I once asked him to take some daytime pictures of our bedroom and he took a picture that included his dirty clothes on the floor, so let’s consider this an improvement 😉

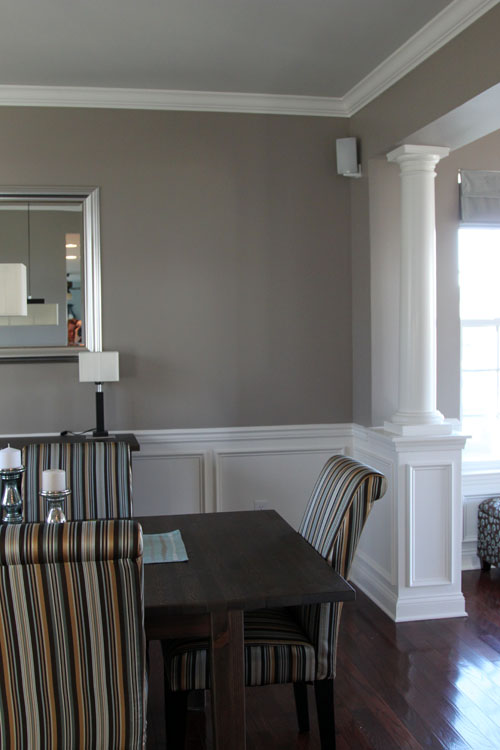
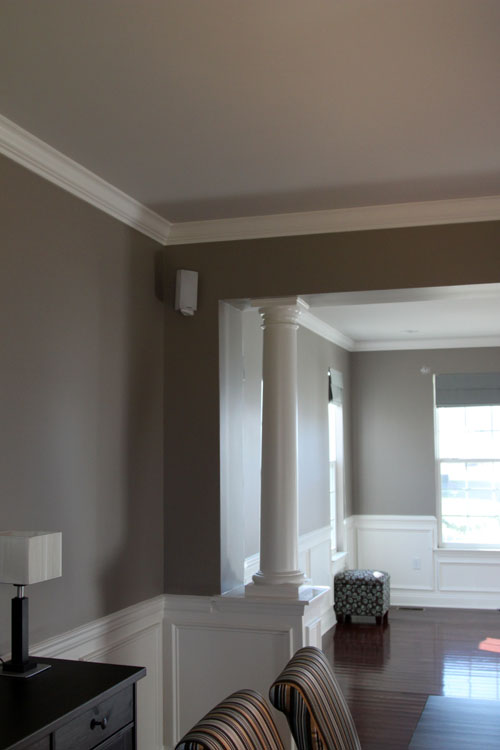
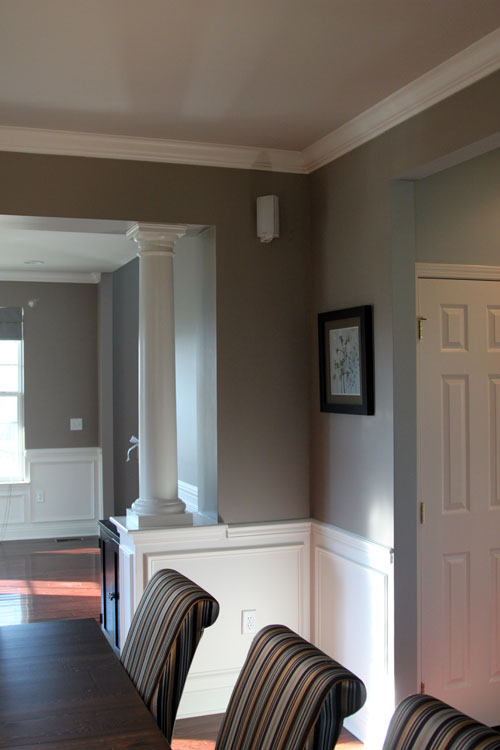
Anyway, here are a few more shots of the columns, which were technically part of the upgraded trim package we were given as a result of a crappy real estate market.

I know some of you will cringe at this statement, but we’re not crazy about them. They’re nice, but they’re just not our style. We were considering asking for a credit rather than having them put in, but we did want the extra wall piece between the rooms, so we decided to keep them around. Before we even closed on the house, we were scheming up things to do with the space. Here’s a vintage lil house pic from shortly after the columns were installed, nearly a year ago…

What a crazy difference from the first picture in this post, huh??

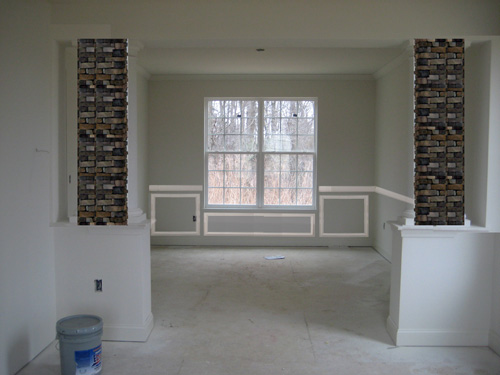
My first idea was to do some sort of a stone column, maybe a brick type or dry stack to compensate for the fact that new homes have no exposed brick. So long before we moved in, Mike photoshopped some stone columns into this picture.

He even stuck some wainscoting in there, which we had installed the day after closing 🙂 Nice to see one idea come to life! We thought we could maybe even stick some sconces on those stone columns and make them feel all warm and fuzzy.

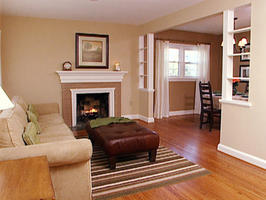
Then just Sunday, I sat on our JetBlue flight home from Disney watching HGTV. Isn’t JetBlue lovely?? You can just sit there and watch tv! Anyway, I did fall asleep due to exhaustion and woke up to a reveal of a room on Designed to Sell. I tapped Mike and pointed to my screen (he had headphones on too) and he nodded back in approval. Lucky for you guys, I found an image of what I saw on HGTV.com

It’s small and hard to see, but they built bookcases in the space between the rooms. Genius!! I am currently loving built-in bookcases after seeing Sara’s bookcases over at Russet Street Reno and Young House Love’s bold painted bookcases. Though I’m still thinking of places in our house where I can replicate Sara’s project, I’m thinking some bookcases in between our living and dining rooms could be an inexpensive, happy compromise to both issues… my bookcase envy and my column hatred.

De-Christmasing and Neutralizing

14 Comments

Posted by Rebecca, January 4th, 2011

One of my goals before we leave for vacation tomorrow morning was to take down our Christmas decorations. I know this wasn’t a priority, but we’re not coming home until Sunday night, then the next weekend is my last precious weekend before I start up grad school again. So I’d really like to do something other than focus on taking down a tree… plus it will be mid-January by then, oy!

So today, I left work early and mission was accomplished…for the most part. I was hesitant to pack everything away because I didn’t know where to start. We have way more stuff this year than we’ve ever had and I wasn’t sure what type of storage we’d need. Plus I wanted to put it away as organized as possible, rather than hastily thrown in boxes. Then I saw what Megan from Honey We’re Home did with her ornaments yesterday…
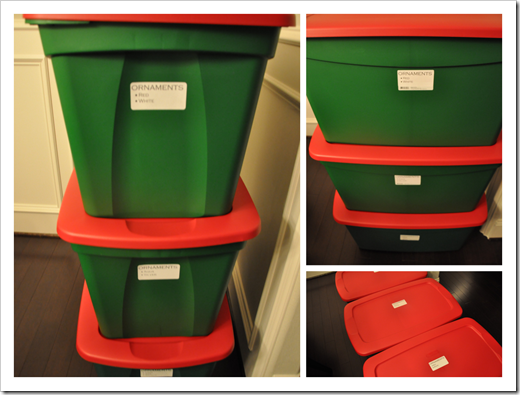
(via Megan’s Christmas Organizing post)

She organized her ornaments by color. Back in our condo, we had tree ornaments and a couple of vase fillers and that was it. But this year I bought so many ornaments for our large tree and other projects that I was just overwhelmed. So I decided to use Megan’s method as a starting point and started collecting my non-tree ornaments.
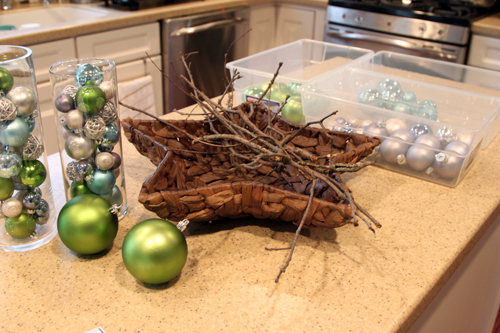
I picked up 3 large Christmas storage bins at Target, since we only had 2 before. I, like Megan, like the Christmas colored ones because when they’re buried underneath things, you know exactly what they are! I also picked up some smaller containers for my small ornaments then packed them up by color.
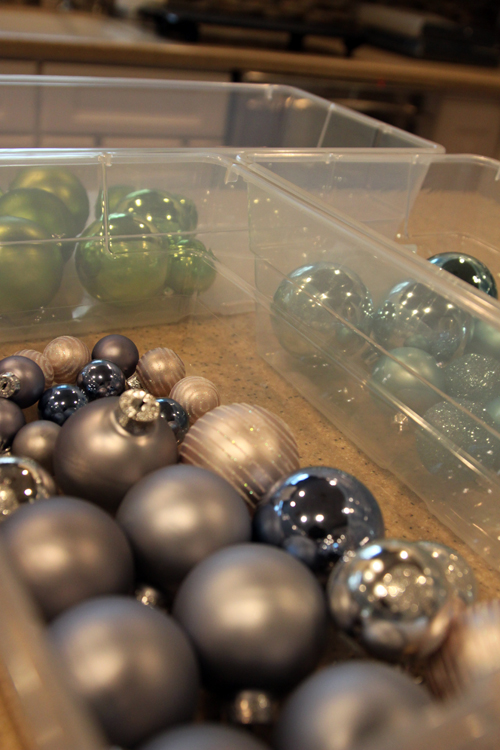
I took away all of the other Christmas items on the mantle and in the dining room and just like that, the house was neutralized.
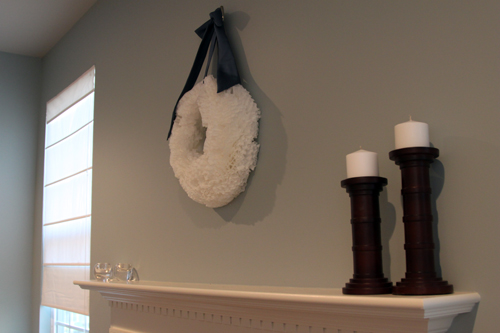
I still need to find a safe place for my coffee filter wreath and tree, so until I get back, it will remain hanging in the family room. I kept the wood pillar holders, as well as the metallic pillar holders I picked up at Target out because they’re not holiday themed.
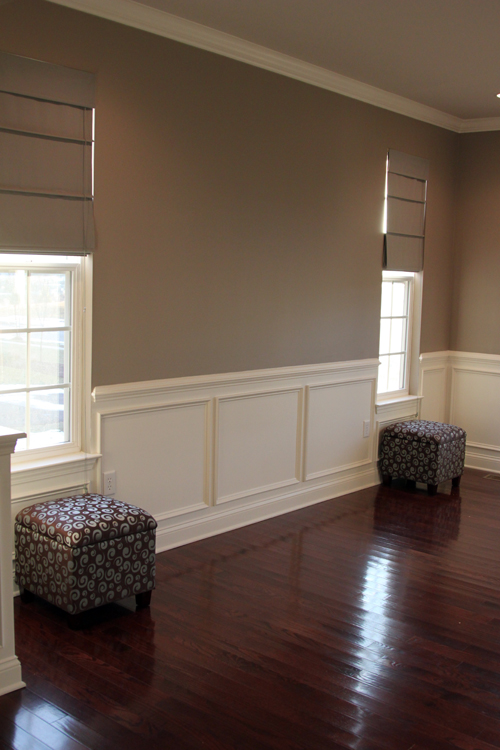
For all of these extra things I accumulated this season, I decided to put my living room storage ottomans to good use (nicely furnished room, huh? This is why you never see the living room :))
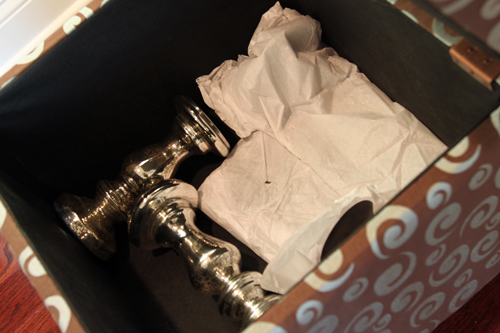
Most of my candles are in the entertainment center, but I store some larger pieces here, including the silver pillar holders.
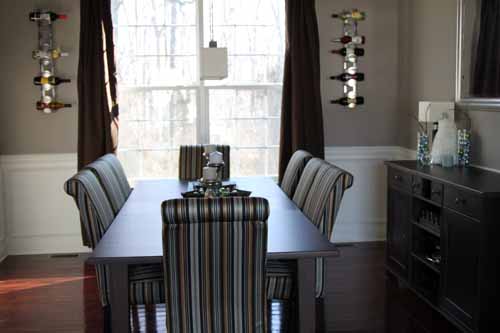
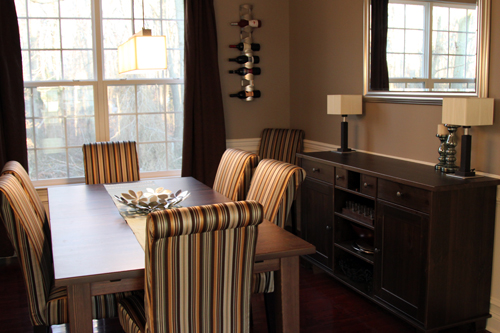
Oh and we haven’t seen our Ikea Stornas table without an extension in it since Thanksgiving, it looks so tiny with only 6 chairs!
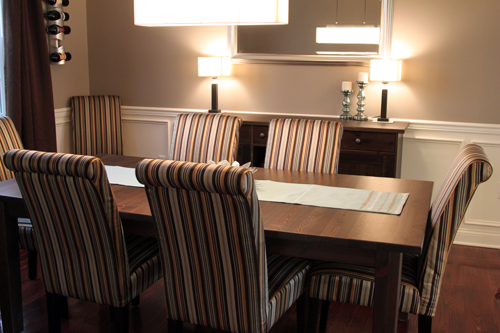
As you can tell I put the majority of our things away, even accessories that were out before Christmas. I just wanted a clean slate for when I get back from Disney. On to the tree!

I decided to keep tree ornaments separate from vase filler type ornaments, since I strung those ribbon things on all of the tree ornaments and I’m not doing it again next year! I had one ornament box from Target a few years ago, which I decided to start to fill even though I knew I had way too many ornaments on this thing.
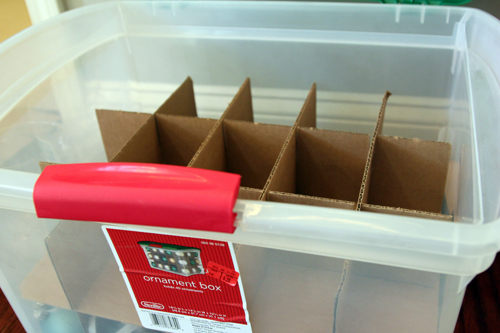
This particular box is a little tight for my biggest ornaments, which is why I almost didn’t use it. So I only put large ornaments in every other opening.
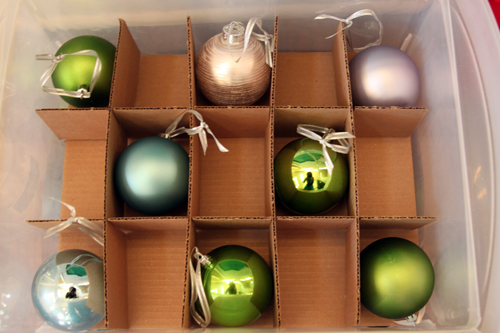
Then I filled the remaining openings with 2 or 3 of the smaller balls.

I was surprised that a good majority of my tree ornaments fit in this one box! I put the remaining ones in one of the leftover boxes that some of the large ones came in. I actually had all of the boxes from all of my ornaments (even the ones that are 4 years old). I decided to chuck them all this year because they take up way too much space.

I packed my vase filler boxes, as well as my remaining tree boxes into a larger storage box and it was near perfect, until I remembered I had an unopened box of large green ornaments.
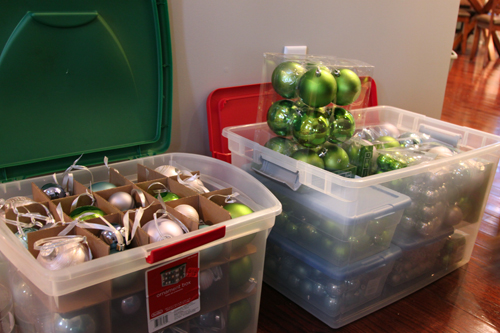
See that box of green ornaments messing with my plan? Whaaamp whaaamp. Of course it would have been too perfect to fit all of the ornaments in two neat boxes. The solution?
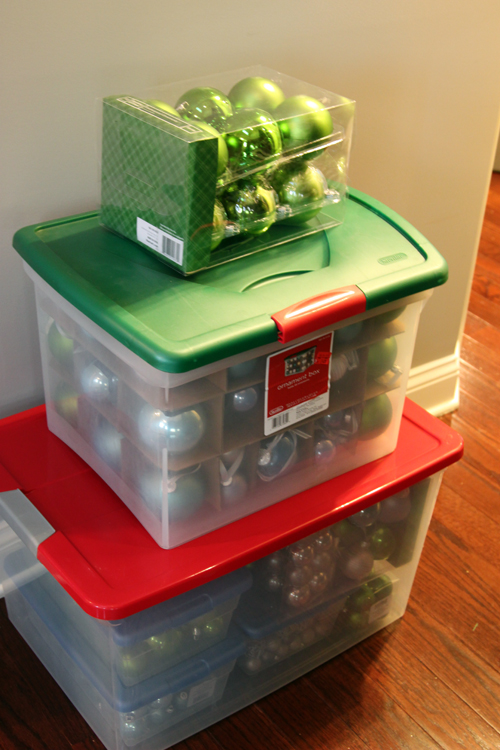
Um yeah, there was no solution. It’s called, I’m going to Disney tomorrow and I could care less if my ornaments are perfectly packed this year. I’m just happy I got it done 🙂 I ended up sticking that last box in a storage tote with some mantel things. The tree is naked, but still standing. We’ll probably take that apart as well as bring all of this stuff down to the basement when we get back.

Despite the fact that my flight leaves at 7am tomorrow, I’m not planning on taking a blogging break. I will be bringing my laptop and hope to tell you about my favorites in the new West Elm catalog I received yesterday, as well as about my first time ever at Disney. Cinderella’s castle is considered a house right? 🙂

On to my packing!

lasagna and paint

11 Comments

Posted by Rebecca, December 29th, 2010

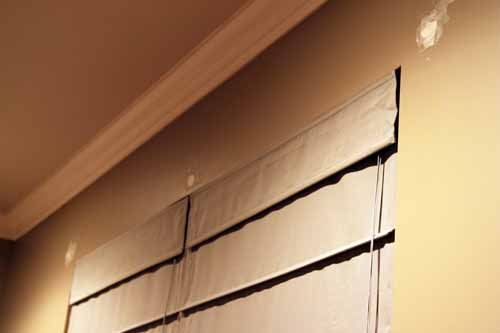
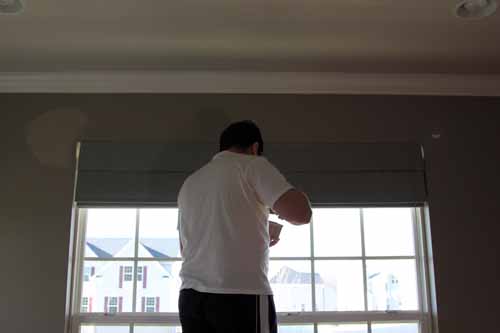
On Christmas Eve, we painted some random spots we had that needed touching up. I mentioned the holes from our curtain rod in my Christmas To-Do List post.

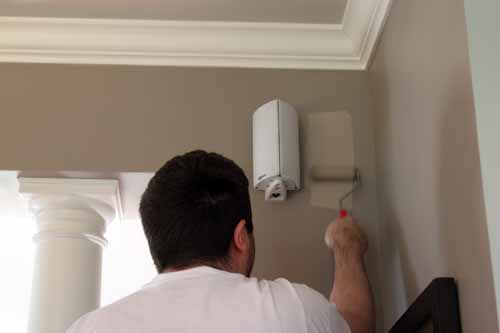
When Mike installed our new speakers (which he still needs to post about!), we got a new drill hole in our dining room wall. So we decided to finally break out the can of Benjamin Moore’s Waynesboro Taupe.

What a difference with some daylight, huh? 🙂

Then into the dining room…

Thankfully, the touch up spots were flawless.

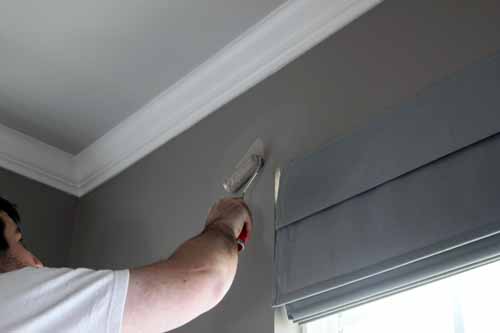
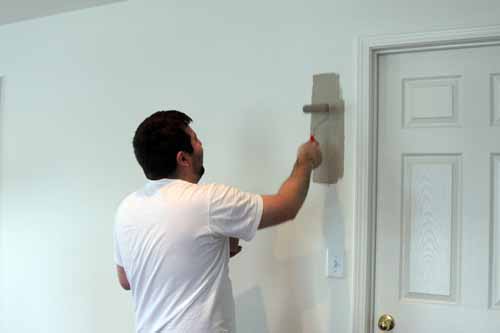
Since I love this paint color and it’s one of the few true taupe colors I’ve found, I decided to try a swatch for our bedroom. While Mike had roller in hand, I asked him to put a tiny bit on one of our bedroom walls. Then he did this…

He is laughing hysterically at me in this picture because after he rolled past the 2 inch mark I was like Wooooah! Hey! What the heck are you doing?!? I said a swatch!!! Apparently he has no clue what that means. Sort of like how I’ve been telling him since we moved to bend at the knees (we ended up in the emergency room with a pulled out back earlier this year) and just a few weeks ago he told me he had no clue what that meant. Oy!

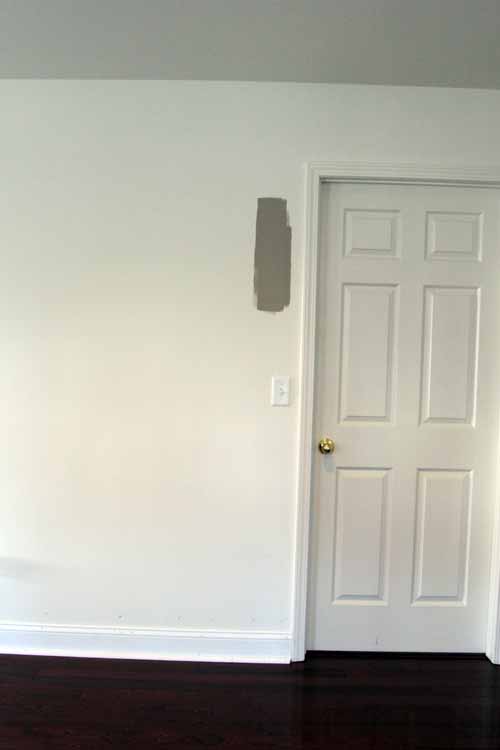
So I currently have this on my wall…

And it’s definitely too dark. We actually have the lighter, neighboring shade from the color swatch (Himalayan Trek) in our entry way and upstairs hallway and it is way more gray than taupe. Anyone know a good light taupe color that’s not too gray and not too beige? We have a possible contender just beyond that door in the walk-in closet, which I am planning on finally sharing with you tomorrow!

Oh and this title? We painted and then made lasagna. True story. We’re trying to diversify our skills 🙂

a Christmas table

7 Comments

Posted by Rebecca, December 21st, 2010

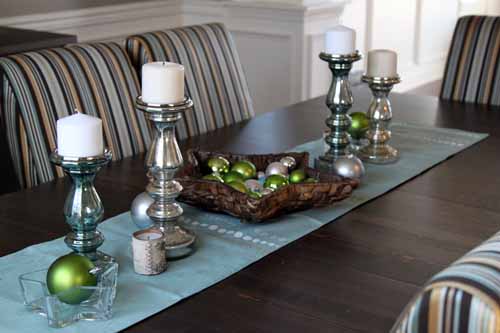
This is my second turn at this tablescape game, since my first attempt was Thanksgiving. After my last run, I was inspired with so many new ideas.  I felt like there were a million things I could do, to the point where Mike told me to make up several options.  But I didn’t get a chance to finish up all of the crafts I had planned and when I set out to do this, I was stumped.  I had already put together our mantel, which was rather effortless, and I guess my creative juices were running dry.  It took a lot of rounds of changes, but I finally came up with something I was pleased with.

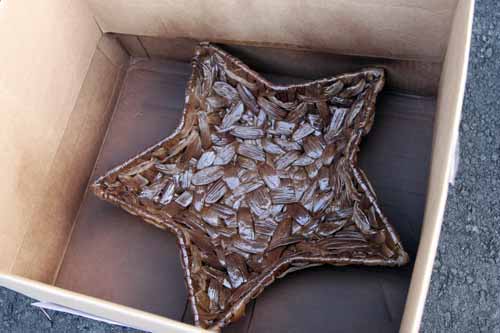
First, I bought this star shaped basket from Pier 1 a few weeks back.  I love using stars in my Christmas decorations, but I didn’t love the light color of the basket.

So I decided to spray paint it a darker brown.

I only did one coat so that some of the natural variation was still seen, then I put some ornaments in it.

I built my table area around this, using mostly candle type things to not take away from the pretty ornaments. Plus I didn’t want it to be too tall or too busy so that it can stay on the table as people eat, like our Thanksgiving tablescape did.

On each end, I used some star dishes I got from the dollar store and put a large green ornament in them to add some more green, since my Target runner is blue. I later saw these dishes at Pier 1 for $3. I’m not going to lie, I was hoping they were $10 so I could tell you I saved $9 on them, but I only saved $2.

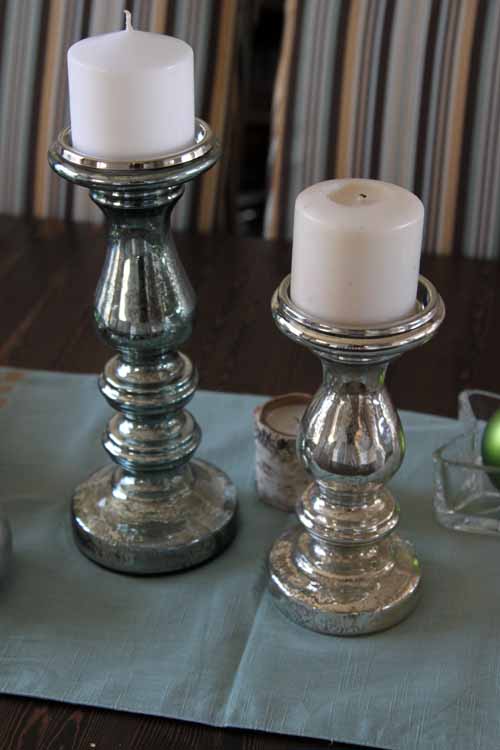
Then I have the silver candle holders I used on my mantel (I replaced the mantel ones with wooden ones, Target was out of silver) and some in the same style that are blue.

One of those white candles on top is new and one is a few years old.  They are totally different colors of white when next to each other, but I think it’s interesting (and that’s what happens when you try to buy them 4 days before Christmas…)

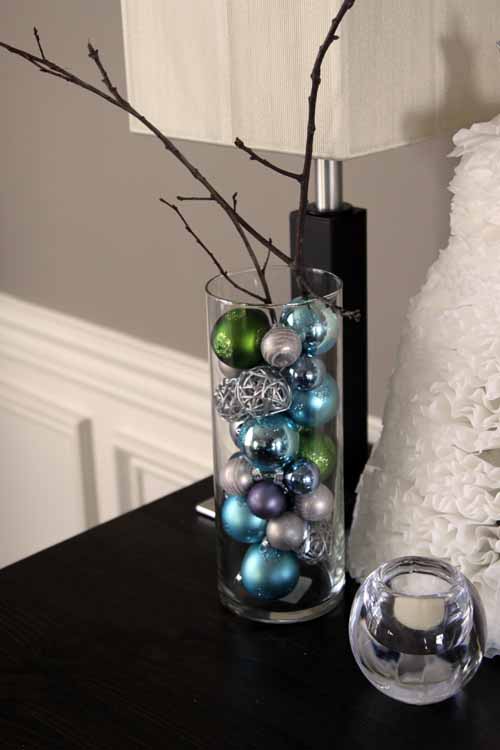
Over on the buffet, I put my crooked coffee filer tree and some vases filled with ornaments and topped with sticks.

I’ve filled those vases with ornaments every year I’ve decorated for Christmas, but this year I wasn’t sure if I should put them on the mantel, table or buffet.  I tried them on the table, but I felt like with the star basket, I needed some shiny ornaments on this piece of furniture too!

All in all, I’m happy with how it turned out.  I gravitate towards the simple and clean and I think this conveys that better than my previous tablescape.

I’m thankful I have a large stash of neutral type candles that I can mix in when needed.  The round class tealight holders and the silver ornament candles definitely came in handy during my constant swapping!
Oh and there are some other new editions to the dining room this holiday season, but I will have to let Mike explain those to you. If I can get him to blog again.. 🙂

ps- I just noticed that I didn’t actually put plates on the table this time.  I will be sure to snap some pictures when it’s all set for Christmas dinner!

Copyright 2010 - 2011. The Lil House That Could. All rights reserved.